


Constabulary
-
Posts
5,812 -
Joined
-
Last visited
Content Type
Profiles
Forums
Events
Blogs
Gallery
Store
Posts posted by Constabulary
-
-
what machine is it a Pfaff 337? There are at least 2 way different Pfaff 337 out there. We need more details. Butt IIRC one of then has no walking foot.
Looking up the 335 may help you.
-
check the parts list of your machine and the one with a right side hook post (not sure maybe its the 491) and compare the parts numbers - thats the best bet.
If the part numbers are all identical then you may have luck but I doubt it is a good idea. I´d look for a new machine.
My 2 cents. 😉
-
Now - more than 3 years later 😉 I checked with a known Chinese Ebay seller of sewing machine parts if he can get me the "Pfaff to Singer KB-PF1" foot converter. Few days later he uploaded a listing to Ebay and I have bought 2 pieces - now waiting for them to arrive.
Reason I need them is that I found a Pfaff 341 (needle feed) and there are not really plenty of Pfaff needle feed feet out there but I have a good number of Singer feet so I will see how these converters work and I´ll post pictures when I haven em here.
-
don´t know for sure but could be a heating device for warming the waxed thread. But its just guessing.
EDIT:
Rapid E 317 is the same machine AFAIK - see manual page page 8.
-
But the roller tip will not be flush when you have the FBA attached AND put washers under attachment screws or am I missing something 😉
-
but then the roller is no longer flush with he needle plate
-
or you make a flat bed attachment where you can screw on an edge guide or modify yours.
I once made this FBA for my Singer 45D91 but on mine I cannot use the 441 roller edge guide but the OEM Singer 45K edge guide that mounts on the flat bed steel plate insert. Note the 3 holes in line. Thats where I can mount guides and accessories.
-
The guide appears to be for the JUKI 441 + clones. So w/o knowing the CB Outlaw but knowing Singer 45K´s, Adler 5 / 105 and so forth I´d say either flat bed or edge guide. A suspended flip up edge guide probably is the better option when working with a flat bed.
maybe something like this
https://de.aliexpress.com/item/1005008728390412
or check this thread:
-
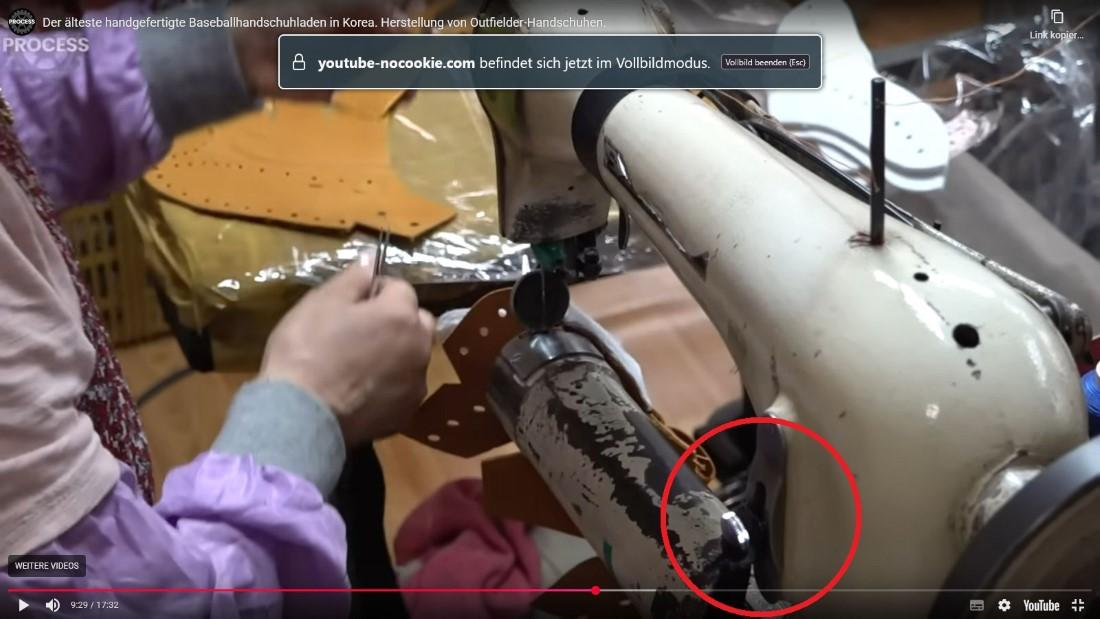
machine seems to be a Singer 17 or Seiko TE-6 and they have supper small bobbin. Surprises me that they sew with fairly think thread this fairly thick leather with a machine like this > not much thread on the bobbin.
When I look at the stitch length lever the it seems to me just a screw w/o reverse - or not? However - IIRC there was a reverse device of the Singer Class 7 that did not come with reverse ex factory... Maybe they tinkered something similar. Well.... lots of guessing here. No matter what they do a great job there - I´m quite impressed.
EDIT:
weeeeell - I´m not sure - new TE-6 have reverse AFAIK but not sure what I see there.
EDIT II:
Looks like this one - which looks like a non reverse machine
-
thread is coming of the spool a bit the odd way. Maybe one of these thingies may be helpful. However if it works for you then don´t mind. 😉
-
okay, may depend on the machine 😉
-
I´m updating here cause I have an Astor M5 on my bench for restoration - the inner thread is metric M10x1.5 (at least on mine). So the information MikeRock got from the distributor is correct.
So if you need a cheap tool adapter for M6 or M8 tools / dies then this could be an option:
https://www.ebay.de/itm/402466257921
Hope this helps
-
not sure what you mean... Is it that your last stitch is probably to long and not hitting the 1st needle hole where the seam began? If so then you can shorten the stitch with the reverse lever and hand crank the last stitch - if you know what I mean.
-
not sure where how you figured that but I have different experience (I´m living in a metric country). Maybe someone overcut the original threads on your machines.
Nothing really metric I´d say: https://www.singersewinginfo.co.uk/technical/parts/screw_threads/
-
Or NTB in the City where the Adlers came from:
-
Check with Liersch: https://liersch.com/online-shop/ersatzteile/
or Zieger: https://www.np-z.com/
or Busche: https://busche-online.de/
If they don´t have it in the Shop send them an Email - Answers may take longer due to Christmas season.
-
I never did that drop test, the manuals show how to set the tension right. That works for decades, just follow it. But as always - many roads lead to Rome - or each to his own. 😉
-
BTW - I put one off these in a plastic box and wired it to the motor.
https://www.ebay.de/itm/396873227544
But I´m using it for my electric bobbin winder which run with domestic sewing machine motors. Not sure if this is a solution for you.
They are available everywhere and I think even cheaper.
This was my project back in 2017
-
servo motor and speed reducer come to my mind but depends on your sewing machine table and if the machines have a hand wheel with pulley and no built in motor.
-
these original manuals pop up every now and then. i just recently bought two from a guy in France he still has some:
-
Guessing - most likely a motor problem. I guess the machine has a servo motor so I would guess the lever of the accelerator unit or the hall sensor is loose / has moved and is probably stuck in the "run" position.
Please post some pictures of your motor and the accelerator unit and lever where the it man rod is attached and maybe a video showing the issue (please not just 5 second video or so" upload it to YT and post a link here.
-
yeah - keep that old cast iron alive - I seldom went wrong with that! 😉 I love my 51w but the 2nd type as yours would be even more preferred but I love mine too.
Singer crazy me is. 😁
-
often Ebay is a bit cheaper than Amazon - even from the same seller. Just saying...
-
make sure the whole machine incl rod and coarse threading is well oiled and the stitch length mechanism parts are not gummed with old oil.
Soft start for servo motor
in Leather Sewing Machines
Posted · Edited by Constabulary
believe it or not - I run a JACK 563 servo (actually 2 of em) for many years and just recently I bought a fxcking cheap Chinese servo (for under 70€ few month ago incl shipping) and it behaves and performs way batter than the Jack - not kidding. It starts at 200 rpm and I can dial down to 100 but than it makes strange sounds.
https://de.aliexpress.com/item/1005007257363563.html
price on my side of the pond is 88.99€ now incl shipping (Warehouse in Germany).
The Jack quality is better, thats for sure but this cheap sucker just performs better.
I however have added a speed reducer too, better too slow than too fast and you still have enough end speed. But to each his own...