


immiketoo
-
Posts
2,372 -
Joined
-
Last visited
Content Type
Profiles
Forums
Events
Blogs
Gallery
Posts posted by immiketoo
-
-
Looks nice! What’s the total thickness of it?
-
7 hours ago, bruce johnson said:
Looking good as usual my friend! Come to Sheridan this year dammit.
Thanks Bruce! I sure wish I could, but I think it’s out of the question this year. Next year is looking better!
-
16 minutes ago, Beehive said:
What did you put inside them?
Anything heavy that’s available.
-
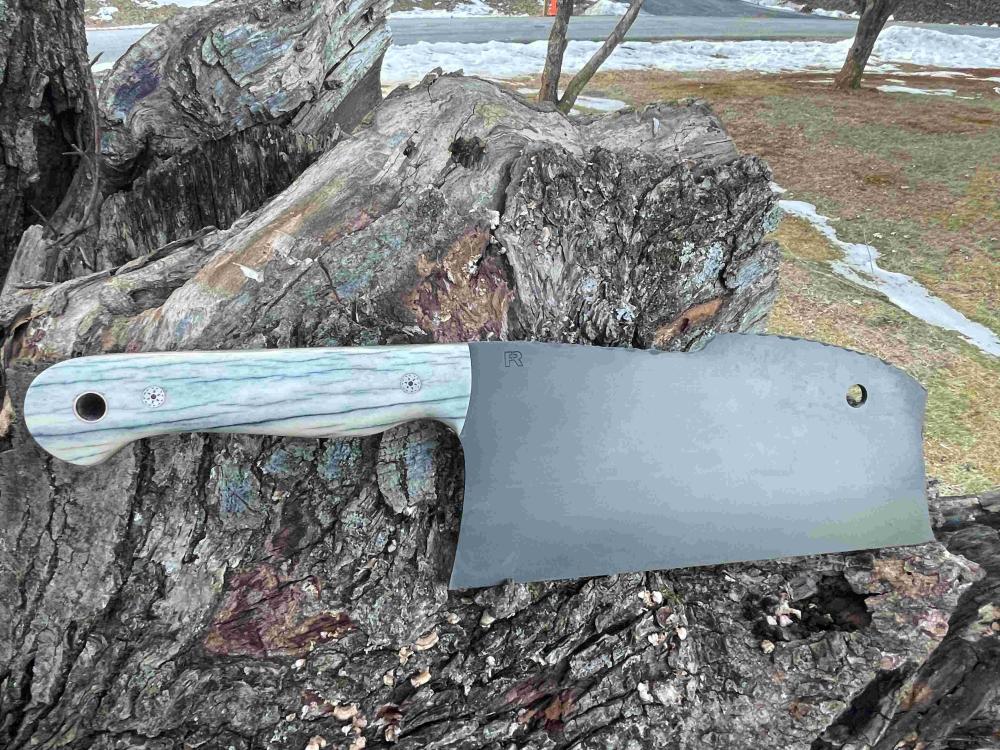
On 1/30/2025 at 7:46 PM, c2369zulu said:
Finshed making this cleaver over the weekend and wanted a decent covering for the edge. I used my laser and cut this one out. Hermann Oak Chestnut Bridle with a biothane retention strap and black Ritza Tiger thread. I went ahead and pigskin lined the interior sides for the snap and rivet to help prevent scratching...
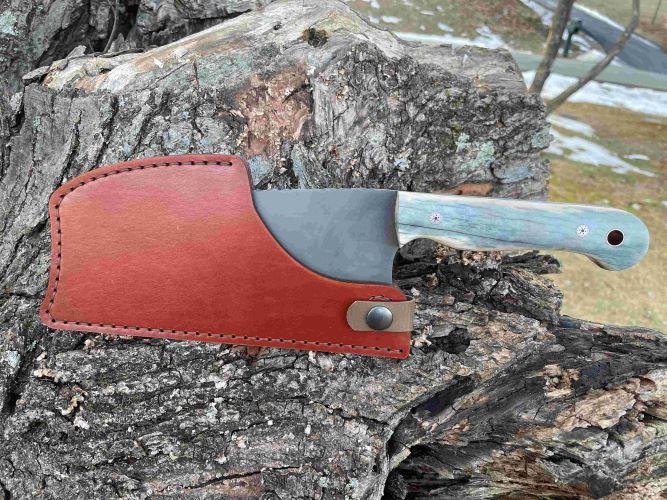

Nice!
-
1 hour ago, Beehive said:
Those are awesome!
Pattern weights?
Thank you! Yes or for tooling leather.
-
-
Looking good for a short time. I would suggest beveling deeper to give your carving some 3D effect. Right now it looks as if you’re just using your swivel knife to outline your design.
it appears flat, as opposed to having some relief. Otherwise, good work and welcome.
-
Super clean!
-
11 hours ago, DoubleKCustomLeathercraft said:
Fancy weights you got there haha. Those are sweet Mike. The dye work looks mint.
I'm using the factory tow hooks off my (3rd gen) power wagon lol. I glued leather to the face, so it's not bare metal on my protects
Thank you! This hooks are plenty heavy for sure! Whatever works, right?
-
10 hours ago, MarshalWill said:
Those are beautiful. Love the Saint Michael one, especially.
Thank you!
-
2 hours ago, akguy59 said:
Beautiful work as usual. You've been missed here. Welcome back.
Aww thank you!
1 hour ago, bruce johnson said:More great work! You need to get back here for a show sometime!
Thanks Bruce! I sure miss you guys! Say hi to Rundi for me! I hope to come back soon!
-
1 hour ago, Basically Bob said:
Looks great, Mike! Great to see you back at it!
Thank you! Feels good man!
-
1 hour ago, ABHandmade said:
Excellent. As always )
Thank you!
1 hour ago, badhatter1005 said:Beautiful work. What did you use as a filler?
Thank you. Whatever heavy object I can get my hands on. These are filled with copper blanks I salvaged.
-
50 minutes ago, Dwight said:
Not understanding the purpose . . . but the work is excellent
May God bless,
Dwight
These are bench weights to keep your leather from moving around while you tool it.
-
After a break of about two years, I’m finally back in the saddle
")

-
18 hours ago, Mablung said:
immiketoo gave you the solution. Last piece I lined flat got wrinkled as well. I haven’t had the patience lately to try to line stuff on the curve and have just accepted I’ll have some wrinkling.
The trade off is if you open the wallet all the way, you might have wrinkles on the outer piece. It’s a balancing act for sure. But since they’re closed most of the time, it ok
")
-
I’ve been using a zapper that my doctor uses for skin tags. Heats up instantly and works like a charm. I can’t find this exact product online, but if you search medical skin tag remover you’ll find them.
-
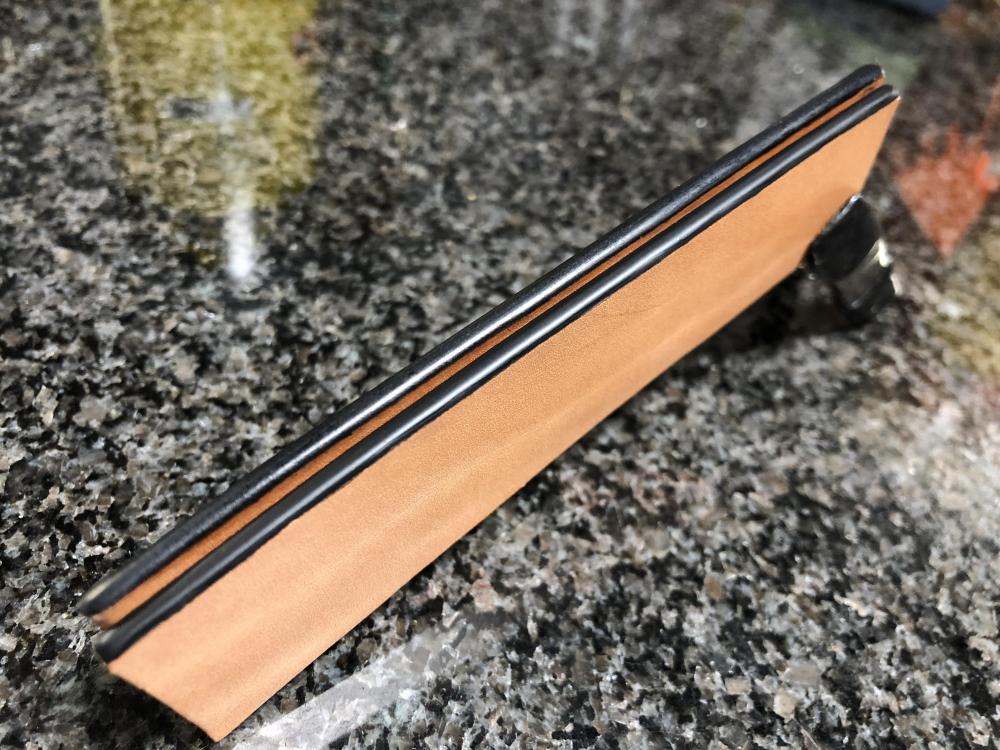
Bend the outside to a little more than 90 degrees and glue in the liner while it’s bent. Use a slicker or other smooth object to seat the glue and let dry. Your angle may vary depending on the leather you use so practice with scrap if you can.
-
Appply, let dry, sand smooth. Repeat until you’re satisfied
-
You may like Ink Edge by Fenice or Giardini edge paint. However, none of them are wipe in and forget. Edge paint take as much or more work than normal edges, but the results are very nice.
One of these is edge paint, the other is traditional dye/wax/burnish
-
2 hours ago, bruce johnson said:
I’m with Mike also. Slightly damp is much easiest and smoothest if you have a sharp edger. Dull edgers tear, push, and chatter. As far as what type edger - I doubt that very many people have used as many different edgers than me. Each has an advantage - might be lower price, ability to hold an edge, cuts a flat or rounded profile, easily obtainable, pretty or matching handle, or what ever. My number one criteria is ease of sharpening. Doesn’t matter how sharp they come new, they need to be maintained. Sharpening might be on optional skill if you cut with a utility knife, but there are no disposable edgers I am aware of. I want the top and bottom of that cutting edge to be easily accessible to sharpen.
Bruce, sharpening all your tools isn’t an optional skill in leatherwork in my experience! Took me a while to figure that out. I never considered ease of sharpening concerning edgers but now that you’ve said it, I gravitate toward those that are easier to use/maintain.
-
Contrary to the above posts, I bevel while the leather is moist. Not cased, but moist. You’ll find you get a super smooth bevel provided your tool is sharp and you even get a burnishing effect because the fibers can compress under the pressure of the beveler. Too wet and it will smoosh out of shape. I use Barry King grooved bevelers FYI.
-
11 hours ago, dikman said:
That's what I did, I held it under the tap and ran water along where the bend would be and kept trying the bend until it started to fold then stopped the water. There was enough moisture in the leather to bend it but it didn't soak through to the front.
That’s the ticket. I use less water than that, only adding a bit at a time. You can always add but you can’t take away.
-
How I handle this is twofold. First, I pre-curve any leather I need to bend and I try and tool it on a curved mandrel if possible. (Many times it’s not easy)
The second thing I do is only add moisture to the inside surface of the holster/sheath. That minimizes the smushing effect of the fold. Combine these two and most people won’t notice any distortions.


Rayquazaaaaaaa!!!
in Show Off!!
Posted
Thanks Bob! These were a little challenging but worth the effort I think!