


Halitech
-
Posts
1,229 -
Joined
-
Last visited
Content Type
Profiles
Forums
Events
Blogs
Gallery
Posts posted by Halitech
-
-
Tandy has their patterns for free. Check this one and see if it is what you want
https://www.leathercraftlibrary.com/product/1220/shotgun-case-and-bird-bag-pattern-pak-2691
-
Are you using diamond point chisels or are you using small lacing chisels?
-
2 hours ago, ewayne53 said:
Even though I've been doing leather work for 2 years I still consider myself a novice. Time and money hasn't allowed me the experience and projects I would like to do. I do agree with using using a stitching groover. A trick I have found is use the groover on both sides of the project. Then only put the chisels in half way or less on both sides making sure to align them. I then take an awl and easily push through the thin layer of leather left guiding it into the correct slot on the back side. It is a little more work but so far has proven to be a better outcome than trying to go through both pieces of leather and hit the groove on the back side. Or trying to add the groove on the back side after using the chisel. The stitches may or may not be perfectly aligned on both sides but it takes close examination to tell.
Thanks and God bless.
only 1 problem with that, unless you have 2 opposite sets of chisels that face opposite directions, the slit will be in opposite directions on each side and that will not give you the angled stitch most people are looking for.
-
Honestly, unless you use pigskin lining leather to completely assemble your wallet, you're going to end up thicker then 2-4oz. I make my own interiors out of roo and mission grain pigskin and by the time you add an outershell, you're around 7-8oz. Make them out of 2-3oz veg tan, and up there a bit more. I wouldn't bother with that machine myself. I have a used Adler 67 that I use to assemble my interiors and a Chinese Shoe Patcher for putting the interiors and exteriors together.
-
2 hours ago, robs456 said:
It's most likely nothing wrong with your airbrush.
Number one thing to do when using sealers in an AB is to reduce properly. Sealers are usually very thick and 1. won't work at all or 2. will clog your nozzle very quickly if not reduced. Clean thoroughly, reduce the sealer and try again.
Even reduced they will cause tip dry and clog up quickly so spray some cleaner through periodically while working.Unless you're making huge pieces of leather like bike seats etc, there's no need for an HVLP gun.
Super/satin shene and resolene are relatively thin and I've run both through my AB fine without thinning. Resolene I do thin but I also thin it when using a sponge to apply it. It's also not a high end 0.2mm nozzle set either. Maybe with smaller nozzles they should be thinned more. Tan Kote I won't even put near my AB
-
8 hours ago, wizard of tragacanth said:
Wouldn't denatured alcohol be the best cleaner for an airbrush? I don't know, just asking.
nick
if it's water based dye or topcoat, water is fine
-
I've been using cheap air brushes for years. If I spray 2oz of finish or dye, I spray 4-5 oz through of clean water immediately when I'm done. If yours won't spray, there is a block somewhere, or the pressure of the air compressor is too low.
-
21 minutes ago, MarkCdub said:
Just to clarify, if I buy a buckle for 1.5" belt the width of a 1.5" blank will be 1/8" to wide for the buckle?
If I order a 1.5" belt blank will it be cut exactly 1.5" or will it be cut to accomidate a 1.5" buckle?
If you buy a premade belt blank it will be cut to accommodate a 1.5" buckle by being 1/8" thinner (roughly 1 3/8") . If you buy a 1.5" strap, it will be 1.5"
Some buckles will go 1.5" - 1.75", just depends on the maker.
-
1/4"?? that's 16oz leather. Saddle skirting doesn't even come that thick. Horse straps and reins aren't even that thick and you're looking at 1000+ plus for one of them. If you want something that thick, you're looking at stitching 2 pieces together. Not to mention, there is no such thing as finished on both sides but stitching them grain side to grain will give you finished on both sides.
-
On 10/25/2019 at 2:02 PM, Goblin210 said:
Im trying something new by using veg oil on my stuff and this is my first issue. So I tried to dye my leather first then I used Satin Shene on the dyed parts once that dried I put veg oil on the both backsides. Thinking nothing of it also to keep the sheath oiled. What ended up happening was my tooling went dark on me. Will it lighten up again or am I screwed? I shouldn't have used the finisher before the oil just yet but I had forgot to oil my project and figured what the hell. What I "think" my steps should be is to dye the background first, oil, add a finisher (I used Eco-Flo Satin Shene instead of Tan Cote) then add my antiquing. Im trying to do it how Don Gonzales does this in his video on making pancake knife sheaths. The picture obviously the right side should be first.
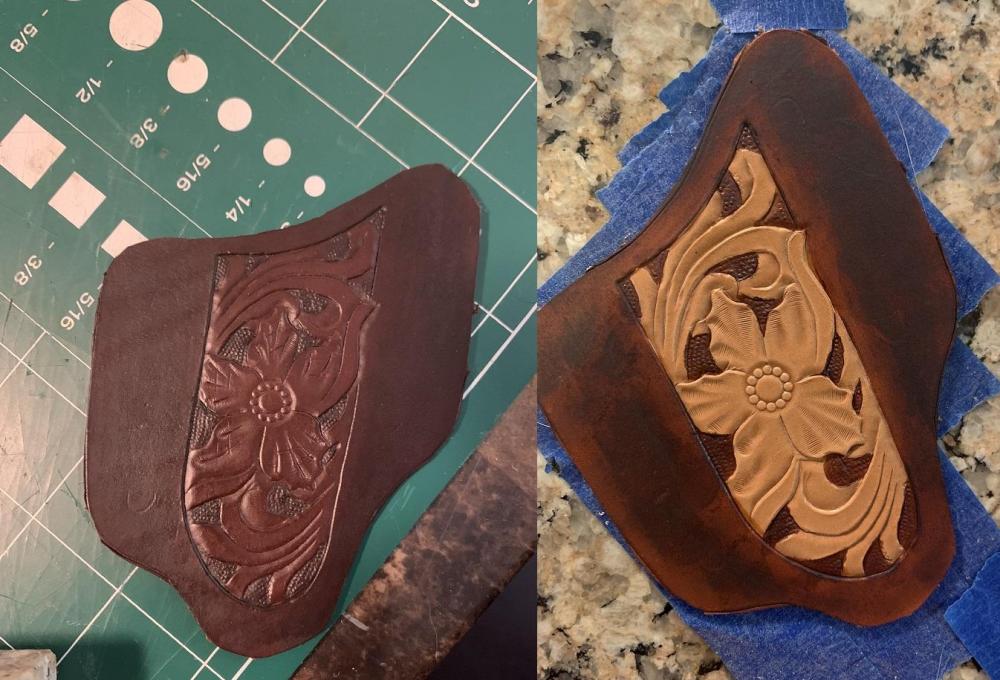
Watch Don's videos again, it's not vegetable oil that he uses, it's Extra Virgin Olive Oil. And it looks like you dunked the leather in it. I have a small amount of oil in a small jar with a sponge brush. I lightly brush it on the back after I've tooled and dye so it doesn't affect the coloring hardly at all.
On 10/28/2019 at 11:58 PM, YinTx said:But why are you putting the oil on the backside? In order for it to show up on the front like that would seem to be a lot of oil! Try a lighter coat on the frontside before any tankote/antique?
YinTx
I do it all the time. Easier to apply a light coat on the back and let it soak in the apply too much on the front and be screwed
-
Tandy and Springfield leather both sell blanks. Usually the belt is 1/8" narrower then the buckle so unless you cut your own, you won't get 1.5 or 1.75. And if you want 1 5/8, you will really need to cut your own.
-
I have 1 and it works great for what I use it for. I can do a full 50" belt and more on a single bobbin. It is limited to 138 thread from what I was able to find out. I paired it with a techsew 550w servo motor and it runs great. I can stitch 2 layers of 10oz with no problem.
-
I use a 1T arbor press from Princess Auto. I use it with my 3d stamps as well.
I bought this set of dies: https://www.aliexpress.com/item/32801191336.html?spm=a2g0s.9042311.0.0.28884c4dlLS7bn
and I use these snaps: https://www.aliexpress.com/item/32616479266.html?spm=a2g0s.9042311.0.0.28884c4dlLS7bn
It does not fit the Tandy glove snaps even though they are same size.
-
too bad I'm in Canada ...
-
Don't need to know the brand, just take the blade out and measure the shaft. Unless it's proprietary, it's probably 1/4" which is standard for just about everyone
-
2 minutes ago, Rockoboy said:
OK, thanx. Way over my head! On the coding and jail-breaking thing, just an idea. Also way over my head!
yeah, beyond my abilities as well. I can trouble shoot from the command prompt but actual coding, not my thing lol
-
All the male customers I've made belts for have requested 1.5". Most ladies have been 1.25" but a few have wanted 1.5"
-
1 minute ago, Rockoboy said:
What is VM?
I wonder if somebody could jailbreak the software? Would that be illegal, breach of copyright etc?
Virtual Machine. I run Debian Linux on my systems and the software runs only in Windows and Mac
you would need to know the specific coding they used for commands and hacking the software wold be illegal. Although unless you spread it around, how would anyone really know?
-
7 minutes ago, Rockoboy said:
Is it possible to use different software with these lasers?
I know a guy who has a 80W CO2 laser, which came with (or he matched to) a program called RD Works. This works OK for a lot of things, but he has tried a program called Lightburn, which works really well for some things that RD Works does not so well.
For most of these smaller machines they are mostly set up for proprietary software. I wish they cold so I didn't have to use a VM to use mine
-
I did and the tests that I did weren't satisfactory for me until at around 80% so it's just as easy to leave at 100% and burn. Greyscale is iffy and I generally convert all my work outside of the burning program. I'm also using it in a VM because it doesn't have native linux software.
Yeah, the image isn't 100% realistic, just knew it was an image the OP could try to see if it burns since I knew it did
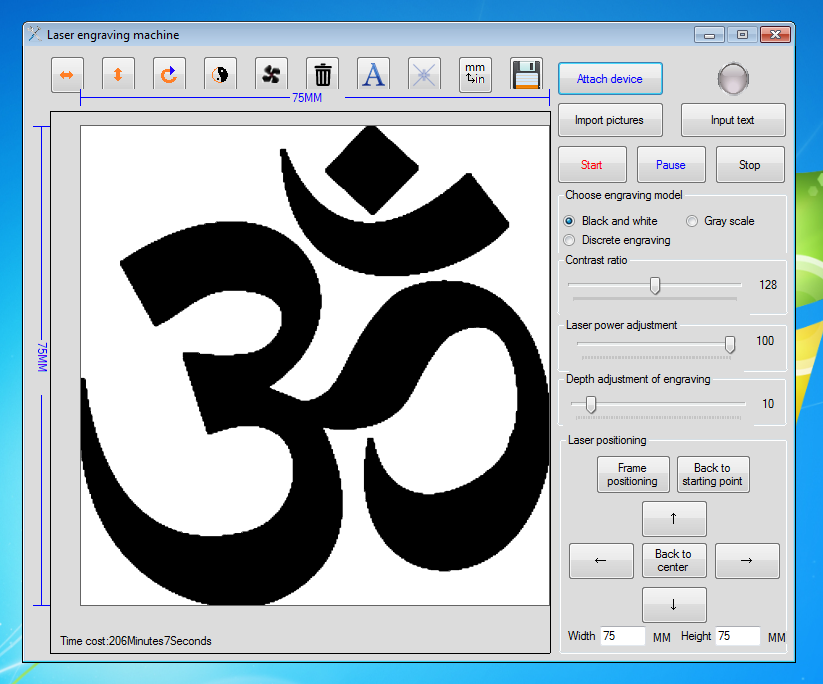
1 minute ago, Prestige593 said:OK, mine is a 3000Mw. My software platform looks like the one posted above by Halitech (Im on a Mac if that makes a difference). What settings should I be looking at?
For a test, try the same settings as I used then as mike suggested, drop them down on further testing. Far as the size, adjust that down to 30mm or so just so you aren't sitting there trying it for an hour
-
4 minutes ago, mikesc said:
If you are using small blue violet diode lasers..with the usual software that they supply with them..on veg tan..try backing the depth down to 10 to 15 and the power around 20 to 25 max..Bear in mind that most of them "overdrive" the lasers when they are quoting the max power, so backing the power ( and depth ) down , will get you a better detailed burn, and prolong the life of the laser module."Defaults" tend to be to high..What is the power claimed to be on these units ? 3.5 watt or lower.Most of the 8cm x 8cm ( usable area ) units that resemble the one in the original post seem to be very over driven..
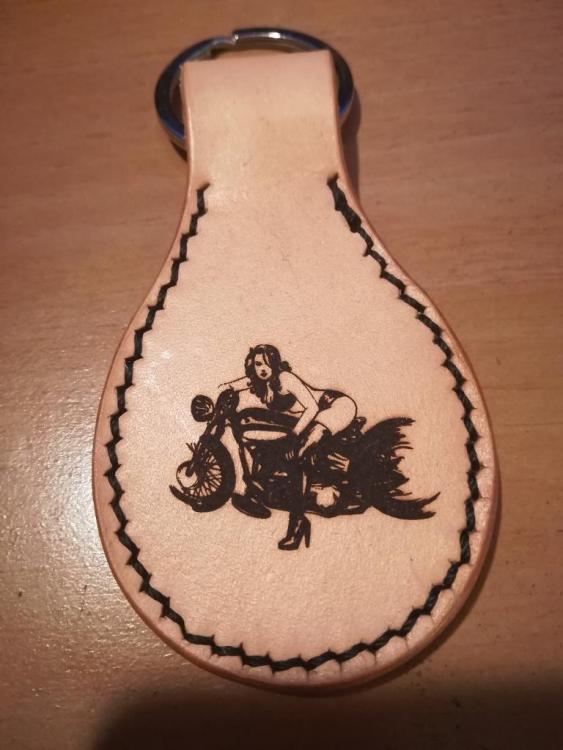
The keyfob I did above used the settings in the screenshot. Default is 10 for the depth, power at 100 and it's a 1500mw laser. I only burn for 30 minutes and then stop for 30.
-
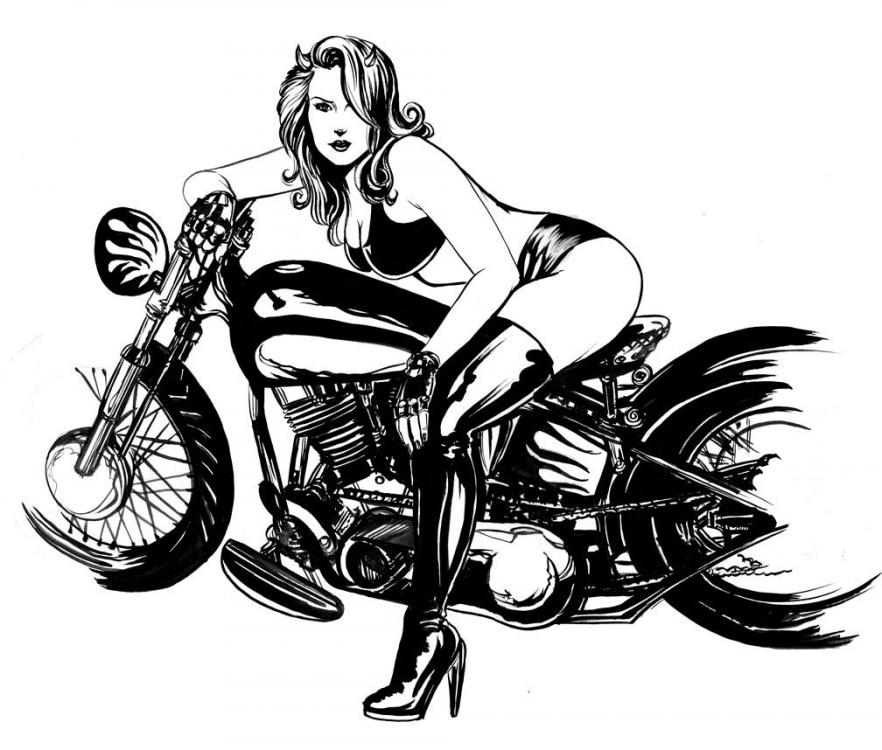
What version of the software did you use? I find that version 1.1 works the best with all the default settings. Far as images, I find line art with a .png extension work the best but try this one and see how it turns out.
-
6 minutes ago, terrymac said:
The purpose is to highlight the tooling and cuts. It also applies a certain tone to the leather, but not visibly noticeable. If you want to add color, there are other products that will do a better job. When the paste is all removed the desired effect is accomplished. The primary reason people use checkered bevelers is the minute amounts are captured.
Terry
ok, I *think* we're actually saying the same thing but you don't want to remove it all, just the antique that's on the top. If you remove it all from the cuts and tooling, you end up with nothing unless your desired effect is to waste time and money.
And I don't use it to stain my leather, I use dye for that.
-
7 minutes ago, terrymac said:
You didn't get all of the antique off after the initial application. If you have antique flakes, you didn't come close to getting enough off. You want to make sure none is left in any grooves anywhere. It sounds like you did the right thing in using a wool pad, just didn't get enough. I don't use Tankote as a resist as I feel it does too good of a job, but I do use it as a final finish. I use Clearlac as a resist
Hope this helps
Terry
If you are using antique to highlight the tooling and cuts, if you wipe it all away, why bother putting it on in the first place? The trick is to remove enough so it doesn't flake but not too much that there's nothing left in the tooling and carving areas.


Dog training leash
in Leatherwork Conversation
Posted
Honestly, until I replaced the rivets with either rivet and burr style rivets, stitched the snap and handle ends, or did a bleed knot on both ends, I personally wouldn't sell it. You get a 100 pound dog pulling on that with some good hard jolts, and the dog is running free.
I sell 6' leads using bleed knots for 60.00