


Halitech
-
Content Count
1,228 -
Joined
-
Last visited
Posts posted by Halitech
-
-
looks good and good idea to convert it to a card holder however the edges of the cards may end up getting bent in his pocket as the holder isn't as wide as the cards
-
I'd rather look at tits then tuts myself but certainly wouldn't get much work done :/
might need to move this to the adult section if we keep going down this train of thought
-
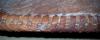
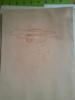
after closer examination (with my glasses off) it seems what I was seeing as a second set of holes is actually a small gap between the leather of the seat and where the lacing is crisscrossing over the edge of the 2 layers of the seat.
I've got Lacing and Stitching for Leathercraft and it is explained in there so I think I should be good to go. Thanks everyone for the help

-
I've been looking closer and I think it is the double loop as electrathon has stated. Is it possible the holes I'm seeing under the double stitch is what was used to hold things together while the the double stitch was done?
-
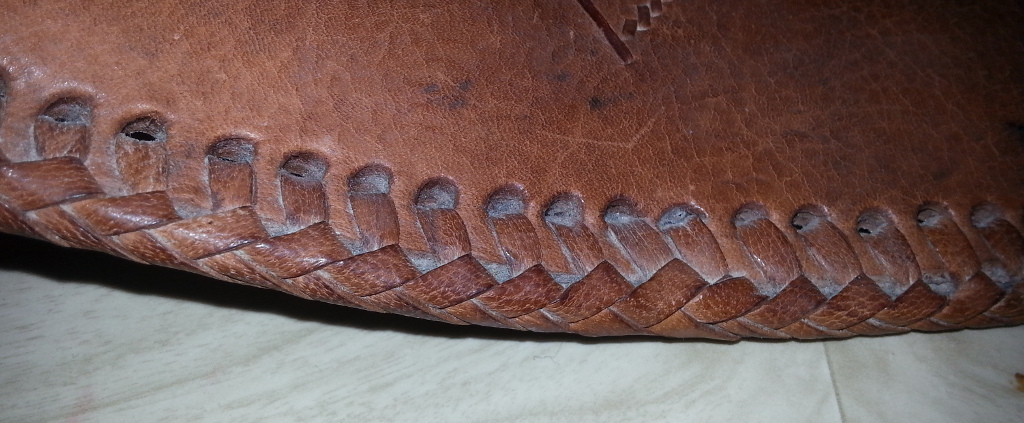
Hello
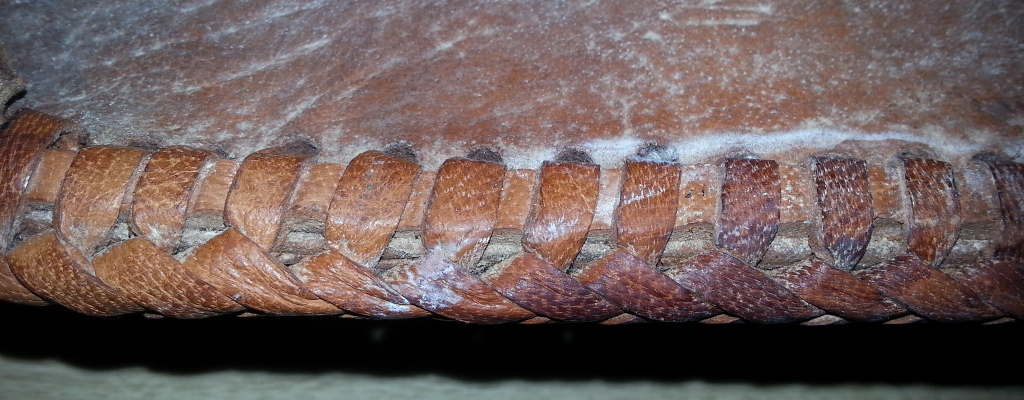
I've been asked to do some repairs on an old 3 legged stool (the type that folds up and the legs come off) as the leather is badly damaged where the legs go in. I'd like to redo the entire thing by taking it apart, cleaning what leather can be kept, and just replacing what absolutely needs to be replaced as it has a very high sentimental value (was made by her dad who passed away when she was very young) but I'm lost on the type of lacing that was used to put the tops and corner pieces together. I've got a couple of shots of the lacing so if anyone can help me out it would be appreciated. From what I can tell there are 2 sets of holes, one close to the edge and one about about 3/4" from the edge.
The first pic is from the top side, the second is from the bottom if that helps any

-
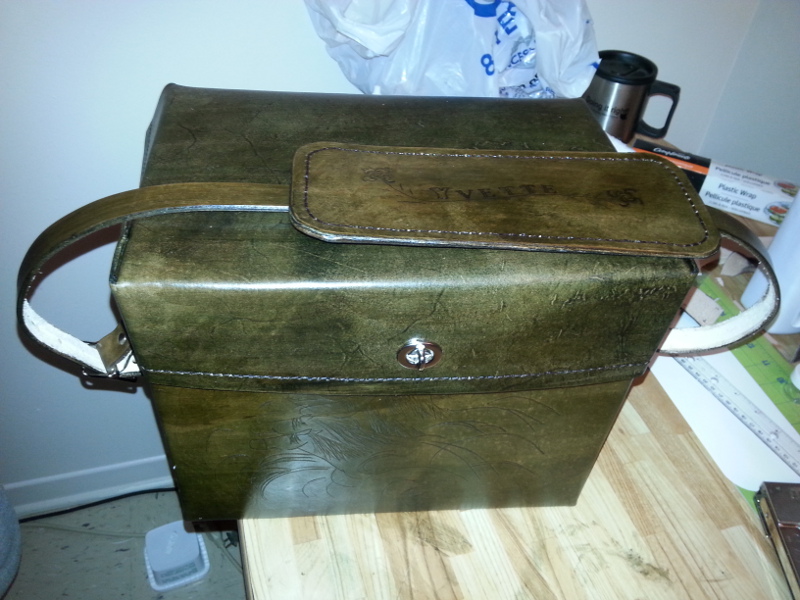
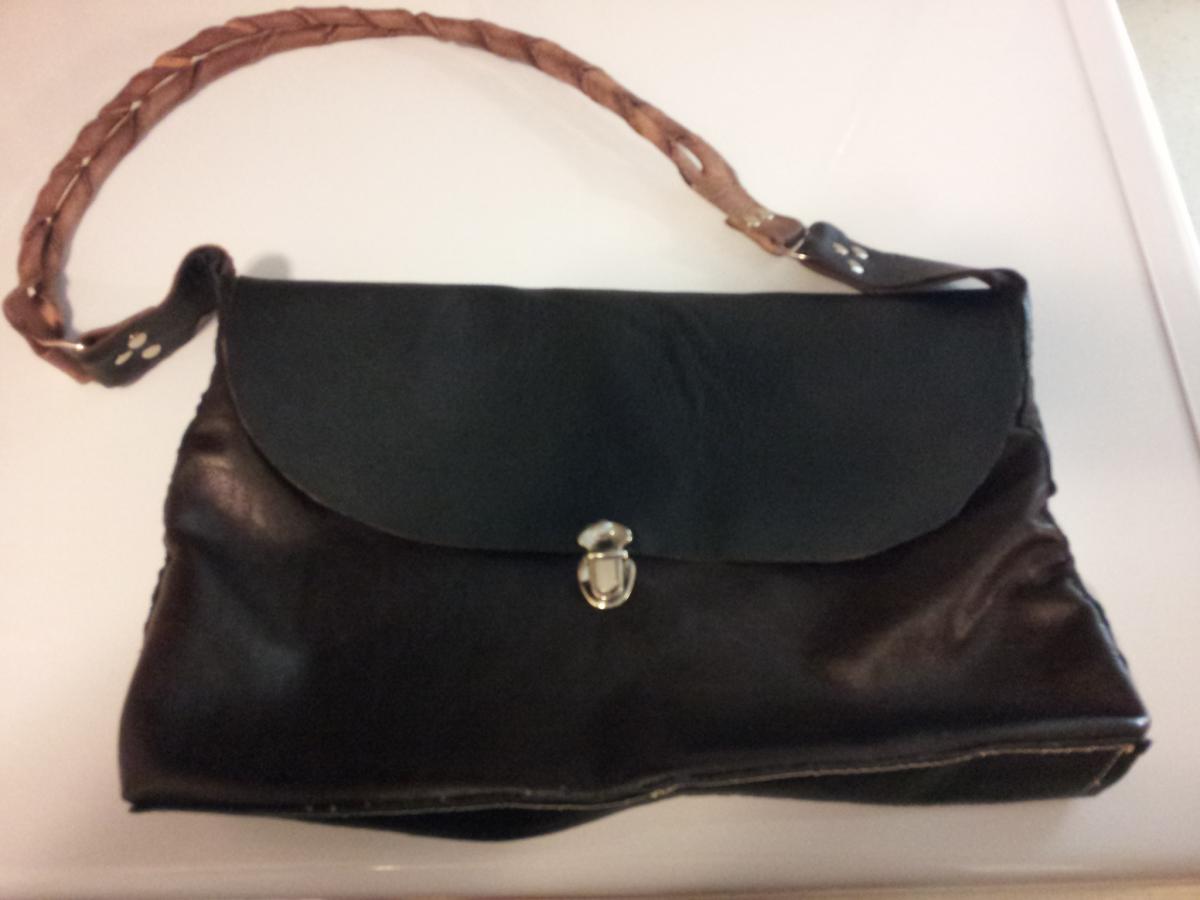
the finished product

-
almost finished
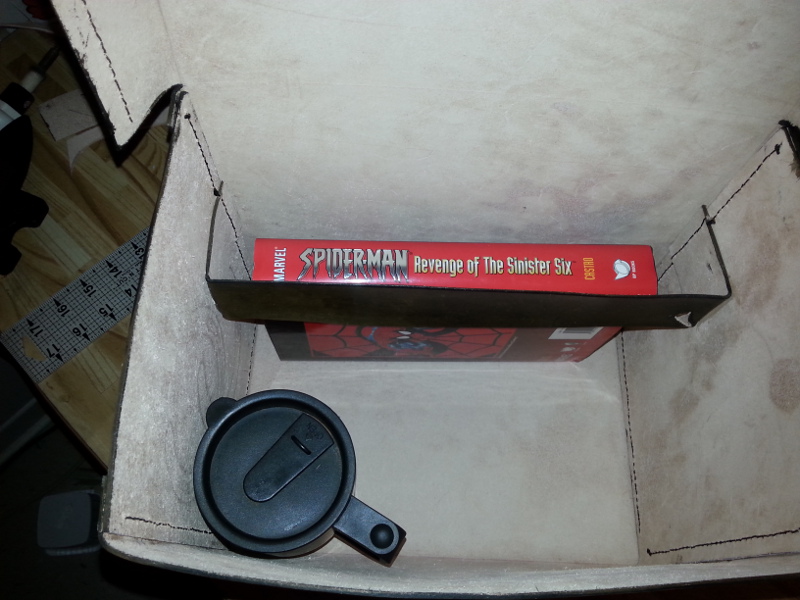
inside view of the bag. All inside pieces are sewn into existing seems to hide them
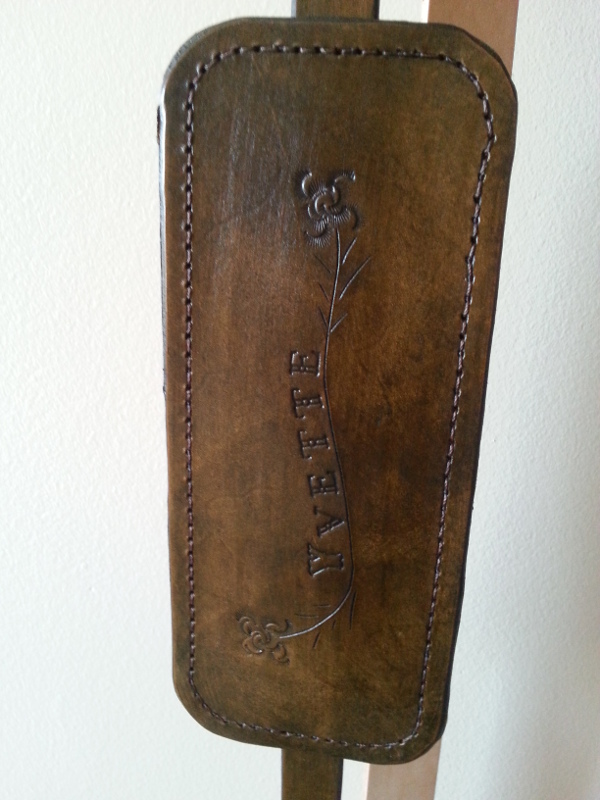
strap pad on the carry strap. Edges have been slicked and 1 coat of resolene applied in a 50/50 mix

-
after most of the main construction and dye work
-
So, I was commissioned to make a "commuter bag" for a friend that will carry her lunch bag, a travel mug and a book. She's just started taking the bus instead of her car and didn't want to carry multiple bags on the bus
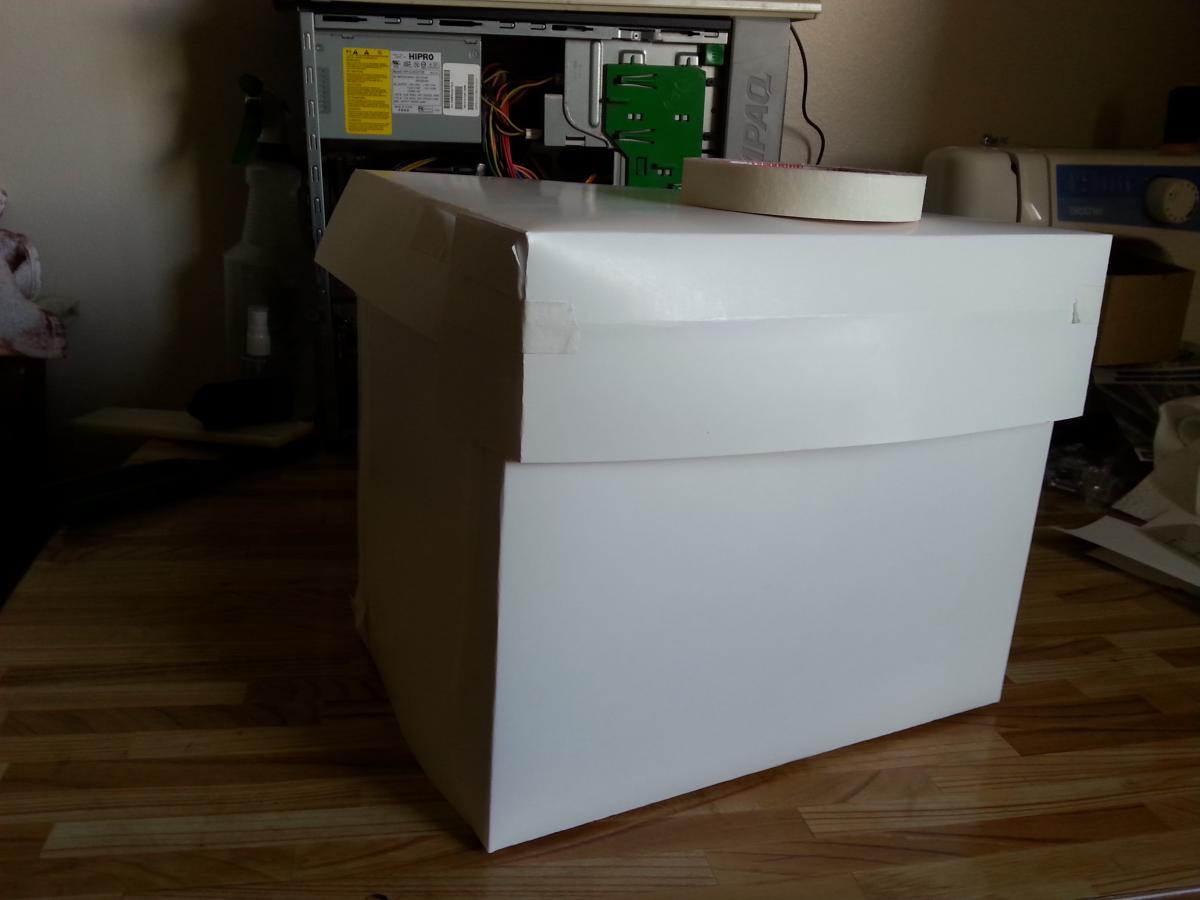
First picture is a bristol board mock up (I find it easier to have a template to work from then trying to cut things with just a ruler and square) This allowed me to lay everything out on the leather as well so I didn't waste or have to buy extra
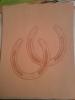
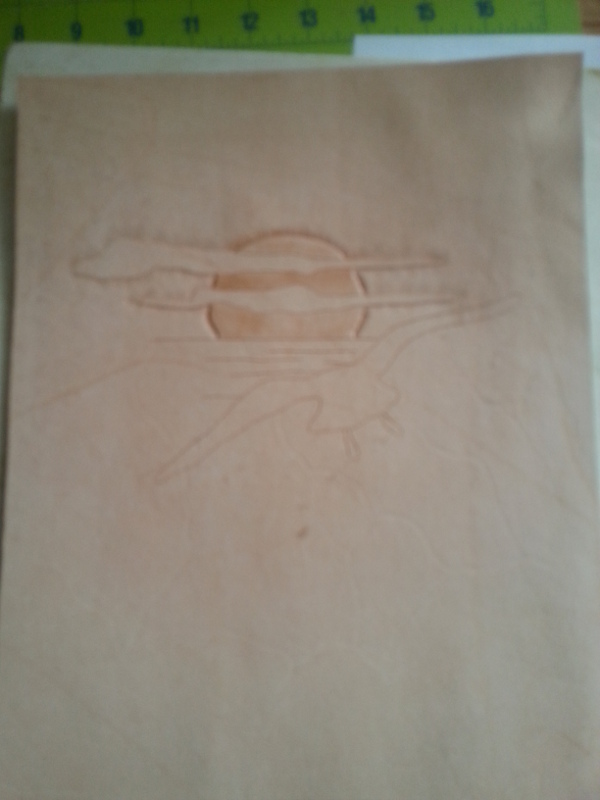
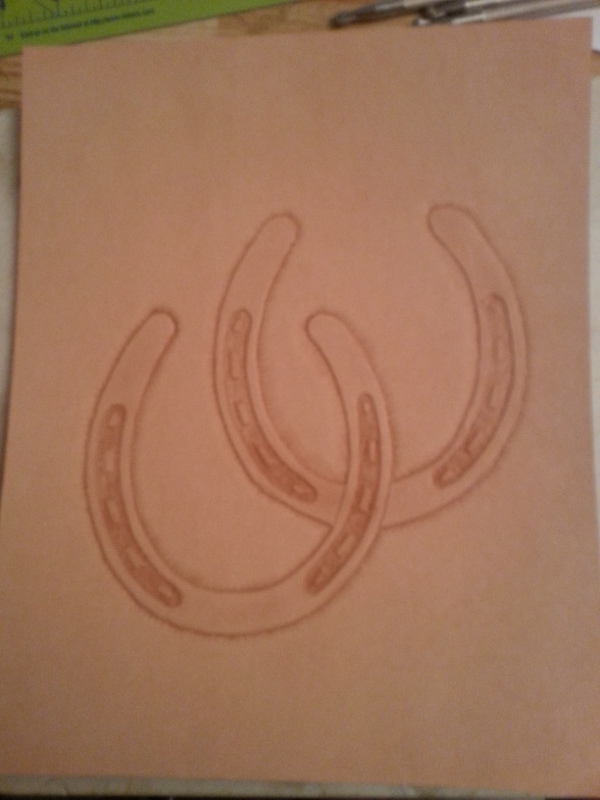
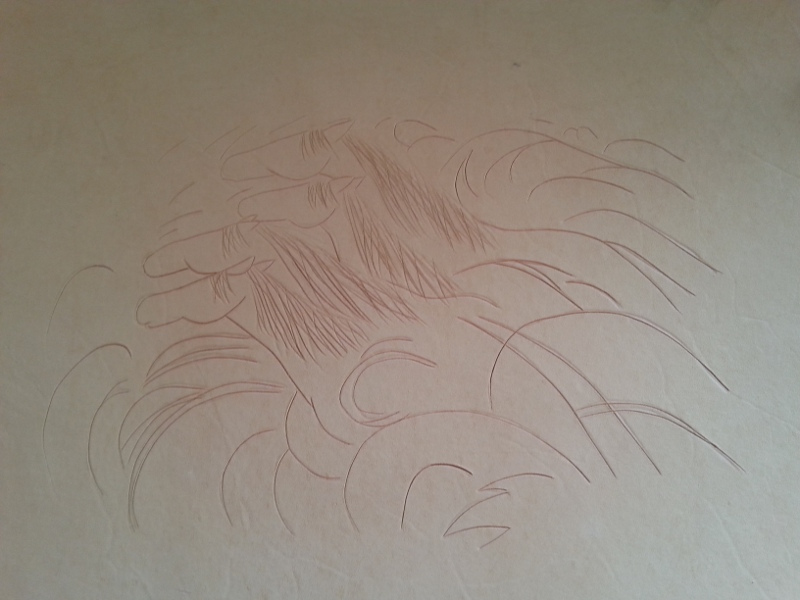
2nd and 3rd pics are the carving work done for the end pieces
I used a single layer of resist on the moon and parts of the horse shoes to prevent the dye from sinking in when I dyed it
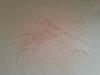
4th pic is the custom artwork done on the front
Will post more as I put it together

-
well, on one hand, you can definately claim to have a 1 of a kind ball

-
they should be now, I had to resize and load them here, dropbox apparently doesn't like linking to here
-
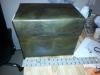
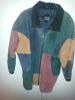
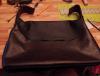
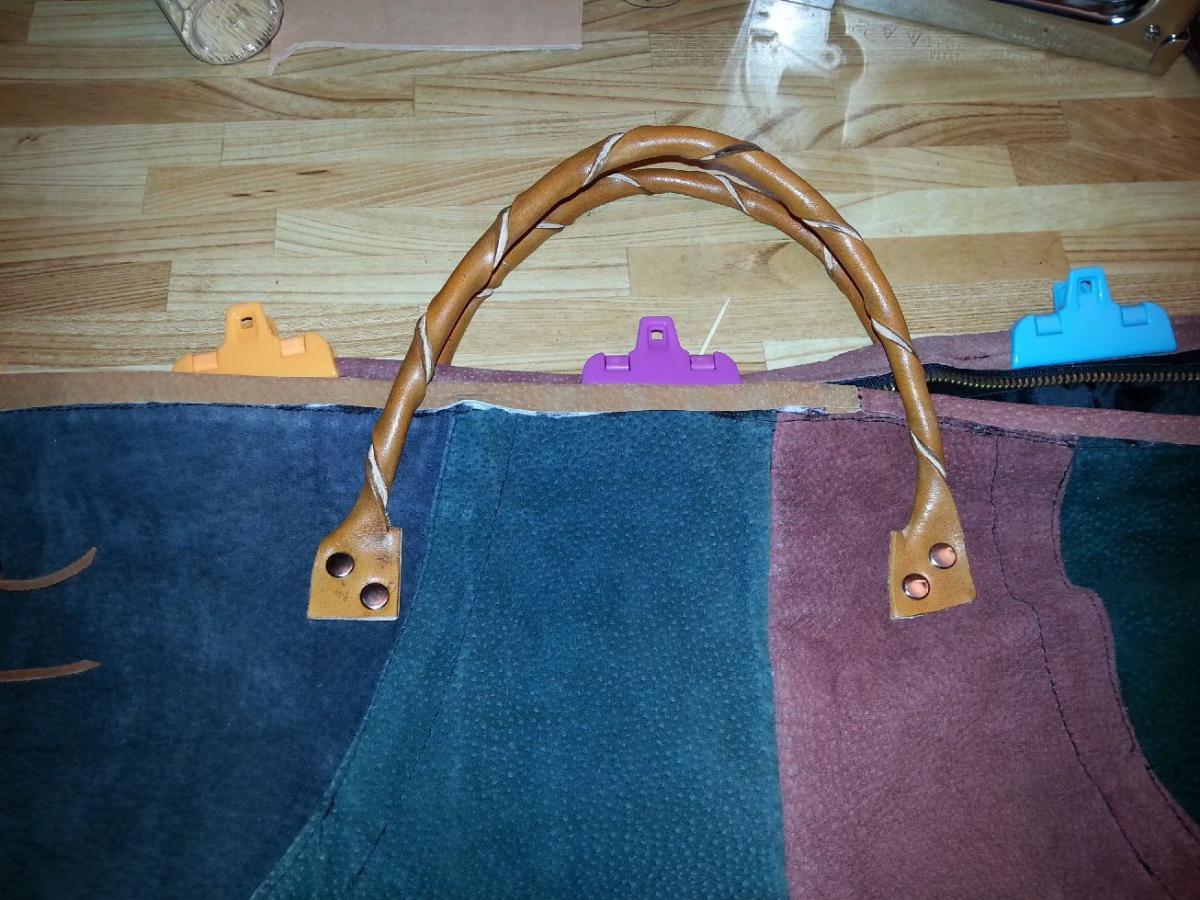
Had a friend ask me if I could turn a jacket into a carryall/overnight bag
This is what I started with
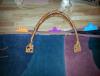
After breaking it down into a bunch of parts including taking the lining out, shortening the zipper and making some edging, I put things back together to come up with this.
Everything except the handle is made from parts of the original jacket
Also decided to remove the red flap when I added the edging around the zipper. The pic shows it with the clamps while it was still drying

-
didn't know there was an adult section but when you get the chance, I'd like to take a look around, you know, just for ideas of course

-
for a first project, you definately had more guts then I did. I started small with key fobs and lighter cases and the biggest I've done was the slouch bag which other then the handle, was just cutting and sewing. They look great.
-
almost the same way. I glued everything first and then sewed it. if you were to take a piece of paper, lay it landscape and cut 2 slits 2" each from the bottom and the edges, to the top you would have the only cuts I made until I did the flap.
-
that part I did with a machine but basically I overlapped the 2 pieces I was using for the front and back and cut it so the extra would fold in on itself to give it a flat bottom and more support on the bottom.
-
Very nice job...I am a newbie with leather tooling and I hope to get as good you one day! Very nice indeed...
I'm a newbie too, only been working with leather about 4 months and there are much better out there to look up to
-
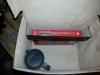
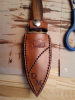
thanks, having the overstitch tool and a nice sharp punch made life so much easier then trying to do the stitches by eyeball. and yeah, that stitching going from side to side did add a nice touch to it, too bad it's a crappy knife in it :/
-
got a point there. I set up my "work bench" right beside my living room window and things do look a lot nicer
-
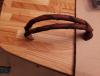
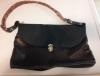
I started with an idea in my head and 2 different pieces of leather (18"x18") that I thought complimented each other for colors and ended up with this.
Special thanks to the staff at Tandy Leather for the idea on the handle idea
-
nothing fancy but it turned out a lot nicer then the one I did with the utility leather I had. It's amazing how much easier things get once you start building up your tool collection
-
looks good
but I notice you are like me, take pics of projects on your bench with tools laying around. Is that a sub-conscious thing we do to prove we did the work?


My Leather Tool Case
in Leather Tools
Posted · Report reply
beautiful work outside. How did you set it up inside?