-
Posts
56 -
Joined
-
Last visited
Content Type
Profiles
Forums
Events
Blogs
Gallery
Everything posted by Icho
-
That is the easy part. I'm not at home right now so I can't verify that it is correct but I have definitely had it set correctly and it doesn't make any difference either way with the problem I'm having. It is tight all the way up to the point that I can see the lever and internals flexing until it gets around the bobbin. I didn't replace the hook. Just the hook gears. The hook looks likely to be original. The whole thread path looks to be in excellent condition with no wear spots. I'm not sure if you saw the attached video but it shows how it is tight until it passes the bobbin case to the point that you can hear a snap when it does pass. Loosen my tension makes it less severe of a snap but then the stitch looks loose. The machine sewing pretty good but I want to get it better because it is causing unnecessary stress on the lever and attached components in the head.
-
I can't tell for sure by the pic either but it has been moved around since. Unfortunately it has nothing to do with when the thread passes the hook. I'm kind of glad you guys committed. It may have gave me the motivation to get back at it today. Lol
-
Not fully resolved yet but it is better than it was. I have a theory I want to test out but haven't had tome or motivation to mess with it for a while.
-
-
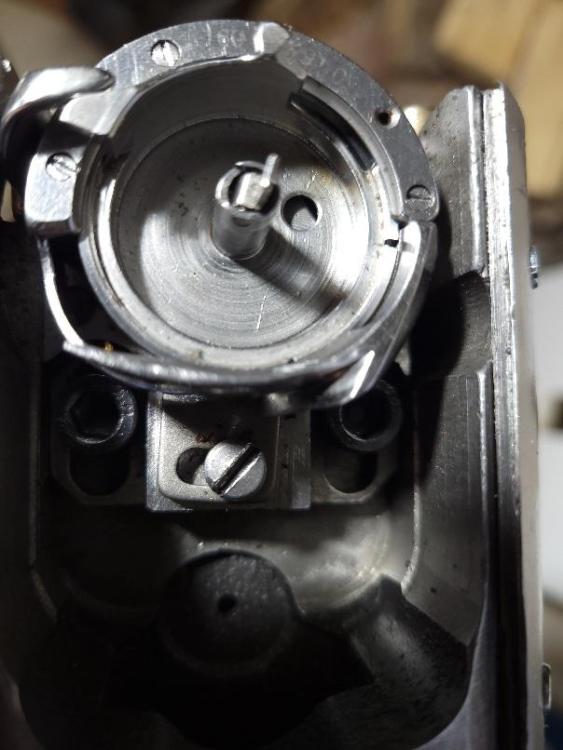
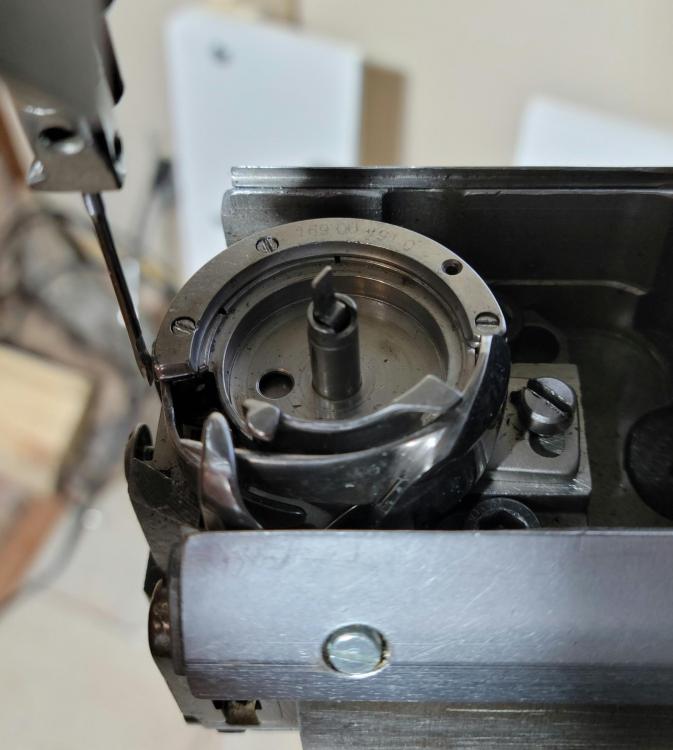
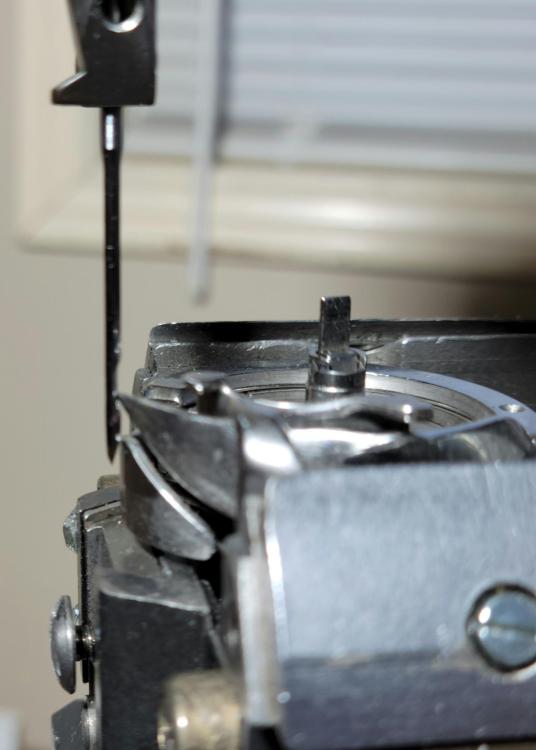
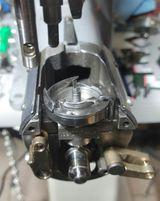
I was kind of thinking that the belt just changes the timing but was also hoping it was a part of the problem. I can't say for sure if the hook is original or not but it I can tell it hasn't been recently replaced and does look to be in decent condition. I won't be able to mess with the machine until later in the evening but I did manage to take a few pictures. It is as I left it after getting pretty good stitches and less thread snap. The 1st pic is needle bar on bottom. 2nd pic is tip of hook at needle and I threw in a 3rd just as the take-up lever starts to lift. I hope they are at the angle you were looking for.
-
I am at work so i won't be able to post any pics until later today but I did adjust the needle bar height after I advanced the timing. I also rechecked hook to needle clearance etc. Before I mention what I did next, here is a quick history on the machine. I bought it knowing it had timing issues and the price definitely reflected that. It needed a new gear set for the bobbin case which is crazy expensive but luckily I was able to get used along with a lot of other extras. I had lots of cleaning, oiling, replacing beat up screws, a couple stripped holes etc but I'm thru that. I have had most of the machine apart in the process. I am actually very comfortable getting into any part of it now. This is why I just went for it. So last night just before I ran out of time for the night I decided to move the tim belt a tooth...possibly 2. I then quickly re timed it and gave it a try. It is not perfect but definitely the best it's been. I am considering jumping 1 more tooth to see what happens. I couldn't do much more last night because it was getting late but thinking about it today, I am wondering if I should look more into the timing belt and checking if there are any marks on the gears that should be aligned. I will be back at it tonight and will add any relevant pictures.
-
Been there done that. I used dial indicators and digital calipers among other precision tools. I'm actually a tool and die maker/designer so settingand measuringisthe easy. There is just no info on the take-up lever that i can see.
-
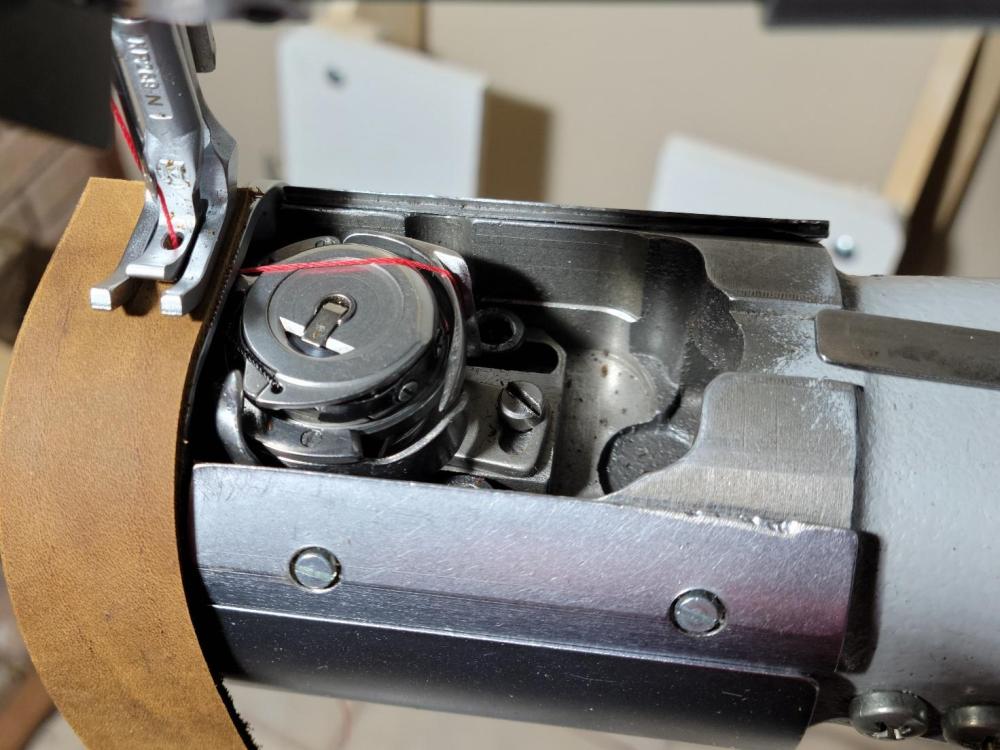
Thanks for the info and video. I was looking for a video like that. I saved it so I can keep going back to it. I will go thru your write up and try advancing the timing to see how it works out. Here is a pic showing the moment the take-up arm starts moving up. I changed to red thread so that it is easier to see. To me it seems like the arm starts moving just a bit too soon. I feel that the tension created at that point is what is causing the the thread to pop around the farthest point around the case. Update I advanced the timing to the point where the take-up lever lifts closer to the correct hook position and the hook does not catch the thread because it is too far aadvanced.im pretty sure that if there was a separate adjustment for the lever, it would have been an easy fix.
-
So I uploaded my first video to YouTube. Sorry it's pretty bad but hopefully it shows what's going on. You can hear the ping when the thread gets past the farthest point around the bobbin case. The take-up arm starts pulling hard just before it reaches that point. I am turning the wheel bu hand. https://youtu.be/Amp5oKp6TXU
-
When I get home from work, I will stare at it for a bit and check anything I can think of. Maybe even take a video and go from there. I hope I am just missing something simple.
-
I was looking at that on my machine and even came close to trying it out but I wasn't sure so I didn't touch it....yet. unless some other idea comes up I will go for it tonight. Just to verify, at what point in the needle cycle should the take-up bar be at its highest point. From what I understand, needle and take-up leaver both max height at the same time.
-
Those screws were tight but I did tried to loosen those screws to see if I can correct it that way but the only thing that did is change the needle height. I figured that was the only thing it would do but I tried anyway just in case there was some other geometry in there I wasn't seeing. I left it at that and figured I'd ask around in case I was missing anything else. I will adjust it back tonight and maybe take some videos of what is going on. I'm usually pretty good at figuring out how mechanical things work but this is messing with me.
-
This is actually causing the safety clutch to trip. I did slightly tighten up the safety clutch last night. In the past I had to take it apart because it was dirty and stuck. Now it works properly and I started out "softer" on it knowing I would have to create up on it until it is tight enough. The timing pulleys are definitely not slipping.
-
Yes. That was my first thought when I was setting up and tuning. I tried the settings from one extreme to the other and everything in between so I thought it was just the way it is. The other day I just realized that there is definitely something up with the take-up lever. The popping is happening just as it gets pulled to the farthest point and makes it over the right side of the shuttle. The take-up arm is already pulling it tight. I hope I'm explaining it clearly and correctly.
-
The hook is where it should be on the needle and it sews without skipping. The take-up leaver just seems to be pulling way too soon to the point that I can see the slides, rods and bushings in the head stressing to get the thread past the bobbin shuttle. I'd bet the thread would break every time if I used smaller or weaker thread. The take-up arm doesn't reach the top until the needle bar is well into the down position.
-
Hello everyone. Is there a way to adjust the timing of the take-up leaver on an Adler 269-373? I'm sure there must be but I can't see it and I don't see anything in the service manual. It definitely seems like there is a problem with mine because when the thread is looping around the bobbin shuttle, the leaver is pulling, causing the thread to "pop" as it comes around the shuttle. It has actually caused the thread to occasionally break. From what I found so far is that the take-up leaver should be at the top when the needle bar is at its highest point. That is not the case on my machine.
-
The parts didn't get here until after the holidays but I think I got it. I am not sure what fixed it and I hope it keeps up. It is looking really good for the first few backstitches then you see that it is off by a bit. See pics. Bottom with string tag. It actually seems to have gotten better since I took this pic. Here is a list of what I did. Checked the foot travel synchronization. Unfortunately it made no difference. Played with tension. It helped but minimally. Tried a larger needle. That helped! It made the normal forward stitch pretty much perfect. It didn't matter what thickness the leather was that I put though but it didn't help the backstitch much but it did help a bit. Not the stitch length but how clean the stitch was. This is where I started noticing real differences. I didn't feel confident about my tension assembly because when I lifted the feet, it didn't fully release the thread. I took it off and stared at it and thought about it. I noticed that it wasn't pushing the tensioner free of the thread so I played with a plate in the assembly. When I put it back together the thread released a lot better and the tensioning knob seemed to be more noticeable. The stitches were also better. Them when I turned up the tension, I got what you see in the pics. At this point I have had at least 80% of the components off or at least loose on the machine between cleaning and tuning but at least I am pretty comfortable servicing it now and it seems to be running smooth. I even completed my first project... a bag for my wife. The pic is also below. I still have to get used to the machine since I'm very new to sewing machines. I'm not convinced with what the best needle height is to flip it to reverse. From what I read, just past the lowest point but I had good luck with the needle up. I just had to align to the first hole but then the stitches matched nicely.
-
Well I did what I was trying to avoid. I took the belt off. The little balls that should be visible were not. The shell gear was not over the spring loaded ball and I still couldn't get it to turn so I started disassembling that gear and bushing assembly. It took a few hits with a dead blow hammer and it came apart. I almost lost a ball and spring because it shot right thru the paper towel I had covering it. I got lucky because I heard it land in a tote next to me. The bushing that the shell gear fits on has some scoring on it so I may have to polish it up a bit. Good thing I have a spare that I can use as a worst case but I think I can clean it up. Looks like I will have to reset the timing on the whole machine. Oh well. It's actually kind of fun but I'd still rather be sewing some leather.
-
I actually tried to do that but I couldn't disengage it. I felt like I put more pressure on it than I should have to. I will try again with more pressure. I did see in the manual about engaging the clutch but couldn't find anything about adjusting it. I was hoping to not have to take the belt off but it looks like I may have to.
-
Good catch. I recently had it apart to see if I should remake part # 268 16 004 0(the plastic stopper) or buy and realized that it was cheap enough so that is one of the parts I'm waiting for. I thought it felt different going together than it did coming apart. I haven't had the machine running since and I know the reverse was a problem with the part the correct way. Once part # 268 16 004 0 comes in, I will see if it makes a difference rotating it 180 makes a difference. I did see a video on the backstitch topic, it was an Adler but a different machine. That plastic piece (part # 268 16 004 0) was the problem. There was a newer version of it that had a bit of a chamfer on the backstitch side of it. It is also something I will keep in mind even though it is a different machine, it looks to be the same idea.
-
-
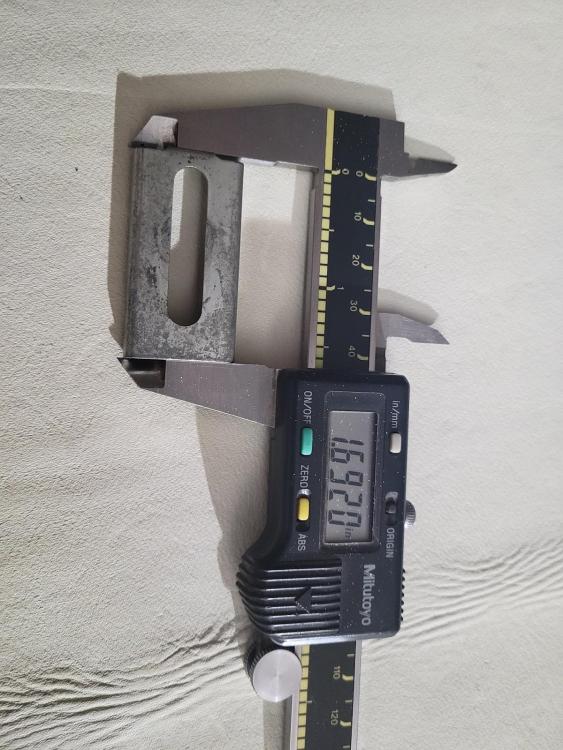
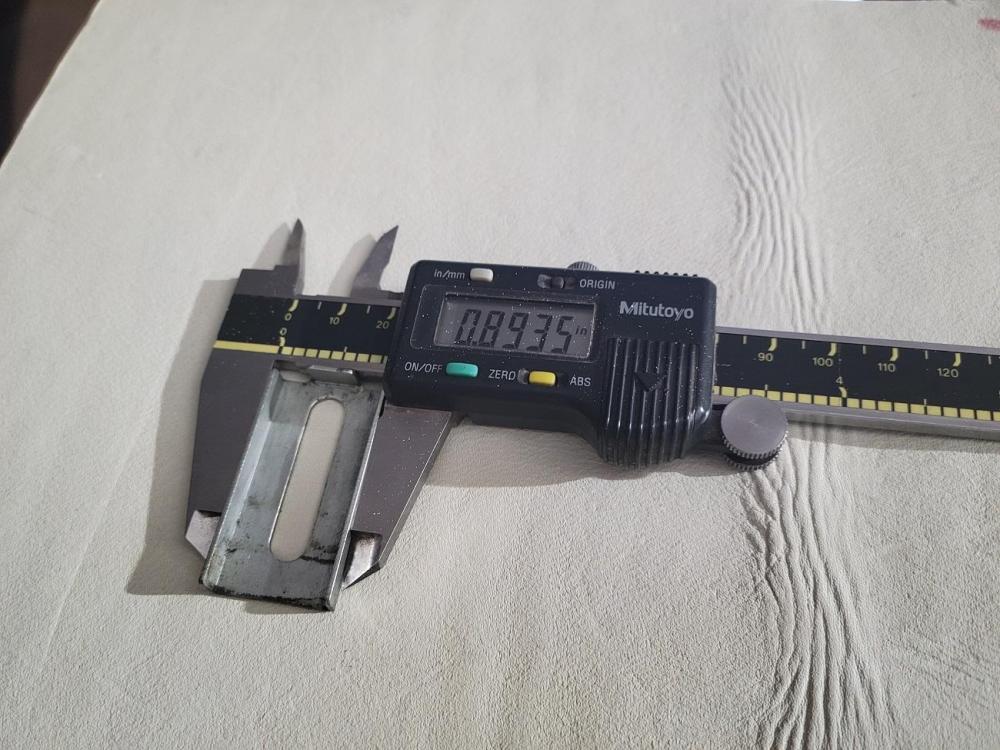
So is there supposed to be a second stop like the one in the picture on the top? I don't see any stops for the reverse other than the broken plastic piece. I do have a new one coming so I hope that will solve the problem.
-
Hello all. I'm still waiting on some parts so I am trying to go thru my machine and check everything I possibly can so that I can just finish assembling it when the parts do get here. Since the bobbin gear set was stripped, I figured I'd check the safety clutch to make sure it works as it should. I tried to disengage it but I am not sure if there is a proper way to test it. I did see a video by @Uwe but it was for I believe an Adler 167 which has a different set up. Any info would be greatly appreciated.
-
Not yet. I'm waiting for parts. That will be a couple weeks...hopefully less. I will update when I get it back together and try it out.
-
Good day everyone. I got my bobbin and servo motor. Went thru and checked all of the specs in the service manual. Machine was all clean and oiled so I tried it out. Made 1 stitch and that's it. It kept feeding but the hook stopped catching the needle thread. I slid the bobbin cover over and saw the timing got knocked way out. I started digging in and noticed that the hook gear slipped and was pushed back. I know it was tight. I actually replaced the 3 flat head set screws with hex head set screws so that I can make sure that I can easily tighten them. The gear is more chewed up than before so I know I have to replace it. I would love to hear any opinions on why the gear keeps moving on me before I replace it. the gear set is not cheap. Here is what I know. -Machine is clean, moved and is moving smooth and free with the handwheel. -timing and clearances were to service manual spec. I'm not a sewing machine tech but I am pretty good with prints, tolerances and specs. I used a Dial indicator for top, bottom, etc and an accurate digital caliper. -The machine was crashed pretty bad and it had timing issues before I bought it. Thankfully the price reflected that. -The hook/timing gear was chewed up. That is the proof that there was a pretty serious crash in the past. -I hoped to be able to get some use out of it before having to replace the gear but now the gear is worse and definitely has no hope. I am thinking the reason the gear keeps moving on me is because it doesn't mesh properly in one area causing a random meshing problem and rides up on the tooth causing it to push away and mess up the timing. Iike I said, I will be biting the bullet and getting a new gear set but would appreciate any input just in case I am missing something because I really don't want this problem to continue with the new gear set. Sorry for such a long post and thanks for making it to the end. I added a few pics for reference. Oh and it is an Adler 269-373.


