-
Posts
138 -
Joined
-
Last visited
Content Type
Profiles
Forums
Events
Blogs
Gallery
Store
Everything posted by JMcC
-

Lines in Resolene finish
JMcC replied to f1humlam's topic in Dyes, Antiques, Stains, Glues, Waxes, Finishes and Conditioners.
That could be the type of leather you are trying to dye as well. I notice that different leathers take the dye differently. I think it has to do with the grain of the leather. I just finished a leather knife sheath (I posted pics of it in the Show Off forum) that turned out a reddish brown marbled and although it looks good, it wasn't what I expected. And as for a sealant finish, I use Fiebing's Leather Sheen and I love that stuff! It comes in a spray can, is easy to apply and looks great when finished. See the link... You can find it online cheaper than that but the link was just so you could see what the product looked like https://www.amazon.com/Fiebings-Leather-Sheen-11-Clear/dp/B005JET47M -

Lines in Resolene finish
JMcC replied to f1humlam's topic in Dyes, Antiques, Stains, Glues, Waxes, Finishes and Conditioners.
The type of dye you use will also play into what kind of results you get. Fiebings dye is a good one to use and let it dry at least a day after dying. Then use an old rag and buff it really well to get any surface excess dye off before applying any type of finish. I have had good results doing this. Hope that helps. -
Only if your eyes aren't as old as mine It is more felt than seen Dun...you can feel a slight burr or rough feeling on one side of the blade if it has rolled on you if that makes sense. Hope that helps.
-
That is cool Rocky! It's really not that hard to turn the piece of granite I have on my table...I have thought about trying out a marble one I saw online with a base and the top turns but I 'm not sure it would be stable enough for tooling/hammering.
-
I'm sure my mom would agree if she were here lol!! I know my ex-wife would
-
Makes sense for larger pieces for sure. Most of the stuff I have done hasn't been any bigger than a square foot in size. It is a pain rotating the slab of granite with the leather glued down to it to get at certain areas which I am tooling or beveling or shading.
-
That sounds right on the weight. I always glue my projects down with something so as to avoid the leather getting stretched out from stamping and beveling, etc...the paper weight I gave away as a gift.
-
Lol Mjolnir...I am guessing you don't do much tooling? I wouldn't trade my swivel knife for a train load of x-acto knives
-
If I were going to be making more of those I would use a lighter weight leather for both sides. The rounders are probably around 7oz. leather. I would use 3-5 oz. on both sides if I were going to be doing that again. I just happened to do that one on a whim and the rounder which was the top piece, was so stiff it was hard to get much sand in it due to the fact that it wasn't very flexible. Just an fyi before you go and buy rounders for paper weights
-
Thanks Mjolnir! They are fun little practice pieces that don't eat up a lot of time but still give you practice at tooling.
-
Lol...nope, it's a paper weight I don't use rounders for coasters anyway...don't want them ruined by sweaty drinks. I bought some mini picture frame holders from Hobby Lobby and use them as holders to display the tooled rounders and give them as gifts.
-
little round die cut pieces of leather https://www.tandyleather.com/en/product/rounders
-
That really looks good. She could add a snap and sides and make a coin purse out of the floral one with Dad's help
-
Ha-ha!! Some people have more money than sense!
-
That is a very good point...I know I struggled with floral carving when starting out as well!!
-
I don't understand either. The leather he is working with came already dyed. The only dye he used was on the edges. And beeswax for burnishing it looked like? I hope that helps.
-
I will definitely use that advice and thanks guys for those tips!
-
Not bad for a first try at carving! Tell her not to give up! Does that Tandy store offer any classes on leather working for beginners on weekends? I know when I first started, I took a class at the local Tandy store and it was all based on a book by Al Stohlman. Even got a certificate for attending lol. Still have it in fact along with the book and projects that we did. It was very helpful and I am glad I took that class. You could go with her so she wouldn't be by herself. It would be a good memory.
-
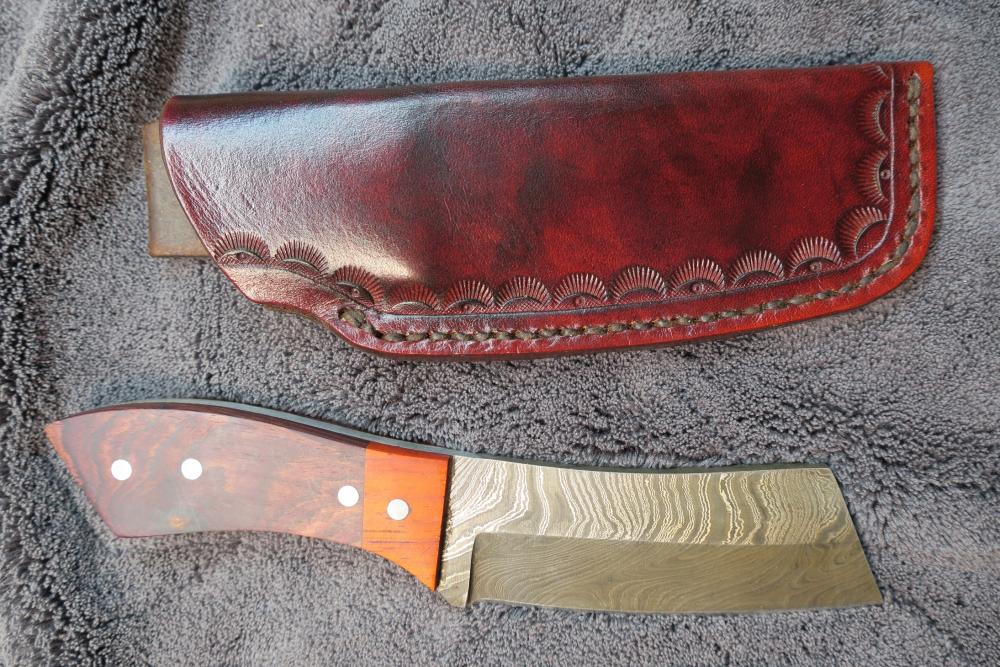
Thanks Mutt, the thread was some left over from one of those Tandy kits and I really didn't have anything else to stitch with besides some white waxed nylon thread and I didn't want white for the stitches. I don't know much about thread weights and brands, etc...any suggestions onwhat is a good brand and what weight or thickness should be used on a project such as this? I welcome all suggestions as I am a newbie when it comes to stitching. Oh, the knife wasn't mine, I did this for a friend who makes custom knives and he needed a sheath for his knife which he had already sold and asked me to do it for him. He paid me 40 bucks for doing it and was very happy with it. I hope to improve with each project I do in the future. He wants me to do a holster for his pistol in the near future...gulp...haven't done one of those either!
-
Thanks guys I appreciate the kind words. I like tooling rounders and plan to do a few more that I can practice my saddle stitching on...but not any more paper weights. This was just something that was a one time thing.
-
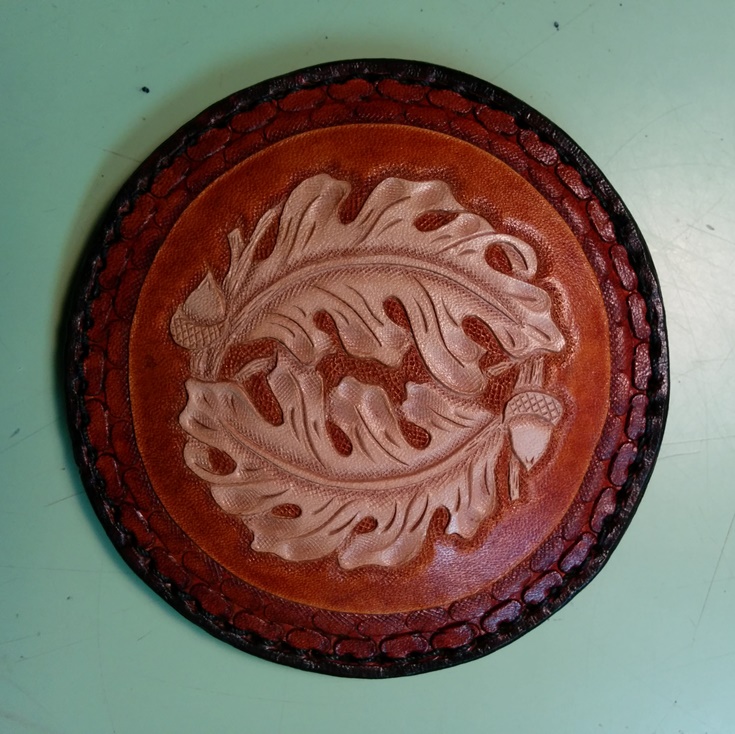
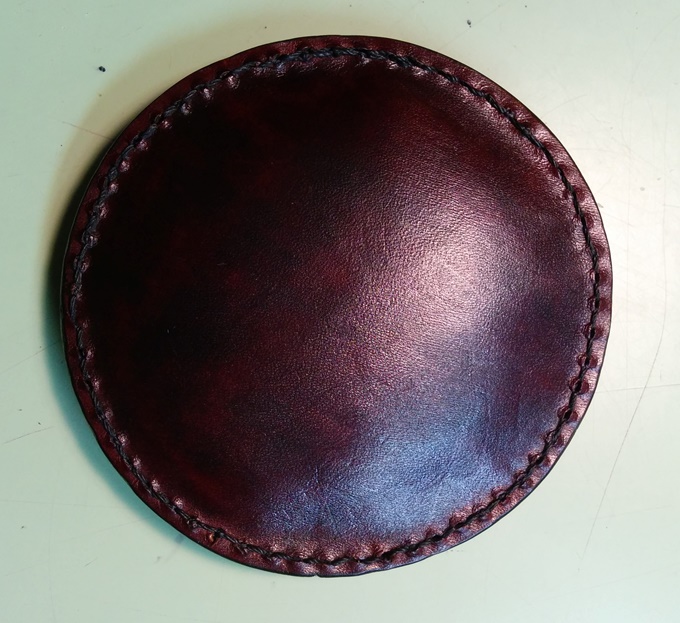
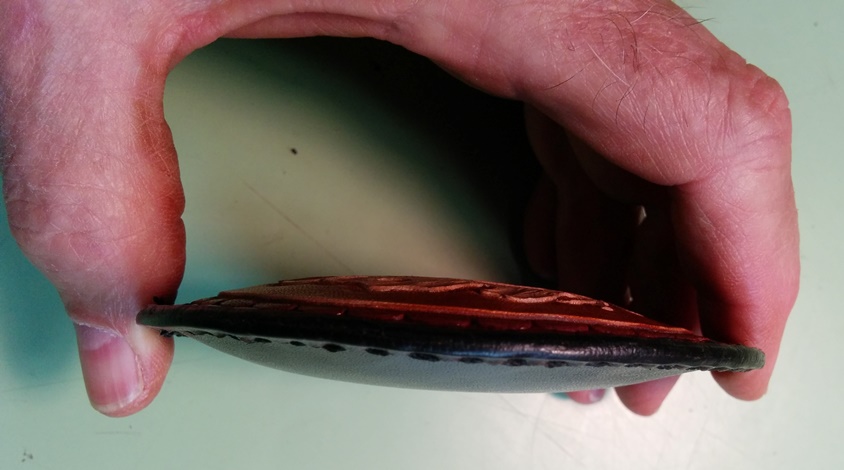
Made this paper weight from s rounder for the top and a cut piece of 4 oz. leather for the back. Filled it with sand. Got the pattern for the tooling from an old Tandy craftaid. Stitched with one of those lock stitch awls just to see how well it worked. Has nylon thread so hopefully it will last awhile.
-
My stitching needs work but I was pleased with how the grain of the leather took the dye and gave a marbled effect Wish all my leather would have that kind of grain for dying purposes. It was my first knife sheath and was a little worrisome. Now I just need to study how to make better stitches! I would have posted more pics of back and side but was too lazy to re-size the other two photos lol ... Especially since this one was already very close to the maximum allowable Thanks for looking James
-
Meh...I like yours better Mjolnir ! The other looks too dang finicky. Besides everything I have ever read says when stropping, to do it against a hard surface so as to not round off the corners of your blade. For whatever that's worth.


