Eero
Members-
Posts
25 -
Joined
-
Last visited
Profile Information
-
Gender
Male
-
Location
Finland
Recent Profile Visitors
1,874 profile views
Eero's Achievements

Member (2/4)
-
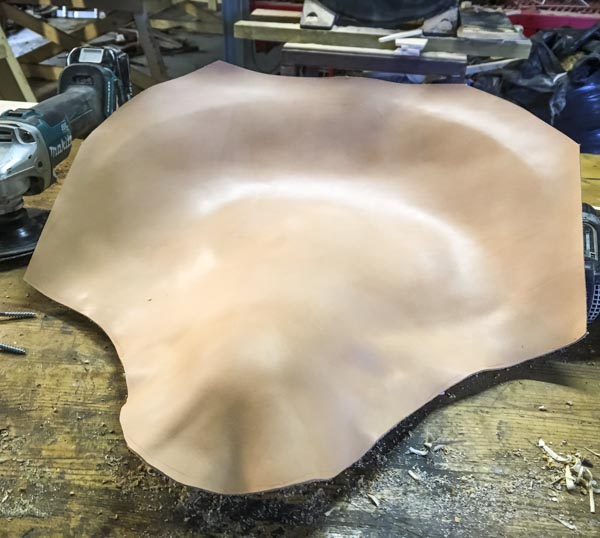
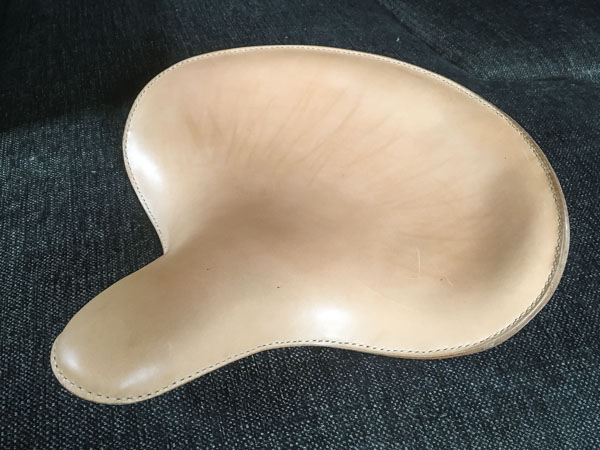
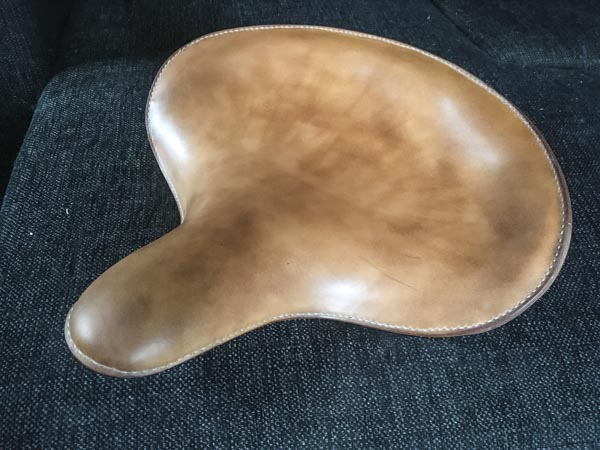
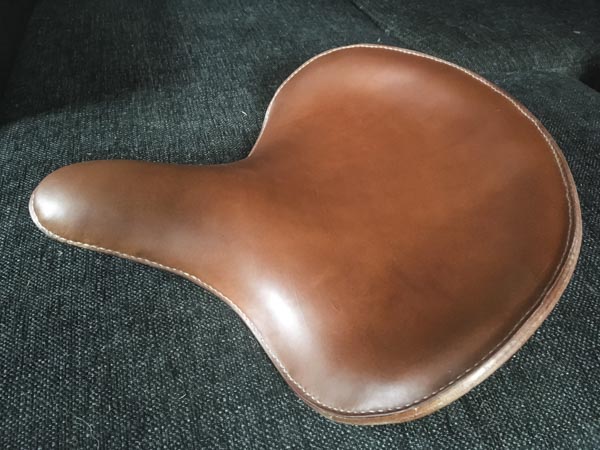
Thanks again, all! Very nice to get so positive response! The concave shape of the seatpan makes the challenge with this. You can´t just pull the leather tight, but work it into shape. Btw, in the seventh picture in this post, the one of the complete seat without oil, you can see radial dents from my knuckles, when I was not careful and tried to do it easy way. Happily they disappeared quite well after finishing. So, use only and only your palms, and gentle pressure to press the wet leather as you shape it! I also used clean pair of cheap, suede-like gloves, when working the leather; bare hands had too much friction. Top skin is about 2-2,5 mm, rim-leathers about 3,5-4 mm thick.
-
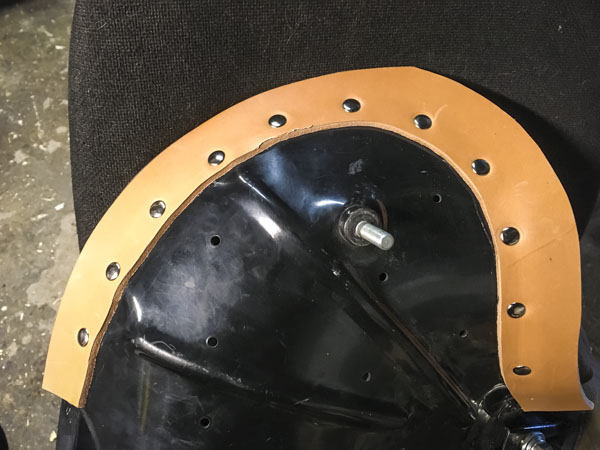
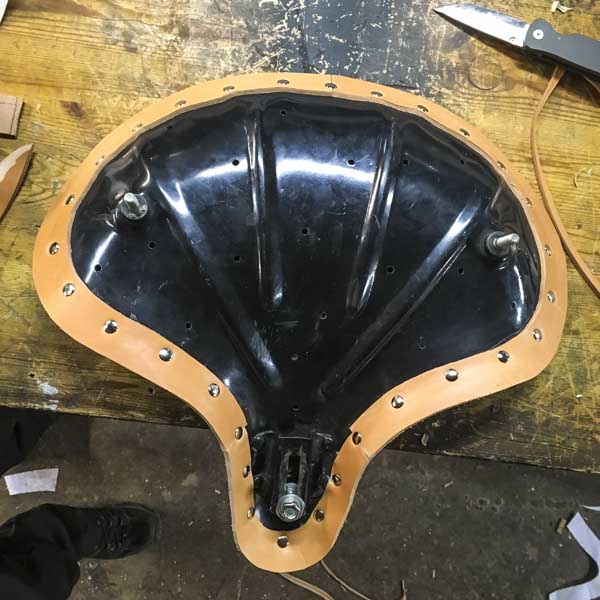
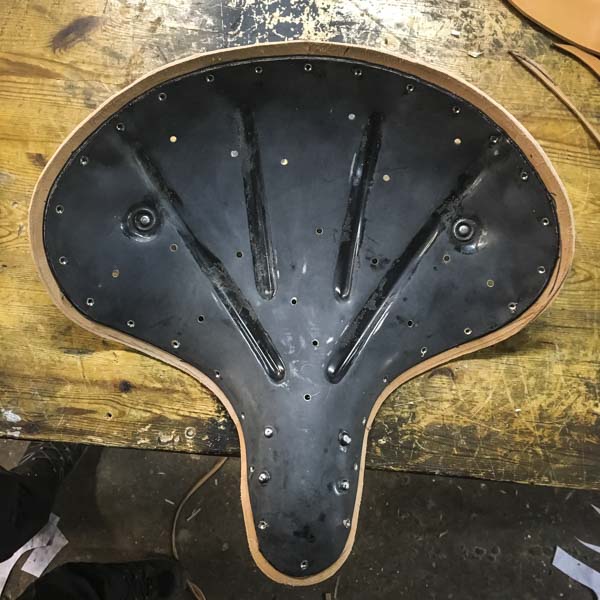
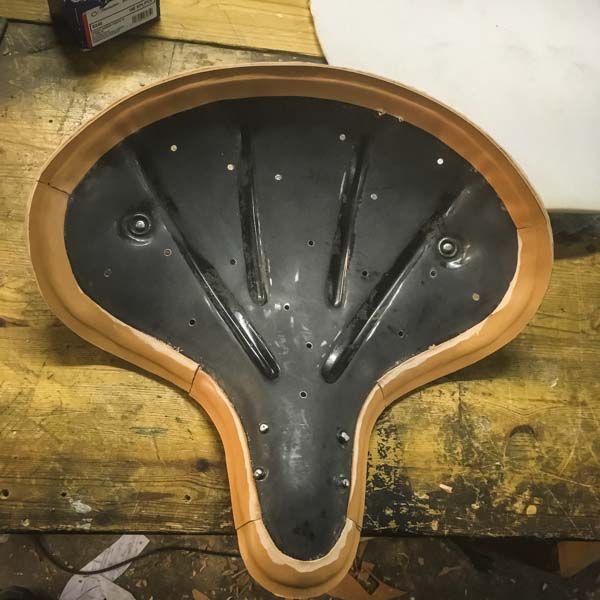
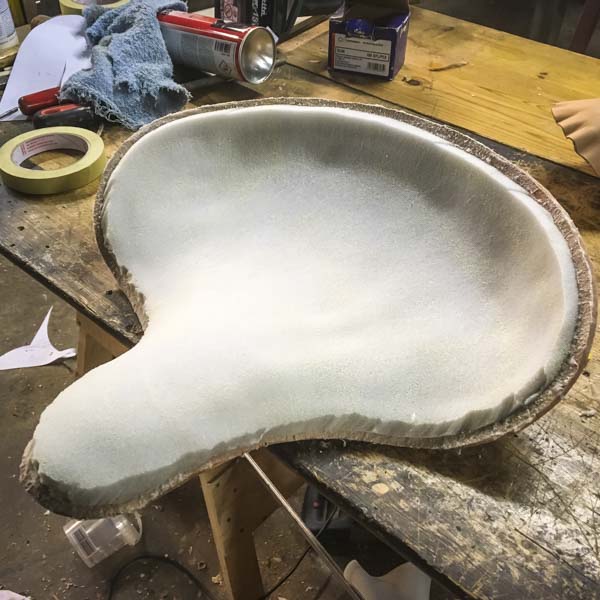
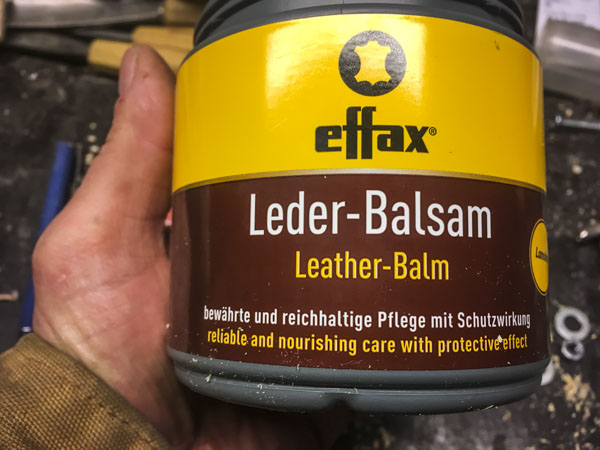
Thank You all! I have few pictures that shows how I did it. Hope that they help! Tubular rivets are holding outer rim-leather in place, and so they have structural motive. Inner and outer rim-leathers are also glued in place with Bison Tix- contact glue. Two 10 mm thick foam layers are glued in place with Palty "heavy duty adhesive" spray, as is surface skin, too. Surface leather is worked in slowly, dampening the leather with water at the same time. I made the stitching holes into the outer rim-leather after I glued and riveted it in place, because that was the last time I saw the exact place of the seatpan edge. After I glued the everything else in place, I punctured the holes through all layers. Then I trimmed, sanded and polished the edges, sewed it and that was it. Only thing to do was to impregnate the leather with the german-made super-balsam. First picture is without balsam , then with couple of times (quite spotty), and last after two days of embalming, nice and even colour... I wiped off the wax occasionally during the procedure. And here we go!
-
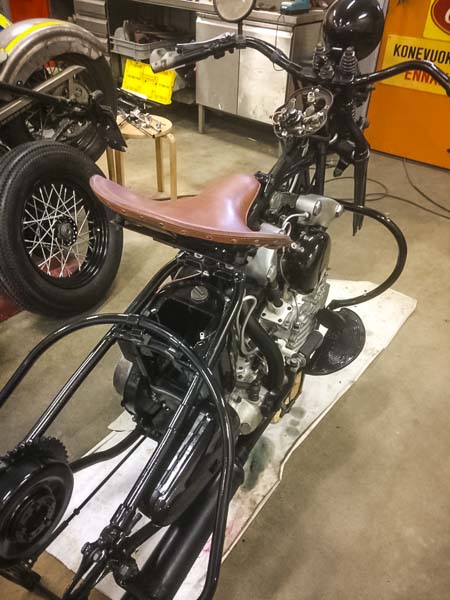
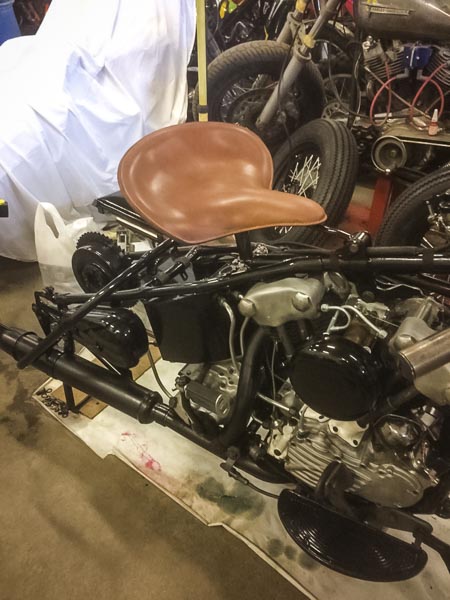
Took lot of time and studying, but finally got it done! Seat for the pre-war HD. Happy to get it done before the rest of the bike was restored!
-
Hello, my friend asked me to refurbish the seat of his bike. The seat is like this: So the hard part is the concave shape. I guess I have to wet the leather and work the shape in it, then let it dry before sewing it in? The old leather was quite thin, maybe 2mm (5oz), and there was only thin layer of soft foam under it, and everything was glued together; foam to the seat pan and leather to the foam. Is that a correct way to do it?
-
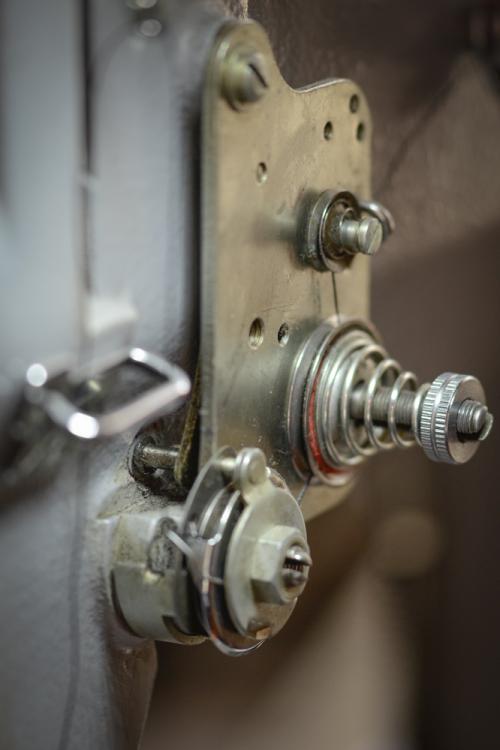
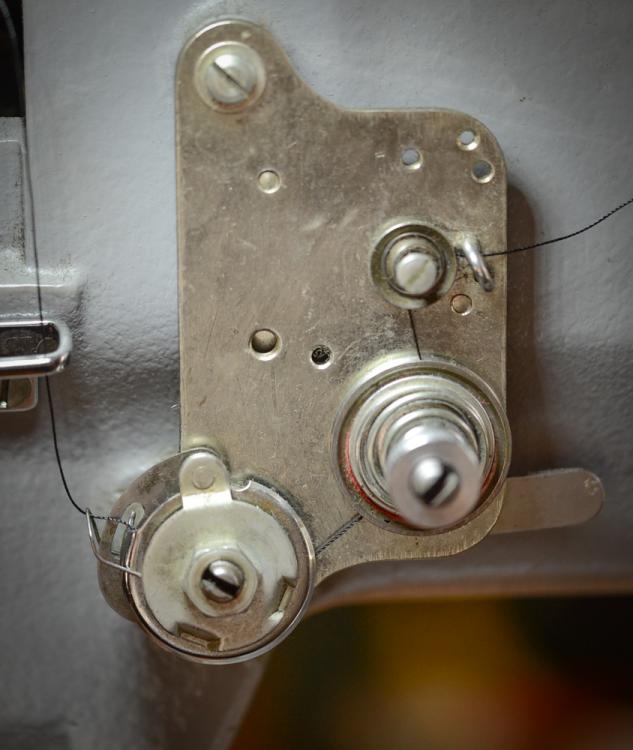
Hey! Thank you so much for good advices. My machine looks like one in the video, maybe newer model. Auto release is a nice feature but I guess you can live without it. I have fought with this as long as I have had this machine, and suddenly it is easily fixed... I guess even if I could modify it so that it works only when foot is in the uppermost position, it could affect sewing even then, when sewing over thick seams in bags, jackets etc.? It should be easily disconnectable, so when sewing normal thicknesses it would be on, and when sewing thick, it could be switched off.
-
Hello! I have Adler 69, and I finally found out what was the problem when I tried to sew thick, nylon strap joints etc. There is automatic thread tension release, when I lift the foot, and when sewing thick material, it leaves the tension release on when I lower the foot, because the foot can not come down enough. It only allows to sew maybe 2-3mm thick with full and proper, adjusted tension. Is this how it should be, and is it adjustable? I know that this machine is not meant for very heavy duty sewing, but it could manage easily 5-6mm nylon straps, that are low density, lightweight material. When making for example dog leashes for big dogs, those thicknesses are usual. Thanks.
-
Ok, needle is round point 130 and seems ok to me as do lower feed dog. I dissembled the machine a little so I could see the hook and the needle working together and noticed that the hook touches the needle, not much but it can be noticed; hook bends the needle just a little bit. Also hook passes the needle at the lower end of that scarf. Should it be in the middle of it?
-
Ok, I have to keep an eye to that too, but it does that even when sewing straight.
-
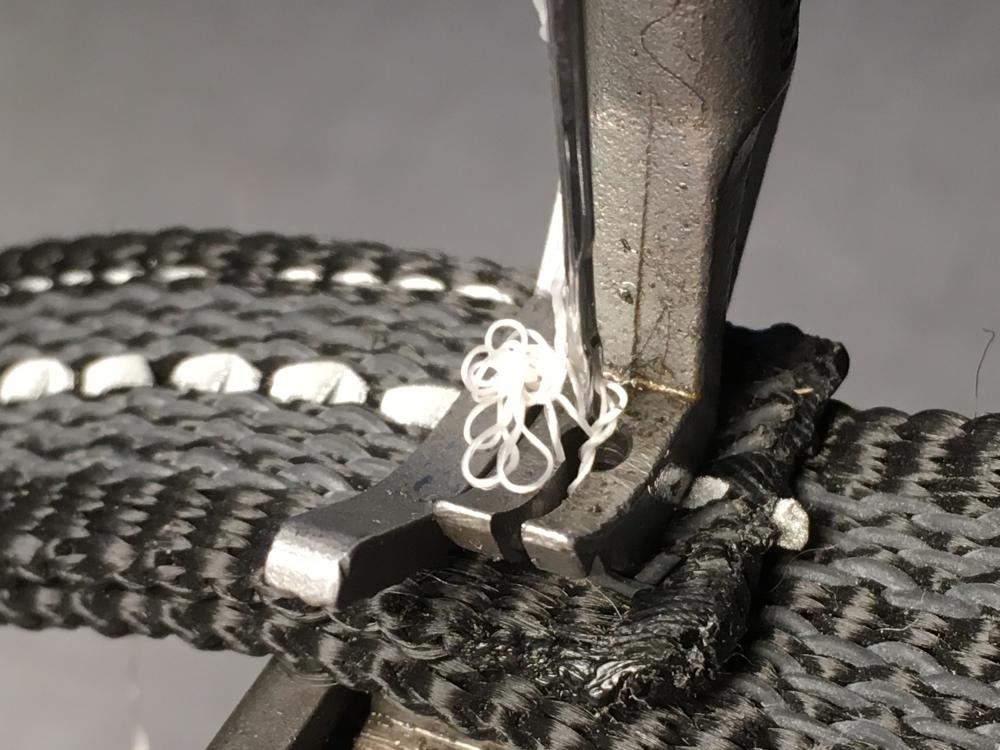
Hello all! When I try to sew the strap like in the picture, the needle thread frequently falls apart and sometimes breaks. It doesn't happen with canvas or leather with equal thickness. Machine is Adler 69.
-
The first one is with japanese bookbinding style... Second one just usual stiching.
-
Thank you all! I knew that there rarely is any shortcuts to get things done well! Blood and sweat. Tears come after you don't provide enough of the first two... I might try to clean it up, just to see if it's possible, but I can't wear it anymore. Maybe I nail it on the wall to remind me of the failure... Btw, this is not so big problem if you are sewing with machine, because the machine doesn't pull the whole lenght of thread through the potentionally dirty holes all over again, like it happens with handsewing...
-
It was ethanol-based dye, and I tried to get all extra color away, but not enough, obviously. So if I want that white thread stays white, I finish the piece all the way before sewing? Do I punch the holes before or after dying?
-
Hello! I tried to make a watch strap; dyed and waited for 24 hours and sewed it together. White thread took some reddish colouring at that stage allready, but after I put on some oil-beeswax-stuff it really got stained. What do you do to avoid this? Should it be all the way finished before sewing?


