-
Posts
26 -
Joined
-
Last visited
Profile Information
-
Gender
Female
-
Location
Australia
-
Interests
Learning new techniques and improving all around
LW Info
-
Leatherwork Specialty
Specialising in learning
-
Interested in learning about
Improving my skills
-
How did you find leatherworker.net?
Google
Recent Profile Visitors
The recent visitors block is disabled and is not being shown to other users.
Kristy's Achievements

Member (2/4)
-
How Do You Photograph Belts And Guitar Straps?
Kristy replied to UKRay's topic in Leather Photography
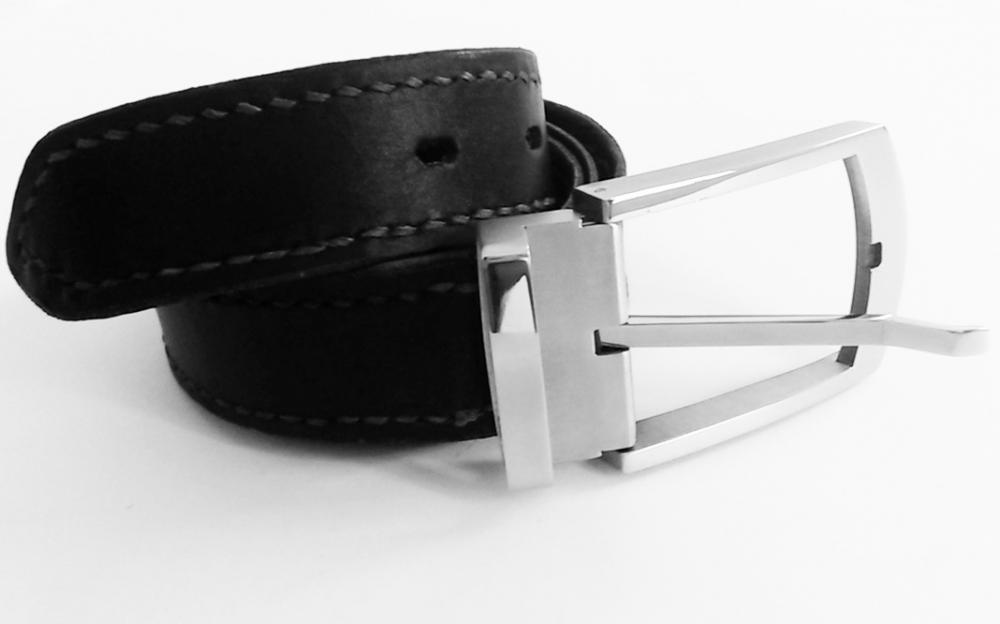
I struggle with this as well, but have found coiling the belt to be the most attractive option: Took that on my phone, no editing apart from cropping. Just a sheet of white cardboard on the bed with some morning light. Turned out well enough for my purposes. I do have a light tent, flashes, DSLR, etc however when it is just to upload to a site where my photo will be compressed and resized anyway, I have found it is not worth the trouble. When taking reference photos for myself, yes, I go to the extra effort. Updating my social media, which is done often and needs to be quick, phone and cardboard suffices. -
Hey Daniel I know there are a lot of good books and resources out there, I did it the hard way - online tutorials and videos. Theses ones I've found helpful: For starting the braid around a core, I used Shane Hutchinsons tutorial: This is part of a series, this is the section where he braids around the handle I also use his video on Turkshead knots I don't use paracord, but found this a good video: How to start a braid using a Spanish Ring Knot As for the different braiding patterns ... I do have a document with probably more than a hundred different tutorial videos and articles I've watched over the last few months trying to learn. If you the links above don't help much, let me know where you are getting stuck and I'll send you the list of the ones I found most helpful. Cheers, Kristy
- 8 replies
-
- core braiding
- laces
-
(and 1 more)
Tagged with:
-
Thanks, Brian - that is a brilliant idea! I'll check them out!
-
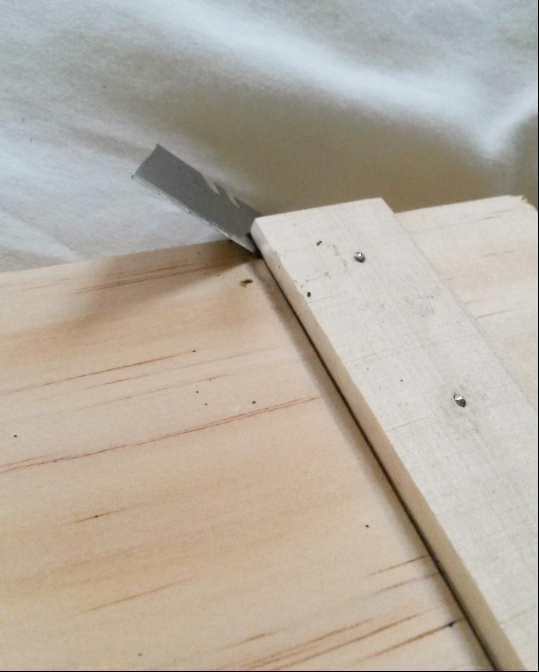
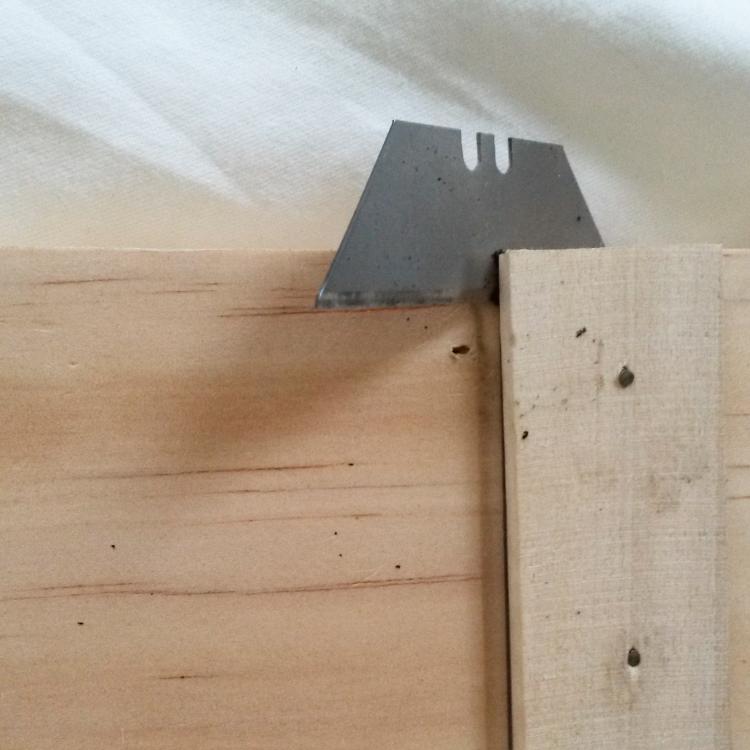
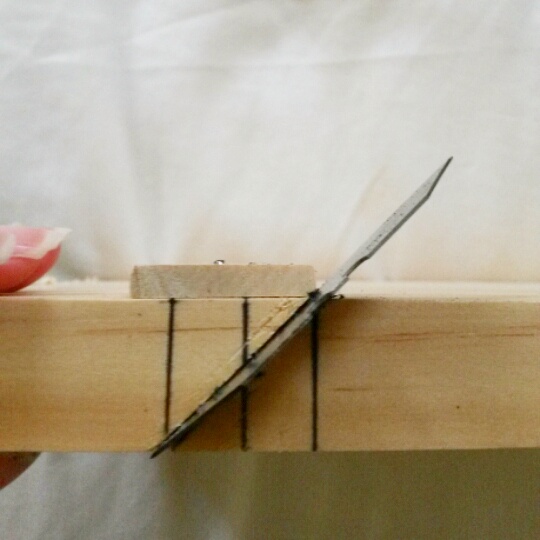
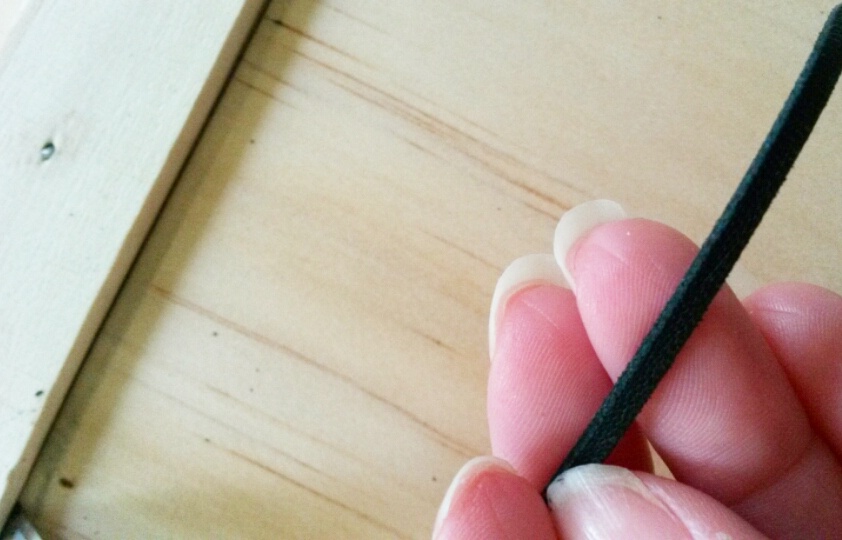
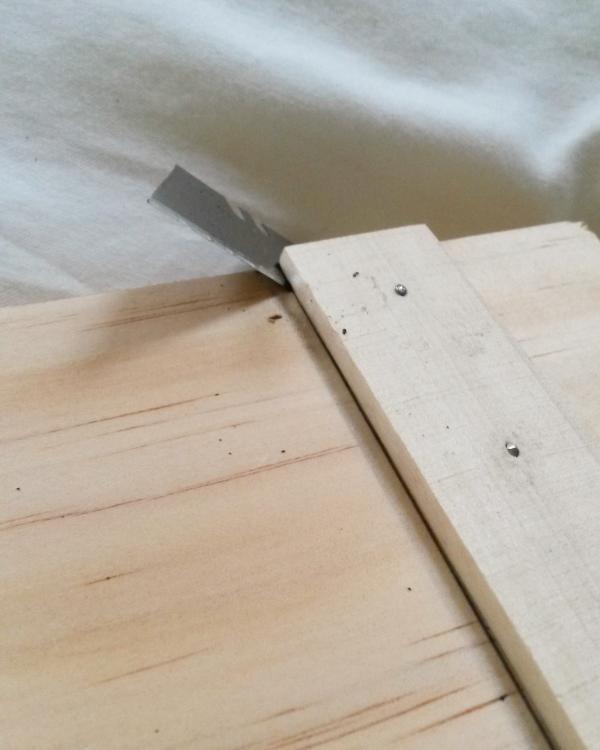
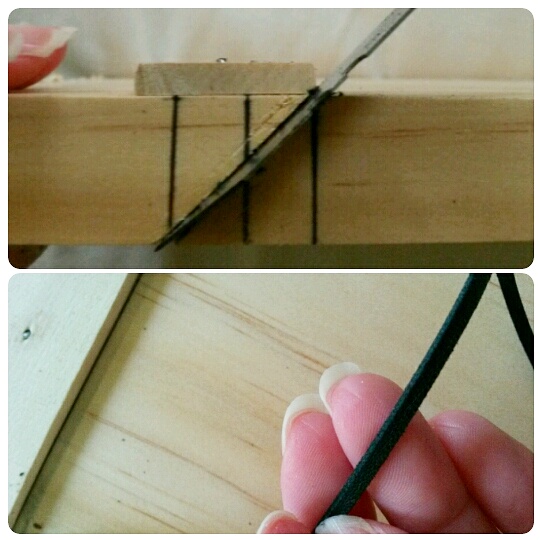
Couldn't find this mentioned elsewhere, so thought I would share this Youtube tutorial by Shane Hutchinson (from Abraided Leather) on making your own lace/thong beveller. I knocked up one quickly with things I already had in the garage (block of wood, wooden paint stirrer, utility knife blade). I found it easy to use, accurate and pleasingly fast. Have attached photos of mine below, used on 3mm Kangaroo lace. NB: Due to the depth of my block of wood rather than clamping the blade I just hammered it into the wood. This does halve the life of the blade (as the hammered side is dulled so you can't turn it over) but worth it for me as I found clamping twisted the blade to a strange angle. I used spare blades from my Stanley utility knife, AU$5.98/5 pack. These are available in Carbide which (allegedy) last 5 times longer than a regular blade. Hope someone finds this useful! Cheers, Kristy
-
Hi GrampaJoel,
You replied to my question here and I just wanted to let you know I've tried all your tips and they helped immensely! The main factor was bevelling the strands, they lay lovely and flat now. Being inexperienced I couldn't quite put words to what didn't look right in my braiding, but that was the missing piece to the puzzle.
I knocked up a very simple lace beveller myself (below) using instructions instructions I found on Shane Hutchinson's Youtube channel and it works a treat!
Heartfelt thanks,
Kristy

-
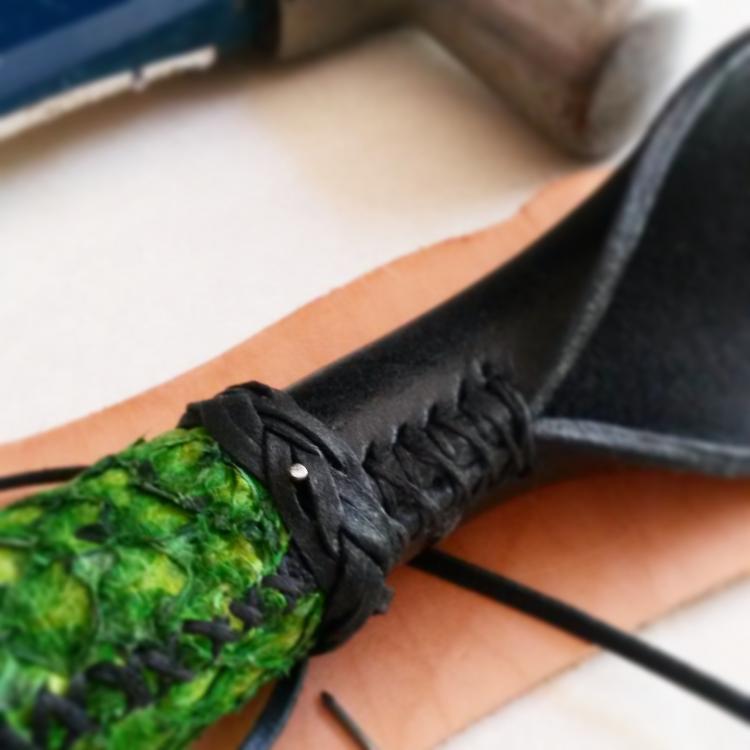
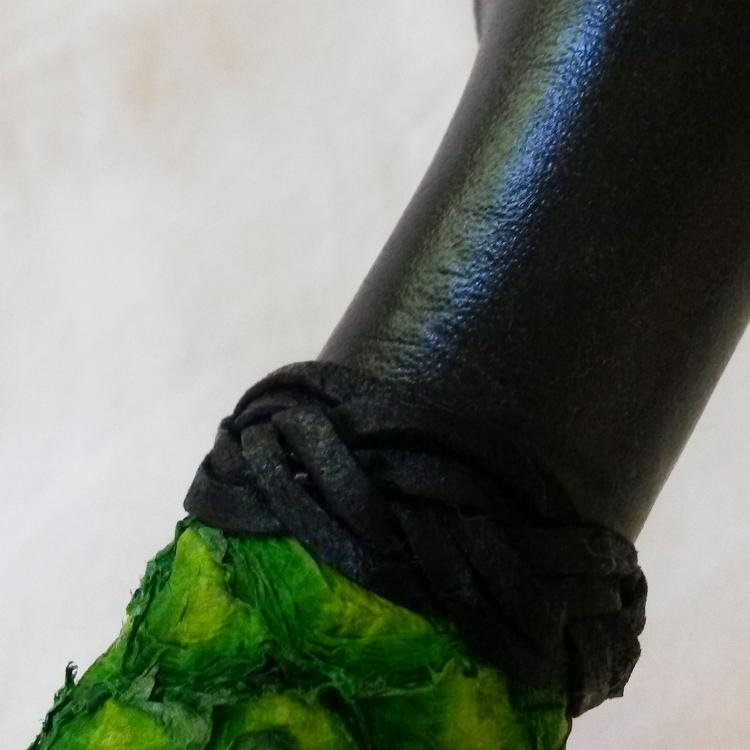
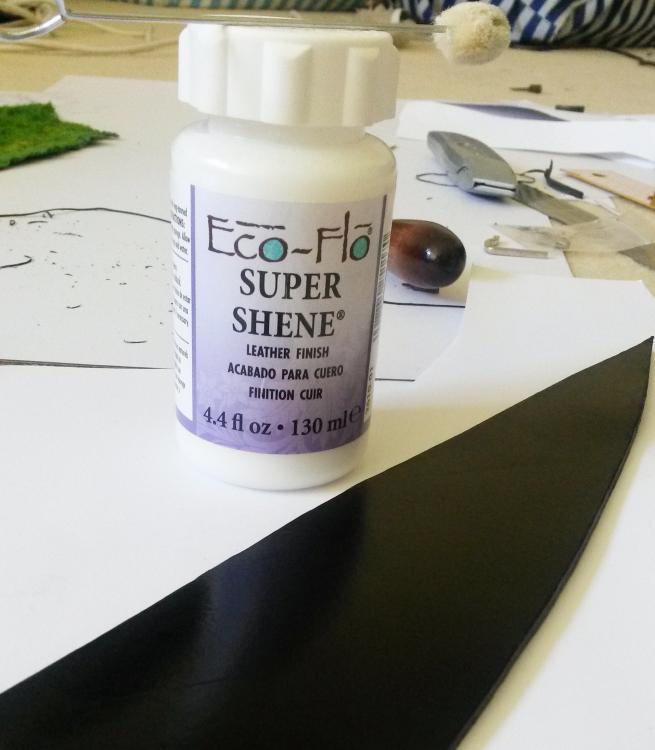
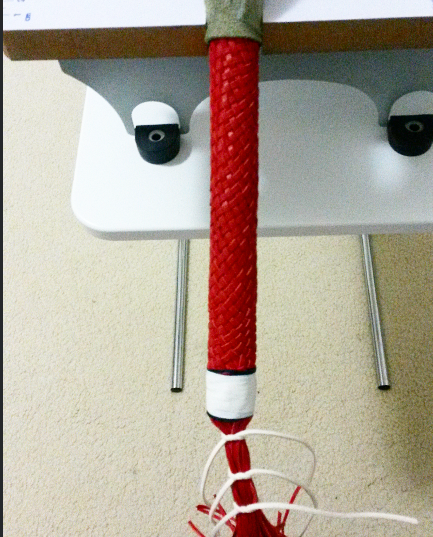
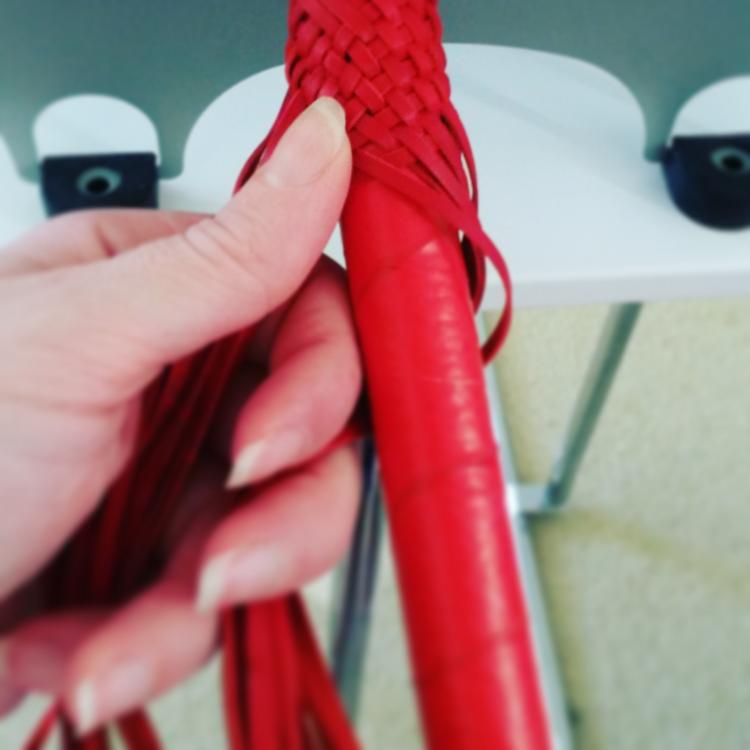
Hi JP, I am very much a beginner but found this Instructable really helpful. Hopefully someone with more experience can chip in. For what it's worth, I buy my Kangaroo laces pre cut and dyed, but I still seal them with Eco-Flo Super Shene as my braiding is on handles. This might be overkill, but not having dyed it myself, I can't vouch for stay fastness of the colour and I am very cautious of marking people's skin. Top photo when I am securing the small decorative braid is before using Super Shene, the second photo is afterwards. I had already applied the finish to the black leather slapper before adding the braided band.
-
Given a hundred years I would never have thought of chimney cleaning rods - that is excellent, thank you Electrathon!
-
Thank you for the advice Art and Tom! And thank you very much for the history and information, awharness! Not only interesting, but very helpful. And am very impressed with this forum overall - probably the friendliest and most helpful site I have visited, thank you. I look forward to learning enough that I may be able to help someone else out one day.
-
Thank you, Joel! All of those tips are really helpful - thank you for taking the time to respond.
- 8 replies
-
- core braiding
- laces
-
(and 1 more)
Tagged with:
-
- 8 replies
-
- core braiding
- laces
-
(and 1 more)
Tagged with:
-
Thank you! The strands are 3mm, the fibreglass rod is 8mm, the wooden dowel is 18mm so I think that works out? Thanks for looking this all over and for your help. And I am also in Australia! I guess it is just down to more practice. Cheers, Kristy
- 8 replies
-
- core braiding
- laces
-
(and 1 more)
Tagged with:
-
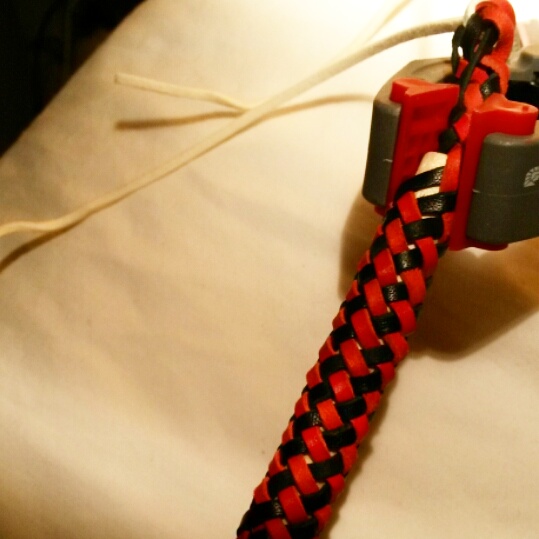
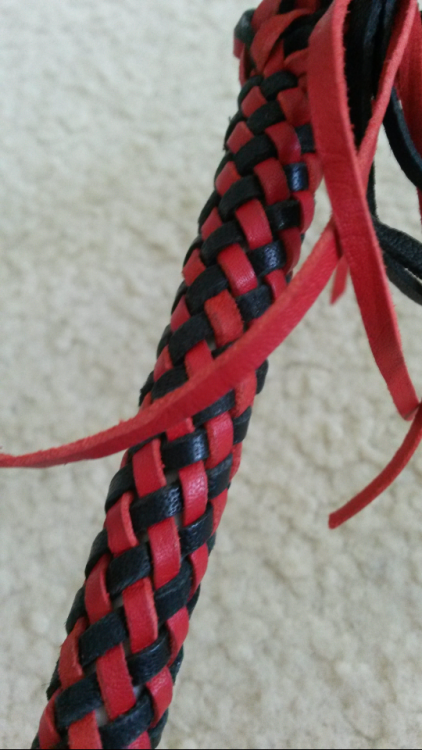
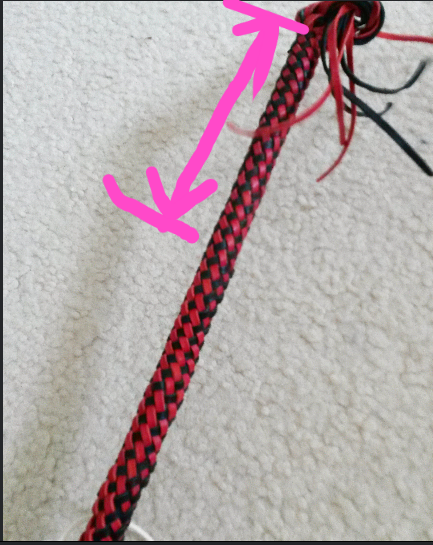
Hi everyone, I am not quite sure what I am doing wrong. I am new to braiding and have just started trying to learn how to braid around a padded dowel core with kangaroo laces. Obviously, in the top picture of my latest attempt I have relaxed the tension to take the photo, but the braid seems to end up looking this loose regardless of what I do. Will it tighten up if I continue? I have been undoing it and restarting over and over due to the looseness, but maybe I should be leaving it and tightening it later (as I did in attempt 2, below)? I'm not sure if I've not prepped properly or something. I am using pre cut kangaroo laces. Should I be bevelling the underside of the lace first? Or sanding it to help it stop sliding around? Any advice appreciated. Will attach three pics of three different ones I have started and become a bit disappointed in. Thank you for any and all help. 3rd attempt: 28 strand kangaroo lace, tasmanian oak dowel padded with vege tan and taped. First attempt: 8 strand kangaroo lace, around fiberglass rod 2nd attempt: 12 strand kangaroo lace, around fiberglass rod Even tightened each lace with a fid but can still see the rod underneath. The part I have highlighted in pink is the part I tightened by hand, loop by loop. I mean, you can see that tightening has made some difference, but I would expect it to be more taut. Should I be using more pressure? (and yes, I can see that I have not been braiding straight, I am working on it - for attempt 3 I wedged the end in a vice and that helped enormously). Apart from the tension (and the line!) if you can see anything else I need to do differently, please say, I am eager to learn. Thank you again for any advice or comment you can offer.
- 8 replies
-
- core braiding
- laces
-
(and 1 more)
Tagged with:
-
Thank you, Art - I wasn't aware that there was a NSFW forum on here, will head over there if I have any more questions - thank you. I can't imagine ever being close enough to a horse to swing anything at it, but will keep your tips in mind should that happen. I do have a duck that misbehaves, but she has me well trained.
-
Thank you all for your answers - Thor, husband makes fishing rods on occasion and they have been carbon fibre, I think you may be on the right track, thank you. I've been asked to make them, and from what I now understand, Mike, these will not be used anywhere near a horse... Hence the person requesting it be more "whippy". Funnily enough, I would be more disturbed if I thought it was being used on a horse. Thank you, Sonnydaze, I think this is the way I might go for now, if they are happy with them I will investigate looking into other options. Thank you all again!
-
Thank you for your help! I did find these ones, but the cost works out at: $7/rod + $9 handling fee + $46.90 shipping to Australia making it much too expensive, and I haven't been able to find anything similar at all locally. Was more after the information if fiberglass was the type of core I should be looking at and if so what diameter thickness is appropriate.


