-
Posts
30 -
Joined
-
Last visited
Profile Information
-
Gender
Male
-
Location
Inland Northwest
-
Interests
Welding, steel fabrication, heavy duty sewing, especially outdoor gear, canvas, & and little wood working too!
LW Info
-
Interested in learning about
Sewing, Techniques, Supplies & Equipment
-
How did you find leatherworker.net?
Local Sewing Machine Tex
Recent Profile Visitors
The recent visitors block is disabled and is not being shown to other users.
Firestar1485's Achievements

Member (2/4)
-
FYI. You can also replace the pulley on your sewing head with a larger diameter! On my Juki LU562, I choose not to build a reducer but instead (1) replaced old clutch with servo motor (pretty cheap online $100 and manually adjustable down to 320 rpm), (2) replaced stock motor pulley with smallest I could find ($10-15 at hardware store), and replaced machine head pulley with largest I could find ($20-30). Switching from clutch to servo ($100) + switching out pulley sizes ($50 w/belt) made a big difference; guessing I got it down to 200 spm or less. PS I also added a manual handle to the pulley on the machine head for manual use for extreme slow and punching strength. I eventually sold the LU562 because it did not have reverse and the bobbin was undersized for my liking. Now I'm looking at a JUKI DNU-241H, larger bobbin, easier to find prewound bobbins by the gross, etc.
-
I just switched out both pulleys on my Juki LU-562. It made a HUGE difference. I bought both pulleys at a local hardware/farm store for less than $20. I also needed to replace the belt (needed about 4" more in length). The only trick was getting the right size bore. I bought a $2 caliper from harbor Freight to measure shafts and I think motor was 5/8" and machine was 1/2". I will try to take a couple of pics and post them here. PS I got the idea from a couple of youtube videos. It was MUCH less expensive and complex than building a reducer and it only took me 10 minutes to make the switch!
-
- 181 replies
-
- diy sewing table
- industrial sewing table
-
(and 3 more)
Tagged with:
-
Filson Factory Auction Dozens of 211W151 Starting at $20
Firestar1485 replied to JJN's topic in Leather Sewing Machines
I'm interested in thread. I was hoping to pick up heavy weight thread, so let me know what you have that you might want to sell. I am located in North Idaho. In terms of parts, I have been very lucky to find replacement parts on Ebay. There is a seller in Seattle/Portland area that I bought a lot of very unique parts from. 90% were right on and the few that were not, they quickly accepted returns on. I believe most parts I purchased were from "NGOSEW Sewing Parts Company" on Ebay. There are a number of other companies (many of which have active members here on leatherworker.net) that can probably help too! -

Filson Factory Auction Dozens of 211W151 Starting at $20
Firestar1485 replied to JJN's topic in Leather Sewing Machines
Prices skyrocketed toward the end, seemed like most good machines sold above craigslist or ebay pricing. After placing some 200 bids, I ended up winning three items (2 of which I was only bidder, not much value). I did not win any machines, dropped out at $350+ on the singer 135's and $200 on the singer 211's. For me it was just too much to risk, not being able to test run the machines. If anyone bought thread locally and wants to split/sell off excess, just let me know. -
Update ... My machine spent 6 months at the only mechanic that works on industrial machines I could find within a couple of hour drive from me. Nice guys, but they are crazy booked up and when they finally got to my machine they had a hard time finding parts. I got it back about a week ago, brought it home and guess what? It does work a little better, but I'm still having many of the same issues I was having before. Good grief this is frustrating.
- 6 replies
-
- walking foot repairs
- overhaul
- (and 9 more)
-

Filson Factory Auction Dozens of 211W151 Starting at $20
Firestar1485 replied to JJN's topic in Leather Sewing Machines
I spent a few hours at the factory today. Problem I see is most of the sale "lots" of fabric are pretty huge rolls. Thread "lots" are large enough to sew yourself around the world a few times and back. In terms of the machines, none are plugged in, so you can check a few things but you won't know for sure until you get it home. The few machines I was really interested in seem to have run up in auction prices quickly and at those prices I would rather buyer from a local dealer/mechanic and at least have someone I can call when I can't get it to run like it should. PS Rumor is that Filson removed most of their good stuff about a year ago and moved it to another facility. The items up for auction seem to be leftovers, part out machines, stuff that didn't make sense to haul to their other locations. -
Thank you. I have received lots of advice and direction on this forum, I have the manuals (military version), all the parts lists and diagrams, etc., but the issues I'm having appear to be beyond my abilities. I think there is a repair shop over in Spokane, but haven't been able to get a hold of them yet. Fingers crossed .. .if no luck, I am going to sell my machine at a loss and buy another one that is working properly from the start.
- 6 replies
-
- walking foot repairs
- overhaul
- (and 9 more)
-
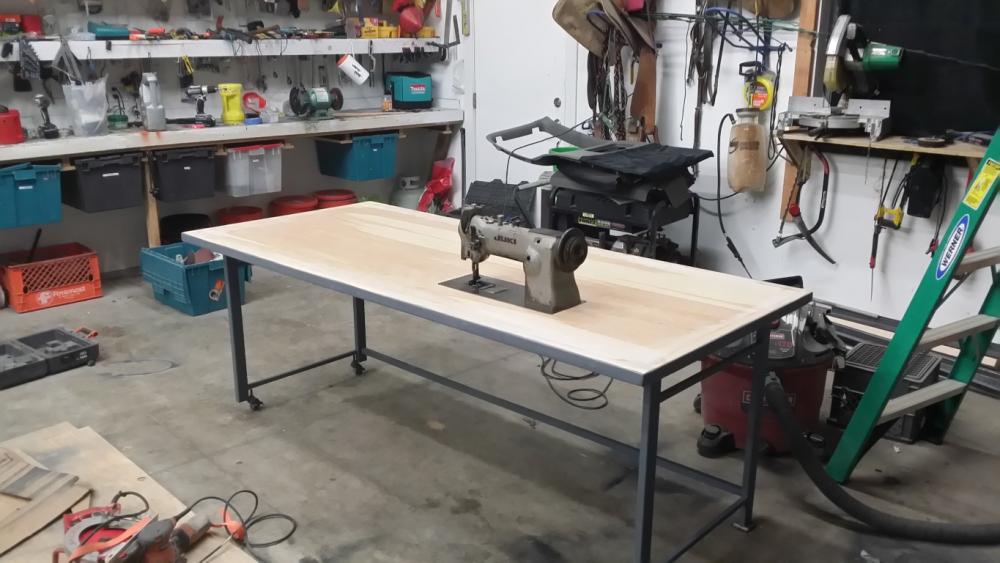
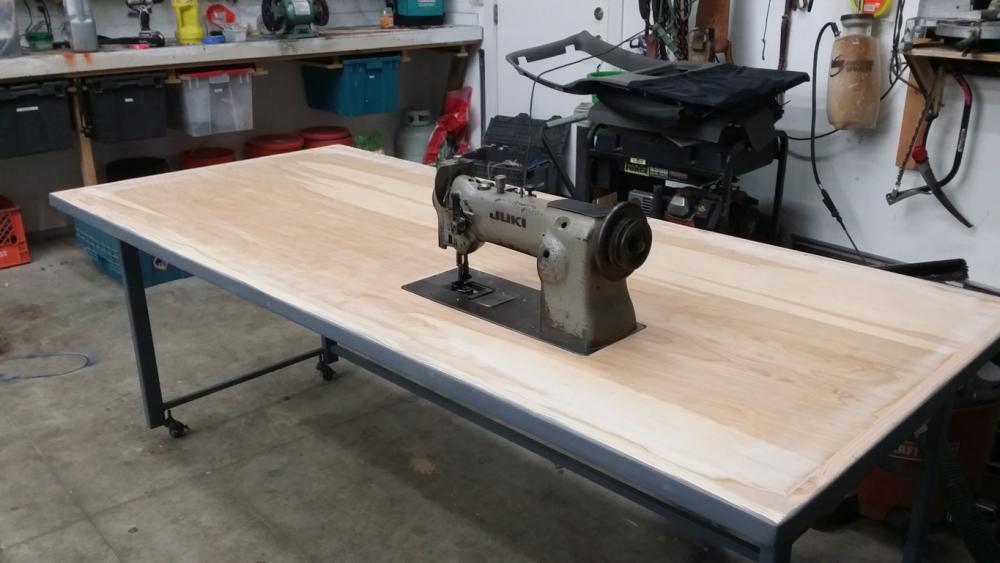
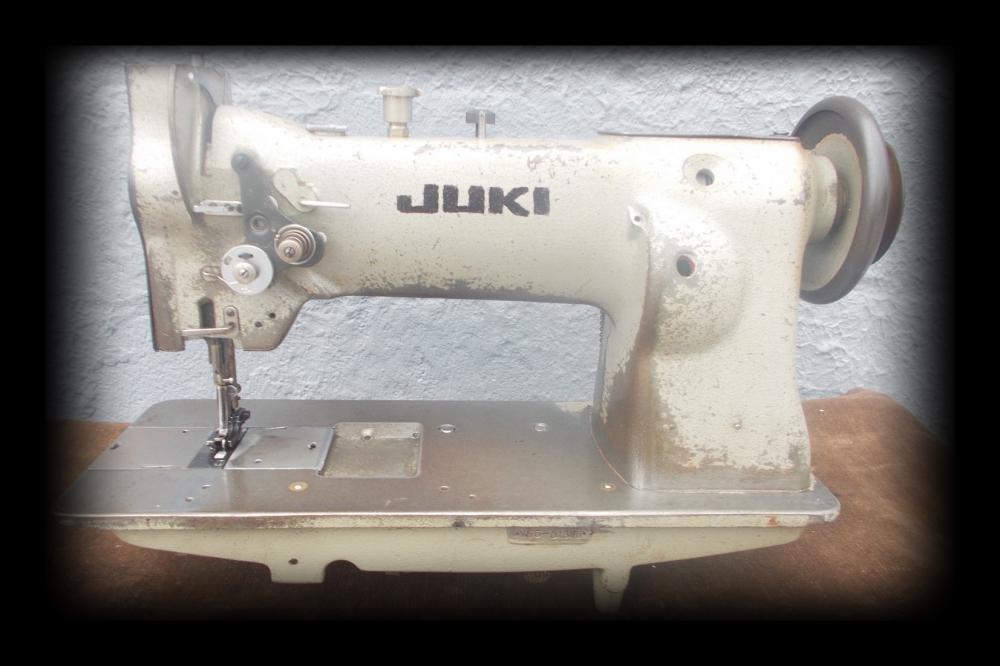
I live in the Coeur d'Alene/Post Falls area of Northern Idaho, roughly 30 miles east of Spokane, Washington. I'm trying to find someone in my neck of the woods that knows industrial machines and more importantly how to repair and tune them. I bought a Juki 562 a year or so ago, spent a bunch of time and effort replacing worn/missing parts, built a new table and purchased a new servo motor, but I've never gotten the machine sewing quite right. Now its been gathering dust for the last six months, but I'd really like to put it to use. Can anyone point me in the right direction to find someone (hopefully reasonably local) that can get this machine working right? I really don't want to pay a home sewing machine repair guy to "try" to repair something outside their expertise but right now the machine is doing me absolutely no good ... I did make a nice dust cover for it the other day with my cheapo home machine! LOL Good grief, all I really want to use it for is some heavy duty sewing from time to time (i.e., kids creative projects, hay tarps, rv cover, pleather accessories, etc). if email is easier for you, my direct email is chris@firestarranch.com
- 6 replies
-
- walking foot repairs
- overhaul
- (and 9 more)
-
I choose stainless because of the potential for rust in this application. Yes, the problem I am having is that as soon as they start to bite, they seize and then cannot be backed out nor driven in fully. I tried predrilling, but I have not tried an antiseize compound, nor tapping the holes first. I am not sure pop-rivets would work, but I will check into that too. Thanks.
- 9 replies
-
- canvas to metal
- screwstuds
-
(and 4 more)
Tagged with:
-

New to industrial sewing machines Juki LU-562
Firestar1485 replied to jshep's topic in Leather Sewing Machines
As a fellow Juki owner, I thought you might appreciate this ... https://dl.dropboxusercontent.com/u/2935348/Juki LU 562 563 Manual.pdf This 100+ page PDF file that I assembled with really helpful information on the Juki LU 562/563 series that I am working on. The PDF includes Juki manual, Juki parts list, Repair/Service Chapter from an Aircrew Equipmentman Manual, and Singer 111 manual and parts list. I enlarged the critical diagrams too. Feel free to download a copy if you think it will help or be a good resource when needed. Juki LU 562 563 Manual.pdf -
JUKI LU-562/563 MANUAL+PARTS LIST+AIRCREW MANUAL+SINGER 111 MANUAL+SINGER 111W155 PARTS LIST I thought others may find this helpful. I assembled a PDF binder of really helpful information on Juki LU-562/563 machines. This PDF includes the original Juki manual and factory parts lists, plus I added the Aircrew Equipmentman - Sewing Machine Repair (Chapter 4) that pertains to the Juki machines, and the manual for the nearly identical Singer 111 series and parts list. Unfortunately some of the old documents aren't the best resolution, so I enlarged the most critical diagrams and illustrations and inserted those enlarged pages into the PDF file as well. You can download a copy of my PDF via this link ... https://dl.dropboxusercontent.com/u/2935348/Juki LU 562 563 Manual.pdf Notes: If the link dies for any reason, just drop me a note and I can send you a copy via email. Make sure you set your printer to "fit to page" and then you will get all of the enlarged diagrams printed full size. This 100+ page PDF file is nearly 8mb. Hope this helps someone else, like it has me. Juki LU 562 563 Manual.pdf
- 13 replies
-
- juki lu-562 juki lu-563
- sewing hook
-
(and 1 more)
Tagged with:
-
Back to this project and I appreciate everyone's feedback. 1. I am drilling into 1/8" thick structural steel, not sheet metal. 2. Standard snap base with a machine screw? I'm confused, I have not seen a standard snap base that would be big enough or deep enough to fit a screw head inside of it. What am I missing here? 3. The screw studs I am using are steel, not aluminum. In fact they are stainless steel.
- 9 replies
-
- canvas to metal
- screwstuds
-
(and 4 more)
Tagged with:
-
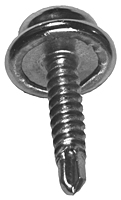
This is NOT a "leather" question, but knowing many of you are also involved with other heavy materials and fabrication, I thought I'd ask ... I'm sewing a canvas awning that utilizes snaps to attach to a steel framed roof rack on our expedition van. Problem = I've tried several varieties of self-tapping "screwstuds" and none seem to do the trick! The screwstud will start to bite into the steel but then it seizes and the head either strips or completely spins off. Here's a link to screwstuds I'm using ... http://fasteners.fasnap.com/viewitems/screwstuds/self-drilling-screwstuds Notes: I've used various types of self tapping screws in the past without this issue (i.e., sheet metal roofing screws). Side by side these look identical to these screwstuds, other than they don't have a snap top. Just to rule out the strength of the steel frame, I tried some of my regular self tapping screws on the same metal and had no issue. Also tried predrilling smaller diameter holes into the steel frame and then use the self-tapping screwstuds, still no luck. They bite and then strip or break. I tried a slightly larger drill bit size and the hole ends up too big to provide any grab for the screwstud threads. I even tried "drilling" a hole with the standard self tapping screws that I have, backing out the standard and then screwing in the screwstud. Same issue, either the hole is too large and no bite, or too small and the screwstud seizes. Also each of the above with lubrication (heavy cutting oil), no change. I am using a basic cordless impact driver to set the screws, just like I always have. This really has me stumped! Pictures attached of the screwstuds I'm trying and my roof rack that I'm trying to attach them to. Any thoughts, suggestions, tricks would be appreciated!!
- 9 replies
-
- canvas to metal
- screwstuds
-
(and 4 more)
Tagged with:
-
Second update - I ordered a new sewing hook assembly. Seller said they ARE interchangeable. They don't charge for returns, so I thought I'd try it. Just tested and it DOES fit. There is clearance under the bed slide plate for the slightly taller bobbin case and the extra length of the hook arm shaft does not appear to be a problem (it just protrudes below the hook driving shaft a bit). BUT I'd need to replace the bobbin case opening lever, lever crank, upper and lower bushings, take up arm and probably modify the lubrication system too. Oh well, I had my fingers crossed for an "easy" solution.
- 13 replies
-
- juki lu-562 juki lu-563
- sewing hook
-
(and 1 more)
Tagged with:


.jpg.8f04979f0f63d58320a8d1a5d4e57b3a.jpg)
.thumb.jpg.a915c9ef8d32f850fbac00ec4bf8fbb7.jpg)