kevinkay
-
Posts
28 -
Joined
-
Last visited
kevinkay's Achievements
Member (2/4)
-
Not quite a saddle, but you do sit on it!
kevinkay replied to kevinkay's topic in Saddle Identification, Restoration & Repair
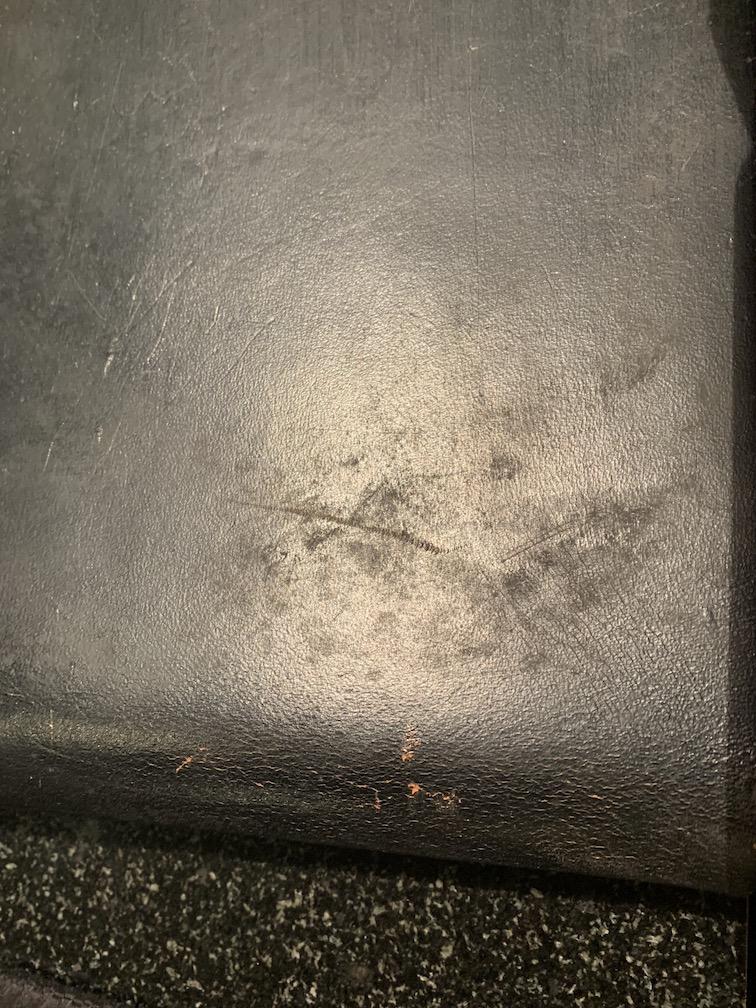
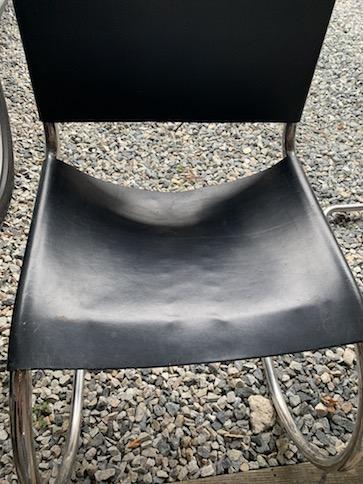
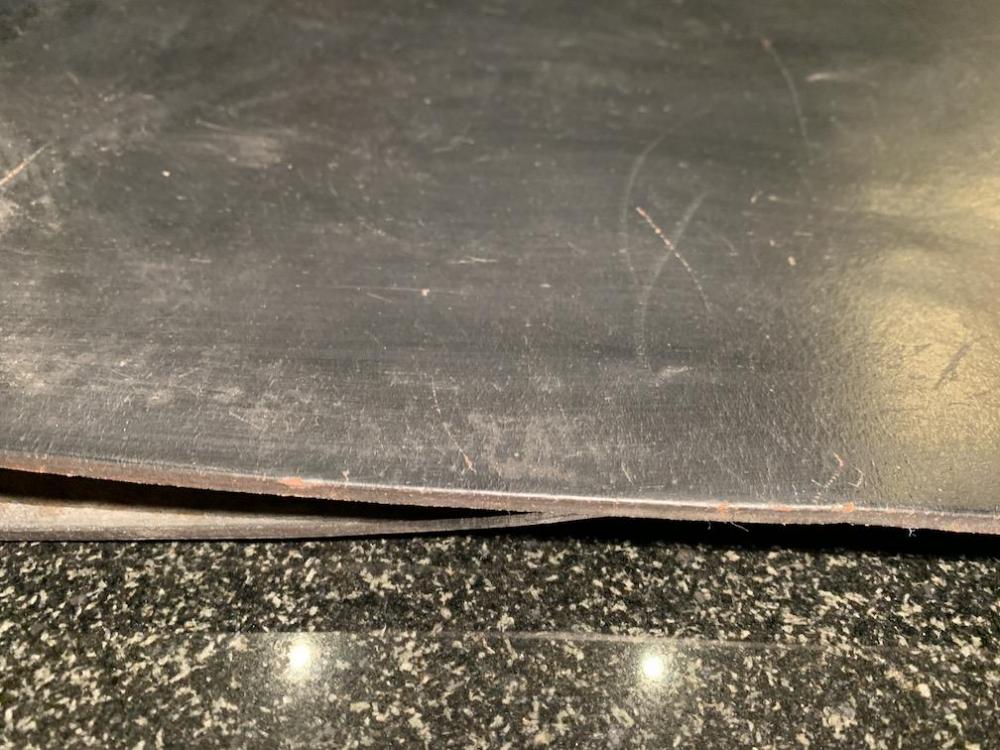
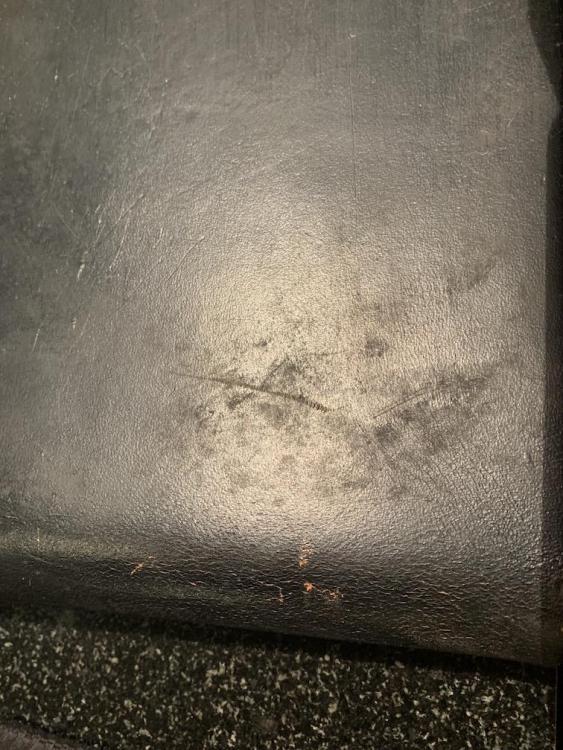
THANK YOU all for information and suggestions. I will not sand them. I am first working on the chrome - 0000 steel wool and metal polish. Removing the leather I see it is showing some tiny cracks where it gets rolled over and its stretched in some spots (where the weight of the thigh would rest). They are Knoll chairs and replacement slings are available Going to give it my best shot on restoration. THANKS!! KEvin -
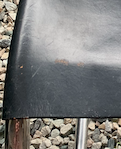
I need advise on reconditioning the leather chair slings. The leather is about 1/8" thick, its a little stiff (storage too long) and scratched. Its dyed (colored) on both sides. Its held in place with leather lacing that has broken (a whole other issue). My goal is to try an remove the scratches, maybe re-color, soften the leather a bit (so I can pull it tighter with new lacing) and then polish to make it look like new. My instinct it to sand the scratches out or do I need to fill them?? If both sides are colored how to add oil to soften? I have 10 projects of different disciplines going at all times - I am a "jackass of all and master of none"....... THANKS!

-
Do I want a "no back lash" bobbin case?
kevinkay replied to kevinkay's topic in Leather Sewing Machines
My machine was made before the "no backlash" bobbins were, but now i have the option to replace my bobbin case with an "no backlash" option. I took Wizcrafts opinion and first response (well kinda cheated a little...and ordered both, the original and no backlash). Will report back after trying both. THANKS! -
I need a new bobbin case for my Singer 188Ki. its called an "industrial" machine but maybe only because its set up with a powerful motor, its not a walking foot. I just saw that the original bobbin case number (52237) comes also as a "no back lash", should I try that? The machine is set up with a clutch motor so there is a lot of abrupt starts and stops......... From what I read that inner spring in a "no back lash" keeps it from spinning from momentum when you stop?? thanks!
-
Watch Strap
kevinkay replied to HaloJones's topic in Purses, Wallets, Belts and Miscellaneous Pocket Items
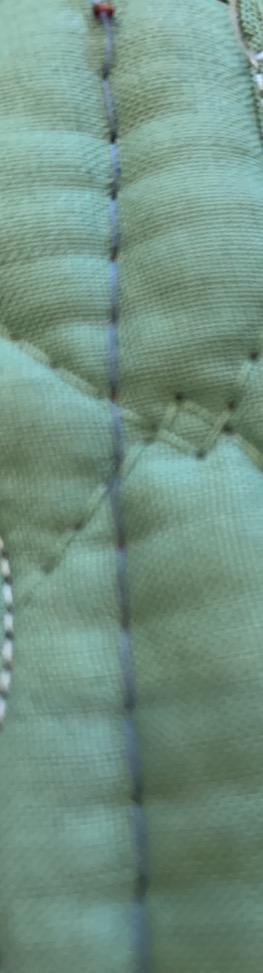
DEFINITELY NOT "amateurish"! AND love how custom it is - there is only one buckle hole -
HELP tension issues on 111w walking foot
kevinkay replied to kevinkay's topic in Leather Sewing Machines
THNAKS! -
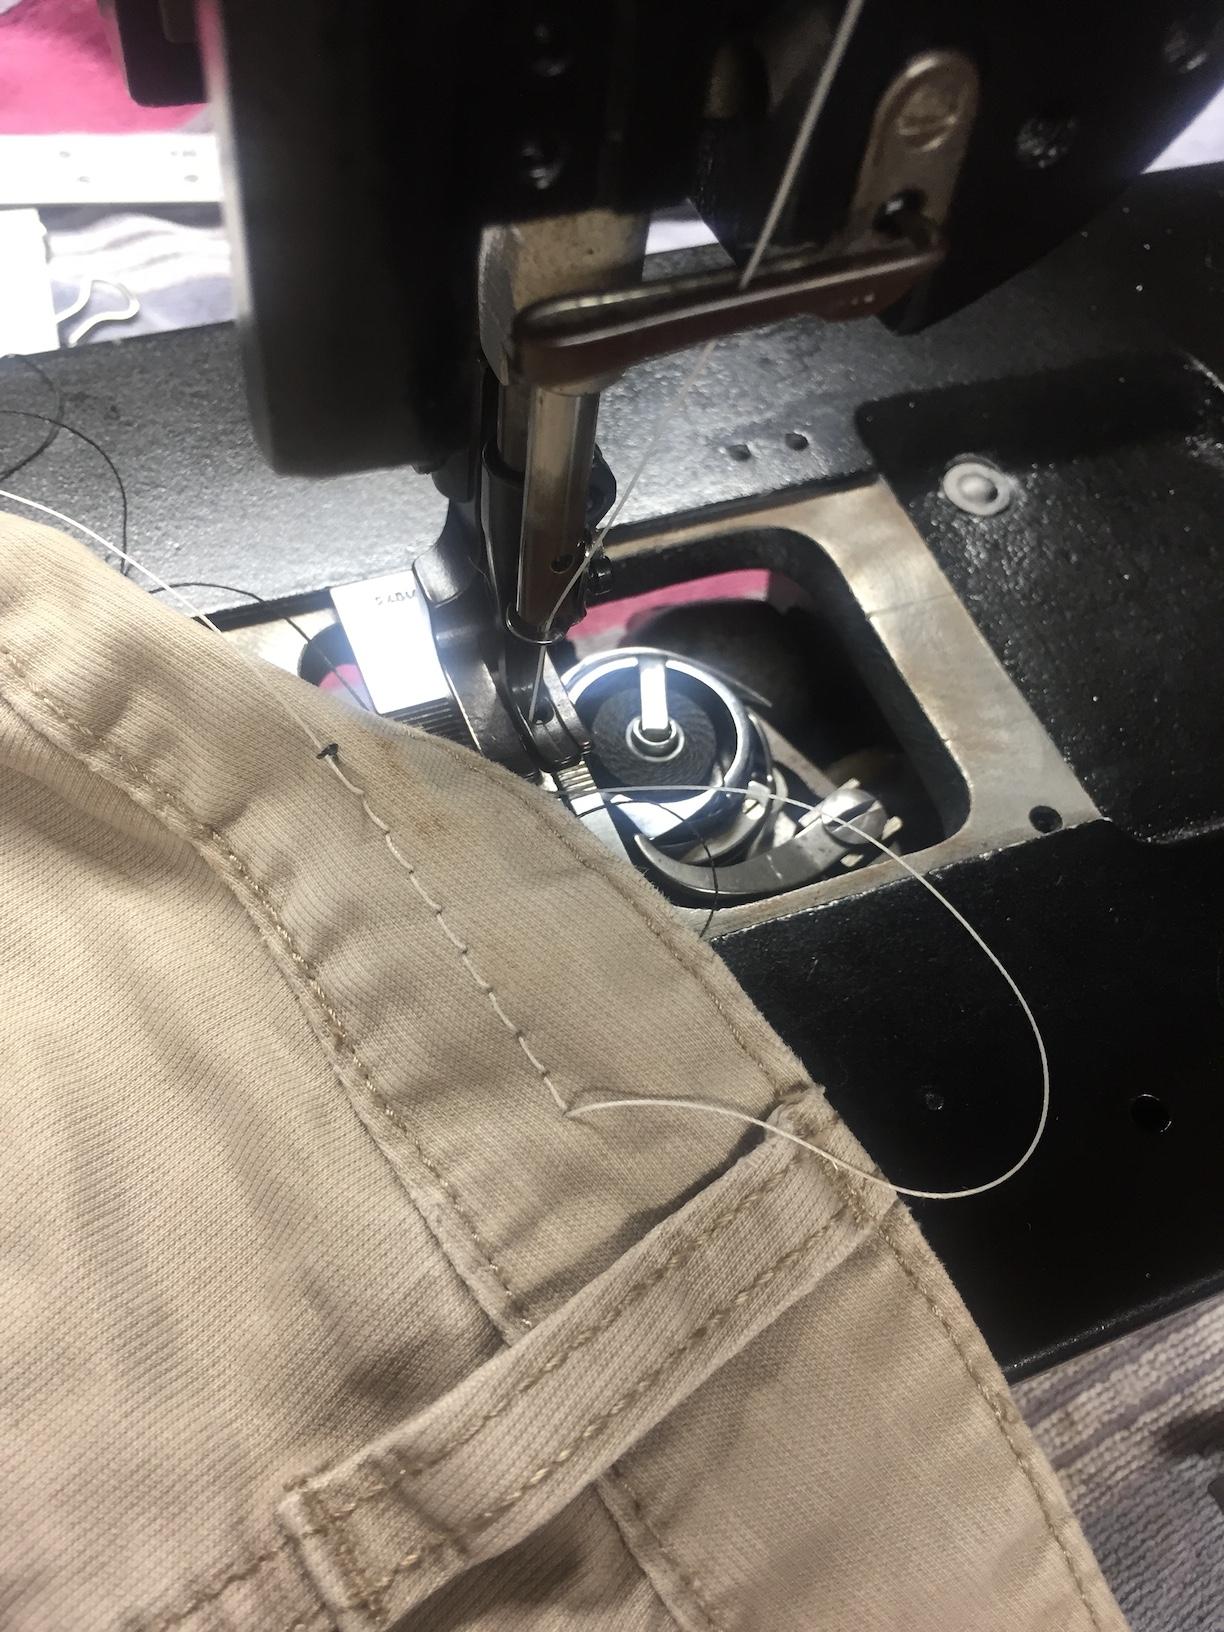
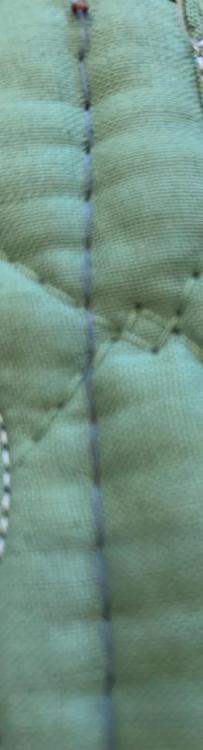
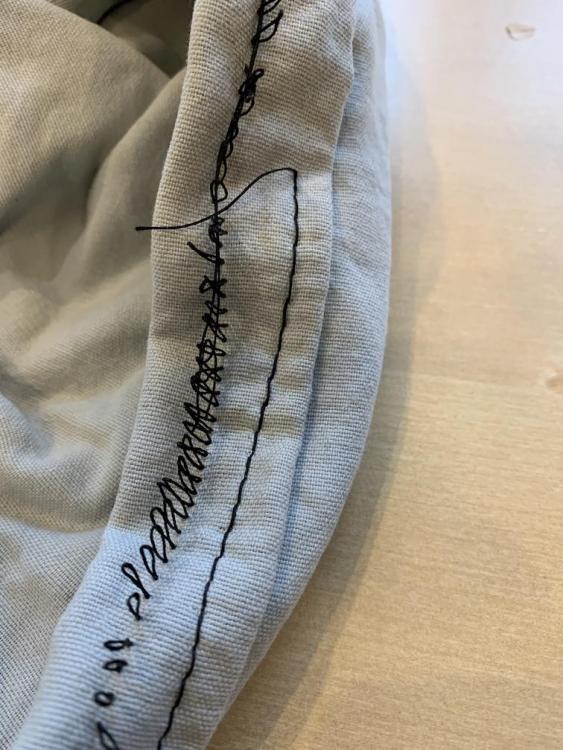
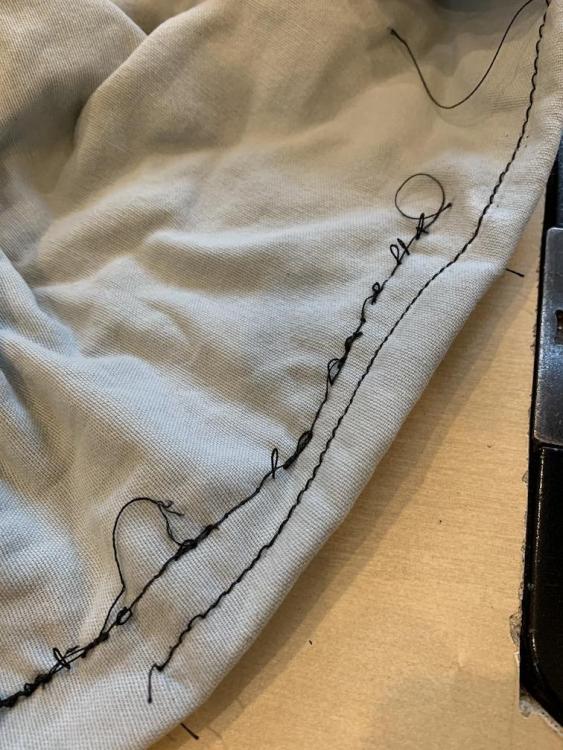
From MUCH help on this forum I restored this machine and got it running (well sort of). Good stitches with "regular" thread but when I use the thicker thread its bird nesting on the bottom as if the top tension is too loose - I tighten it and then of course it breaks. first - am I setting bobbin tension correct? - I was taught on my domestic machine, the bobbin in the cup of your hand pulling the tread it should upright the bobbin and then start to roll. On the duel tension disks, the lower one with the spring - should that spring dance up and down as you sew? and the adjustment screw there is for what? THANKS!
-
WHERE on the table do I want my machine?
kevinkay replied to kevinkay's topic in Leather Sewing Machines
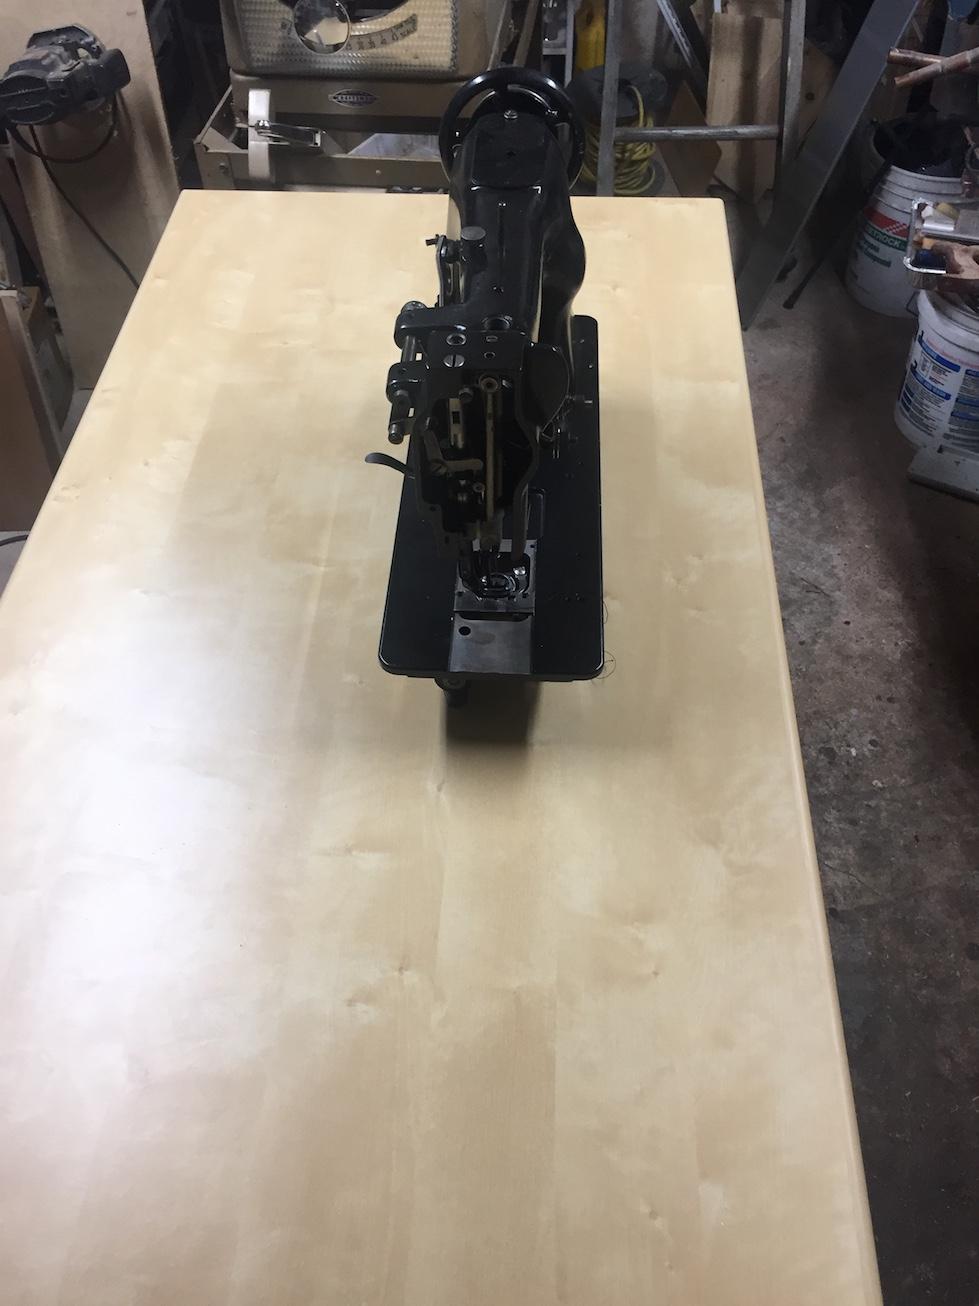
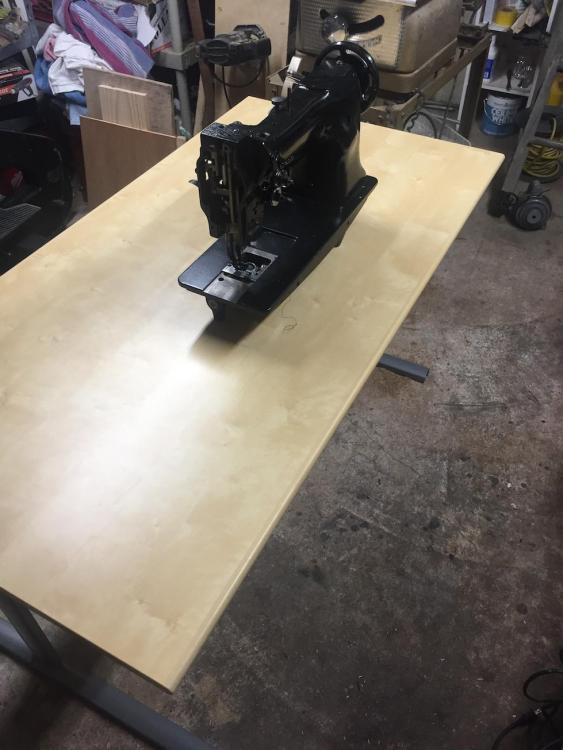
THANKS for the reply and photos! iI just cut the hole for the belt which took some support from the under layer. To be honest I had not thought of mounting the motor up top and had not see it, but my motor is old and ugly and vey "homemade" looking so its better hidden . Interesting that you mounted leaving more table in front? -
WHERE on the table do I want my machine?
kevinkay replied to kevinkay's topic in Leather Sewing Machines
YES! exactly the information I needed and THANKS for the cutout template!!!! -
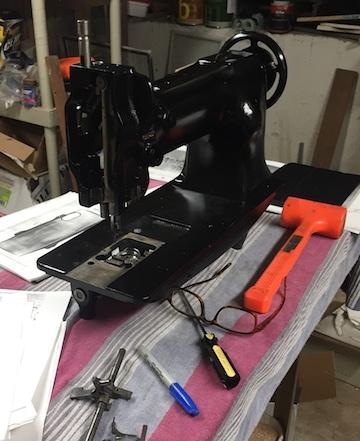
HI, I restored an old Singer walking foot machine. I just found a free IKEA desk/table on CL that will enable me to mount the motor underneath. Do I want the machine mounted to the right so material being worked on can sit on the table?? Whats a good working distance the machine should be from the front edge?? I have to cut a hole for the machine and also for the belt THANKS for any input!

-
My machine is forming stitches. Not to undervalue everyones contributions but Uwe's instructional videos are FANTASTIC

-
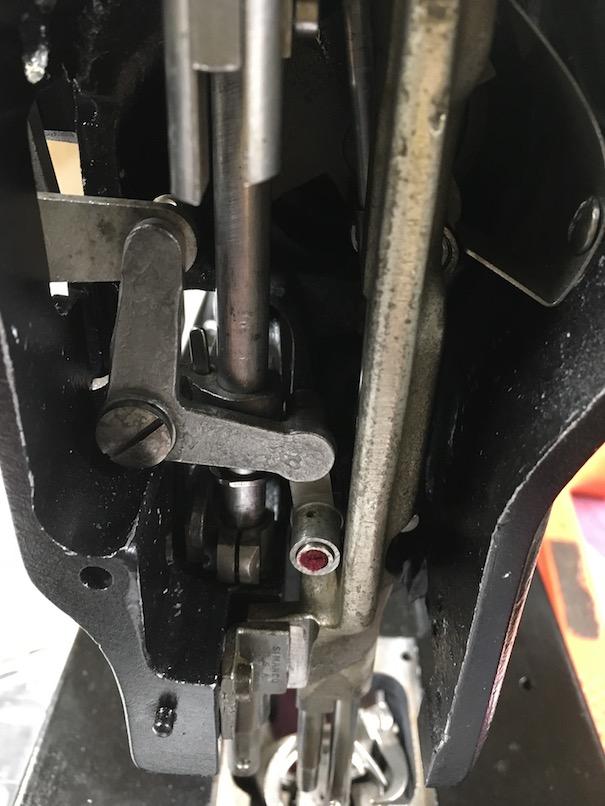
Went to do the initial hook timing of the belt and the hook ended up 180 degrees away when the needle was in the lowest position. Found this EXCELLENT timing diagram and took out the lower rod, realigned everything using the "positioning screw" as the one that sits in the groove (Its confusing in the manuals/parts list which is "set" and which is "positioning" screw). I still have a long way to go but got the hook to pick up the thread! http://mytripleone.blogspot.com

-
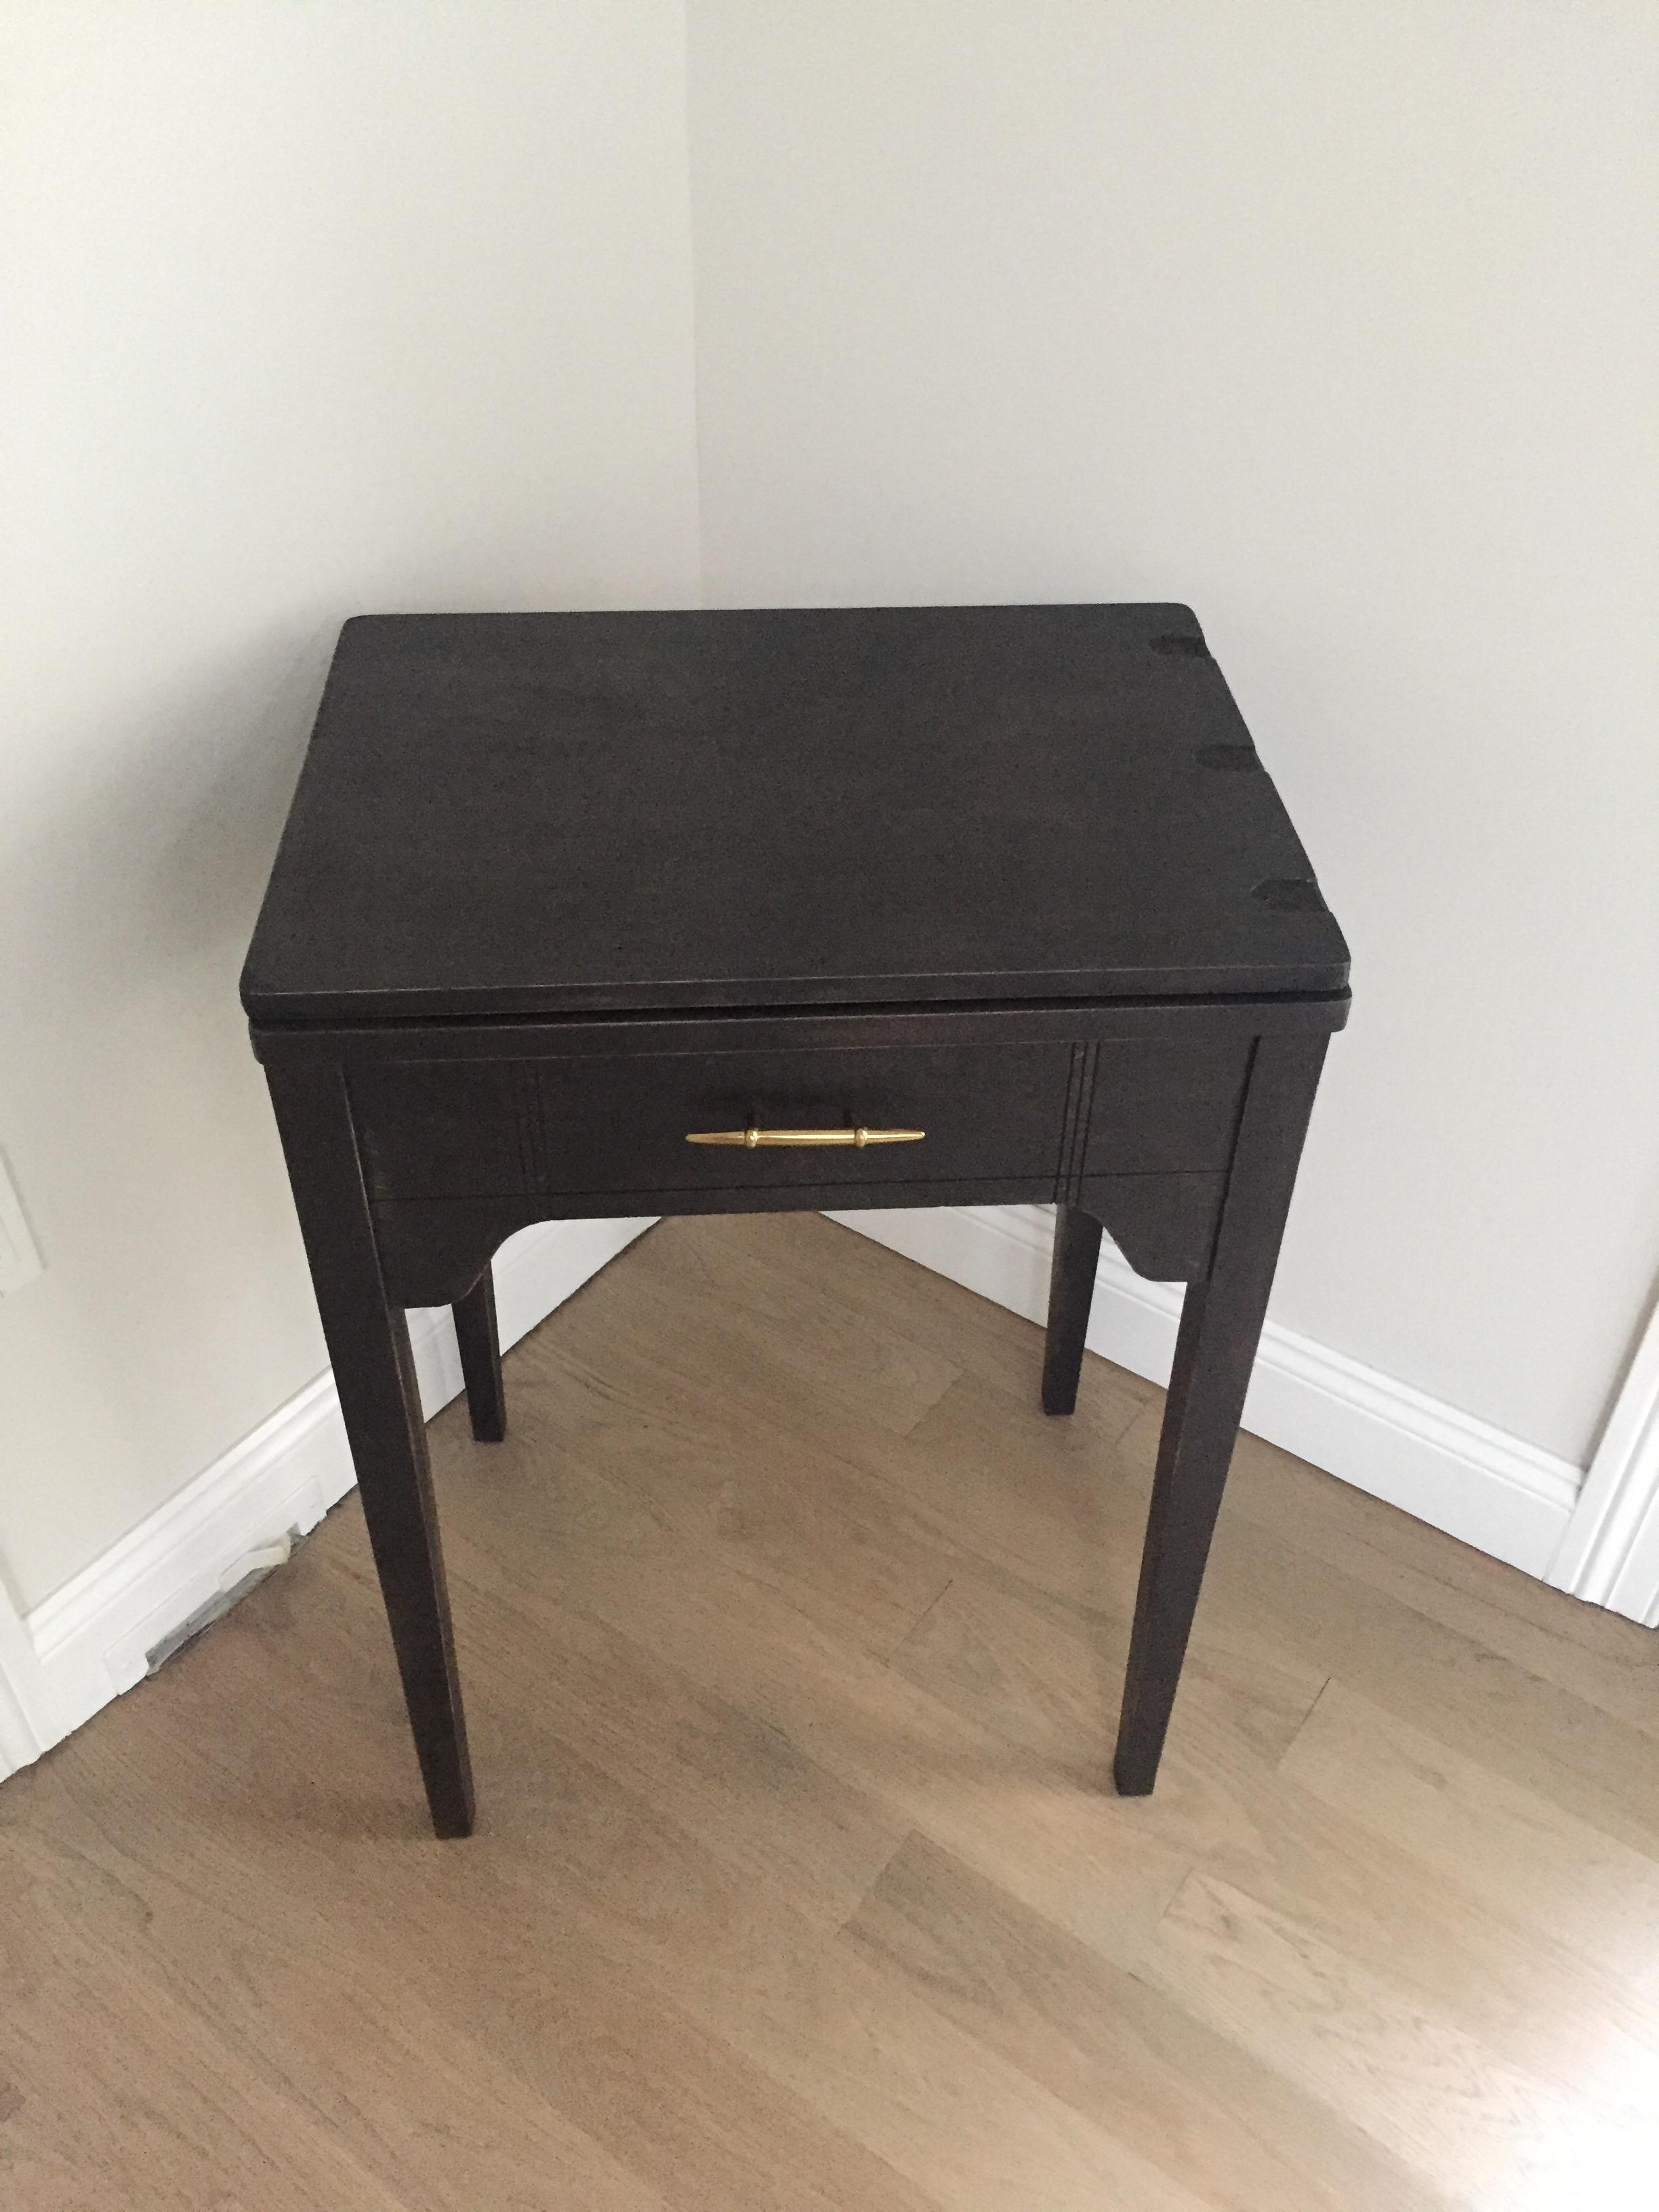
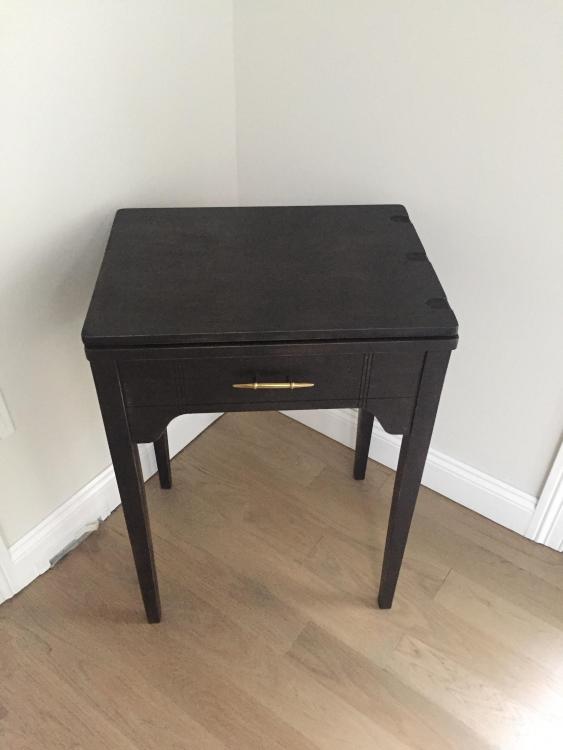
should we start a new group "Singer/sewing machine Hoarding" The domestic machines are so much easier to blend in, unless you go with Mizzy's route and make your machines works of art!. I always want to keep my machines "original" but did change this domestic Singer 223 cabinet to black and was "allowed" to keep it in the living room. THANKS for jumping in - "If you want to go fast, go alone. If you want to go far, go together".
-
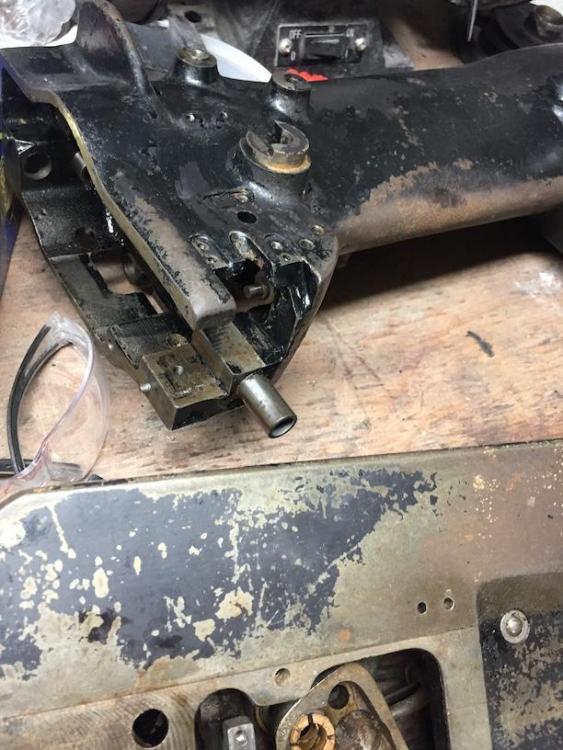
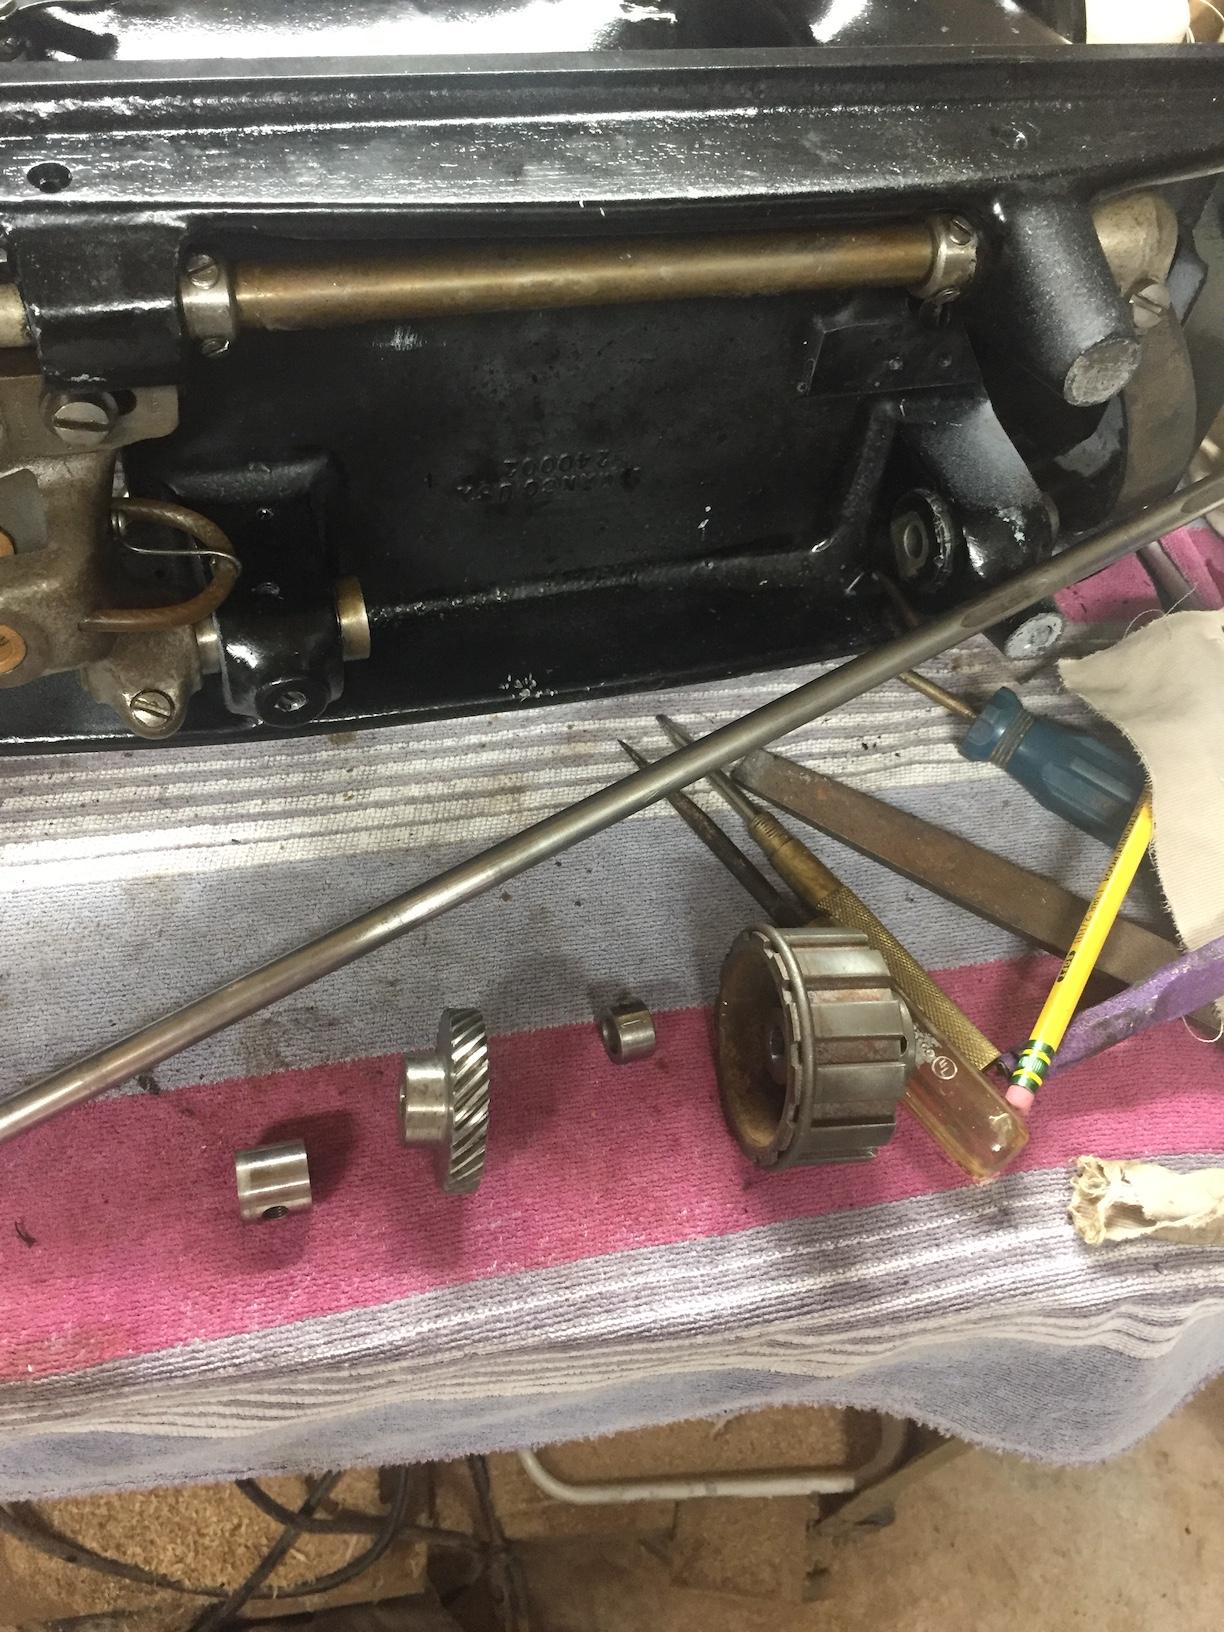
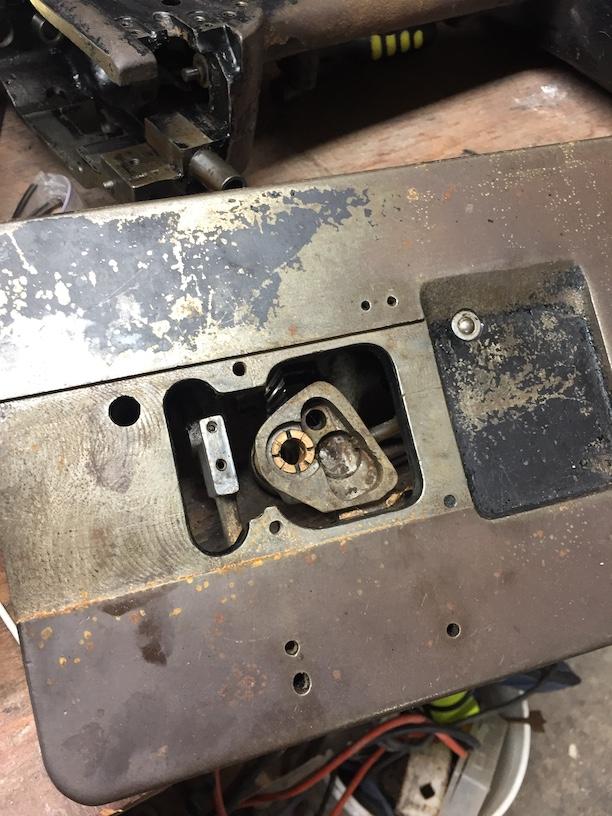
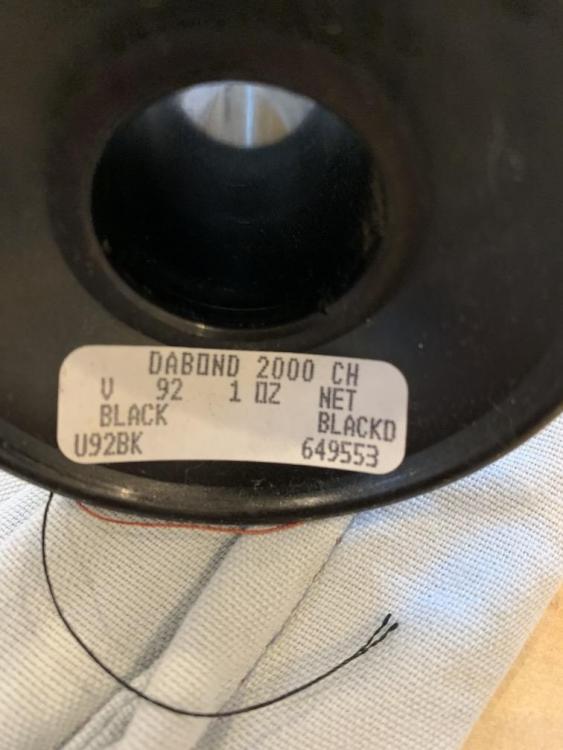
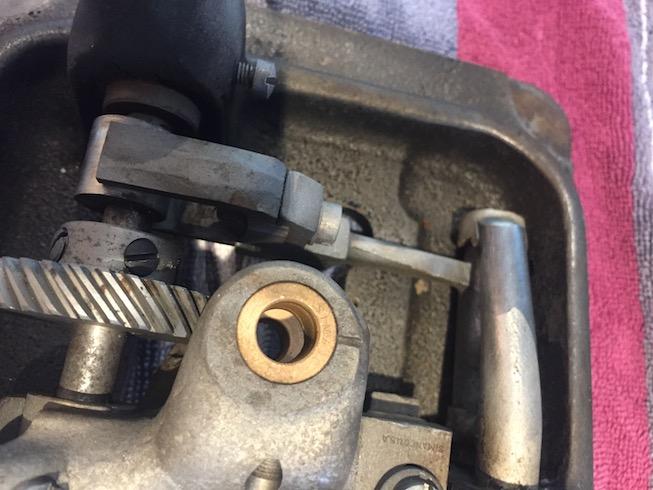
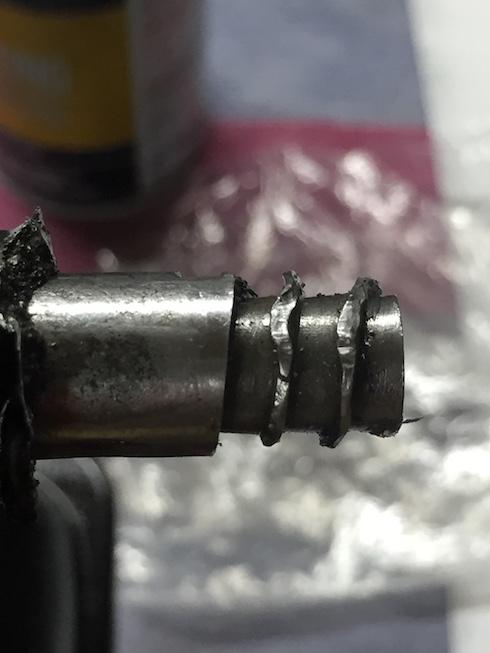
Yeah, I took most of it apart, cleaned and painted and about 95% back together. The tension release slide that I bought (was missing when came to me) is not the right part (or is just so poorly made - from China) its not bent correctly and not pushing the pin to release the tension disks. I am going to assume my machine is a 103 and look for #260141 or 264527. AND figured out why my stitch length knob was not working/spinning correctly - the threads were bent (see photo). I bent them back with a hammer and punch and smoothed them the best I could with a file it spins down to 7. VERY impressed with this machine, every part numbered, very logical design, all iron. I am using rolled felt as oil wicks in the pivots (I read that tip on this forum) instead of buying multi sized Singer wicks. I am still going to need a table and motor I think you all might have given up on me....but figure I should post for the next person that might benefit

-
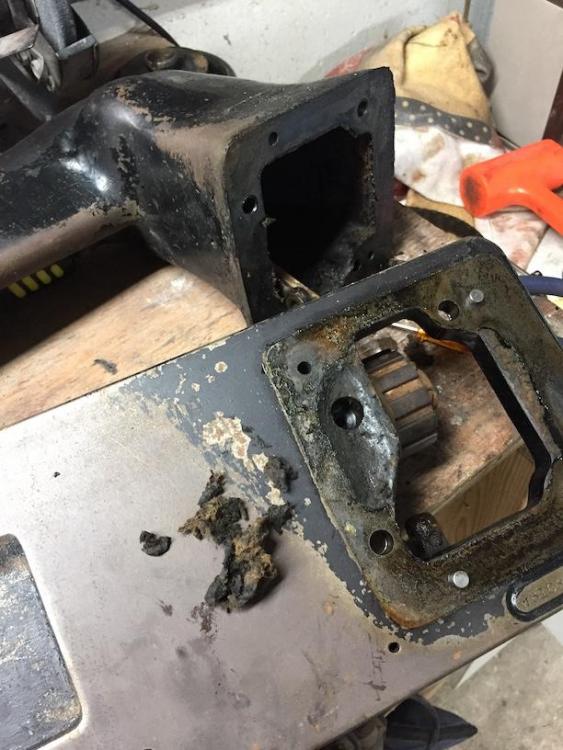
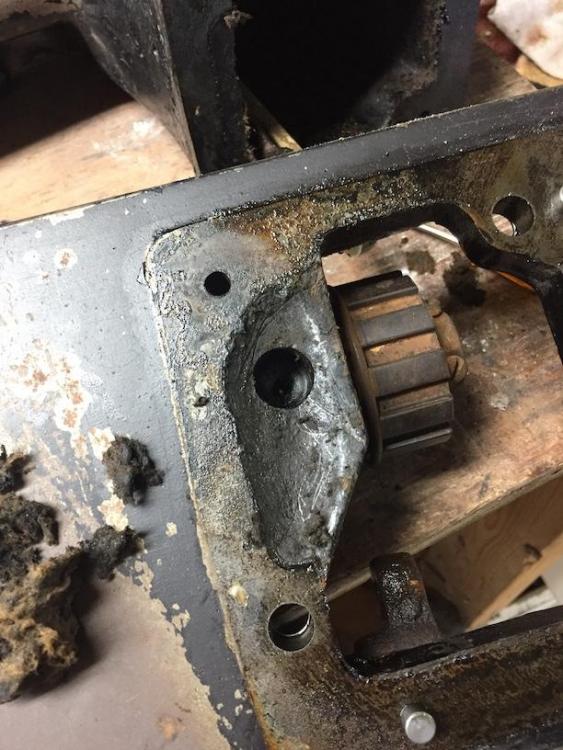
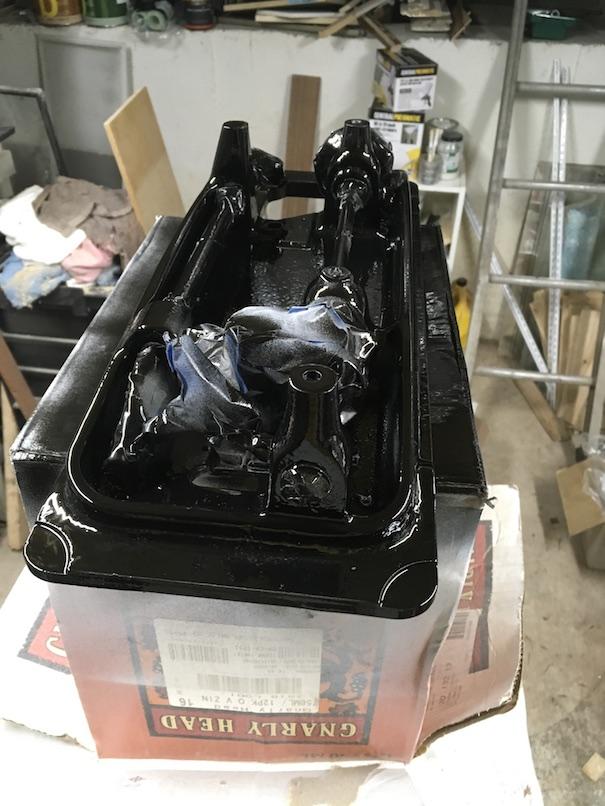
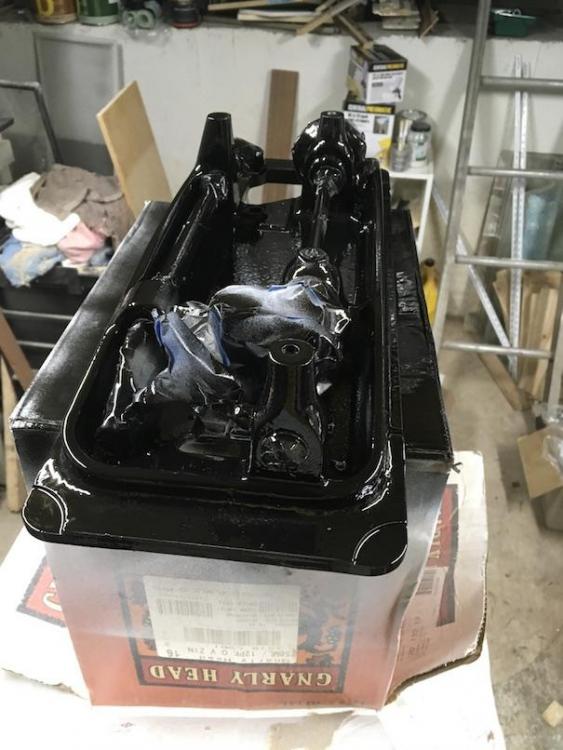
Took the dissemble route. Like everyone has said the US Military instructions are the best. Now that I have the 2 parts separated I am going to sandblast and paint. The inner parts (needle bar area) that have probably have never been re-painted are gloss black so thats what I will restore to. I could use some help on where oil wicks need to be replaced - hard to tell whats an oil wick or a bunch of dust/fuzz built up. It does not look painted on the bed where the 2 parts meet so i am assuming it was painted together at the factory?? THANKS!