Search the Community
Showing results for tags 'leather shoes'.
-
If you haven't used "ghost" waxed leather yet, it's worth checking out. Hope you like my video.
- 2 replies
-
- ghost leather
- sneakers
-
(and 1 more)
Tagged with:
-
From the album: Making Shoes with Sneakerkit
© Camp Leather Goods
- 1 comment
-
- diy
- leather shoes
-
(and 3 more)
Tagged with:
-
From the album: Making Shoes with Sneakerkit
© Camp Leather Goods
-
- leather shoes
- diy
-
(and 3 more)
Tagged with:
-
From the album: Making Shoes with Sneakerkit
© Camp Leather Goods
-
- leather shoes
- diy
-
(and 3 more)
Tagged with:
-
If anyone has ever wanted to give a go at Shoe making but felt a bit intimidated, I feel ya. I found a company called SneakerKit that sets you up with everything you need. Watch my build along and make yourself an awesome pair of leather shoes. https://youtu.be/4zs06dVIEdQ
- 5 replies
-
- shoe making
- leather shoes
-
(and 1 more)
Tagged with:
-
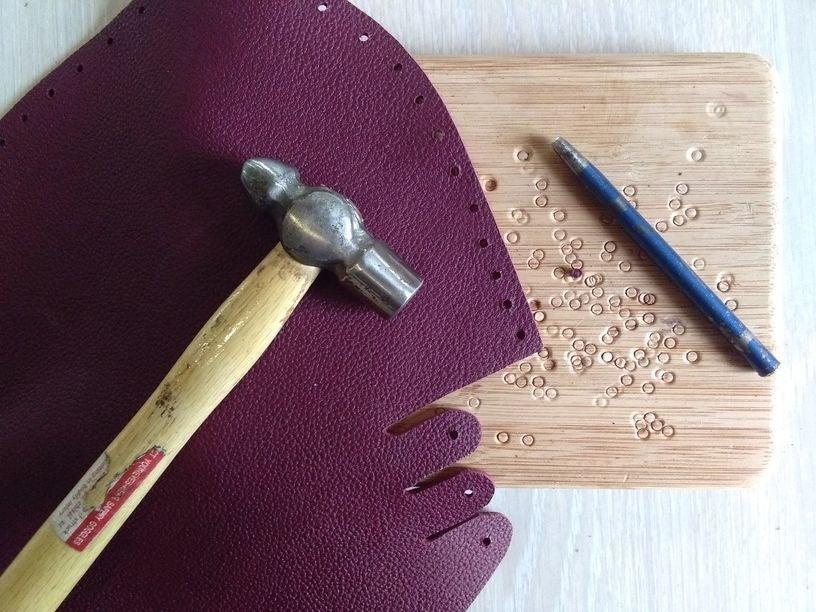
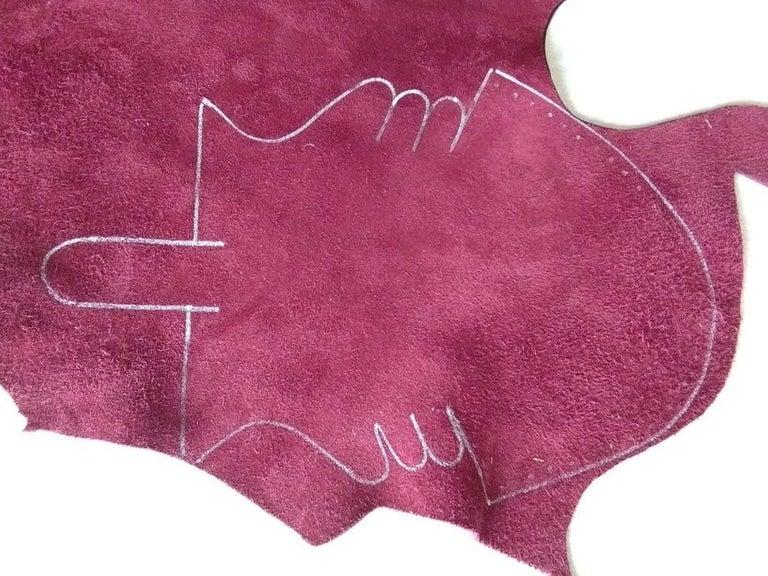
Easy Leather Sandals - Sun Sandals Tutorial & Patterns Hello ! Here is an awesome and super easy to make style of Leather Sandals. They are incredibly comfy and if you let them with a simple soft-sole leather sole they will keep you grounded while still protecting your feet. To receive by email the patterns you will need to print and the full tutorial with more pictures, click on this link. Supplies: A permanent marker (silver, white or golden if on dark leather) A pair of sharp scissors Supple leather of about 1.2 to 2 mm thick (usually chrome tanned leather. It can also be recycled from an old jacket or furniture...) A hammer and a hard wood tablet A leather punch of 3 or 4 mm diameter or a plier leather punch Before you get started, donwload the pattern and print them in full scale (100%). To assemble the patterns you will need : A ruler and a piece of non-elastic thread or a tape measure Paper scissors (grand-ma said : “It’s better to keep your leather scissors ONLY for leather to keep them sharp!”) - Tape or glue to join parts together. The leather punch and tools to go with (board and hammer) Step 1: Choose the Right Size and Assemble Your Pattern Measure the width of your foot where the shoe will close and compare that measurement with the patterns to find the best fit in terms of width. To do so, measure the distance between the two extreme opposite holes. We will take care of the length after... Once you choose if you are going to use pattern S, S+, M or L, cut the front, the back and the heel template. When you cut, follow the black line on the “inside” of the line so that the line will disappear from your patterns. Glue or tape together the front and the back part of the pattern. Take your heel template and place it on the line that matches with your size. Glue or tape it in place. Fold or cut the back of the pattern to hide it behind the heel template. NB: The pattern can be used directly, without the heel template. This enables us to do a more precise fitting and also to use less leather. It will be explained in the Sun Sandals video tutorial available for purchase on our website. Your pattern should look like in the picture above once your assembled the three parts. You can improve the curve that joins the back part and the heel template. Poke holes in the paper where there are dots with your leather punch. Make sure they are at equal distance from the edge. This will enable you to easily copy the hole placement on the leather. Step 2: Copy the Pattern on the Leather and Cut On the inside of the leather, place the pattern on the leather an draw all around it with a permanent marker. Draw the holes too. Flip the pattern over to have a left and a right foot. Cut it out following the inside of the line to that the maker line will disappear from the shoe. Step 3: Punch Holes Place yourself on the wooden tablet and follow the marks to punch the holes. Make sure you keep the same spacing from the edge, try to be as regular as possible. Step 4: Cutting Out Some Lace Take a piece of leather and round-up the edges to turn it into a “potato shape” Decide of the thickness of your lace, here, 3 to 4mm is good, and start cutting in a spiraling manner (clockwise if you are right-handed, and anti-clockwise if left-handed) while keeping an eye on the spacing between your scissors and the edge. If the angle gets to narrow, round-it up again until only a little nugget is left. Prepare about 60cm to 75cm of lace for each shoe. Step 5: Lacing Your Sandal Place the outside side in front of you and start lacing going inside the first hole and outside the next hole.Continue in and out... Once you have finished lacing the front, pull tight and center your lace. This will bring the front part of the shoe together. Make a double knot to secure the front part tightly. Then lace the top 3 petals in a cross pattern. Step 6: Lace the Heel Like in the picture, lace the heel for the tongue to join the sides. Start from the base of the heel. According to the pattern, Hole 1 will join on top of 1’, 2 matches with 2’ and so on... You can lace it in a cross pattern, going from one side to the other. Finish up like you feel... There is no special technique here... Step 7: Congrats! Well done ! I am very curious to see what you've made ! Post a picture of your creation on my Facebook page. You can discover other Moccasin tutorials on my website as well as how to make you own leather soles.
- 5 replies
-
- leather moccasins
- leather shoes
- (and 4 more)


