


Tigweldor
-
Posts
241 -
Joined
-
Last visited
Content Type
Profiles
Forums
Events
Blogs
Gallery
Store
Everything posted by Tigweldor
-
Sounds like your 138 has sat for a long time and is crying out for oil. Unscrew the round knob for stitch length adjustment and oil everything - open the lid right above the adjustment knob and also oil every moving part from the top. Actually, flood the whole machine with oil and keep working all moving parts until it operates and runs smoothly. The 138 also does not have a timing belt - it is gear driven. Now these gears are housed inside an upper and a lower plastic encasement - remove those housings, clean them and repack with good grease - the old stuff often resembles clay. If a screw is stuck, insert a good and tight fitting screw driver into the head slot and hit the handle of the screw driver with a hammer/mallet to free the threads - a manual impact driver is sometimes necessary on really stuck candidates. Soak stuck hook with penetrating oil or rust remover - throw the WD40 as far from you as you can - it is NOT a good solution for stuck threads or stuck anythings - in my eyes it is one of the most useless "wonder solutions" out there - a complete waste of cash. Now Ballistol on the other hand, does work - many a gun owner has it in his arsenal. Jup - 6mm is right. The ZigZag setting knob also adjusts needle position placement (left, center, right) - you have to assure that the hook can grab the loop in all 3 settings. Be gentle with that big plastic knob - it becomes brittle with age - if you break it, replacement is expensive as well as rare. Do NOT force things - take your time - haste often produces costly mistakes - avoid such. Greetings Hans
-
Are you sure that you are using needle 130/705 h and that the needle is fully inserted to its´stop in the needle bar ? Pfaff recommends using a 110 needle in the 138 when making adjustments. On the 138 you have to raise the needle bar 2mm from lowest point of needle travel when setting hook timing. Here is a free copy of the user manual : https://manualsnet.com/pfaff/138 attached below is the service manual for the 138 Greetings Hans BA Pfaff 138.pdf
-
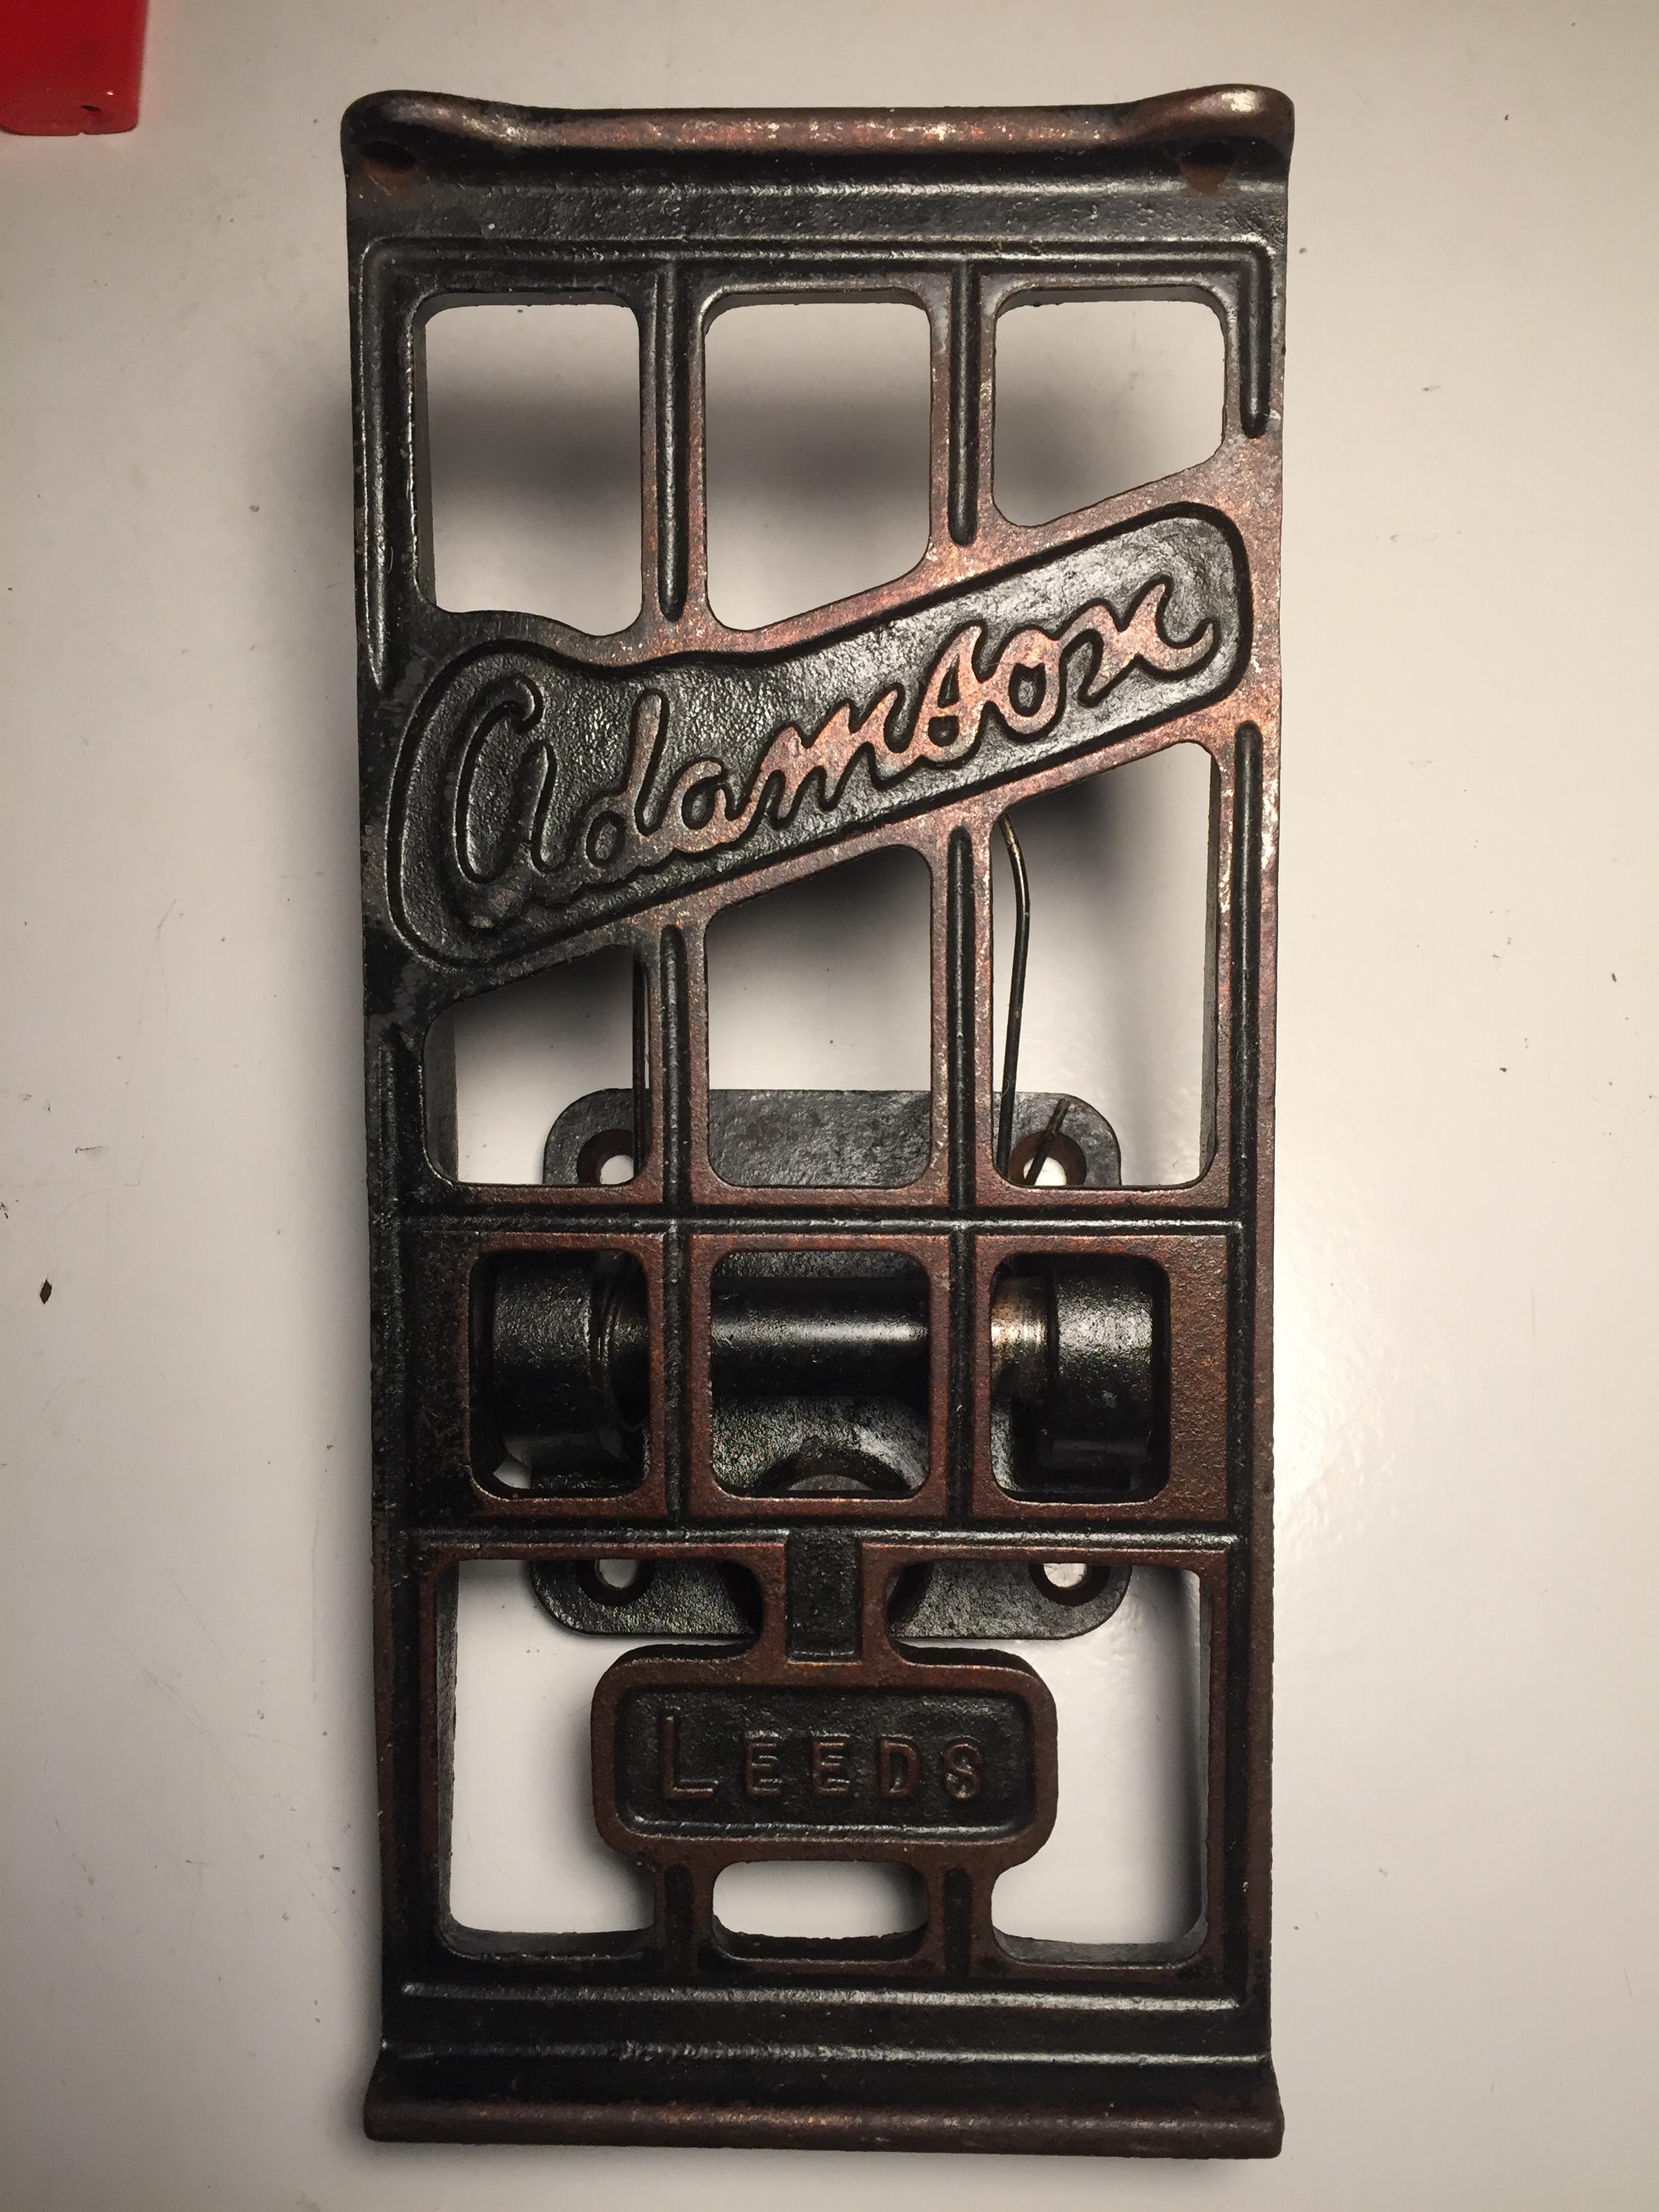
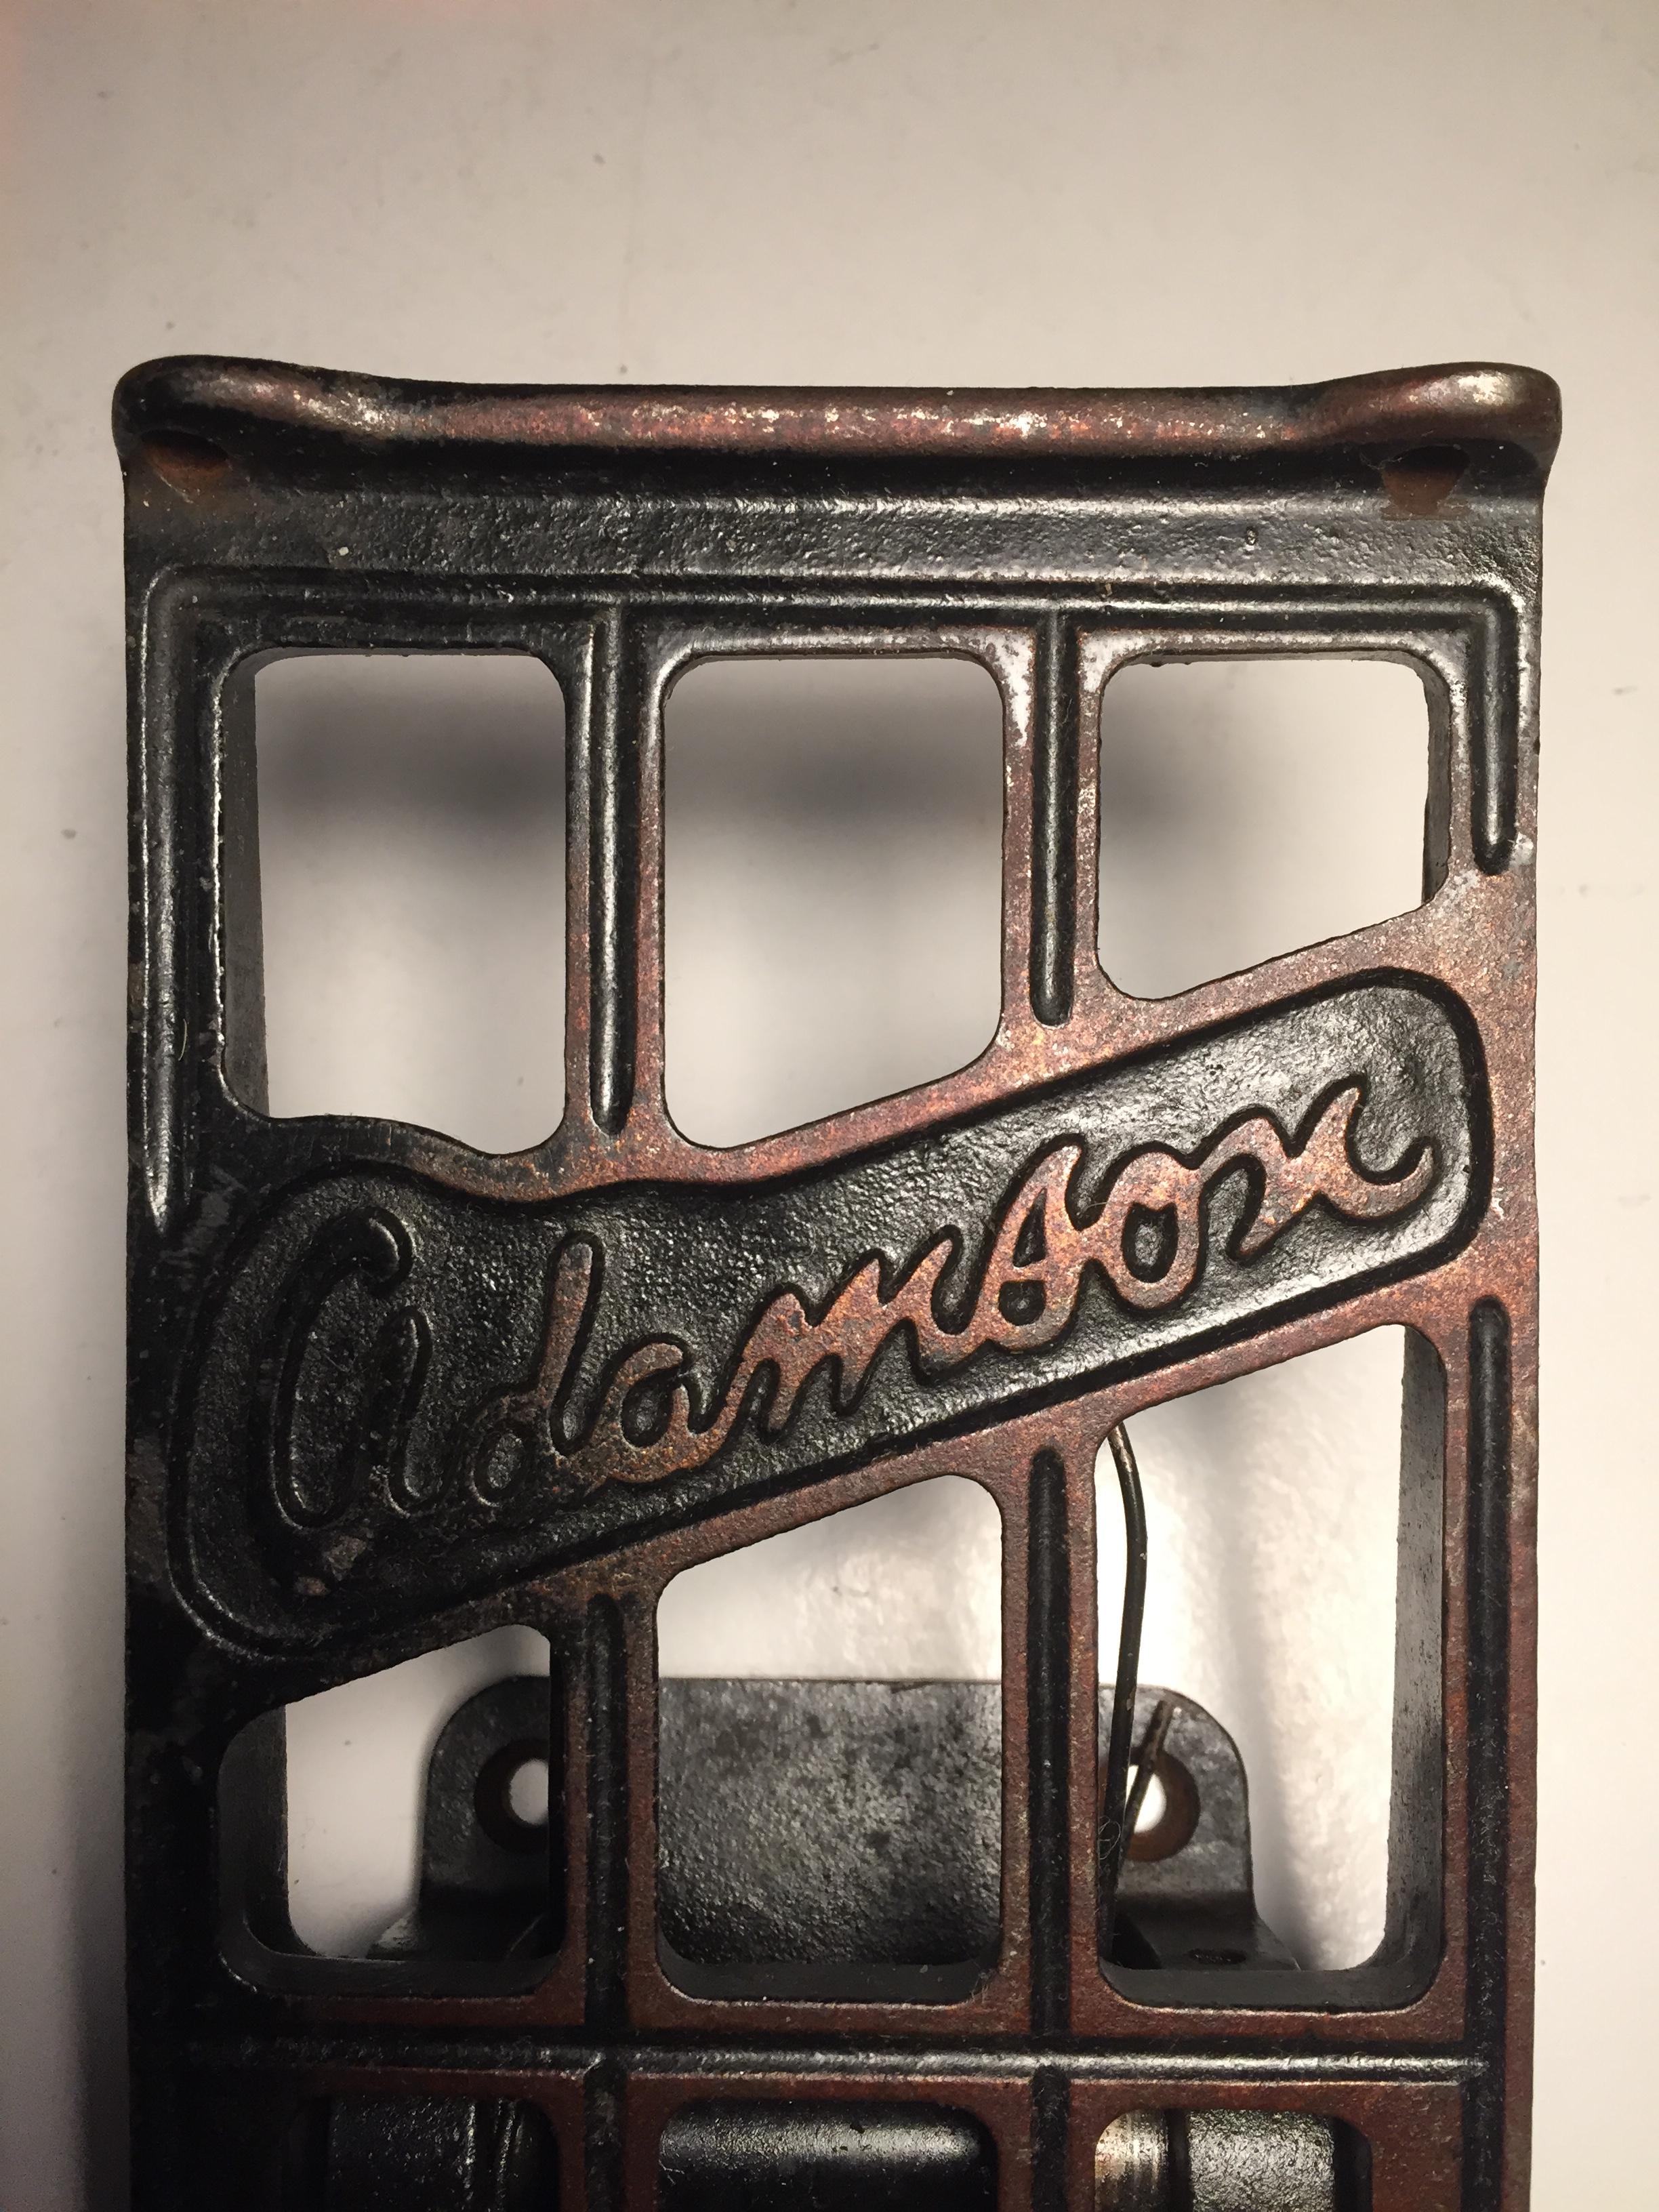
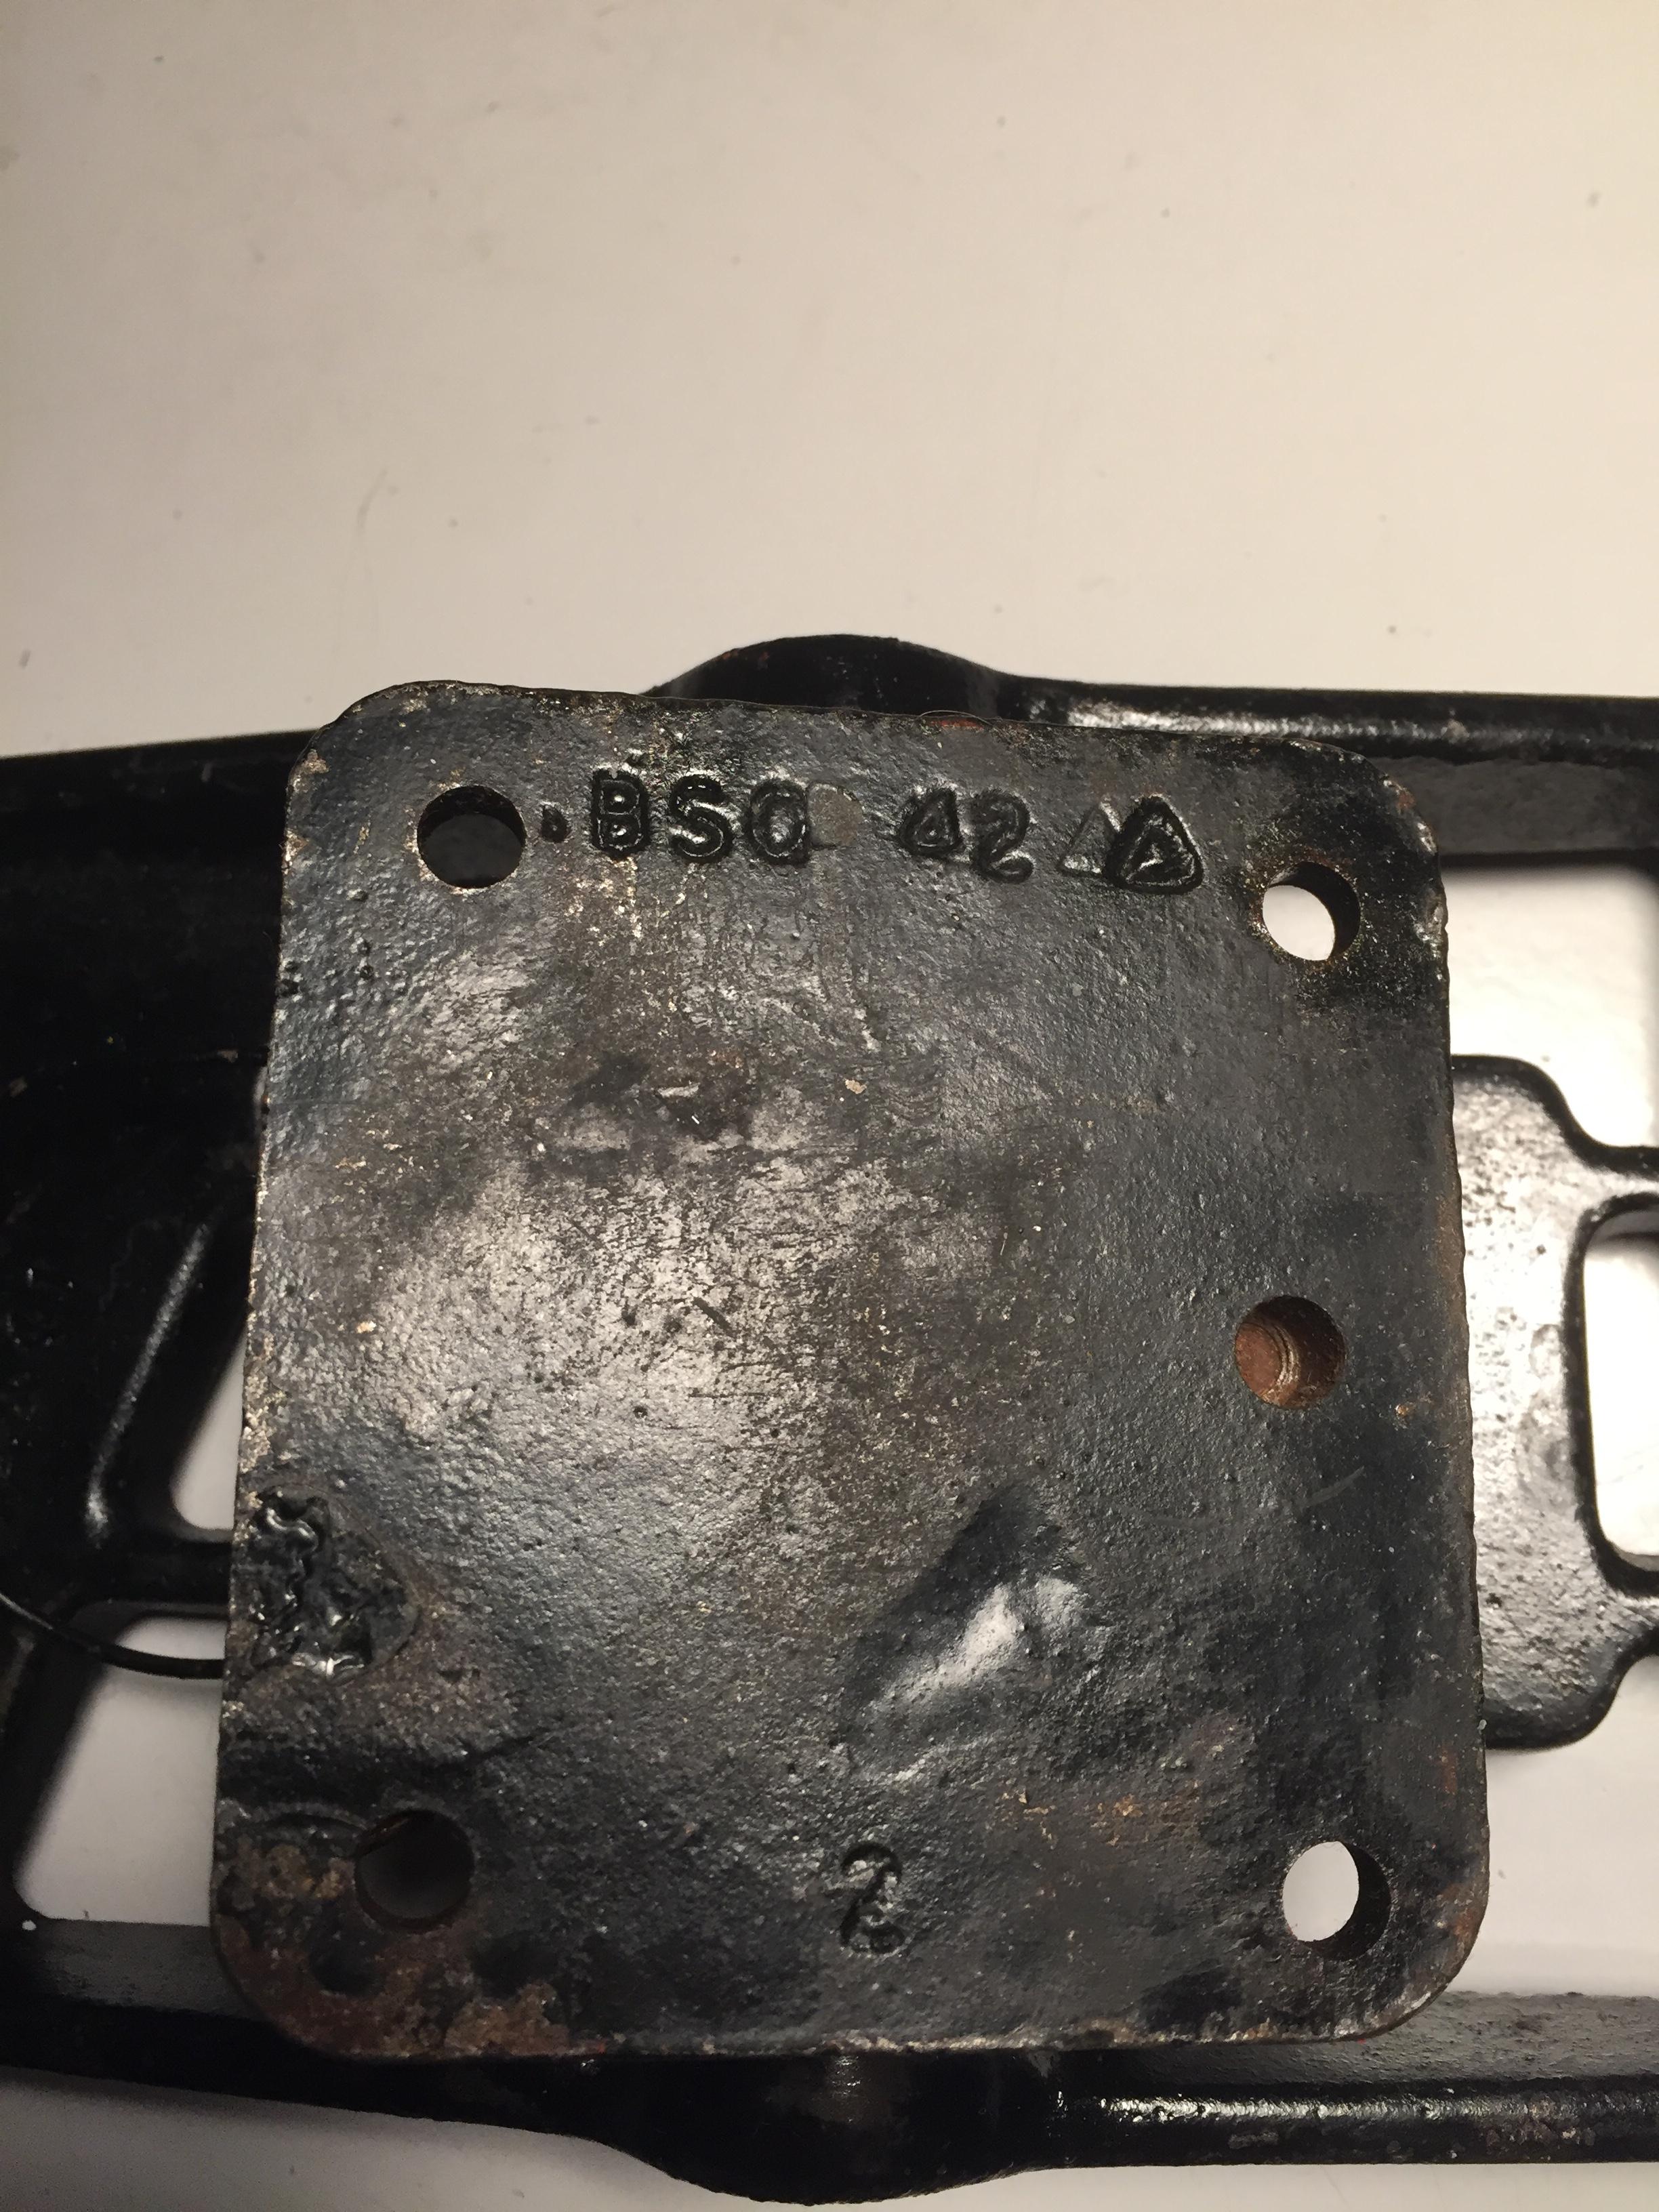
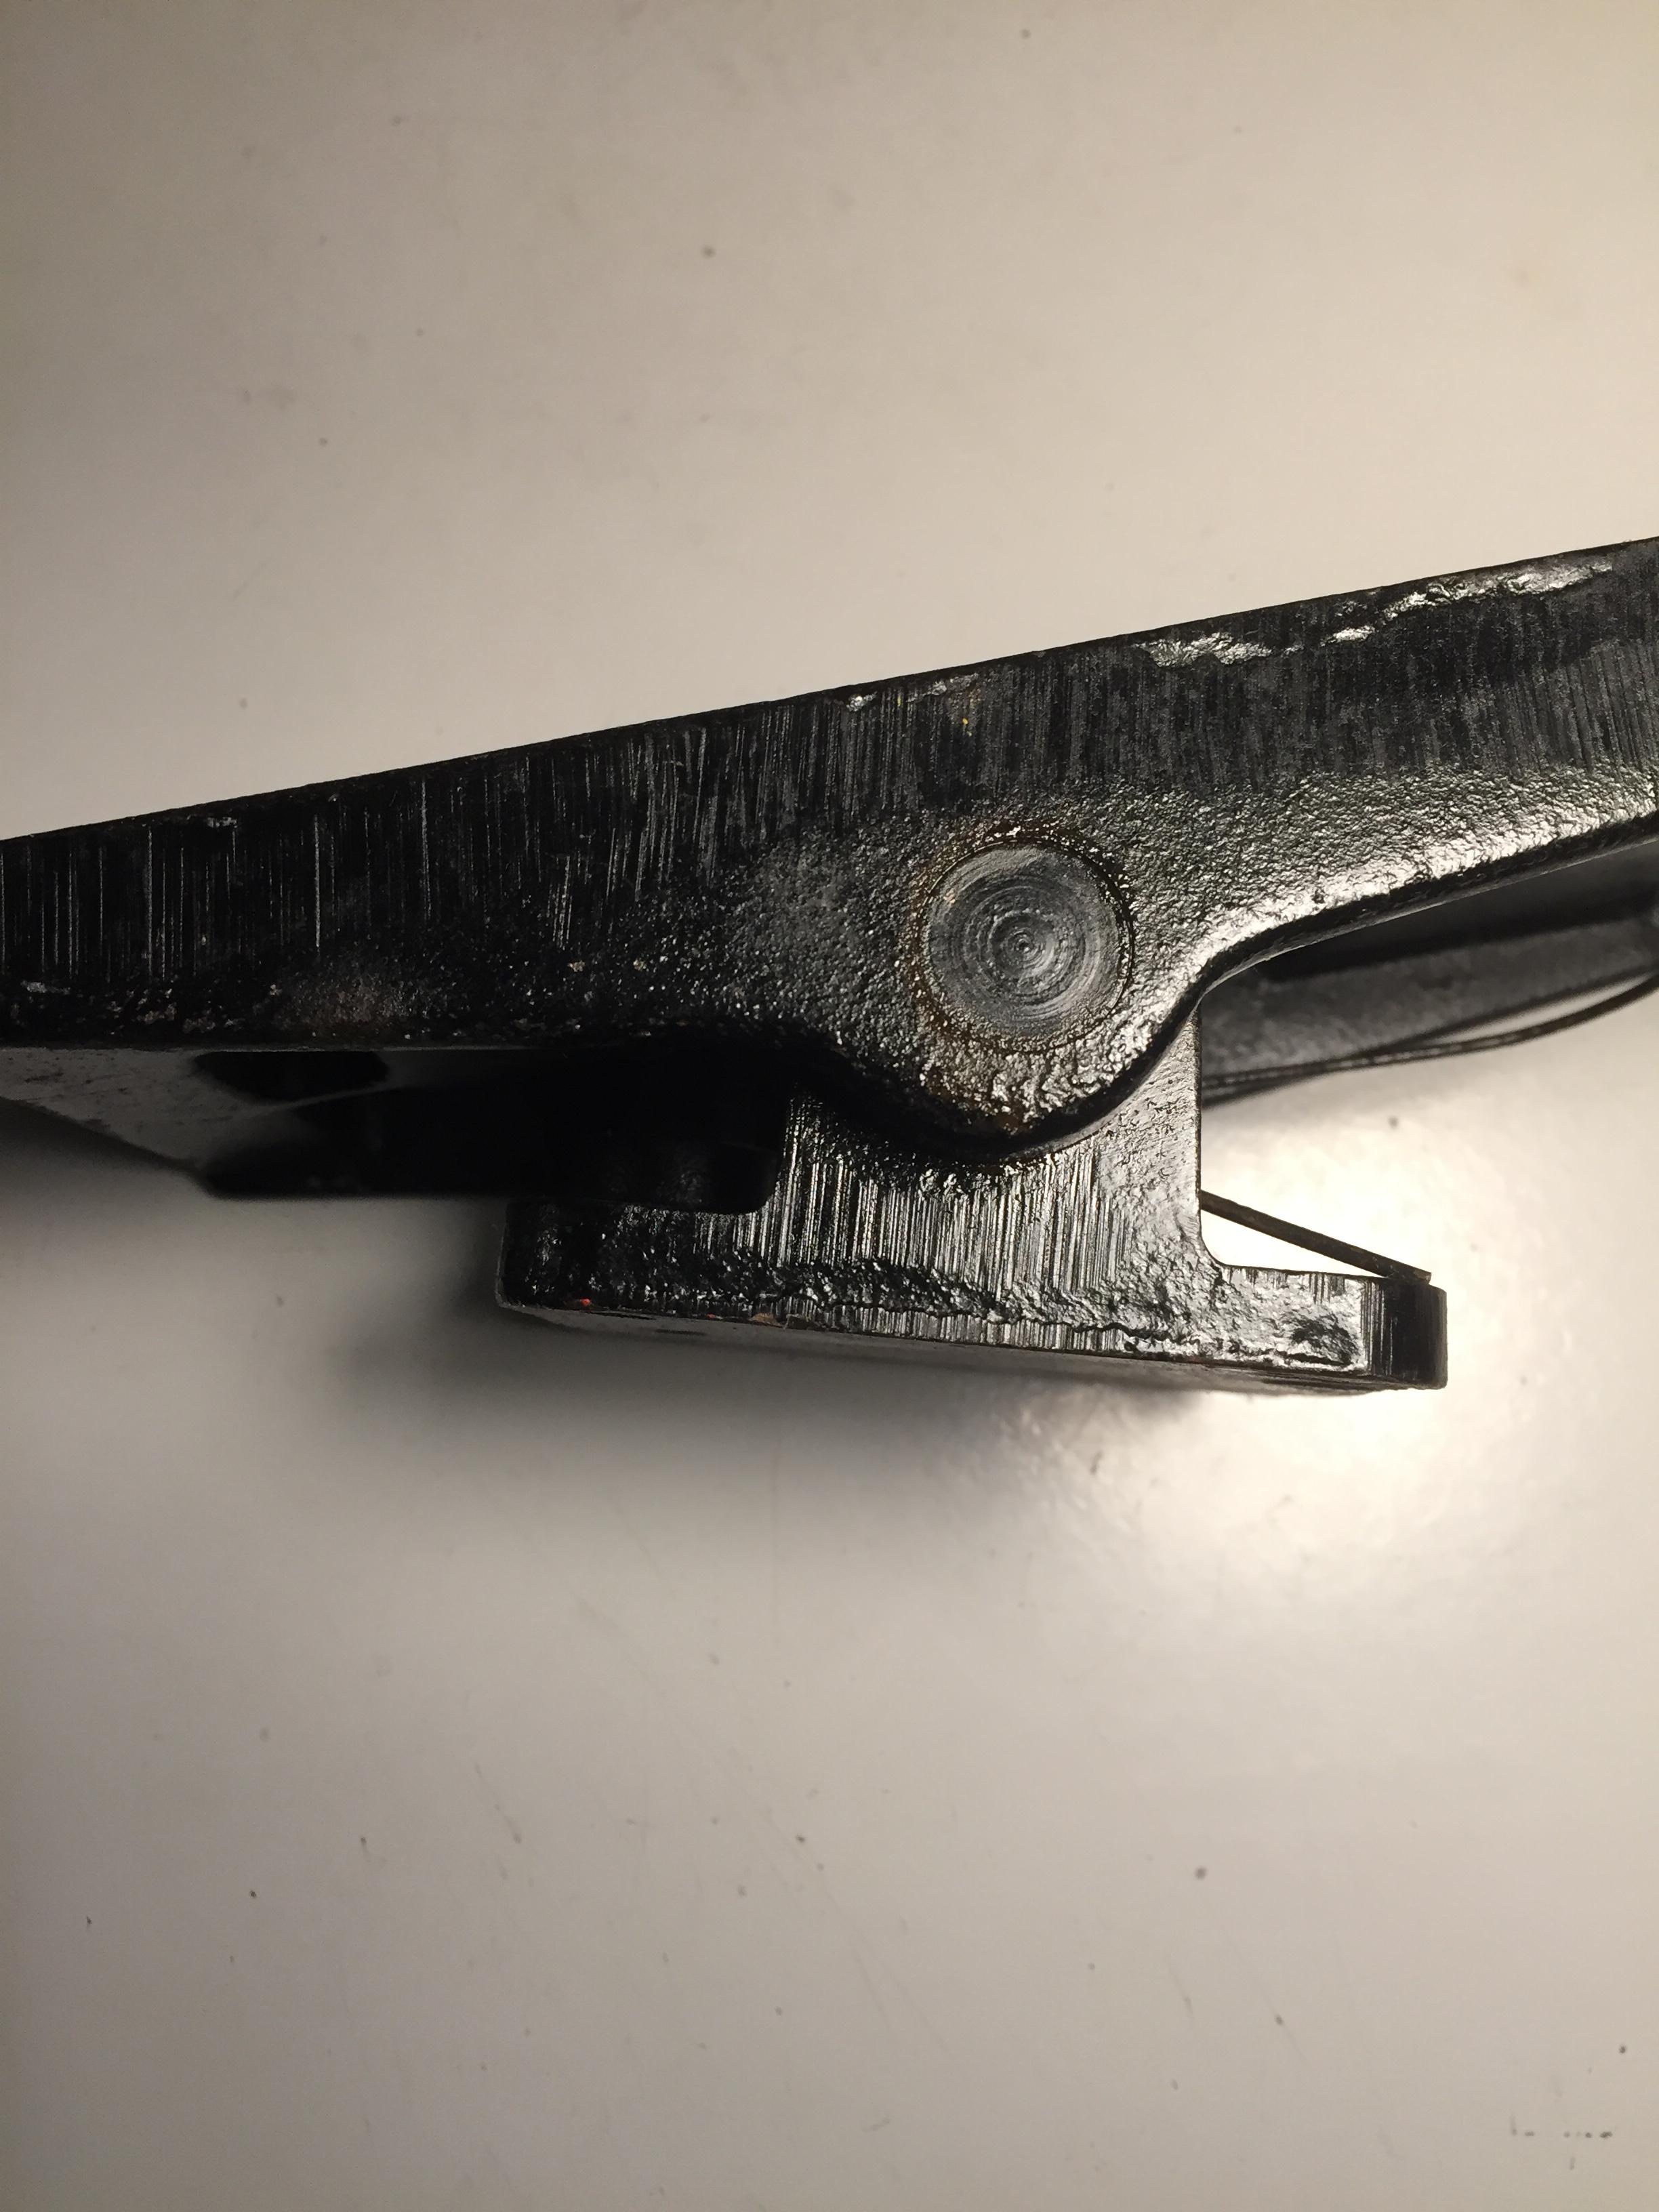
Hi, I recently aquired a pedal to use it for foot lift on my Adler 5-8 through our German Craigs list - the seller could tell me nothing other that it was found in the attic. Is is nicely cast from (for?) a company named Adamson, in Leeds - works like a charm and is made pretty solid. Cast markings are BSO and 42 - the year 1942 could match - was BSO a foundry ? Does it stand for Button Sew On ? I searched the net, but all I came up with was a pic of a button sewing-on machine : https://www.abebooks.co.uk/Adamson-Button-Sewing-On-Machine-Styles-135142/4008403843/bd#&gid=1&pid=1 There is one on ebay as well - it does not have same pedal but definitely the same company logo (writing) : https://www.ebay.co.uk/itm/175833083383? Does anybody know if Adamson made any other sewing machines ? Any info appreciated, cause i had never heard of them before. Greetings Hans
-
The only reason I recommended an Adler in last posting is `cause here in Germany, their country of origin, there is a friendly rivalry between Pfaff and Adler (owners). Sort of as amongst car nerds who is best out of GM, Ford and Mopar. As we all know Ford stands for : Fix Or Repair Daily - Found On Road Dead or F...ed On Race Day Naturally it´s all just in jest, to pull the other guy´s leg. Like recommending to make much better use of his sewing machine as boat anchor, large paper weight or door stopper. Better yet - just buy an Adler cause they´re built solid. Greetings Hans Who likes his Adlers just as well as his Pfaff 138 ZigZag
-
If you`re packing a thick wad and are not shy spending coin on good equipment - I would recommend an Adler 205. If you have to be frugal - one of its´many clones from China. Greetings Hans
-
These Pfaff sewing machines had a 134 bottom end with a 145 top end affixed to it - meaning they did not have the safety clutch. H1 means very small foot lift - class B means needle size 80 to 100. It has the small hook and small bobbin. It is a machine for sewing thin material with thin thread only - within that needle and therefore thread range it will make good stitches If that is not what you need/intend to use it for - I would shy away from buying it. If however you want to sew lightweight tent material or make hammocks and other stuff from parachutes or use linnen, tarps, bedsheets - then the machine is in its´elements - though you may prefer a ZigZag machine for such projects. Of course you can also sew leather with it - but real thin stuff with tiny hidden thread - some times you want to produce that look. Size 80 to 100 needle would be good for T-45 thread = metric 60 thread , metric 40 would be crowding the needle eye in some leather- that is thin stuff in the leather world for use as top thread. Greetings Hans
-
The above should be noted when choosing to buy a Pfaff or using it in your armada. Pfaff set up their machines according to what is stamped into the brass plate. This means needle to hook clearance and also thread clearance within the hook - bobbin system. So if you for example take a machine from the "B" class - which is set up from the factory to run needles from 80 to 100 - and think without knowing : well my 335 can handle way bigger - you will NOT get satisfactory stitches - without doing a lot of readjustment and even different parts. This has probably caused a lot of head scratching over the years with people who had Pfaffs that did not work - but Pfaff made you run within a limited parameter of needle/ thread thickness. They never proclaimed to have one machine that can do it all - they custom tailored their machines to limited needle size = thread size --- thus the machines made beautiful stitches within set parameters. That was their strategy back then - proved them right - they earned a name for quality. Now you have to beware for your own good, when buying used - the older used industrial Pfaff sewing machines were most always designated to some very specific factory sewing job. Some set up for sewing gloves and thin stuff - small needle , small stitch Some set up for sewing sandals or other thick leather. Only advice I can give :you MUST read the brass plate and see if the machine is suited for your exact application. If it is not - do not buy it and waste your time and money trying to change it - it is NOT worth ist - just buy the right model. Or an Adler. Greetings Hans
-
Okay, this will take a minute. The Pfaff are divided into classes from light to heavy caliber machines : A , B , C and D A = needle size 60 to 80 B = needle size 80 to 100 C = needle size 100 to 140 D = needle size 150 to 180 Then there are sub classes : A/B , B/C , C/D ----- these have the small hook and bobbin but the large needle hole H1 , H2, H3 and H4 stands for the maximum foot lift - with H4 I think being 11mm (don´t quote me on that last figure) So your Paff is type 335 -- model 132 -- has the small hook and bobbin but the large needle hole (80 to 140) and probably a max. foot lift of 10mm Hope that helps you out Hans
-
Sagitta Skiving Machine - Manual wanted
Tigweldor replied to AtelierStefani's topic in Leather Machinery
What is also ABSOLUTELY and VERY important : after grinding the bell knife with the built in stone sharpening wheel - you have to dress the the inside of the bell knife with a hand held device as well --- to remove the burr has has formed. If you do not do that - the bell knife will still feel dull - and tends to tear/shred the leather. Now with that hand held device you don´t have to get fancy - a strip of sandpaper (better is emery cloth) draped over the tip and back on a round (chainaw) file or screwdriver will suffice. Even the naked round chainsaw file can be used - after a while of use though, you have to cut off the tip with a grinder - cause the file is only being used on a very short part of it at the tip = limited file flutes in action. They clog up and wear fast because the bell knife spins so fast. A small round sharpening stone or a round industrial diamond coated file will naturally work better/easier - but anything is better than leaving the burr. If you want to get your bell knife really sharp - you will have to repeat this double action sharpening sequence a few times with ever smaller getting advance setting on the grinding wheel - as the burr will have a tendency to just flip onto the other side until it gets so thin, that it breaks off. At that point you will have attained utmost sharpness. And WATCH YOUR FINGERS when doing this - skiving of a part of your finger is no fun - a spinning sharp bell knife will cut right through bone. Greetings Hans -
Again - there is no such thing as a developer mode on the OP 1000. The program is pre-defined by the factory - you can only change parameters within the various functions/sub programs. This is not an open source computer program - there are even different OP 1000 with pre set parameter possibilities/sub programs for different model Adler machines. Greetings Hans
-
Have you tried moving the take-up spring one notch closer to the pivot point = less spring pressure on the arm due to less fulcrum/leverage ?
-
small wheel embossing for belt border - how to guide it?
Tigweldor replied to deboardp's topic in Getting Started
I am definitely not knocking your decision. I make belts and have tried this "thrifty method" with the hand wheels, years ago. I will not recommend it to anybody - period. The time and effort is not the object - you screw up on the path of the wheel - you will have ruined your belt. In my projects I strive for absolut perfection for my customers - this method, as simple and as cheap as it first seemed, did not achieve that. It is like climbing up Mt. Denali in Mt. Rainier suited gear. Ain´t gonna speak up again upon this project. Greetings Hans -
small wheel embossing for belt border - how to guide it?
Tigweldor replied to deboardp's topic in Getting Started
of course I meant borders - not boarders - ain´t no one living there. -
Singer 18-2: can't get the tension right
Tigweldor replied to Nico619's topic in Leather Sewing Machines
Can not tell you - to be honest. Have never sewn goat leather - nor such thin leather (0,8mm). You´ll have to wait till someone more experienced on that comes along. Do you have any other thread, so you can try a thinner size in the bobbin ? Just as an experiment - if not, just flip the leathers and put the thick stuff on the bottom, the thin stuff on top. Greetings Hans -
Singer 18-2: can't get the tension right
Tigweldor replied to Nico619's topic in Leather Sewing Machines
The way I see it in the pics - your bottom thread is almost bigger size than your top thread. I most always run my bottom thread one size smaller than top thread. You should leave bobbin setting as it is and just try a smaller size, different bobbin thread. Costs nigh to zero - some threads just don´t work the way you want them to, no matter how long you fiddle around. As you get more experienced with your machine - you will be able to tell if bobbin settings are right just by pulling on the thread - it is a "feel" that can not be explained - you have to feel how much force is needed to extract more thread from the bobbin - sort of a muscle memory, if you know what I mean. To see if the hook meets the exact middle of the scarf of the needle - mark the scarf smack dead center with the smallest black sharpie that you own. When the hook is just on the outside of the needle - it should perfectly align with your black mark. With all the bright shiny surface, it is hard to tell the way it is now. Greetings Hans -
Think of how one can use orange sticks - again a tool for nails that have a million non-nail uses. ------------------------------------------------------------------------------------------------------------ Even though I am not a nail technician - I know what those are. I use them to clean my ears (not the pointy side) :)
-
Very good pics. At 22 bucks a pop for both plate and feed dog, it won´t break his bank either.
-
small wheel embossing for belt border - how to guide it?
Tigweldor replied to deboardp's topic in Getting Started
Those are the ones I was talking about, when I said they don´t work good on leather. At least not in my opinion. Let´s just assume a belt is 3 feet long - with both boarders that makes 6 feet. Times 20 belts that makes 120 feet = 40 yards I wish him good luck doing those with the hand held unit. Greetings Hans -
small wheel embossing for belt border - how to guide it?
Tigweldor replied to deboardp's topic in Getting Started
The embossing wheels are usually made to be used in an embossing machine. Latter come in manual versions with a crank -- or driven by electric motors. They most all have guides so that you can center the workpiece in the wanted position under the embossing wheel. Here a link with an example - if you click through the pics to the machine - you can see the guides. On the left top of the page, there is a stamp with a cross - is that "churchy" enough for you - if not, browse further through etsy https://www.etsy.com/de/listing/673428225/leder-pragemaschine-lem-1000 Greetings Hans Edit : etsy is not really for the "thrifty shopper" - and a lot of merchandise shown there can be bought through Alibaba or Aliexpress for a fraction of the cost - you will have to do your own research though - which may take an hour or so. For only 20 belts I would find someone in your city/state that owns an embossing machine and see if you can´t just buy the needed wheels and then use his/her machine for a modest "rental fee" - naturally at his/her place. If you do find someone - ask for shaft diameter before ordering embossing wheels that will not fit their machine. Do not be fooled by ads that suggest that you can use the hand held version for leather - you will not be able to exert enough pressure for a continuous deep and even imprint - they are good for clay and other very soft material - not good for leather. You only get one try to make the design - the chance of going over a second time and exactly overlay first imprint is very slim - naturally depending upon intricacy of the pattern - a simple single groove does work. At least that has been my experience. -
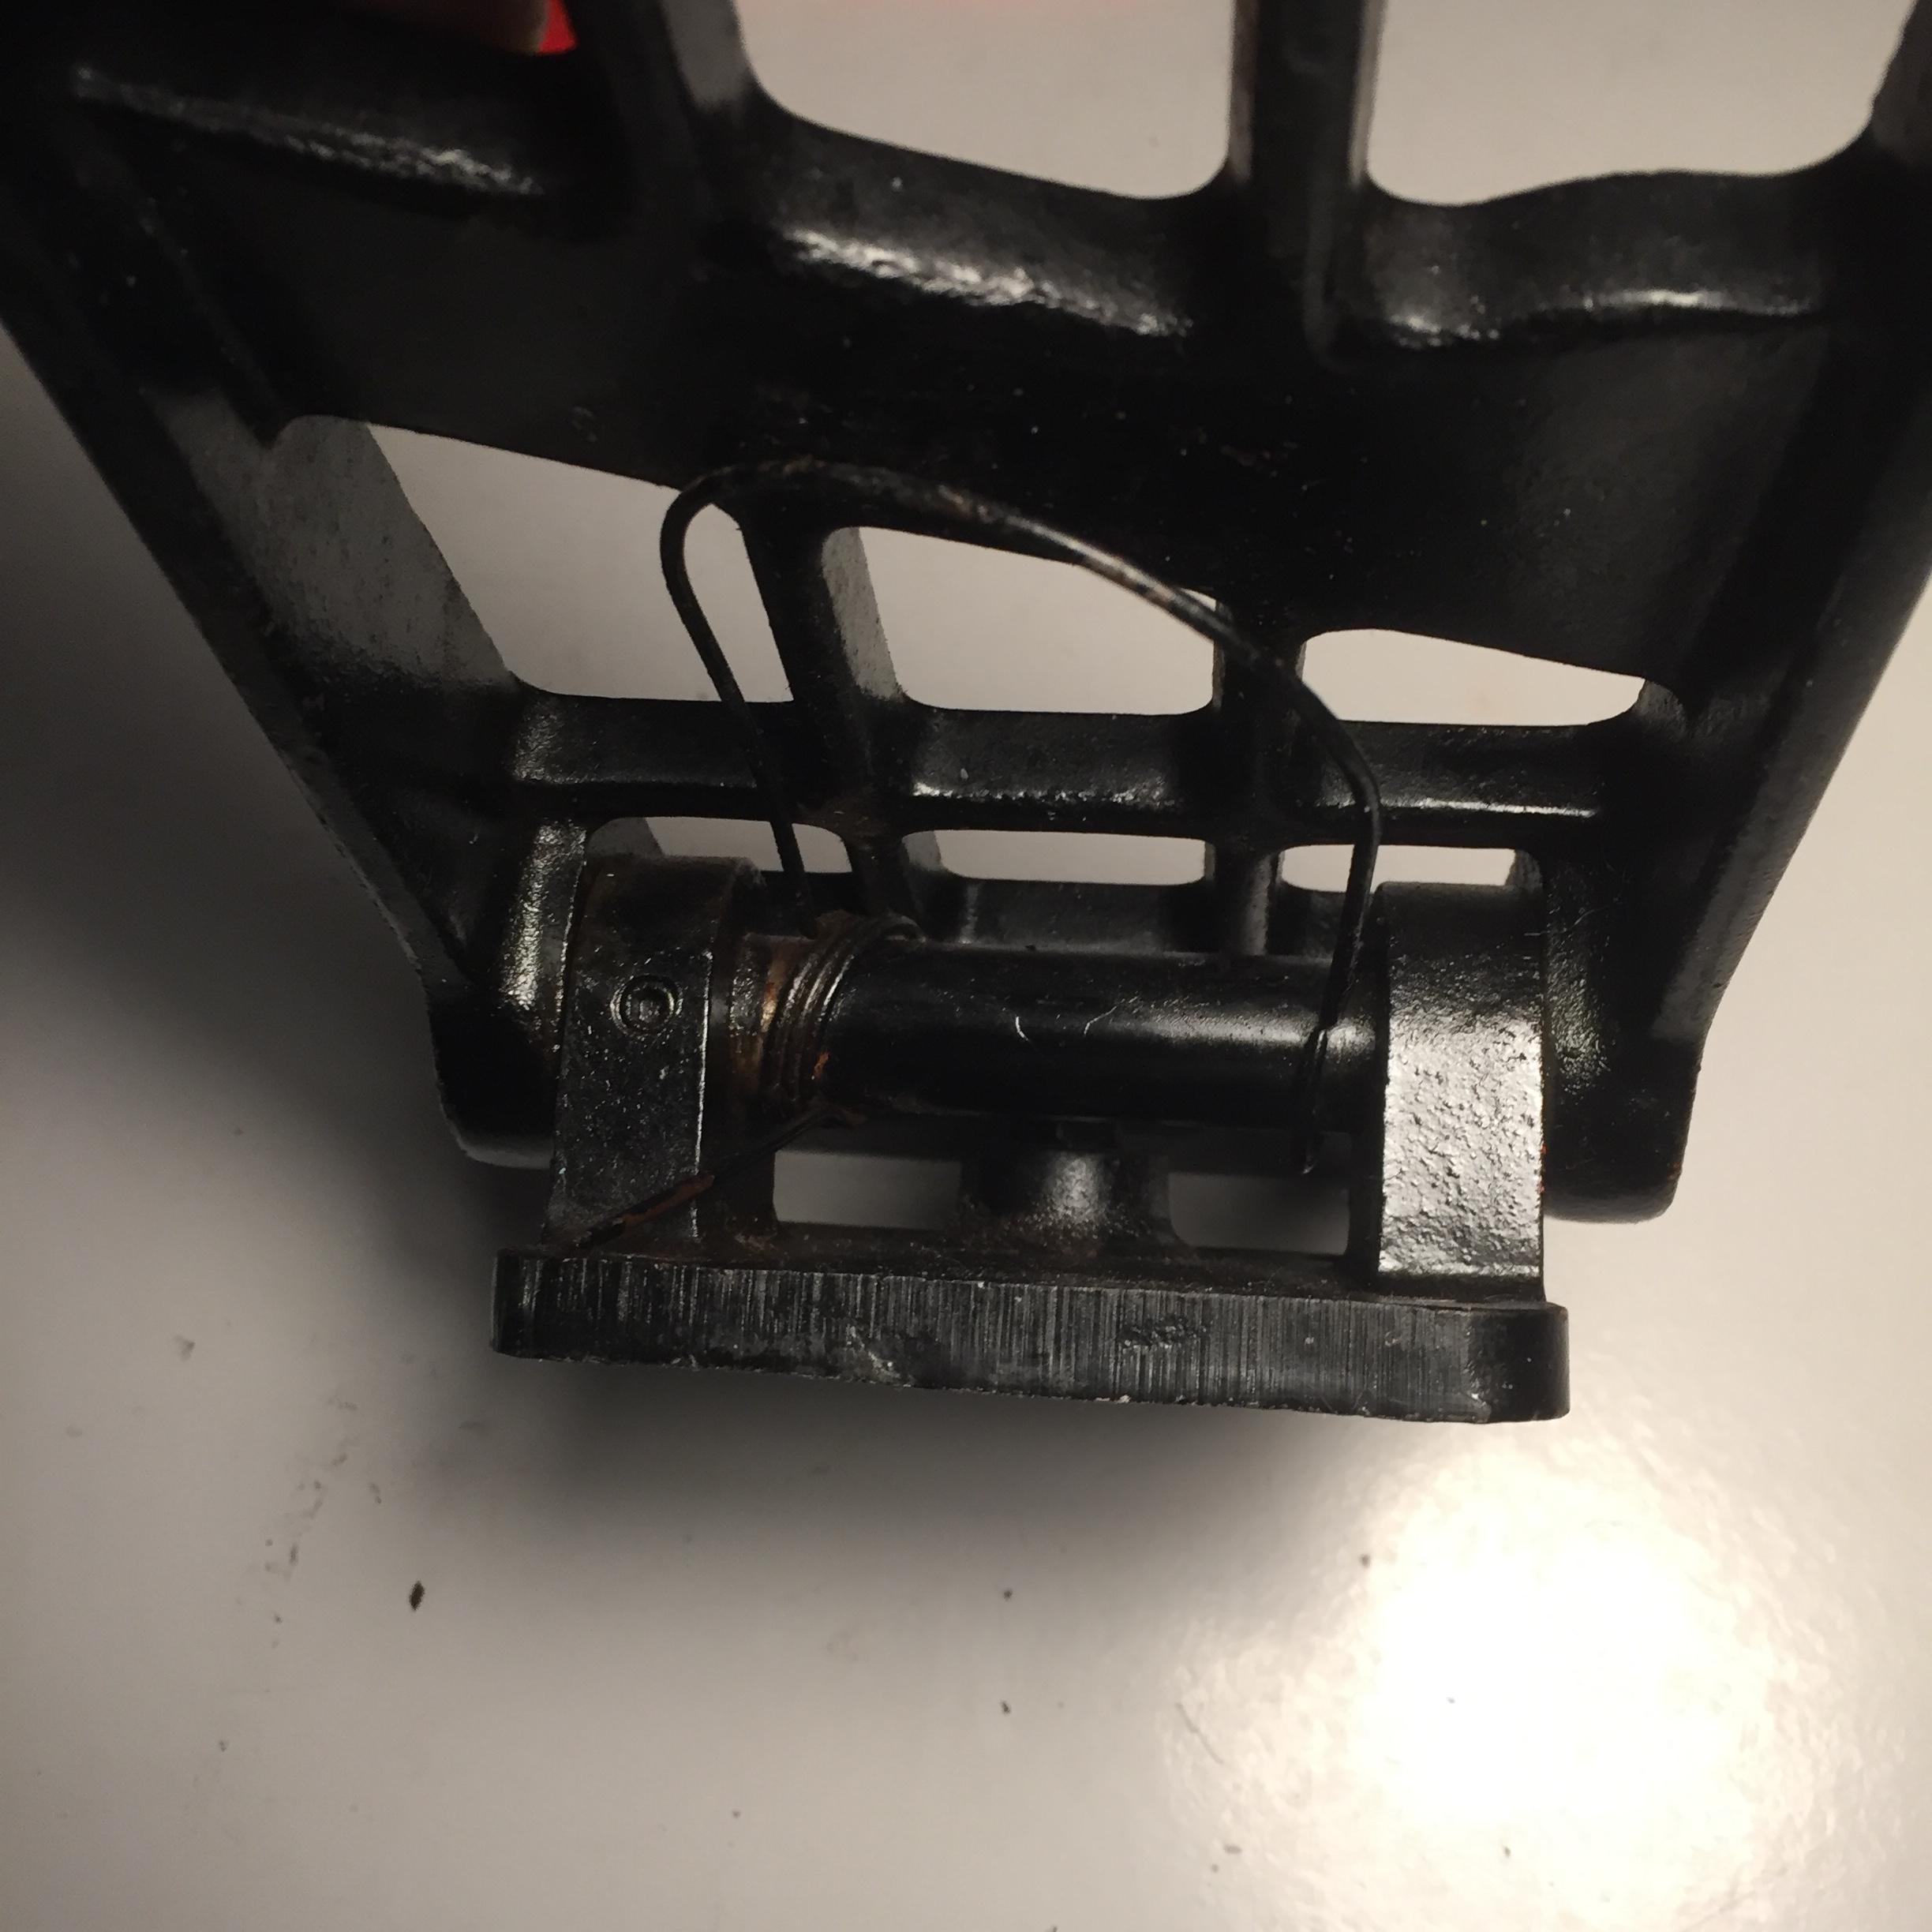
By the looks of the belt on your machine - it seems to have been replaced at one time or another if you compare it to con´s "string-type" belt. And if you look at how your sewing machine table top has delaminated - it seems that the unit has seen a lot of moisture at some time in its´life. Are you sure that all moving parts can actually move and have not seized to a stop ?
-
Sold locally. Actually traded it for an older defect hot foil stamping machine. At home I found out that it just needs a new heating element - which comes to about 30€ Ad can thus be deleted. Greetings Hans
-
For 22,50$US you can´t do much wrong - at least the new feed dog in your pic has a sharper "tooth" and square edges around the needle hole compared to the one you are running now. And looks different than the one from Kunpeng - which has a more oblong hole and wider thread channel - for bigger thread and needle size:
-
Bruce Johnson has a pretty detailed tutorial on how to sharpen edge-bevelers : https://brucejohnsonleather.com/links-resources/tutorials/tutorial-edge-beveler-sharpening Greetings Hans Who up to now didn´t even know what a cuticle trimmer was - but I looked them up on the internet and for 1,29€ at DM (German wide pharmacy stores) I will sure buy some to try them out.
-
Singer 18-2: can't get the tension right
Tigweldor replied to Nico619's topic in Leather Sewing Machines
if the needle goes down to deep, an overly large loop is formed by the time the hook can grab it. This will then not form a proper stitch. In the manual there is a little chapter on how to exactly set up needle height. Greeting Hans -
Here is another vid on how to thread the Dürkopp. Here is another vid that shows exactly how the arm is supposed to grab the thread and wind it around the shuttle - the uploader´s machine has probs doing just that constantly in a proper way - seems to be your exact problem. I would just enter the vid´s title in Youtube and try to contact the uploader how he fixed his problem. My Heinrich Koch Colibri has the same operating function - but it works just fine and I am hesitant to screw with a functioning unit by taking it apart. What is very important is : the needle has to be exactly placed in the needle holder, so when a loop is formed it can be grabbed by the hooked arm. If the needle is just turned a smidgen the wrong way - the arm can not grab the loop. You also want the needle on the bigger side for your thread size - if it is to tight, it will have probs forming a loop. Too much top tension (especially on the take-up spring) is also not helping the formation of a proper loop.