-
Posts
45 -
Joined
-
Last visited
Content Type
Profiles
Forums
Events
Blogs
Gallery
Store
Everything posted by Its all about Leather
-

For Sale Tippmann Boss Sewing Machine
Its all about Leather replied to Its all about Leather's topic in Old/Sold
The Item has been sold. Thank you.- 2 replies
-
- tippmann boss
- sewing machine
-
(and 1 more)
Tagged with:
-
I have for sale a used, but in excellent condition, Tippmann Boss sewing machine. This is an excellent sewing machine as the pictures show, and the reason I am wanting to sell it is because I don't use it as much as I thought I would when I purchased it. I still prefer to hand sew my projects, so it is just sitting around not doing anything. What is included is: Tippmann Boss Sewing Machine DVD and Operators Manual, Plastic container holding tools, bobbin, and needles 2 Bobbins, Including the one in the machine 1 Bobbin winder 5 allen wrenches for maintenance 1 screw driver for bobbin tension adjustment 10 extra needles of various sizes 1- 1385yd spool of #277 White Polyester thread Selling Price including shipping: $1,050.00
- 2 replies
-
- tippmann boss
- sewing machine
-
(and 1 more)
Tagged with:
-
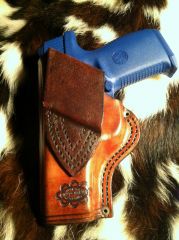
From the album: Gun Leather
© Trail Boss Originals 2012
-
From the album: Gun Leather
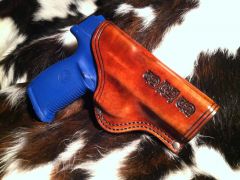
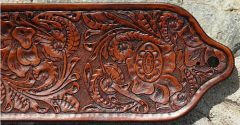
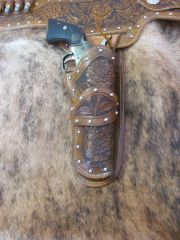
Custom Holster made with 6/7 oz. leather Rivets are to cover up an OOPS!© Trail Boss Originals 2012
-
I can't remember where, or who said it, but through all of my searching in these forums I found someone say to cut on the outside of your marks and this will help with your patterns from getting skinny. Bill
-
Here is a link to the book by Ron Smith Drawing and understanding scroll designs. The best price I have found yet. http://www.contenti.com/products/books/116-614.html I hope this helps. Bill
-

Questions about scroll carving
Its all about Leather replied to Kustom's topic in Floral and Sheridan Carving
To answer anybody else's question concering scroll design that searches this site, I found the same questions answered in other forums. His name is Ron Smith and his books are called Drawing and understanding scroll designs, and Advanced drawings of scrolls. Here is a link to a website that sells his book at the cheapest price I can find. http://www.contenti.com/products/books/116-614.html i hope this helps anyone else who searches for scroll design. Bill -

Leather Works
Images added to a gallery album owned by Its all about Leather in Our Leatherwork Galleries
-
From the album: Leather Works
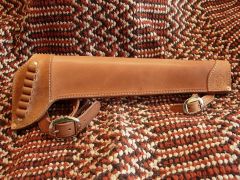
Calf Holster (Knee to ankle) for a Rossi Ranch Hand .357© © Trail Boss Originals 2011
-
Hello Galileo!
I think you can go to your profile page and click on topic and open a new topic there.
-
-

Memo Pad 004.jpg
Its all about Leather commented on Its all about Leather's gallery image in Our Leatherwork Galleries
-
From the album: Leather Works
© © Trail Boss Originals 2011
-
From the album: Leather Works
© © Trail Boss Originals 2011
-

Show us your home-made leatherworking tools!
Its all about Leather replied to candyleather's topic in Leather Tools
Thats Very Nice Chris! -

DSCN4456.JPG
Its all about Leather commented on Its all about Leather's gallery image in Our Leatherwork Galleries
-
From the album: Leather Works
© © Trail Boss Originals 2011
-

Show us your home-made leatherworking tools!
Its all about Leather replied to candyleather's topic in Leather Tools
Those are sure some beautiful tools BearMan. I love your woodworking abilities. Very nice work! -
From the album: Leather Works
© © Trail Boss Originals 2011
-
From the album: Leather Works
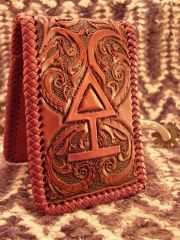
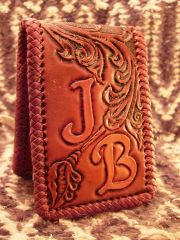
Its a Memo Pad I made for my uncle. It was my first hand at drawing my own design and lacing. Normally I have been using craftaids or just a basketweave stamp. I don't like the punched holes along the edge. It made it very weak in my opinion.© © Trail Boss Originals 2011
-

Show us your home-made leatherworking tools!
Its all about Leather replied to candyleather's topic in Leather Tools
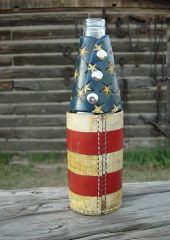
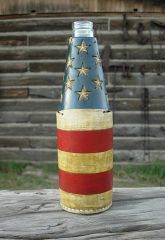
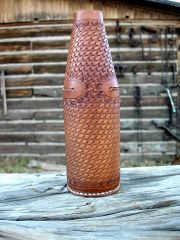
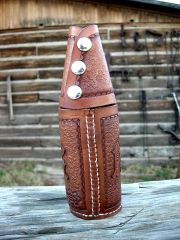
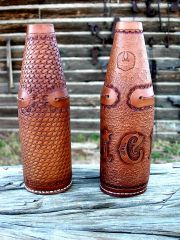
That sounds pretty awesome! You need to take some pictures so we can see. Here are a few wooden dowels I made and use when I make my koozies. I made them so I could clamp them in my Stitching Horse and sew the edges together . One fits a bottle the others fit cans. It also helps to stretch them out. I made them just a little bigger in diameter than the acutal bottles and cans themselves. -

Show us your home-made leatherworking tools!
Its all about Leather replied to candyleather's topic in Leather Tools
Thanks! Yea the light bulb can get hot after awhile. I try to use a low wattage just to help keep it cooler, but most of the time I clamp the light to my chair and set the box on my legs and it doesn't seem to get as hot that way. I made my anvil for knife holsters I make. I needed something long enough to be able to set the rivets in the back. Necessity is the mother of all invention. -

Show us your home-made leatherworking tools!
Its all about Leather replied to candyleather's topic in Leather Tools
Here is a few of my tools I have made since I started crafting a few years ago. 1) Rein Rounder made out of 2 pieces of 2" x 1/2" strap 2) Embosser : I tried to make it deep enough to be able to stamp bible covers 3) Deep throated anvil made out of 4" I-beam 4) My stitching Pony made from the plans from Al Stohlman's book How to Hand Sew 5) Something I threw together using an old 12" X 12" window pane to trace a pattern and haven't quit using it since. I didn't realize how much I have made until I was looking around to take pictures to add to your post. And I still have more, but I used my picture quota. William -
From the album: Leather Works
© © Trail Boss Originals


