KY23
Members-
Posts
45 -
Joined
-
Last visited
Content Type
Profiles
Forums
Events
Blogs
Gallery
Store
Everything posted by KY23
-
Thanks guys.
-
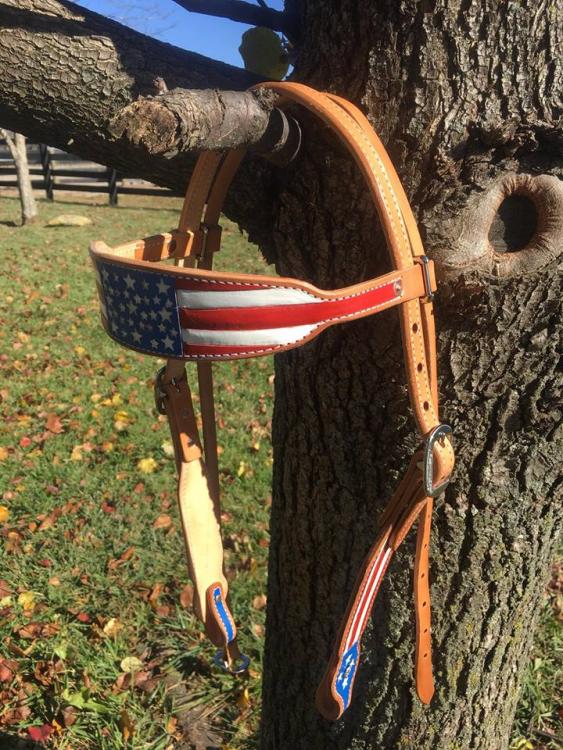
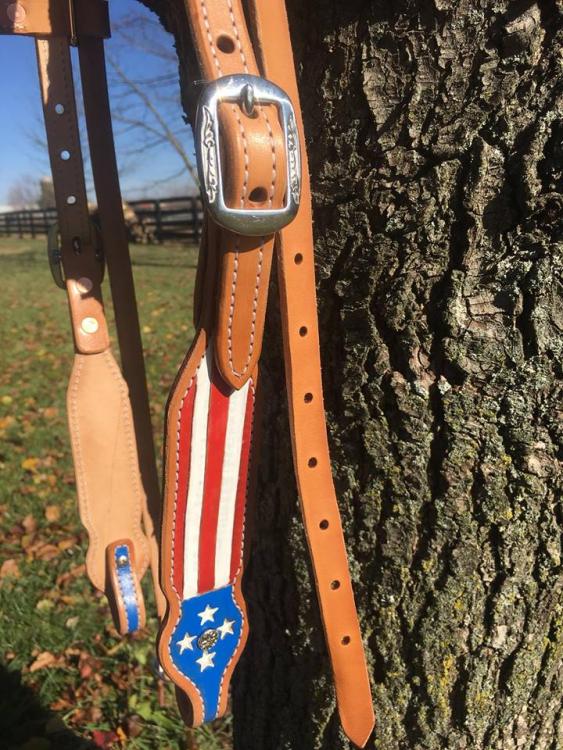
I painted my first leather. I think it turned out pretty good but I need to get some better quality brushes. Would have been a better final product and less mistakes. I was worried about the paint running after applying oil or Resoline but no problems at all. I did give the paint a good 24 hours to dry.
-
Thanks guys. Just ordered one from Texas Die for $80 plus shipping.
-
Does anyone know a source to get an oblong punch that is extra wide? I'm looking for a 1 3/4" or 1 7/8" oblong punch that is 3/8" wide. I'm currently doing this on my holsters with a 3/8" hole punch and a wood chisel but would rather have an oblong punch to get cleaner results faster. Any ideas?
-
Western Stitched pattern belt
KY23 replied to KY23's topic in Purses, Wallets, Belts and Miscellaneous Pocket Items
The finish is two coats of warm pure neatsfoot oil and set out in the sun for a day. -
Not sure if this has been posted or not but I stumbled on this video on Youtube and it is awesome. Great tips and instruction. They use the Cobra to do the video but its all relevant to my Cowboy as well. Best video on sewing I've found so far:
-
Western Stitched pattern belt
KY23 replied to KY23's topic in Purses, Wallets, Belts and Miscellaneous Pocket Items
Thanks guys. I really like this design. Bought the stencil from Black River Laser. -
Western Stitched pattern belt
KY23 replied to KY23's topic in Purses, Wallets, Belts and Miscellaneous Pocket Items
One Million Dollars -
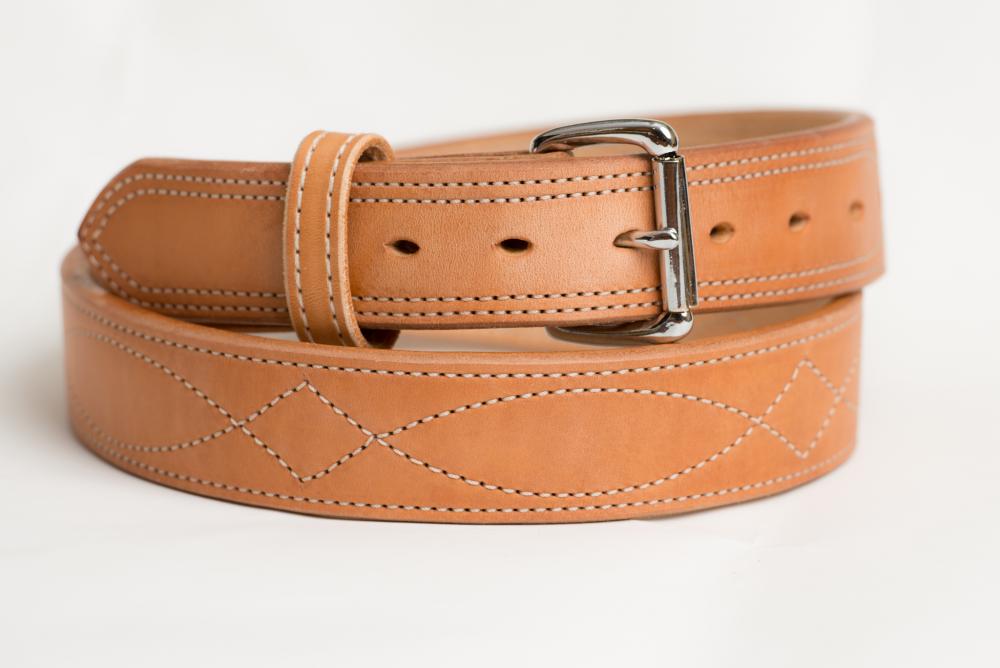
Finished a new belt design. Made from 10 oz skirting leather and 4 oz veg tanned lining. Stitched with 207 nylon on a Cowboy CB4500. 1 1/2" wide and a stainless steel buckle I bought some plastic stitch guides off of eBay that made laying out the stitch pattern super easy. Let me know what you think.
-
I know this is old but wanted to add a couple comments. I like the natural look too but IMO nothing brings out tooling or stamping like antique. If you want to just leave them saddle tan I'd use Neatsfoot oil or Fiebings saddle oil and then resoline or equivalent on top. In my experience Fibings Saddle oil doesn't darken leather as much as Neatsfoot oil so if you want to leave as natural as possible try it. I've also used a couple good coats of Wyo Sheen and then antique finish to try and save as much as the natural color on the high spots as possible.
-
Thank you very much. Going to try this tonight. I didn't think of letting the foot on top of the ring or square.
-
If they do its not listed on their site. I will call in the morning and ask them. Here is a list of the accessories I can get for it. I have the feet that are listed. http://www.tolindsewmach.com/cb-acc-pack.html
-
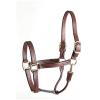
Everyone, Trying to make a leather triple stitched halter. I have some examples but the problem I'm having is sewing close to the hardware. In the examples I have the stitch comes pretty close to the hardware but my Cowboy 4500 will not get that close. Is there a technique to it or do I need a different foot? Here are some examples of how close the stitch is to the hardware.
-
New Belt From Me
KY23 replied to KY23's topic in Purses, Wallets, Belts and Miscellaneous Pocket Items
Thanks everyone. I am having some issues with edging. I dye the edges and use edge paint. The problem is the edge paint is coming off. Here is my process: After gluing and stitching the belt I use a 220 grit sander to even up all edges. I then use a 1000 grit sanding sponge to further slick the edges and then use 1,200 sandpaper. Then I use a #3 western edger to round all edges After that I use a burnisher in a drill press and take a few passes over the belt with a wet edge. I then dye the edges (black usually) using a Fiebings edge dye After the dye has dried I use Fiebings yellow saddle soap and a canvas cloth to slick the edges smooth. After that dries I apply edge paint. I'm thinking about skipping the edge paint because its coming off when the buckle rubs the belt. The edge paint makes the edge look better when its new but makes it look like crap after just a few times being worn. Any ideas? -
New Belt From Me
KY23 replied to KY23's topic in Purses, Wallets, Belts and Miscellaneous Pocket Items
I skive the buckle end with a safety beveler and then use a 8" sanding to get it to a uniform thickness. On the backside the 10 oz vegtan ends right before the buckle. I just skive the bridle leather from the beginning of the belt slot to the end. I use the same english point strap punch on the buckle end as I do on the hole end. I don't like a square look even behind the belt. Gives it a more finished look IMO. I just made a 68" belt for a Christmas gift and it was very difficult to manage. Wouldn't fit on my working table. I think a belt maker could make some serious money focusing on big guys. They do not have many options for good belts. -
New Belt From Me
KY23 replied to KY23's topic in Purses, Wallets, Belts and Miscellaneous Pocket Items
Thank you Ken. Much appreciated. Ordering some now. -
Made a new gun belt. 10 oz Bridle leather for the front and 10 oz veg tan for the back. Back was finished with neatsfoot. Edges dyed black and then painted with edge coat. Stainless steel buckle. Wish I could find stainless steel chicago screws. Sewn up with 277 white nylon on the top and 207 white nylon on the bottom using a 24 needle and a Cowboy CB4500. I really like the natural color backs of my belts but still working through smudges and inconsistencies in my edge dying and painting process.
-
My First Set Of Spur Straps On My New Sewing Machine
KY23 replied to KY23's topic in Saddle and Tack Accessory Items
I do cut stitch lines. If I try to increase my top tension to pull the tread down tighter afainst the leather I can see the back stitch on the front. I loosen the top thread until I can't see the bottom thread anymore but it just doesn't pull it into the leather enough for me. I haven't played with the bottom thread tension yet. When I use 207 thread and a 23 needle I can see lots of little fibers sticking up where it's wearing at the thread. I think it's more of the thread being too thick to lay in the groove on the left side of the needle. -
My First Set Of Spur Straps On My New Sewing Machine
KY23 replied to KY23's topic in Saddle and Tack Accessory Items
It was a 8 spi and 207 thread with a 24 needle. There is a stitch groove. I've tried the 207 thread with the 23 needle and sometimes the thread looks a little worn. I can use 138 thread with the 23 needle. Machine is a Cowboy 4500. -
Made my first set of spur straps on my sewing machine. I'm still learning and need some practice on my basket weave. I also should have left a bit more distance between my edge and the stitch line. I made these for a teenage girl that I sold one of my horses too. She is barrel racing with her and wanted to give her something to thank her for taking care of the horse.
-
Ok guys. This is my third holster. Tried something that I had in my head. Wanted this to look like the EGA iron-ons we use to put on our breast pockets and covers. Gun is a S&W Shield in 9mm. I'm a Glock guy but bought this to give it a try. Impressed so far. Let me know what you think. I'm not 100% done yet. Still have to give one light coat of Neatsfoot and going to spray it with resoline.
-
I buy most of my leather through SpringField leather. I do get some from Tandy when it's on sale.
-
It's a Cowboy CB4500. I was using an edge guide at first but with some practice I'm able to sew a straight line without. Before the sewing machine I avoided projects that required stitching. Belts, collars, holsters, etc just don't look finished without lining IMO.
-
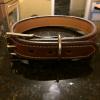
Made a few dog collars and belts with my new sewing machine. Because of the long time to hand stitch I've avoided projects like lined belts/collars but now that I have a sewing machine I've been cranking some things out. Still working on improving edging and dyeing. Here is a pic of a dog collar I made for one of my Giant Schnauzers.
-
Thank you. Beautiful work. Hope to have straight lines like your example. Do you find that larger basketweave's are easier or harder?


