mkleathers
-
Posts
56 -
Joined
-
Last visited
Content Type
Profiles
Forums
Events
Blogs
Gallery
Store
Everything posted by mkleathers
-
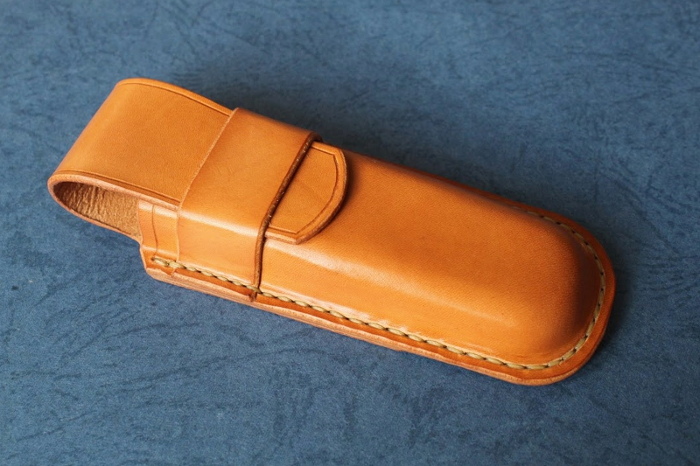
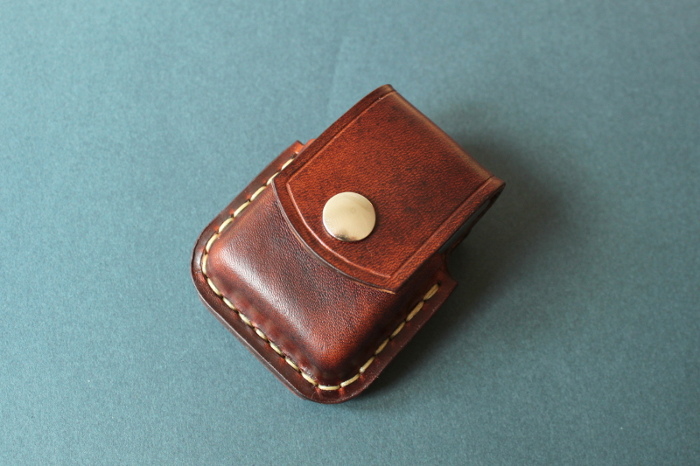
Or, you could just ask :D. I've posted a small tutorial on pouches http://leatherworker.net/forum/index.php?showtopic=31601. It doesnt cover the actual forming, but I can give you few pointers. 1. Wet the leather. How long ? Depends on the thickness. I usualy soak it for 10-30 sec. Then, leave it alone ! Dont try to form it right affter you take it from the water, let it dry a bit. I wait unill its starts to gain its "dry colour" back. 2. You have to find something to form it onto. It depends on what item you are making the pouch for. If its a regular shape like zippo you can use that if not, you need to find something with simillar shape. Picece of wood with 90 degree edges for example. Some people even use molds to form pouches. 3. Put the leather on the item/form and start forming by stretching the leather onto it. I use my fingers (nails cut short!). You can use a profesional modeler or a tea spoon to finnish the edges. It might take some time, just keep going till you see that the laether keeps its shape. Again, keep in mind that to wet leather will go back to its previous shape fast. So, form it, let it dry a bit form it again and so on. Its all in the practice. Start with something easy anf fairly flat like zippo or a old phone just to get the idea and see how leather behaves. I'll try to tak some pics with my next forming and post here. Hope it helps a bit. Good luck Mat.
-
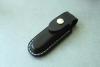
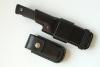
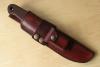
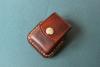
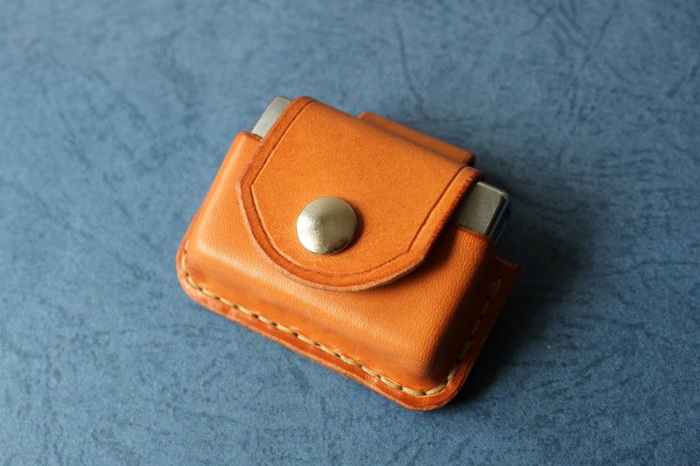
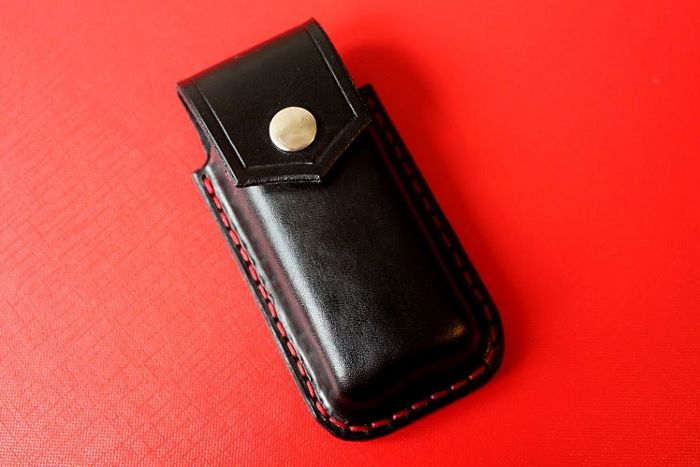
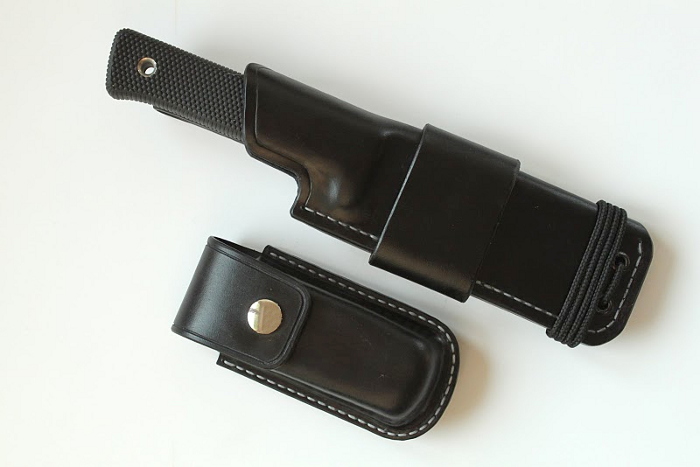
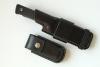
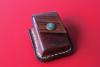
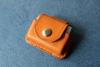
I'd like to share with you how I make pouches, in this case for Leatherman Charge. I start with wet forming the top of the pouch. When it dries, I cut the surplus of the leather and round the egdes. Then, it is time for the back and the flap - cut out from one piece. Before cutting the leather I like to try with paper template. Then I cut the groove for the stitches I make the hole for the snap. Before glueing both parts, I cut the decorative grooves on the flap. Dye all elements... ..set one part of the snap... ..and glue the belt loop. The pouch was supposed to be easily removable from a knife sheath. To allow that I decided to use snaps. I secure the snaps inside the pouch with a piece of thin leather. Then I sew the belt loop. After glueing front and back together, I make holes for the stitches Few runs on the sandpaper to even the edges... ..and it's time for waxing. I use pure, hot beewax. Remember not ot overheat the leather! the glued parts might not take it well. I believe that when it is too hot for my fingers its too hot for the leather as well. After it cools down I sew both parts together. Next, I polish the edges with wooden handle of one of my tools. I set the second part of the snap. And we are done. Should you have any questions, feel free to ask. Cheers Mat
-
So let's say Im a professional hobbiest What I ment was that its not my main occupation. Mat.
-
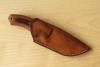
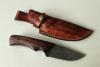
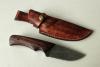
Some Knife Sheaths And Pouches
mkleathers replied to mkleathers's topic in Gun Holsters, Rifle Slings and Knife Sheathes
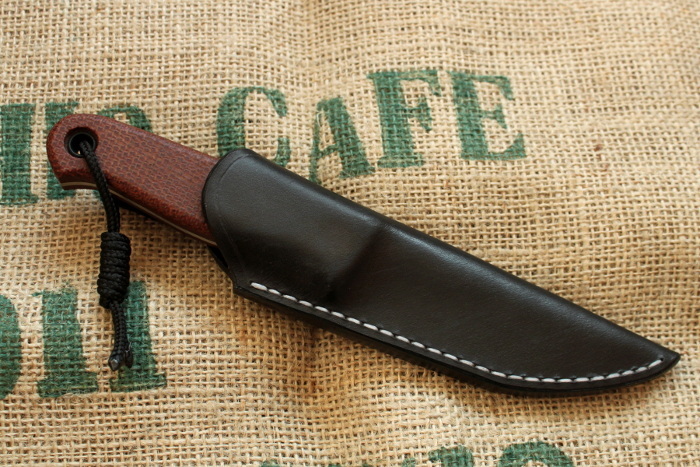
Thank you all for kind words. I dont use machine, Its all hand stitched. Cheers Mat. -
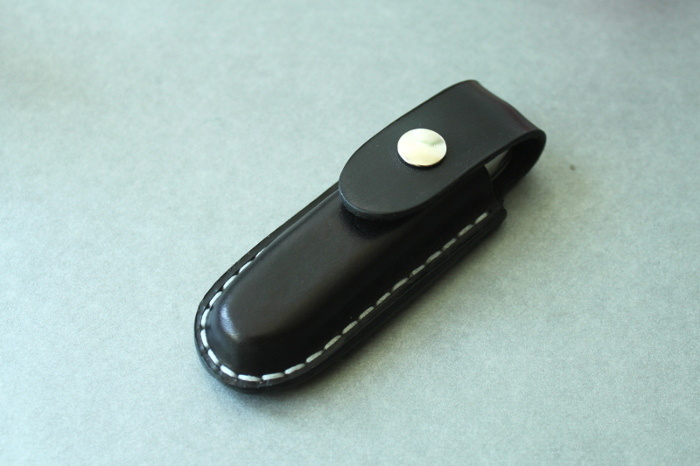
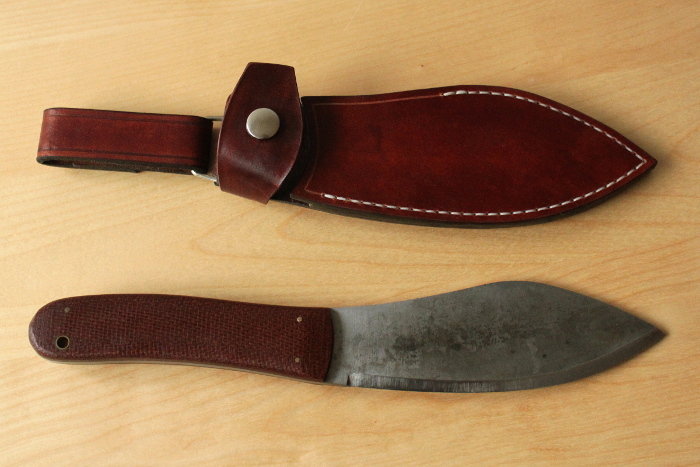
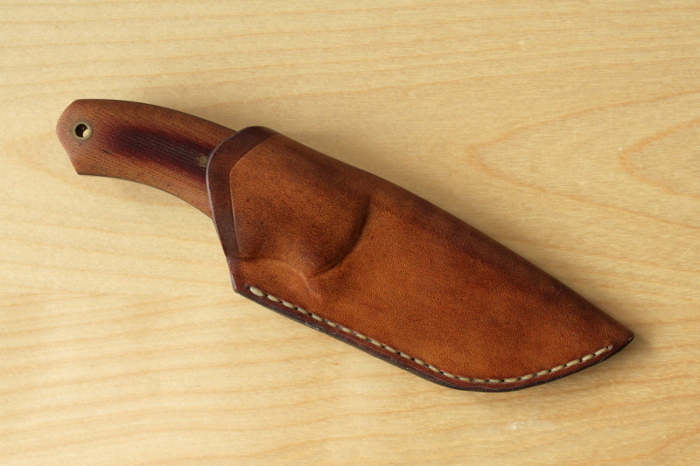
First of all Id like to say hi to everyone. I had my first steps in leathercraft around December, last year. I did first sheaths for myself, then people started to ask if I could make something for them. And so it went. Leatherworking is my hobby . I work in my free time and enjoy it a lot! I mostly make knife sheats and pouches but Im open to other projects as well. I'm still learning and I hope to find (already have) a lot of information here . Here are few examples of my work. More pics of each item on www.mkleathers.pl Best Regards Mat


-
First of all Id like to say hi to everyone. I had my first steps in leathercraft around December, last year. I did first sheaths for myself, then people started to ask if I could make something for them. And so it went. Leatherworking is my hobby I work in my free time and enjoy it a lot! I mostly make knife sheats and pouches but Im open to other projects as well. Here are examples of my work so far. Cheers. Mat.