-
Posts
5 -
Joined
-
Last visited
Contact Methods
-
Website URL
http://www.rareandsundry.com/
Profile Information
-
Location
Los Angeles, CA
LW Info
-
Leatherwork Specialty
Fine Leatherworking...
-
Interested in learning about
Splitting, fileteuse, saddlestitch, bag construction...
Recent Profile Visitors
1,663 profile views
Krittner's Achievements

New Member (1/4)
-
I do have dies now for the general shapes and then I hand cut the curves, angles, and such. But this wallet was hand cut entirely. I got the dies from Milwaukee Steel Rule dies and I think they were between 60 and 80 each.
- 11 replies
-
- swift
- simplewallet
-
(and 2 more)
Tagged with:
-
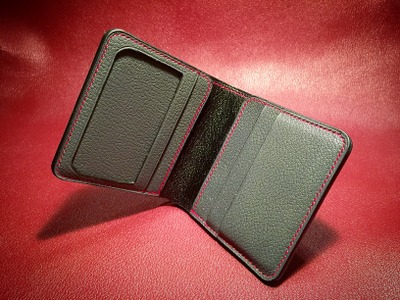
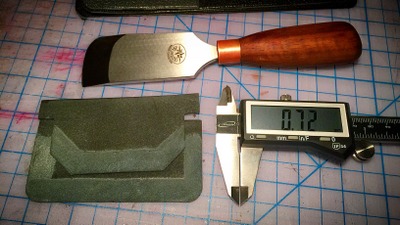
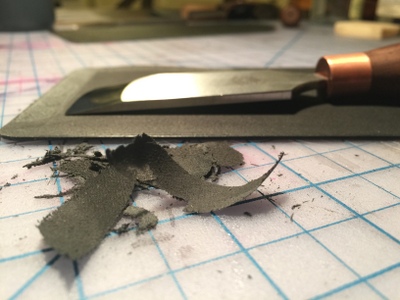
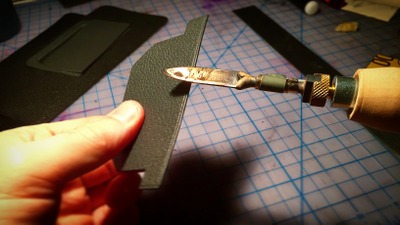
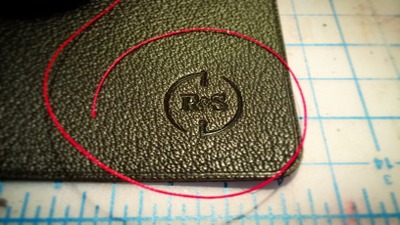
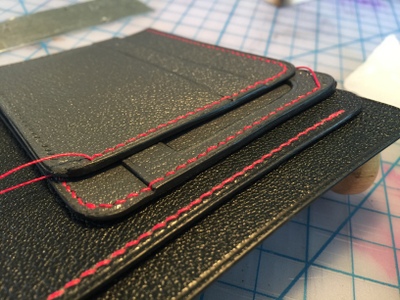
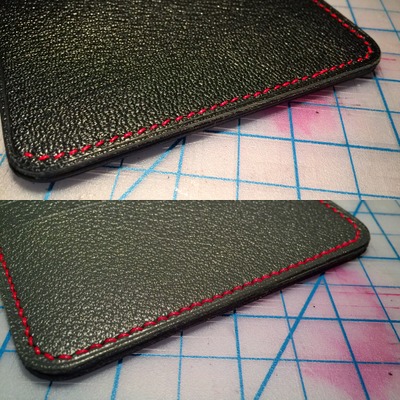
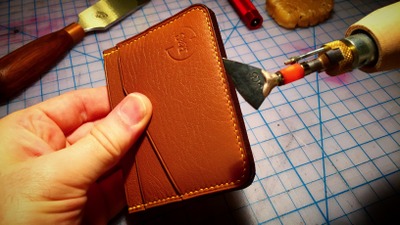
Album: http://imgur.com/gallery/4xN94/new Hey folks! So as opposed to the last build journal I did here, this journal is a tale of the things that went right. I'm really proud of how this wallet turned out and also, looking back, feeling good about where I'm going with this craft. This wallet order came from a random Instagram user who emailed me looking for a bifold with an ID window. We had a really nice, long email exchange consultation and finally landed on a variation of my usual design. He wanted additional, decorative red stitching on the inner cash pocket and the wings. I had recently done another Simple Wallet in something of the same scheme so I really liked where he was going. My goals for this build were to not repeat some of the mistakes of the last one, and to be more intentional about the application of my skills, specifically: * Skiving...I wanted this wallet to be much thinner than my previous bifolds so I was going to spend extra time skiving things down. * Edges...really wanted the edges to be clean, even, polished, and finished looking. * Stitching. I wanted to make sure all the stitching was clean and crisp. Cutting and basic construction was really quite clean and easy. The creasing went much faster than usual (not sure why...I've been feeling very confident lately in that department so I may have just creased more intentionally). The interior pocket edges were very fast, clean, and polished. I was trying to pay particular attention to where I started and stopped on these edges especially at the bottom of the cash pocket as I would be merging the wax during the final wax polishing. Once we got to skiving I applied the technique that Terrick over at Chartermade had taught me with his skiving knive. Basically you flip the knife over, and use the corner edge to "trace" the skiving line away from you, and then slip the round edge into the traced line and pull it back towards you skiving the leather away. Additionally he showed me how to feather the edges to make them even cleaner but just going back at the edge with the knife at a steeper angle. I didn't get the edges quite as thin as I'd like (went from 1.2mm to .7mm) except on the pocket insert which I got down to .5mm. We got started stitching the wing panels and the cash pocket and then looked really grand. The client chose a black foil on black chevre for the logo (my favorite, very subtle in my opinion). Once we had all that done we glued the panels together and stitched our way into a wallet! And it went really clean. I felt this was some of my best awl work yet, and the extra thinness of the panels really helped. Finally, the exterior edges, worked like a charm. I was very focused on making sure the iron, wax, buffing, sandpaper were all going the same direction and, in the end, I'm really pleased with how these turned out.
-
Oh sorry. Yeah I have an electric creaser with a tip that I use to make the creasing line. I have a video of it here: https://www.instagram.com/p/BDFAr2dvuxO/?taken-by=rareandsundry
- 11 replies
-
- swift
- simplewallet
-
(and 2 more)
Tagged with:
-
Lol hey Fann! Yeah, just lurking around...gonna start posting a little more now. When you say "profile" do you mean the crease line at the edge? The pockets get a crease with an FN2 head and then 5 coats of Vernis wax with heat, buffing, and sanding inbetween each coat.
- 11 replies
-
- swift
- simplewallet
-
(and 2 more)
Tagged with:
-
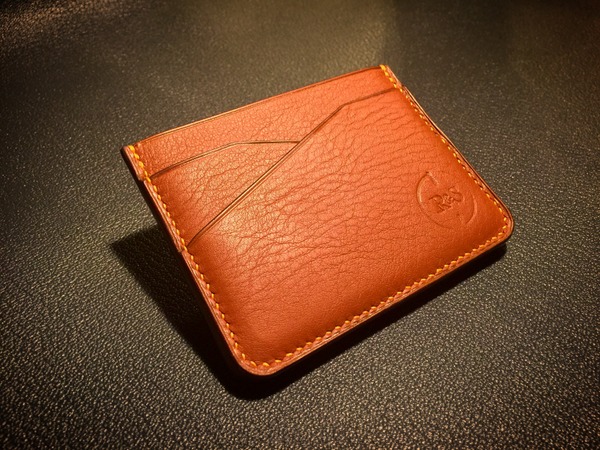
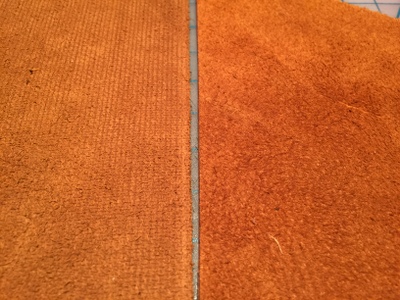
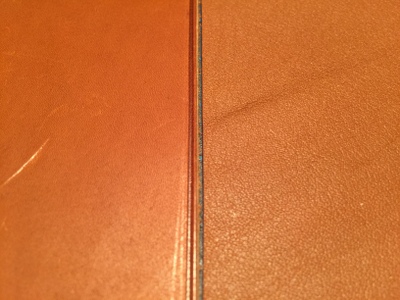
Hi there everyone...I've been lurking on this forum for a couple years and never actually posted. I've been pretty regularly posting breakdowns of my builds over on the Leathercraft subreddit, so it felt right that I do it here as well. I post build journals of each piece when they are done both as a form of therapy and also hoping that it might help someone else. This is a simple wallet that I finished a couple weeks ago. Comments and criticism most welcome. Album: http://imgur.com/gallery/QYNc9 So this is both a humbling and gratifying build journal. There were some new techniques I was aching to try and additionally I had some mistakes and acts of God along the way. This build was supposed to be a standard Simple Wallet of my usual design. I have a hand press now and I've had dies made of the design (from Milwaukee Steel Rule Dies...excellent quality, folks) so I was looking forward to an easy build. I brought a bunch of leather samples and the client chose a combination of Barenia (which, btw, is essentially a double tanned calfskin from Haas that's used by Hermes. Degermann also has a double tanned calfskin that they used to call Barenia too but since Haas trademarked the name they now call it Baranil) and yellow Fil au Chinois thread. I thought it was a good combo and also opted for brown edges. Now...I had worked with Barenia before on a zipper pouchand I loved it so I was very excited and was going to try some new things: With the Barenia being tan and the brown edging I had in stock this would be my first time attempting contrast edging with a new technique for keeping the edges clean. The Barenia was also a little thicker than I like at 1.5mm so I was going to be skiving this down a LOT. Also moved up from an M3000 to a G6M fileteuse so working with new temperatures was going to be a new thrill. I got started by cutting out the pieces using the hand press...AMAZING. Such a time saver. I also feel, ethically, that this is still in line with my handmade and artisanal claims of using no machines in the making of my wallet (as opposed to using an automated machine like a CNC machine or a laser cutter). I got the skiving knife out and started skiving down my edges. I was kinda worried that I was going to have a wallet that was too thick but I pressed on. As I got started working I noticed that this Barenia was...different. My previous Barenia had a milled, almost uniform upholstery looking flesh side while being firm and oily. This Barenia was soft and the flesh side was stringy. Still lovely, same color...but different. I had already been making Instagram posts claiming it was Barenia. I checked with the guy I bought it from and...dammitdammitdammit...he sent me Swift leather instead of Barenia (Front and Back ; Barenia on the left and Swift on the right). I felt like an ass (and a noob) for not being able to identify it and also for selling the buyer on Barenia. Now...Swift leather is still used by Hermes and still has many of the same qualities (some people like it better because it's more scratch resistant). So I checked with the buyer, let him know the situation and he was totally ok with it. So on we went... Once skived down, I put the wax spreader on my brand new Regad G6M, cranked it up to "9" and it promptly made electrical crackling sounds and "pft"...died. The tip. Not the transformer thank God. After some calls around it looks like on the G6M you don't want to push the wax spreader any higher than "7" or it dies (on the M3000 this level seems to be a "9" so the G6M has more headroom for heat). Other tips are ok. Thankfully, Aaron at Rocky Mountain Leather Supply had a used tip and he sent it to me for cheap but in the meantime I used the S0.5H tip to finish the edges. This time around I wanted really really clean edge paint lines. So I basically spent a new step inbetween each coat, cleaning with canvas and a crepe rubber to make sure the lines were smooth and crisp and I was so happy I did. They looked great. Assembly proceeded. The client chose an embossed logo with no gold foil so after that we moved into stitching which went just fine. The softness of the Swift leather actually allowed the stitching to pull into the leather a little too much at the beginning but I eased up on the pressure and things started to look good. Once assembled we started to do the exterior edges. This was a little harder than the interior edges because the edge is a lot thicker, but I was really happy with how everything turned out and the client was as well! That and the Swift leather looked really classy so I think I might do this again. Long road, lots of lessons, happy customer. Pros: New edge paint method works great. Swift leather is a new leather in the stable to use. Hand clicker and dies worked wonderfully. Cons: Check your damn leathers, Kevin. If it looks wrong it probably is. Don't push the wax spreader over "7" anymore. Album: http://imgur.com/gallery/QYNc9 Instagram: https://www.instagram.com/rareandsundry/
- 11 replies
-
- swift
- simplewallet
-
(and 2 more)
Tagged with:


