


MudBugWill
-
Posts
71 -
Joined
-
Last visited
Content Type
Profiles
Forums
Events
Blogs
Gallery
Posts posted by MudBugWill
-
-
I use fenice edge paint. I think it comes out pretty decently.

-
Barge, Weldwood, anything really...Essex is no different than any other leather i've found.
-
Hello everyone. I recently purchased a Consew 206-RB5 and I am enjoying learning to use it. I understand the bobbin vs upper tension and how to hide the lock stitch in between the top and bottom, but I was wondering about increasing or decreasing the tension on the top and the bottom at the same rate to have tighter and looser stitches. I find tightening both simultaneously make for straighter stitches and loosening makes for more slanted stitches. Is there anything I need to pay specific attention to when dialing this in or do you just settle with what looks the best?
Thanks, Will
-
Hi MudBugWill,
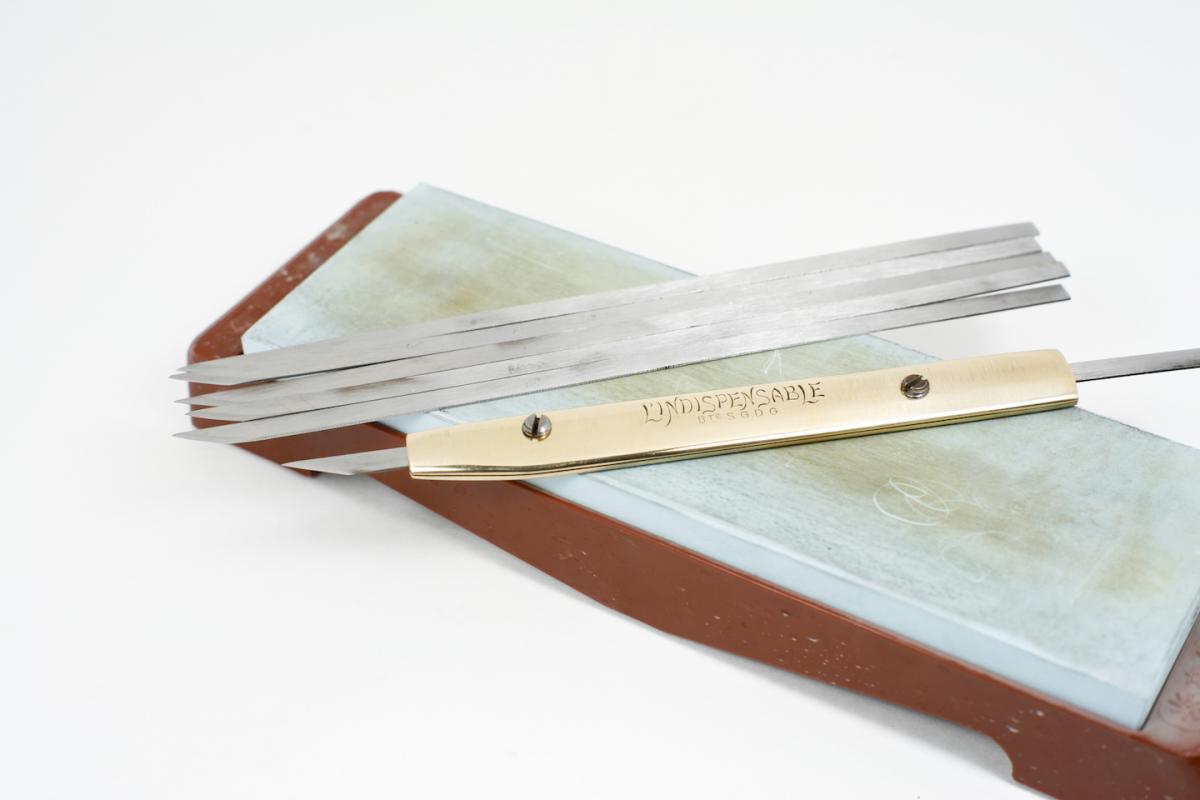
I'm interested in one of those blades. How much are you charging?
Thanks,
Dan
$27.50 I sell them through my etsy: https://www.etsy.com/listing/264882237/high-carbon-o1-steel-blanchard?ref=shop_home_active_1
Thanks, Will
Replace the set screws with socketed ones to eliminate the sharp edges.
Art
Great idea, thanks
-
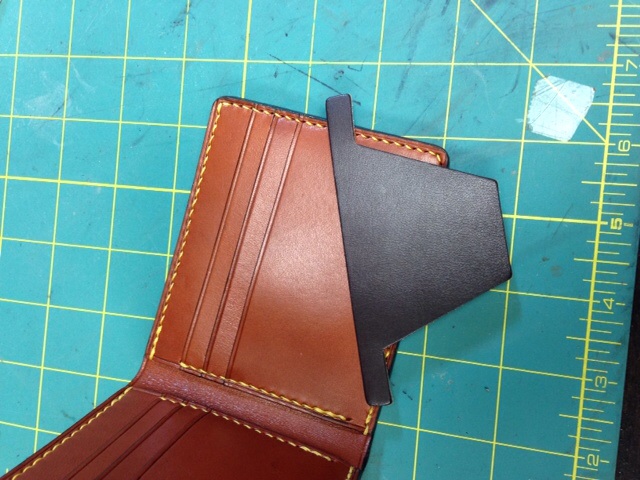
I love the design and concept of the knife, but I felt it was majorly lacking in two crucial departments. The blade steel was entirely too soft, and the ergonomics with the hard edges were obviously not made for a human hand. I have made up a batch of O1 High Carbon Steel blades with a hardness of RC62 (the optimal hardness for O1 as far as toughness and edge holding goes). I have cut out a bifold and a few watch straps so far, and the difference is astounding. The O1 takes a much keener edge and wont roll over, forming a bur at steep bevel angles like the stock one. While I was at the grinder, I took the brass scabbard and re-profiled it. I took out all of the corners and rounded them into smooth transitions. These changes resulted in a whole new rig that kicks ass now. If anyone is interested in a blade, hit me up. They are the bee's knees.
-
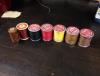
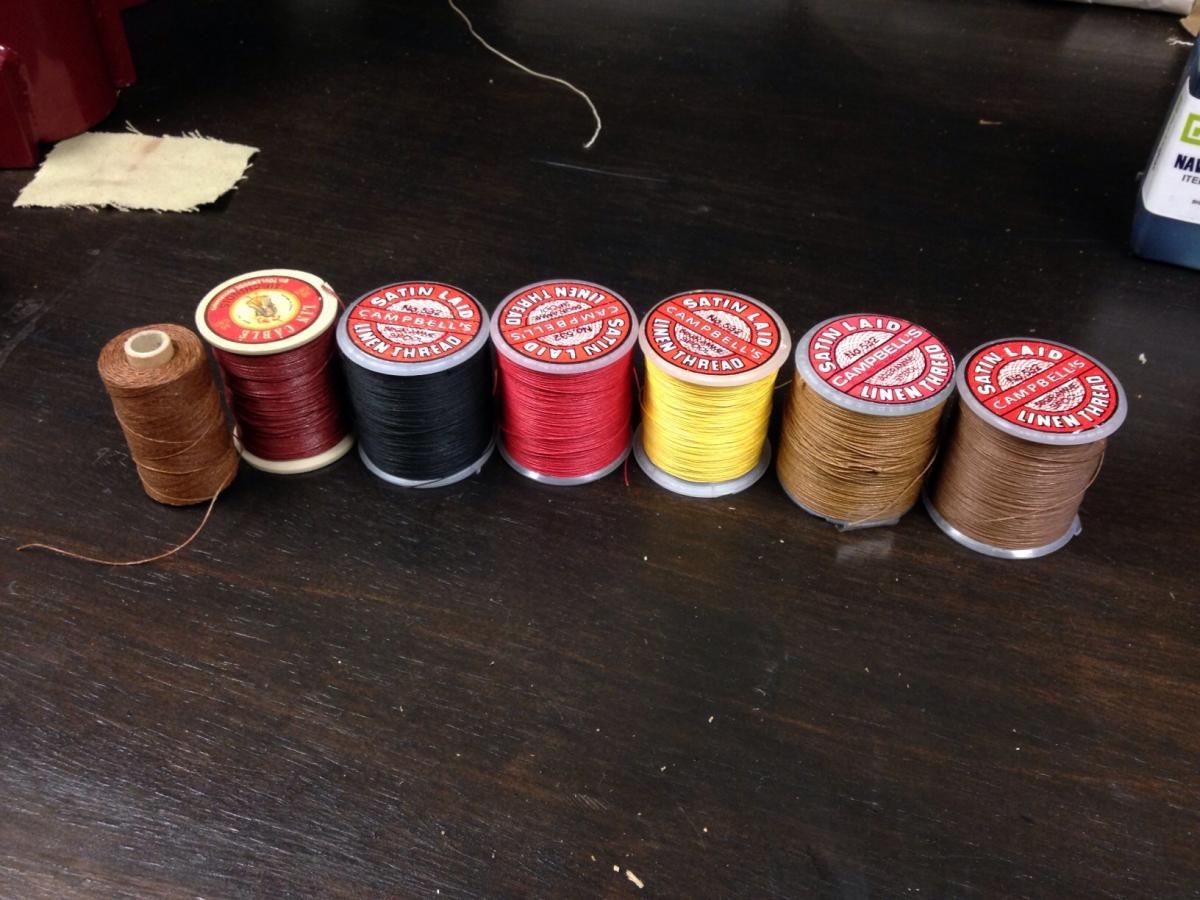
Campbell's Satin Linen thread 532 size:
These all have at least 90% of thread left.
$12 each plus $4.50 shipping
Combined shipping for multiple spools
Black, Yellow, Red, Brown, Light Brown
Lin Cable Brique 332:
90% left
Brique/maroon $30 shipped
Royalwood waxed linen 3 ply in Brown. 95% left. $5 when included with another thread purchase.
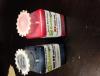
Edge paint, Hardly used, $17 shipped each.
-
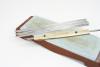
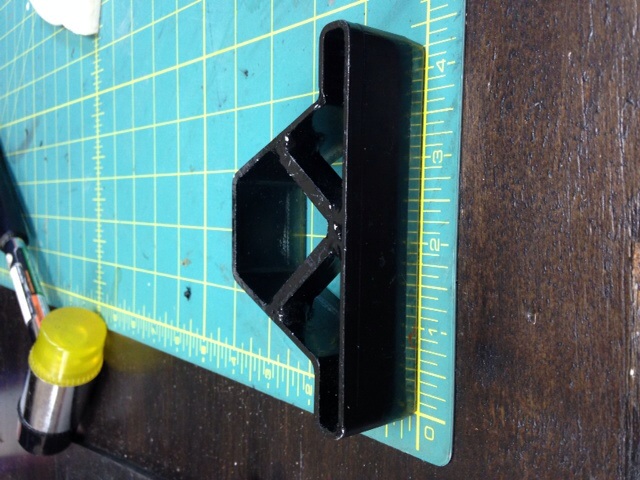
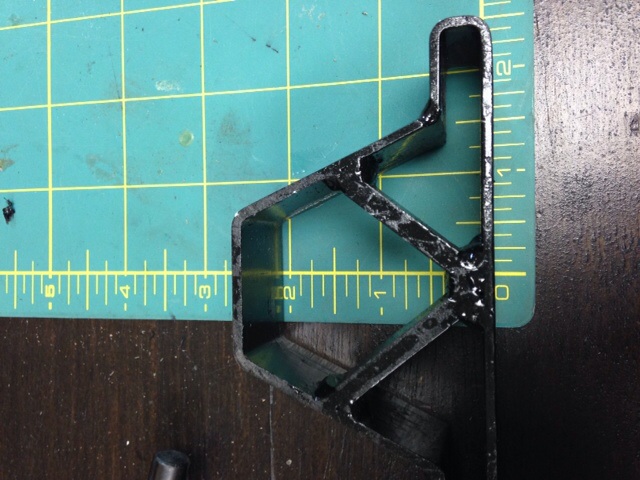
I am selling one of my card slot dies for bifold wallets. The dimenstions of the slot are 4.25" wide and 2.125" deep. This makes a card slot with T-construction. The top of the T hangs off either side when i assemble the wallet and is trimmed flush for a nice edge requiring minimum sanding. I have gone a different direction with my wallets and no longer need this die. It is still very sharp and is small enough to be used with a mallet most likely.
$55 shipped


-
If the hole punch doesnt reach, turn it over, select your punch, and hit it with a mallet.
-
I draw my patterns up in Deltacad (free for windows), print it out on heavy card stock, cut out, and then use that. With heavy stock you can just whip your scratch awl around it and not have to worry about it bucking up or crumpling.
-
I have some 2/3 of their skirting and its incredibly strong. I also just split their bridle to 2/3 for a bifold that im working on and it is a little more stretchy than the skirting.
-
Hello all, I just made a bridle leather belt and everything came out perfectly except for my holes. I used a punch I use on every other leather with good results but the holes were just butt ugly. Does anyone know of a good sharp, clean cutting punch for bridle leather. I'm looking for a clean cut belt hole, not a punched look.
-
seems like a good way to dirty up your roach clips ; )
-
I agree, I have blanchard irons and never use them anymore. I use my japanese diamond pricking irons only these days. I feel that there is so much mistique surrounding pricking irons and pricking your holes with an awl as you go. People have romanticized the whole thing. I understand how it can be enjoyable, but the japanese irons/chisels are just a bunch of perfectly aligned diamond awls. The leather work coming out of Japan is incredible and most use diamond chisels. After your prick all the way through with your chisel, you need to massage the line of holes with your finger until they are all small and uniform. This helps all stitches lay in exactly the same way. Blanchard irons will not make your stitching look better, its just a different means to the same end. Most luxury makers prick all the way through with the blanchard irons and open with an awl anyway, the japanese chisels do that in one step.
-
Thanks everyone. I ended up going with Sedgewicks Bridle Butts from Abbey England and am amazed by the quality of this leather. I feel that I am not worthy of it haha.
-
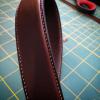
Here's 532 lin cable with a blanchard 7spi iron. I know you asked for 632, but i hope this helps. The belt is 532 lin cable at 9spi and i think looks too big.
-
I use 50% tallow, 25% lard, and 25% beeswax. Then i toss in a scoop of lanolin. Its an awesome concoction. It really conditions and waterproofs the leather wonderfully. Massage it in real good and heat the surface of the leather with a hair dryer if you can.
-
I'm a pricker of both sides as well. This, for me, achieves perfect stitches on both sides everytime. It does add some complexity of assembly however.
-
Conrad Park, thank you for such an informative and helpful response!!!
FIveway, thanks, I'll be placing an order from them.
-
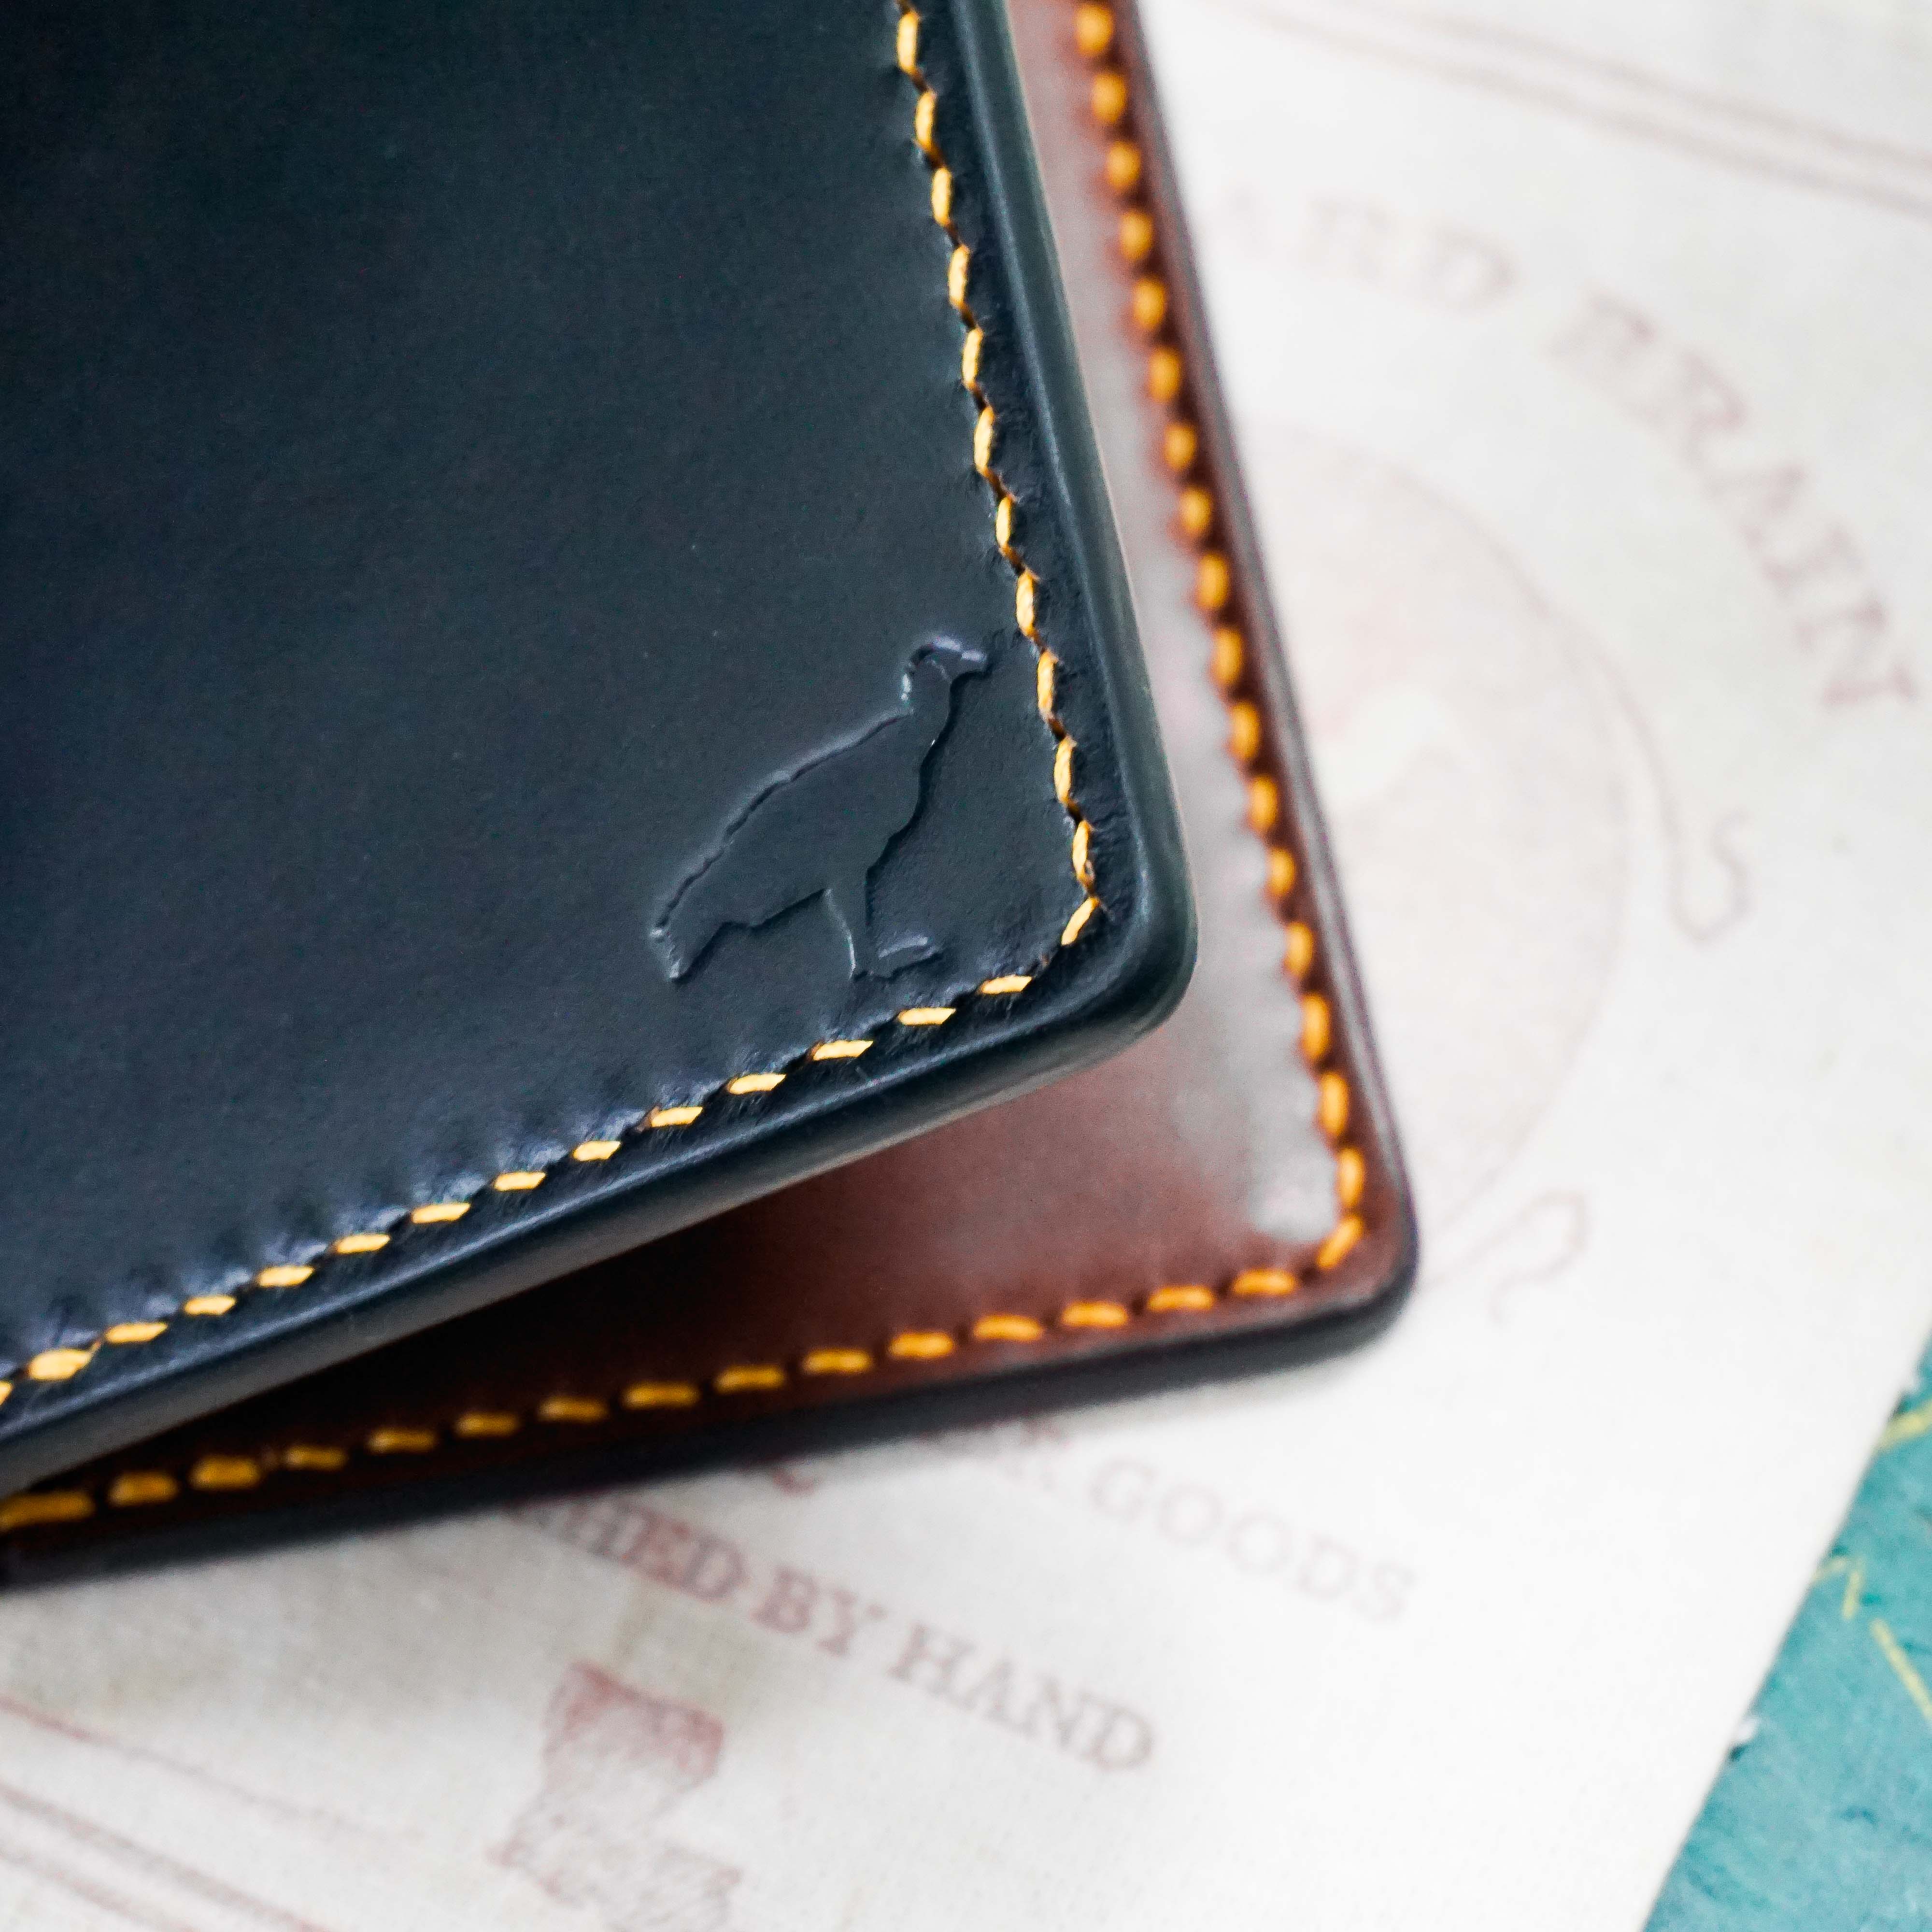
Does anyone know where I could find some navy blue bridle leather, or any Navy blue veg-tan?
Thanks, Will
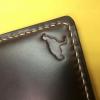
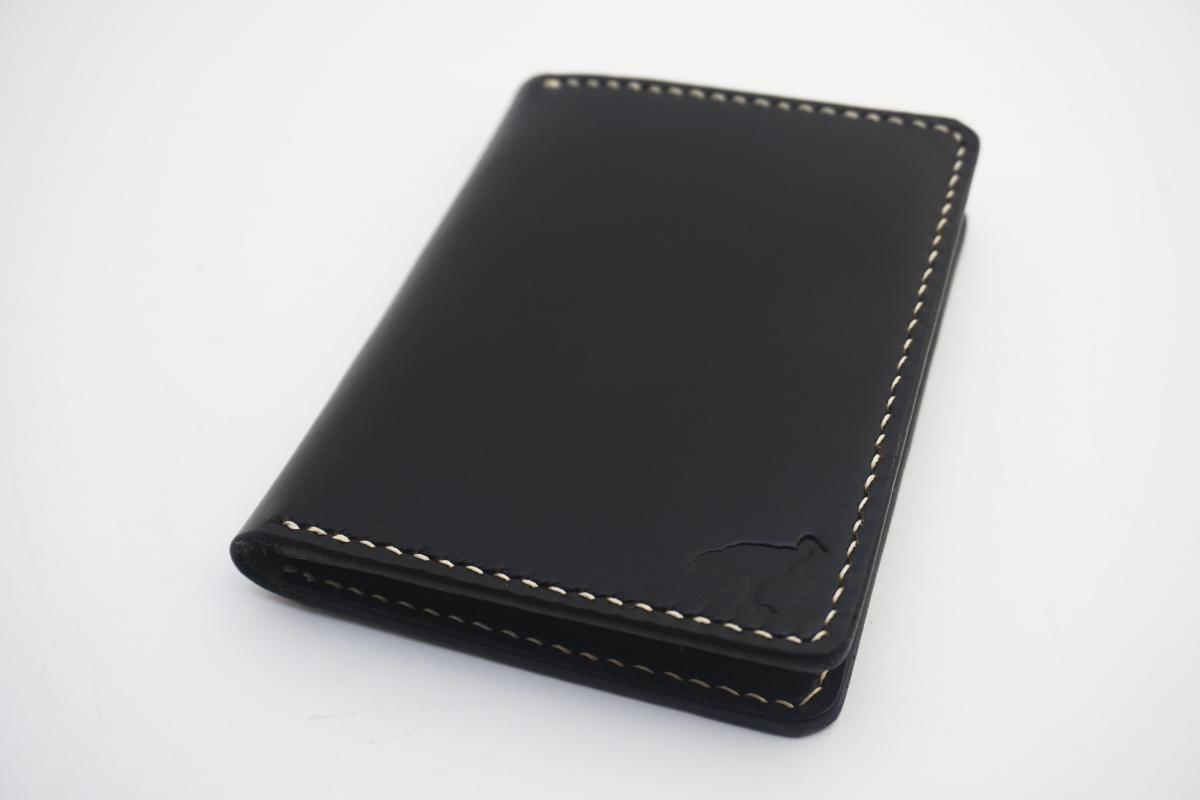
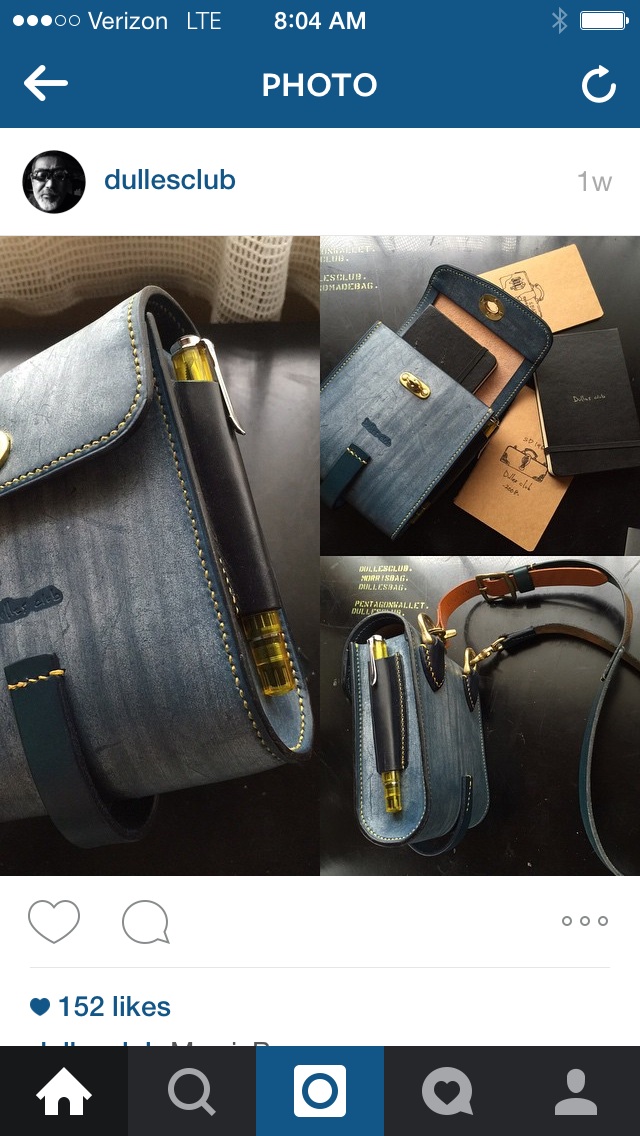
also, does anyone know how to get this effect in the photo below. I'm sure its wax, but is there a process for this?

-
Thanks for all the compliments yall!
JMK Which wallets are you referring to? The dark colored ones are the tannery finish.
Thanks Monica, I'll check it out.
-
It would probably be best to make a jig out of two paralell pieces of wood spaced the final width of the bracelet cord. draw two lines centered the width of the cord on the stingray, having been cut to the appropriate width. Put contact adhesive on both the cord and stingray. Use wax paper as a buffer between the cord and stingray that you are not working with and stick it down straight and centered for the run of the cord. Then you could place it on your jig, push down, and it would wrap the cord evenly around the sides, then use a tool to fold the tops over. I have never done this, but if i did, that is how I would do it. Hopefully you can pull something usefull from my rambling haha
-
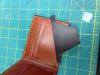
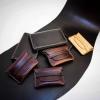
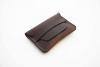
Here are some of my last orders that I shipped out for father's day last week. It's mostly horse leather. I am obsessed with Horween chromexcel horse leather. Thanks for looking.


-
Sharp blade, this has been mentioned before. I suggest keeping a strop loaded with green compound and stropping a little but before each session, especially skiving knives.
Make your cuts clean and take your time to cut them accurately.
For joining leather pieces it is super helpful to have a right angle made of wood or something, laying like a sideways "L", about an inch high to butt pieces against and make sure they are lined up, before you press down on your contact cement.
Have a nice pair of dividers with a sharp point. The thinner the line you scribe, the straighter your stitching will be. aim small, miss small.
This is against the rules I have gathered, but when you can prick/punch both sides with the same iron, not a reverse, do it. You will have pretty, symmetrical, slanted saddle stitching on both sides. I found this out first doing my gussets on bags. If you cut and glue well, with good alignment it is possible in most cases to pre-prick/punch both sides. you must take time to plan your stitching and make sure to begin your holes at the exact right place on both sides.
-
I have been using a concoction of 50% tallow, 25% lard, and 25% beeswax for some time now and it is amazing. It is a bit stiff, but put a thick layer on, hit it with the hair dryer, massage it in, and next thing you know you have rich leather and soft hands. I also throw in a bit of lanolin to the recipe. I use it on all my veg-tan leather, put it on my chapped lips. style my hair with it occasionally. and finish my Micarta knife handles with it. It is quite the potion.
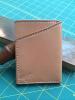
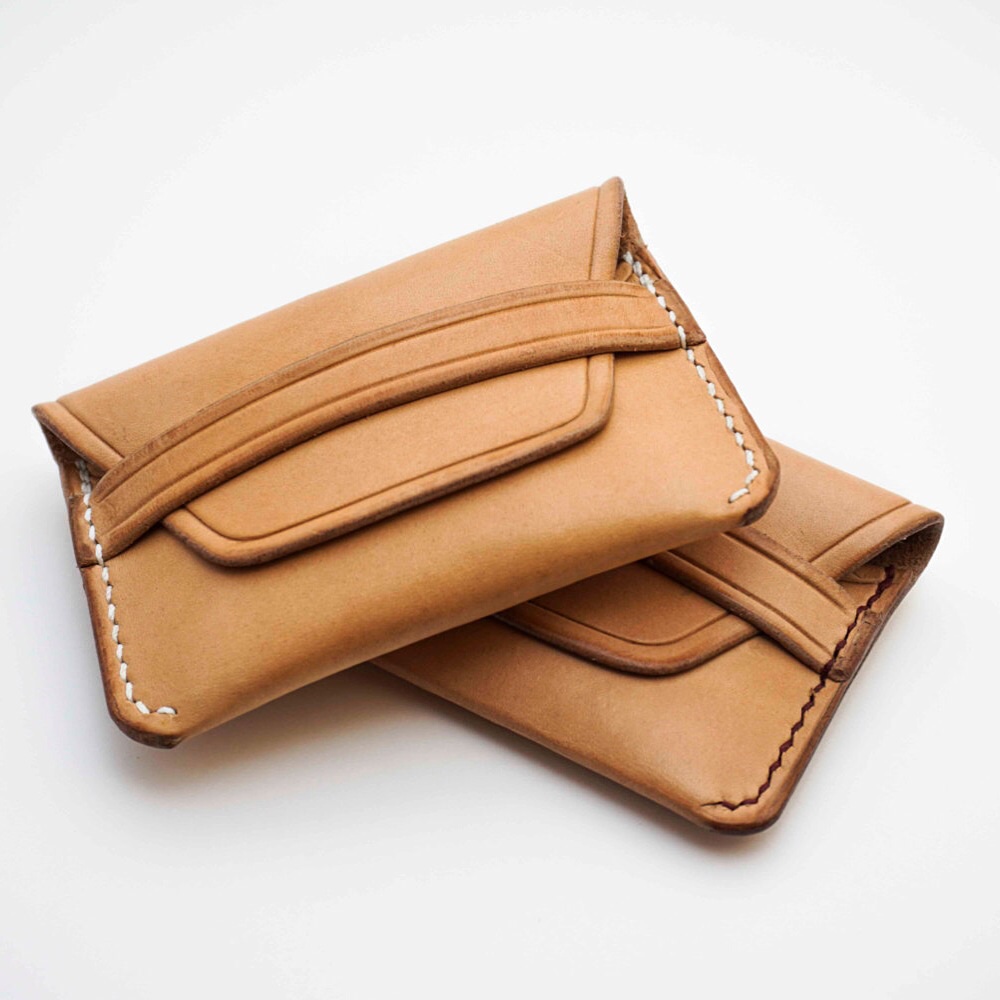
Hermann Oak Natural veg-tan before:
After: (different wallet, same material)


Length difference back and front of wallets?
in How Do I Do That?
Posted
I add half an inch for the back as well.