

Squirrelly66
-
Content Count
84 -
Joined
-
Last visited
Posts posted by Squirrelly66
-
-
I didn't get to see the belt with the bad dye, but the belt I just seen isn't nothing but a piece of veg tan with a buckle. IMO not worth the $80 price tag, especially when I can go down to Tandy's and buy a plain belt blank for $20 and buy the finishing hardware and buckle of my choice and spend less than $50. A leather worker who does not take care with his craftsmanship does not stay a leather worker long. There is a lot more to this craft than just saying its made from the highest quality leather.
Squirrelly66
-
That's pretty cool and very well designed.
Squirrel
-
I'ts a very nice bag. You do very good work.
-
Been working with wood all my life. Since the mid 70's.
-
You may have better luck with----Hey Cheese Heads Look Here .....lmao
Good Luck Bonnie Boo
Michael
-
They're still giving me nightmare's LOLOLOL
-
6-7 oz. is pretty good. Try adding a piece of felt or old terry cloth towel under your stone, this will help muffle the sound as to not wake the bear. Is that craftsman Oak from Tandy's? Take a look at my 1st figure carving, in this section, Its a horse head but you'll get the idea of what your looking for to make your figure's stand out.
Your very welcome
Michael
-
B197 is a smooth beveler, there's nothing wrong with that, I use B200 and B935 for all my interior bevel's. I have some thoughts that since your burnishing is light colored in some area's and dark (the way it should be) in other area's, that you may not of cased your leather properly (it could also be the picture and my old eye's not seeing right also). When I bevel around the outside of a project I usually use a Textured beveler (whether it be lined, checkered, or course). Also your beveling does not appear that deep (could be because of shallow swivel cuts due to using thinner leather) and if your leather is thicker could be due to swivel knife cuts not being deep enough, which could mean your blades needs sharpened and honed.
As for getting the project to pop out so to speak when beveling DO NOT be afraid to strike you tool firmly and hard, the cow is dead it don't feel it.
Also look at getting some undercut beveler's to use in spots that you want to looked raised. B892 is my favorite when doing small areas' of the eye, nostril, wing edges, etc... B60 is a larger version. They are smooth surface.
Take a look at some of the tutorial posts at top here. Yak Lady's horse head tutorial will give you some very good knowledge on beveler use.
Hope this help's
Michael
-
I'm very aware what wax submersion will do, I've hardened armor this way before. I DO NOT bring the wax to a boil, soaking it in WARM wax does not cause the shrinkage that boiling wax or boiling water hardening does. With using just warm wax you also will keep some flexibility. It will cause some darkening of the item though.
I appreciate you dying routine though.
I also buffed the crap out of it after dyeing, I buffed it vigorously off an on for 2 days before applying any finish.
Thanks , Michael
-
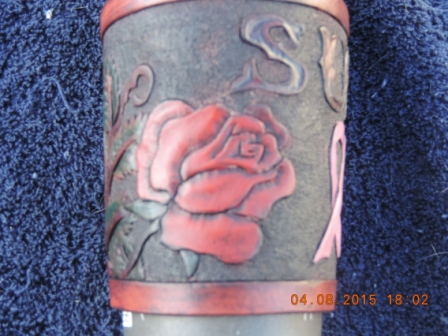
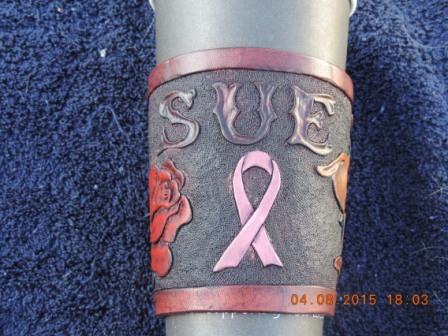
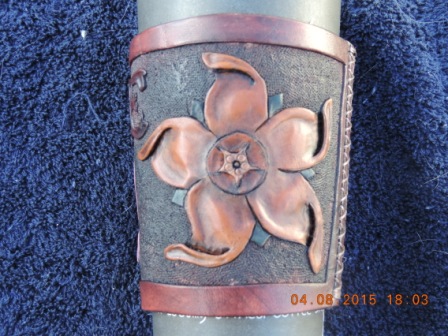
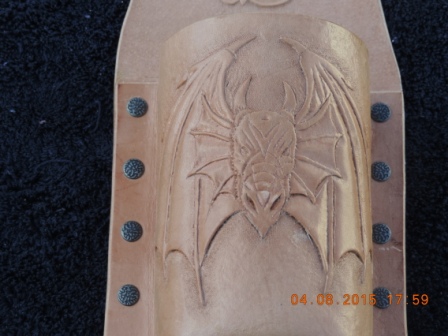
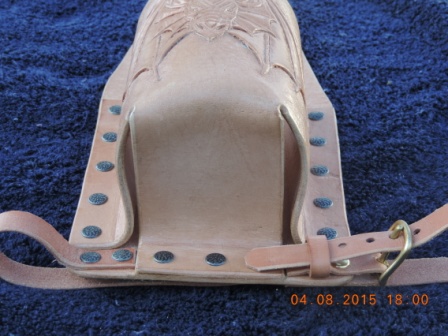
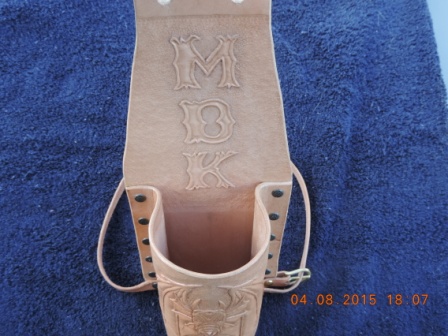
Here are a thermos drinking bottle holster and a coffee cup sleeve.


-
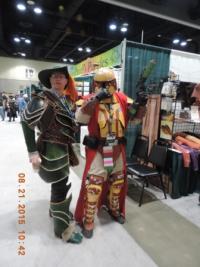
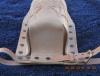
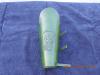
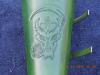
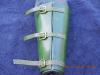
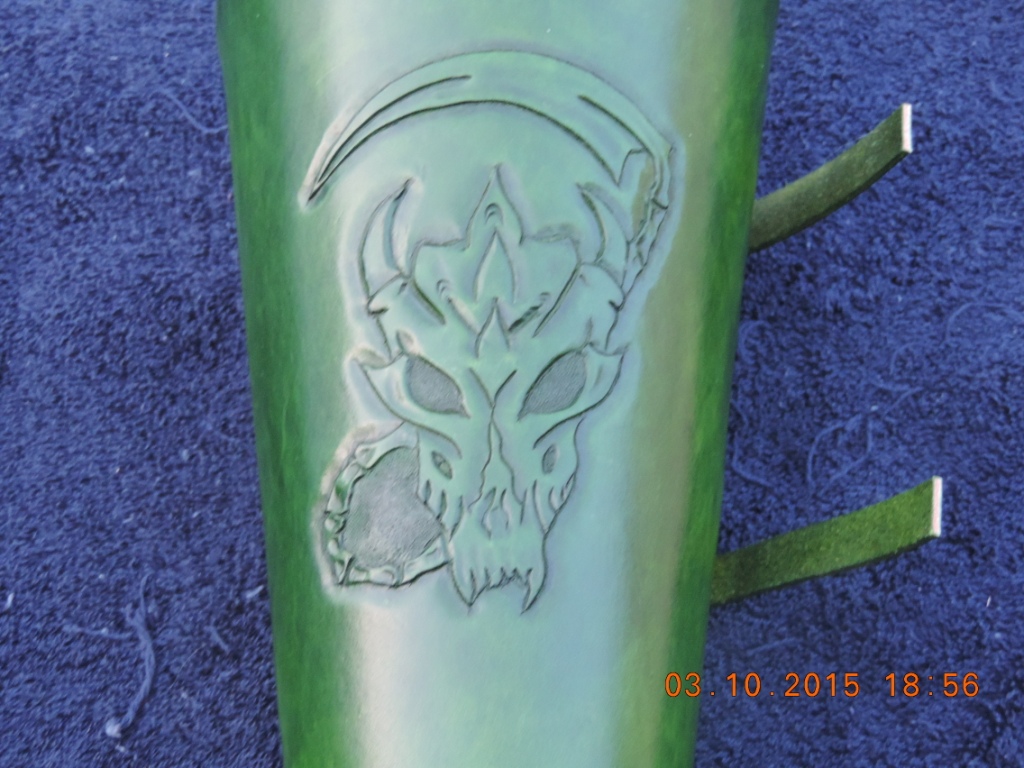
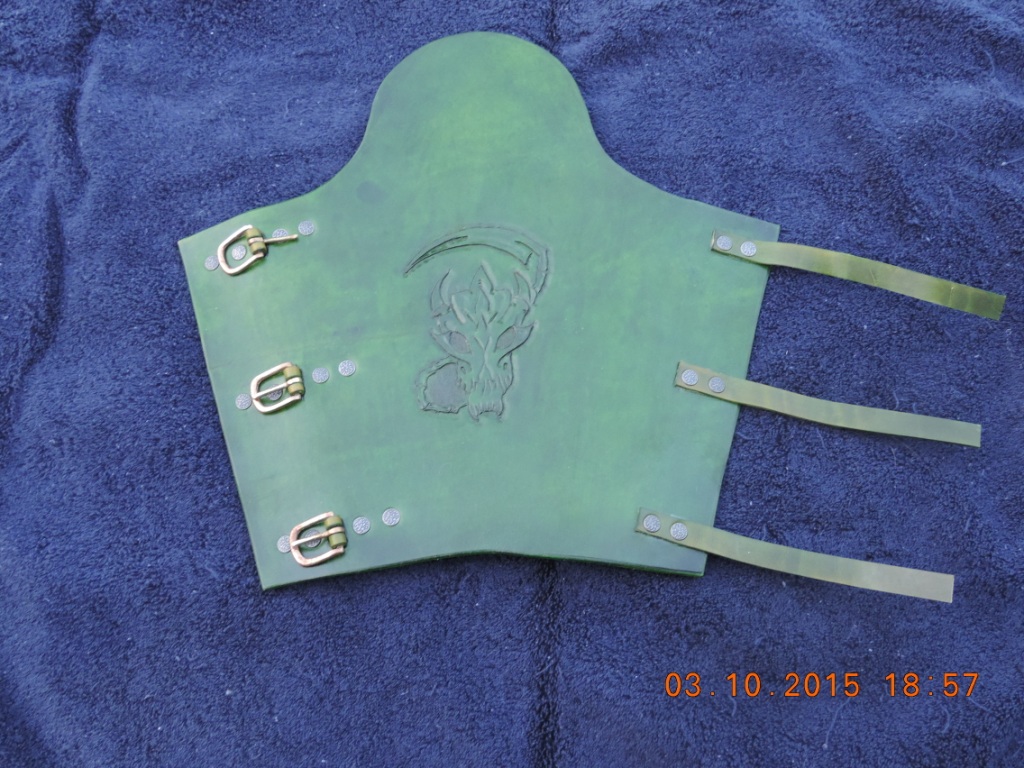
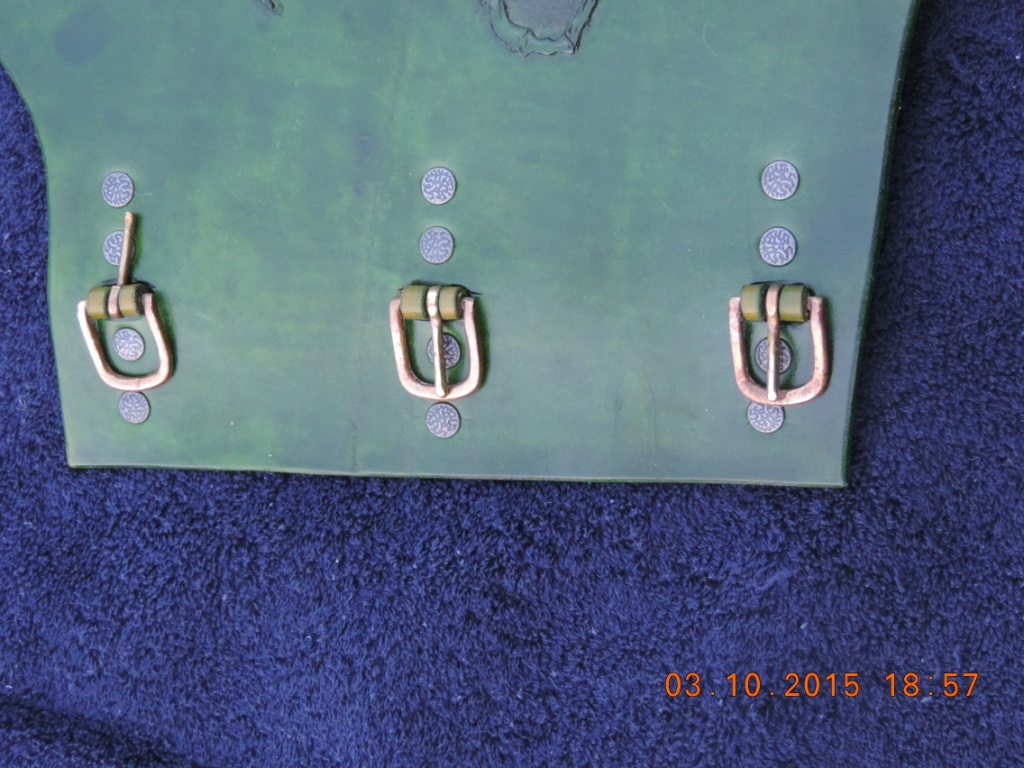
From what I've experienced so far with this particular water based dye is that it bleeds when it comes in contact with anything wet, So far all I've used on these gauntlets is leather balm. Since I've not added all the final stuff to them yet. (working on it, had to order some worbla's and apoxie sculpt) I haven't fully waterproof sealed them yet. I'm looking at several products, resolene being one.
I experimented when adding the straps and buckles by dyeing them (let them sit for 24 hrs) then rubbing in saddle soap (to set the dye ,so to speak) got some bleed from this. When I leather balmed them though I did not get the incredible rub off bleeding as I got doing the main parts. There still was some bleeding but it was not as bad.
I'm also looking at possible hot wax submersion with a 50/50 carnuba and bee's wax mix. For water proofing.
The bleed thru is a concern and I'm starting to experiment with scrap leather and different products to see what will stop this.
I may go to using oil based dyes if I can't alleviate this problem.
I've asked the same question to other people about the bleeding when wet and I've not gotten a answer other than I'm doing wrong, which is a load of horse crap.
Hope this helps in some way. Feel free to message me if any question's.
I'll keep it updated here as I figure it out.
Thanks, Michael
-
I use a scratch awl to mark my lines. For cutting I use 2 different knives, for straight cuts I use a very old, very curved skinning knife. For all my curved cuts I use a old Stanley 3 bladed pocket knife. I use these to cut thin leather (3-4 oz.) upto and including 15 oz. saddle skirting.
Everyone has there favorite tools for cutting, a lot of people use what everyone else does and with good results. I have found that I use what I'm comfortable with and they work good.
as Michelle says good lighting is essential, also the glasses for these old eyes, lol
-
Kydex has a 250 F working range. It is possible that as Tom suggests you may be getting it too hot.
Also I believe Tom has the right of it on his method for getting you a better corner.
Good Luck.
Michael
-
I'm not sure as to the process you use for doing your kydex, heat gun, heat lamps, oven, by hand shaping, vacuum table, you get the picture. When doing any kind of insert to get the corners I make a wooden mold (or buck) as its called they can be made out of anything hard. I also use a home made vac table that I use a shop vac with.
But for your needs I'd suggest making a corner mold (buck) just like for wet forming leather and then use a heat gun and gently with a piece of wood push the kydex down around your mold.
for hobby vacuum tables that you use a shop vac with look at www.widgetworksunlimited.com they work great for doing holster's, knife Sheaths, and other small projects.
I hope this helps, but it probably gives you more question's than answer's lol
-
Welcome Mitchel,
Before we get started with this hopeful awesome thing I'm about to write, let me say you are about to embark on a journey that will enthrall and grab you.
I do armor and cos-play costumes and weapon's. I particularly like HALO, Skyrim, Assassin's Creed, Fall Out 3, Fall Out New Vegas. When doing fantasy and vid game armor you can use a lot of different tools for fashioning your armor from leather, eva foam, resin and fiber glass. I too have been toying (and drawing) with the design to do Master Chief from leather. I can give you my thoughts on what leather would be better for most aspects of his armor. If you don't know about this site check them out. they are the HALO costuming community. www.405th.com They tutorials there will help you with the armor making process no matter what material you choose to work with. If you have questions please feel free to contact me.
As for learning to work with leather I agree with everyone that taking a class at the local Tandy's would benefit you greatly. Also doing small projects like archery arm guards , cowboy cuffs, shoulder satchel bag and many other thing's will help you on how to custom the fit to your body. If you go to the re-enactment section of the forum You'll find The gauntlets I'm building for a ORC armor set from Skyrim. Its title Armor In Progress. Also since you Masterchief doesn't have any tooling on his armor and you want it to look used, selecting leather with blemishes that can be seen as battle damage would be good, when selecting leather for armor I don't need the best stuff so getting the "bashed and Thrashed " bargain leather is sometimes useful and cheap. Just depends on your needs.
I could go on and on but I might bog down your mind,
I'll say this doing armor is simple, working with leather is simple, Don't over analyze the process and you will have fun build great things.
Good Luck,
Squirrelly66
-
Gill your bags look quite good. Your stitching seems very well. Do you burnish your edges? If not you may want to thing about it as it will add some detailed look to the bag. Jazz is right you should stop in for chat we have a few that build or have built hand bags, you pick up a trick or two.
Good Luck,
Squirrelly
-
These are the 1st pieces to a modified Orcish Armor set from the video game Skyrim. These are not quite fully finished but I had to post progress so far. These are done with 9-10 oz leather. I'm using eco-flo water based dye. I still have the fur liner and some resin cast pieces to add to these. This is for a cos-play costume for a convention in August.


-
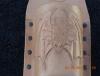
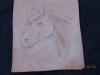
I thought about using color but since it is a practice piece I decided to leave it plain so the detail could be seen better for getting it critiqued. I'm not sure I will even use color other than possible antique dye's on any carvings that I do. Never been one that likes to paint stuff. Thanks for the comment.
-
I've only been carving for a little over 3 month's. I'm a noob myself. Thank you for your comment.
-
this is my 1st attempt at carving a horse. I did it for a class that I attend.

-
I'd like to request access to the adult section , please. thank you
-
I'm in the Spokane area, I too like doing armor. Mine is more Skyrim, Assassins Creed, and Fall Out 3 and New Vegas. Your projects look good.
-
I started with a decent basic kit also. Like Calait I have been adding 4-5 new tools amonth depending on the needs of the project I'm doing. I don't think there is a one size fits all kit though I have seen some good ones here and there. they either have too much of what you already have or not enough of the tools your looking for.


What's In A Name
in How Do I Do That?
Posted · Report reply
Leather Bauble's and Trinket's by Pip
Squirrelly66