RKCrowe
-
Posts
79 -
Joined
-
Last visited
Content Type
Profiles
Forums
Events
Blogs
Gallery
Everything posted by RKCrowe
-
Thank you. I can see that working better then what I was thinking. Richard
-
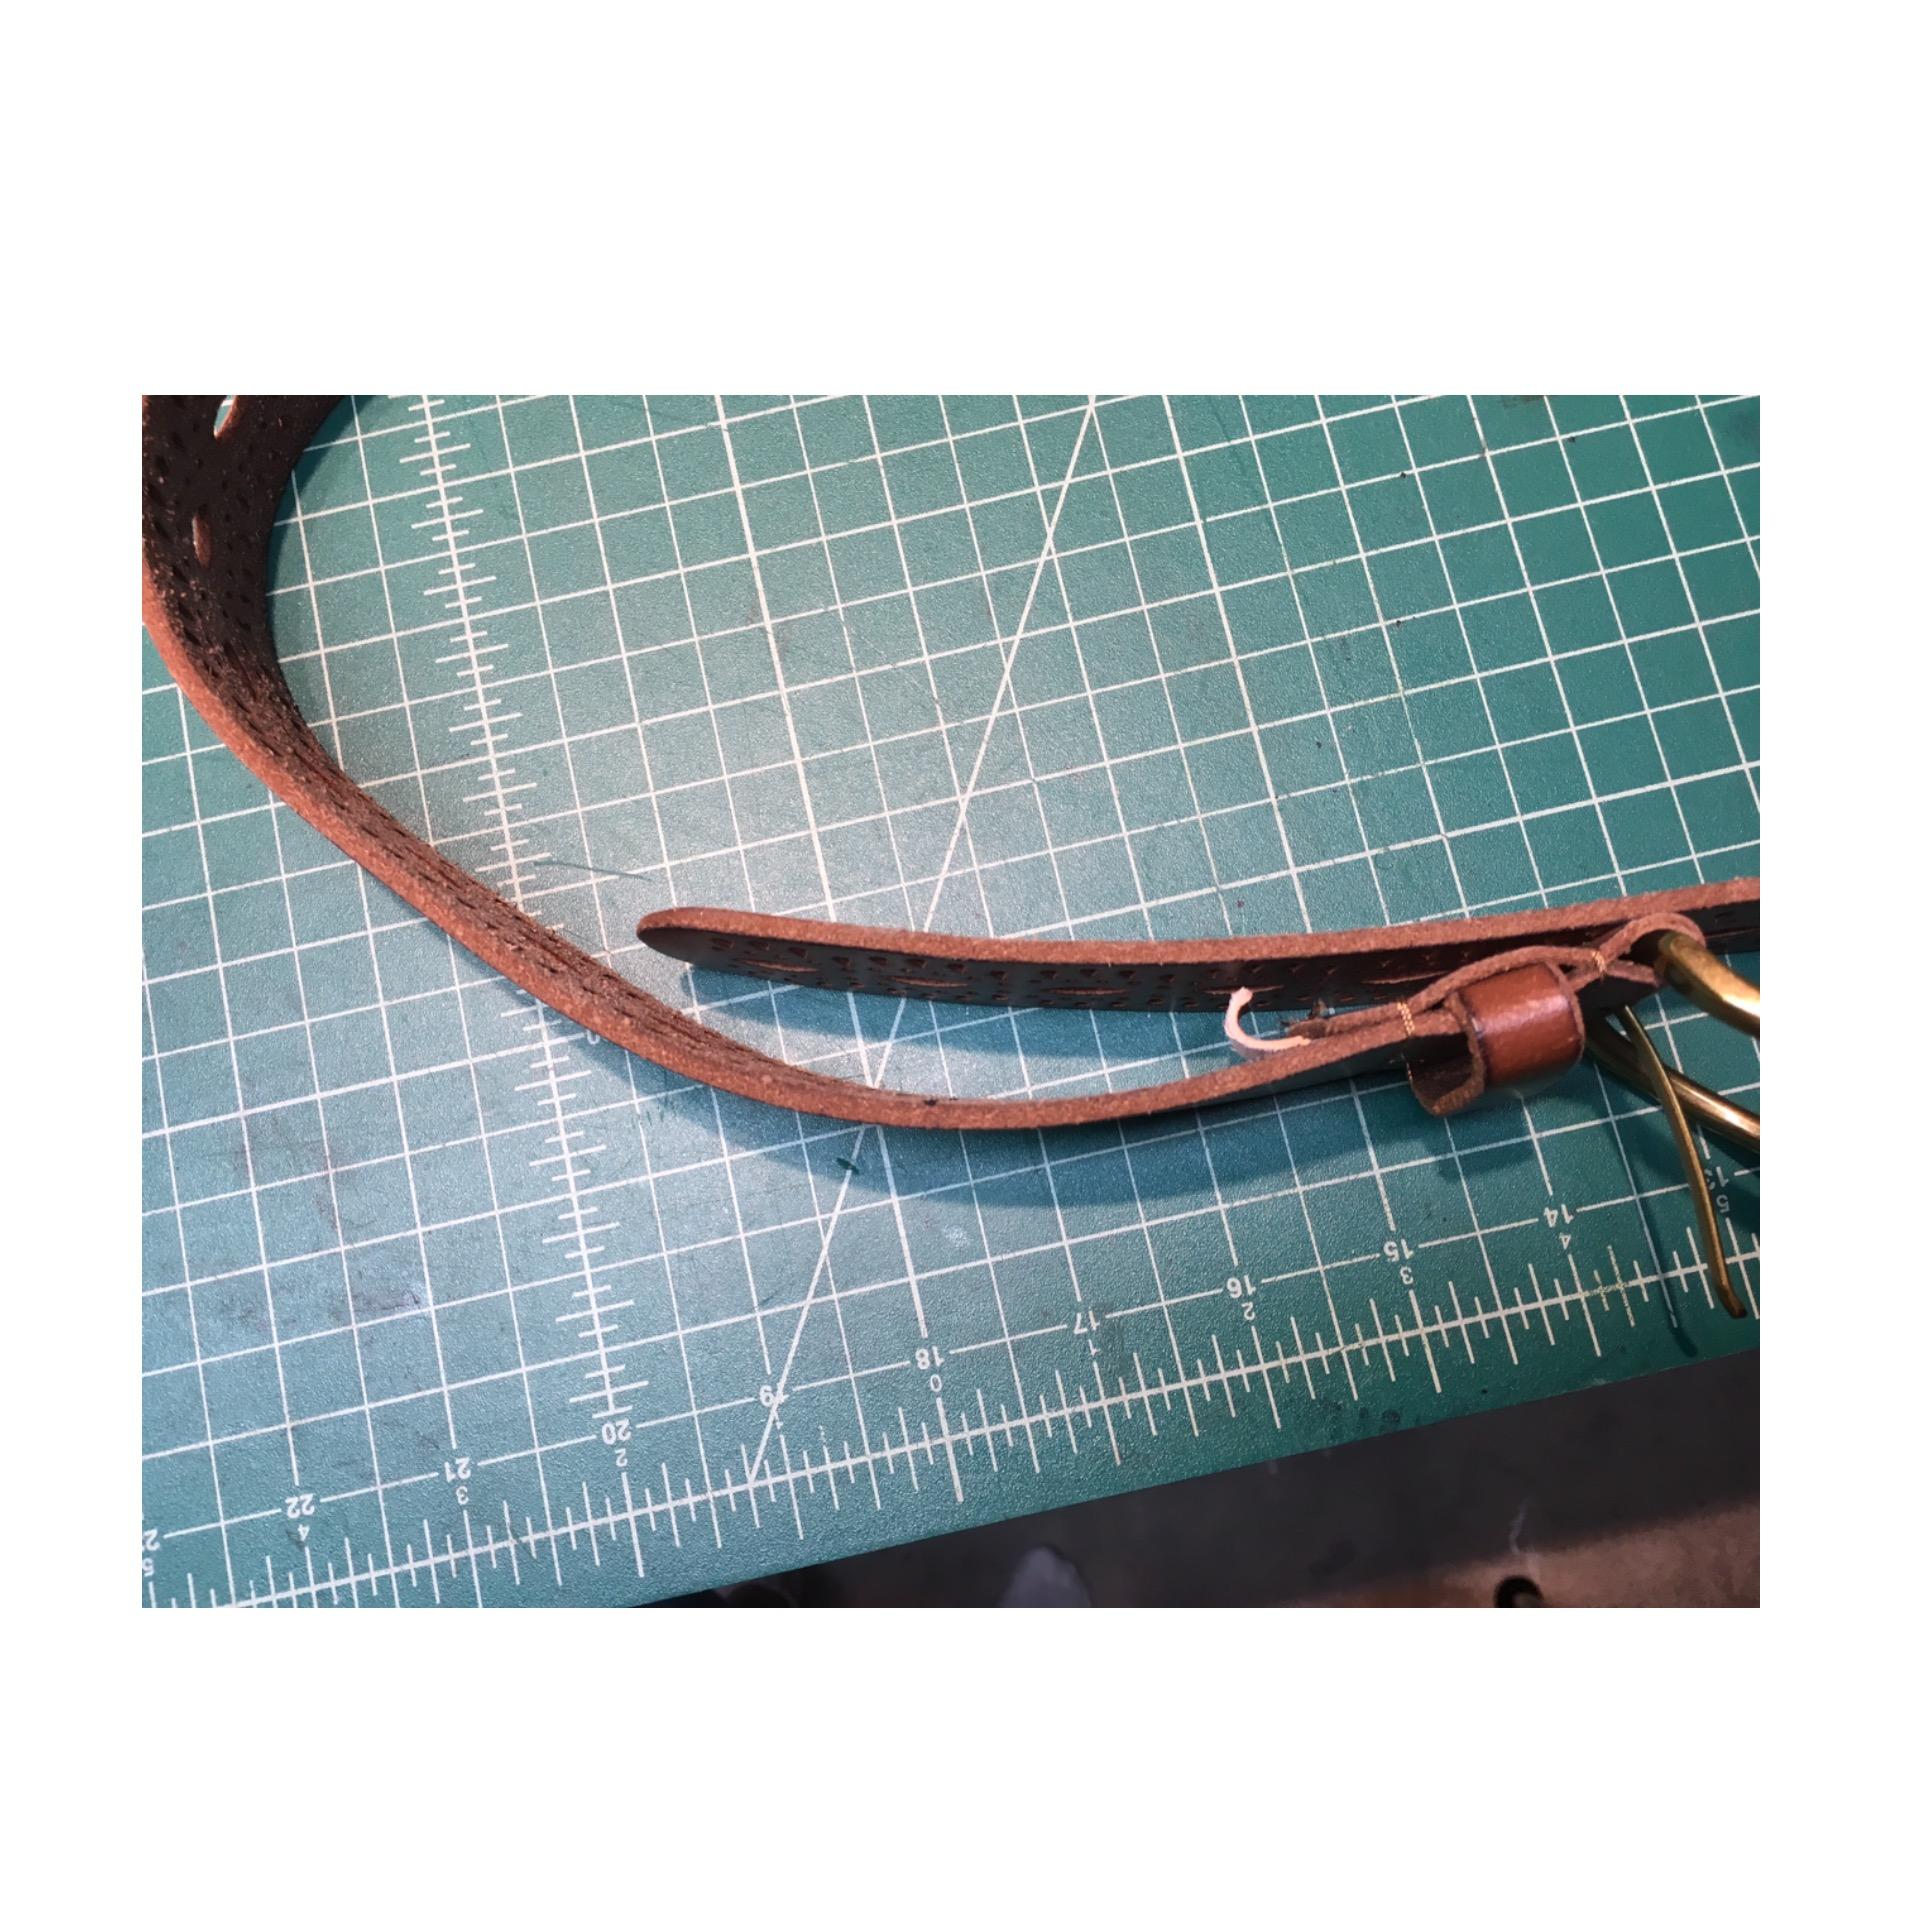
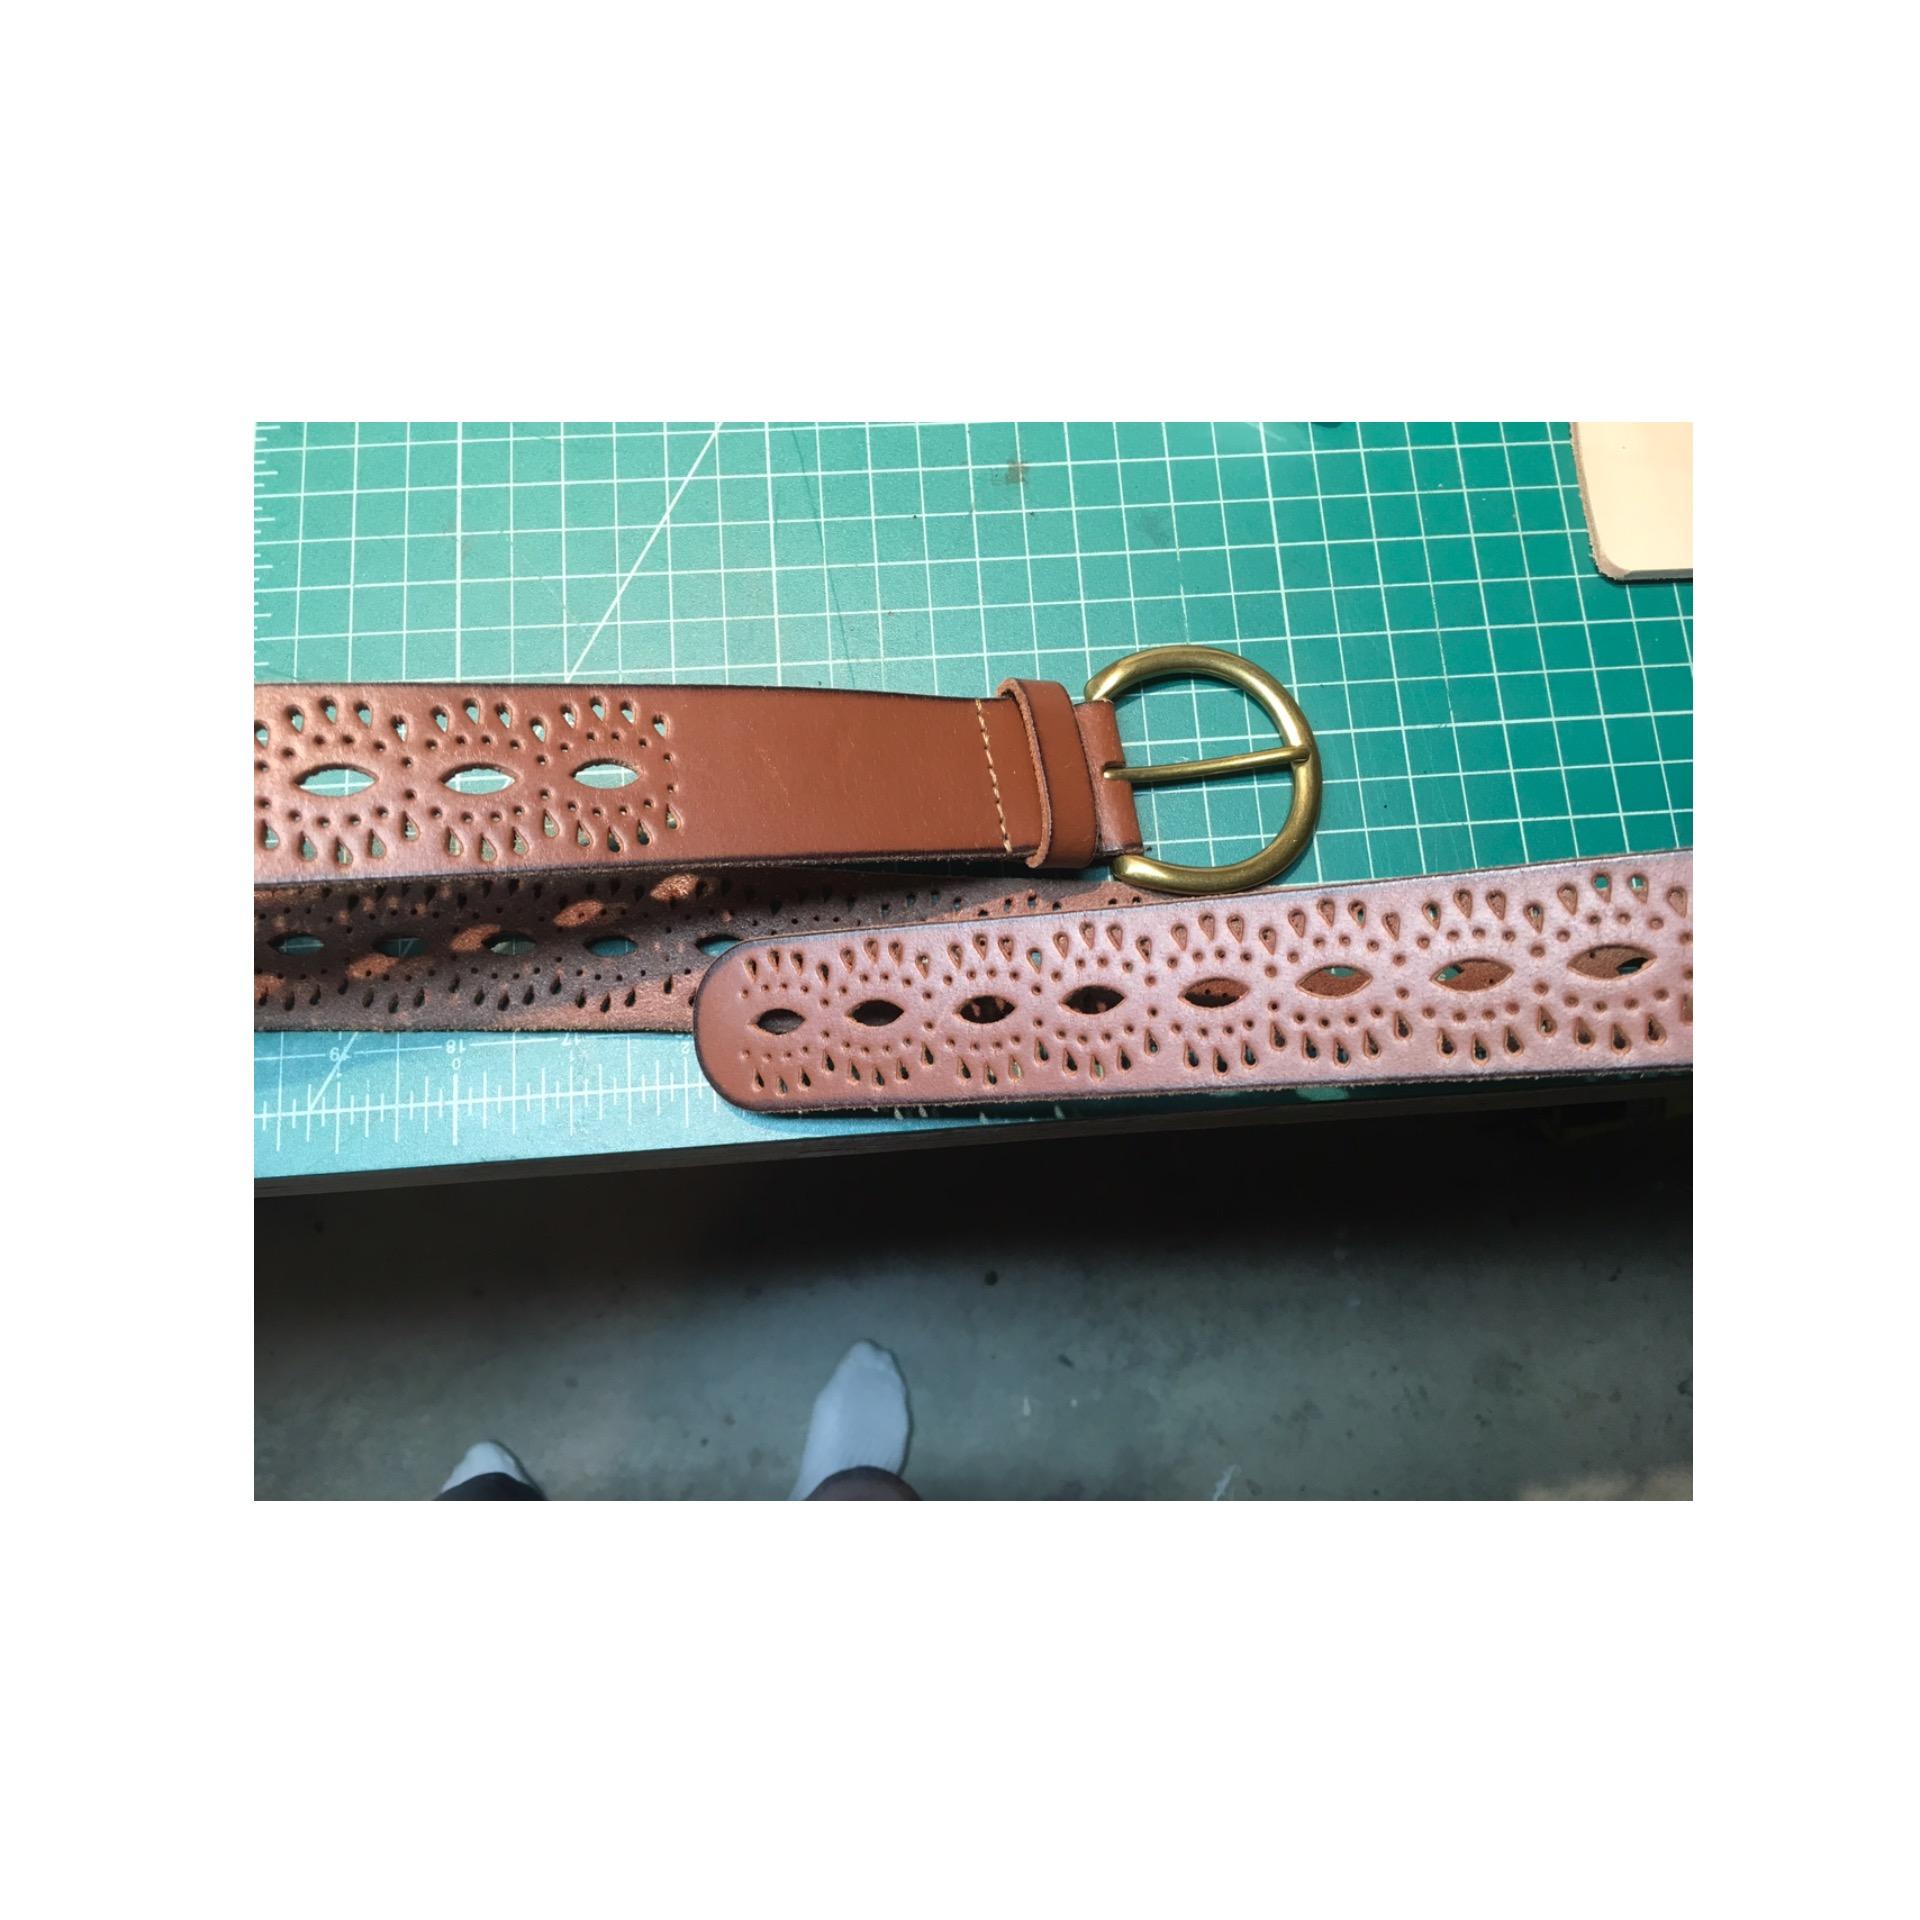
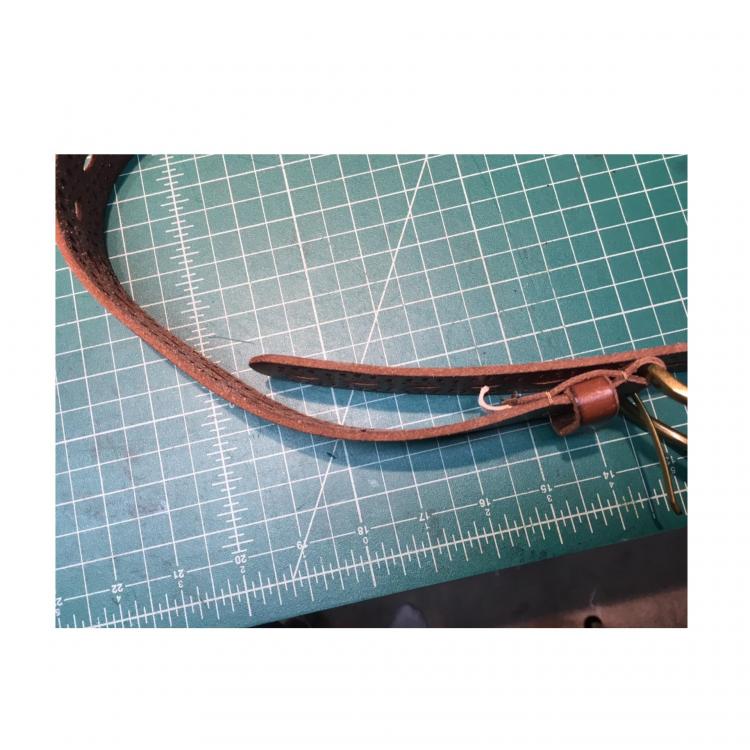
Greetings, I was looking for some advice/suggestions about belts. My friend bought a belt that is too big and asked me to shorten it. Yep, sure can, no problem...then I received the belt. The belt is filigree from the tip of the billet to about 3 - 4 inches from the buckle. There is not enough space between the filigree to trim from the billet and I need to shorten it more then what’s at the buckle end. With the filigree, I don’t think a typical; cut, skive and glue will be strong enough, or is it? Or the best way? So, I was thinking about cutting the buckle end off, remove a section of the filigree and re-attach the buckle end using a “ <-“. split the buckle end, “v” skive the filigree part glue and stitch. ? My concern is that the belt is only about 1/8” thick, so would that make a strong enough joint? Any suggestions or alternative ideas would be greatly appreciated. Thank you for your consideration and time. Have a great day! Richard

-
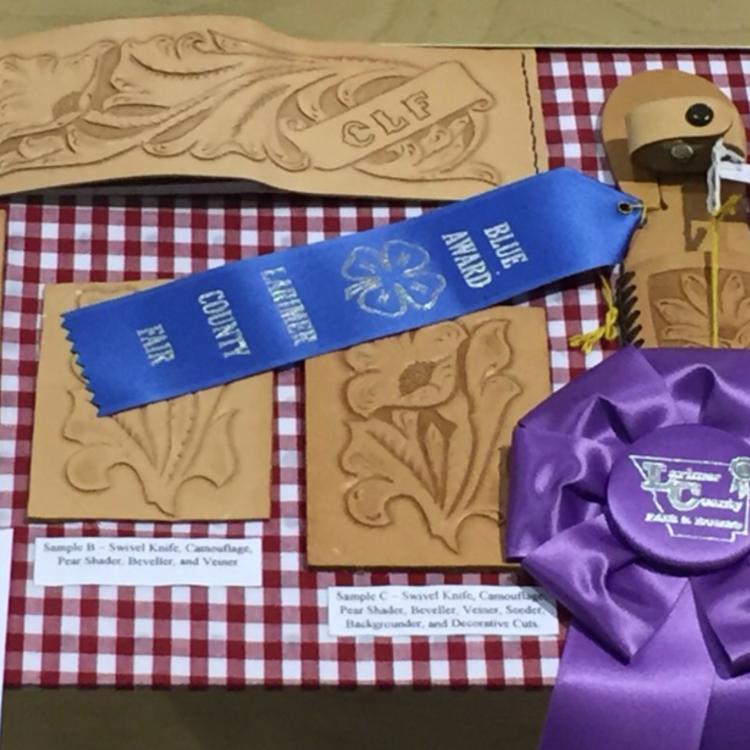
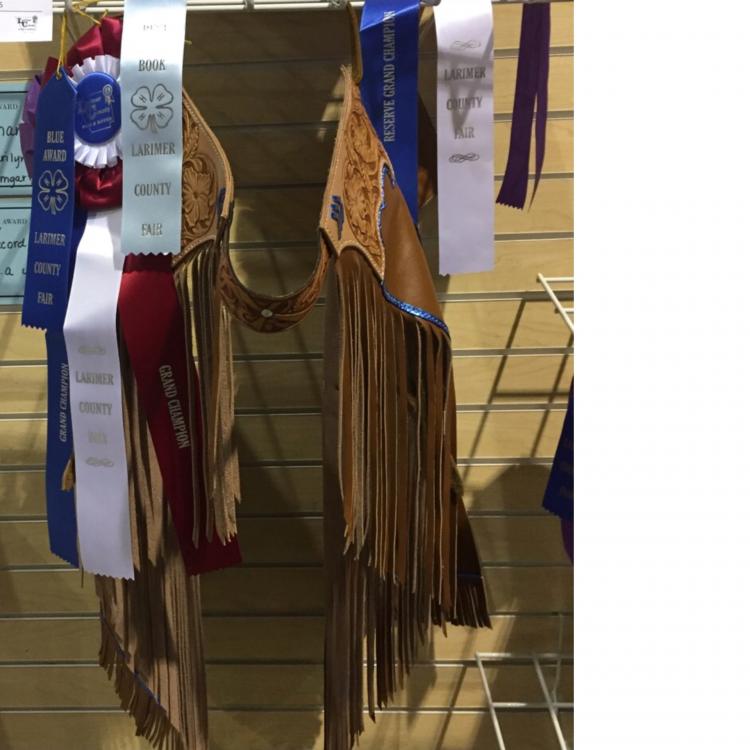
Please share my hearty congrats to Caitlin! A 15 year old girl out of Fort Collins, Colorado. A real go-getter and and boon to leathercrafts future. I work with her father, and when I heard how enthusiastic she is about life in general and leather craft specifically, I filled a large envelope with all my duplicate tools and stamps, mostly To get an idea about Caitlin, her father told me a story, “we were sitting at the table for breakfast, Caitlin had a far-away look and I knew something was brewing, Caitlin finally looked up and announced, “ I want to build a boat”. And she did! She is on her school bull riding team, 4H club and maintains great grades. When she didn’t have the money to buy a friend a b’day gift, she made one in leather. She made her own gloves for bull riding. Just recently, she won the Larimer County Fair Overall Champion Leathercrat Exhibit, she made a pair of chaps, If I remember correctly, 3000 hand punched and hand stitched holes and a couple other projects she had to do as a first entry to the fair, in her first year! Did I mention she is 15!? Hidepounder, if you come across this, she draws inspiration from your works, and many others on this site. My enthusiasm comes from knowing that there are some young people with the fire to keep this craft, as old as man’s history, alive and well. Help me congratulate Caitlin, I know she is a member of this site, and also recognize any other youngsters that have partaken the elixir, called leathercraft. Knowing the torch will be passed to capable and well deserving hands! A whole category should be made for this purpose. Thank you for your indulgence and time for this matter. Richard
-
Thank you
-
Sorry! Rookie mistake, I will be hand stitching, just around the perimeter of the seat where the top and bottom pieces meet. Seat shaped like old fashioned bike seat, with a thin closed cell foam cushion on flat metal seat pan. As of now I’m planning to use 1mm tiger thread. Sorry no pictures as I am away from the project. Thank you Richard
-
I’m about to do my first motorcycle seat recovering. Nothing exciting, just new leather. I plan to have a bottom and top pieces sewn together. Please, what is the minimum/maximum size thread that you would use? Thank you, Richard
-
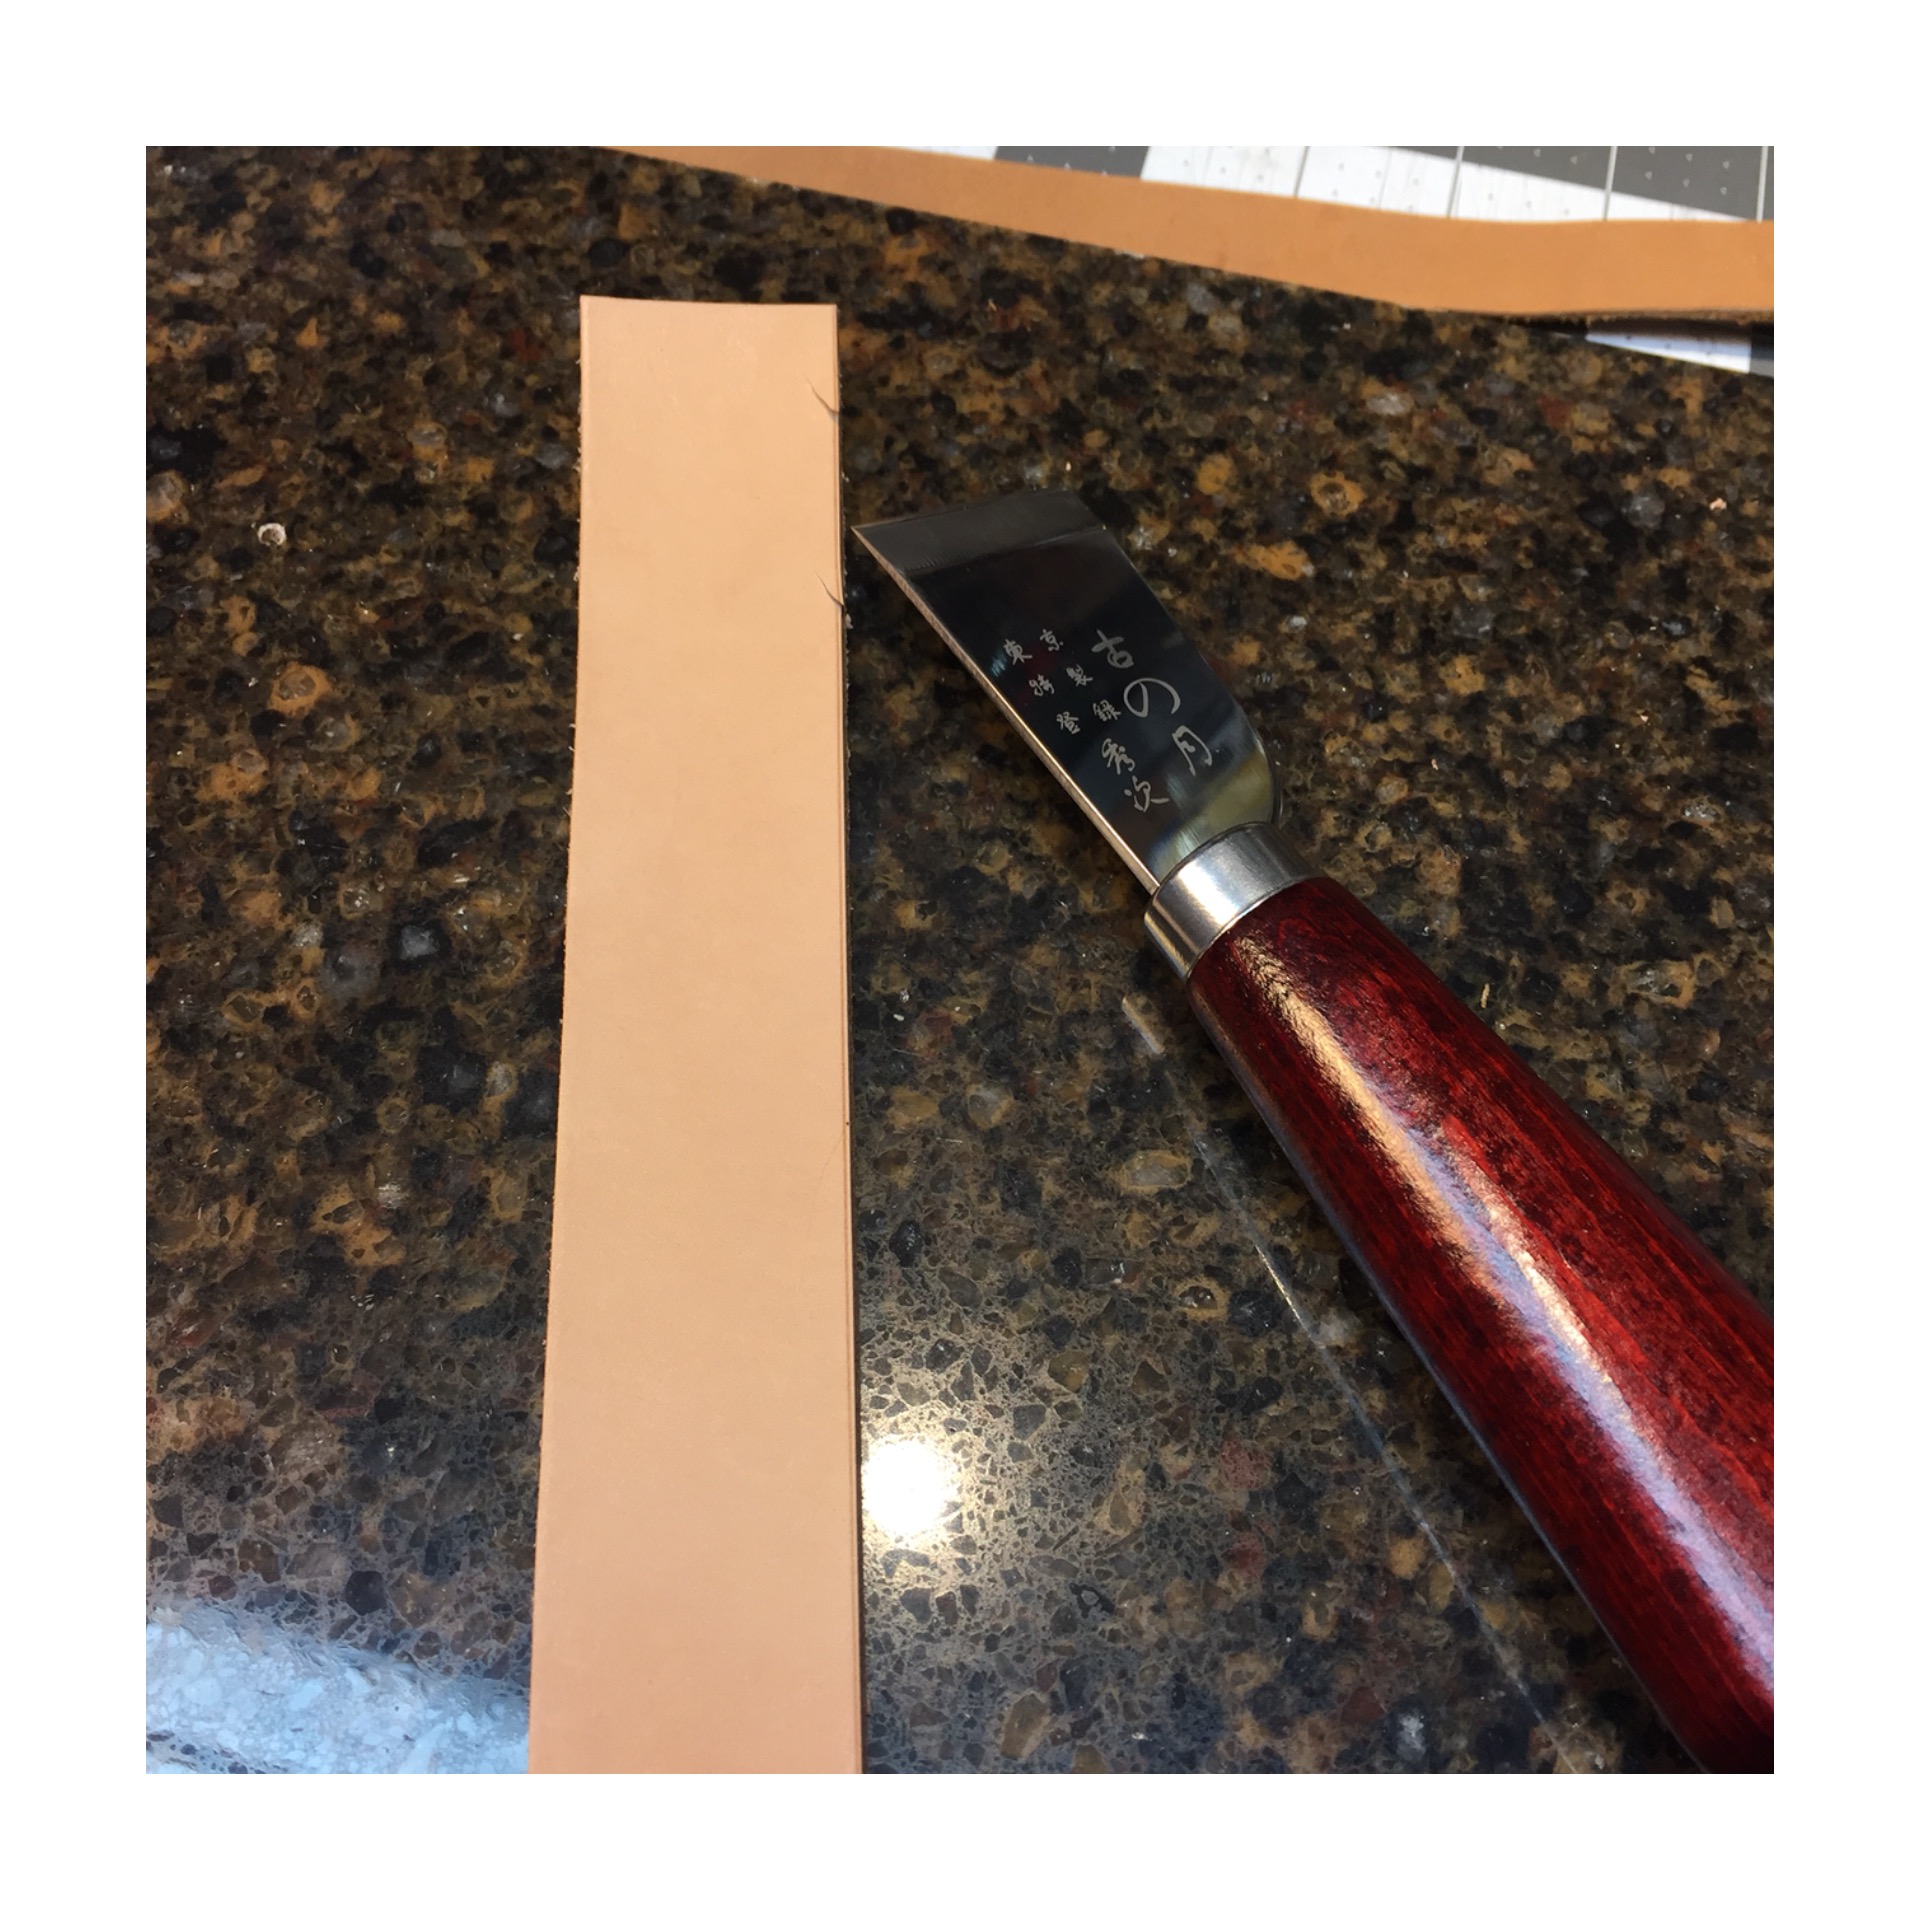
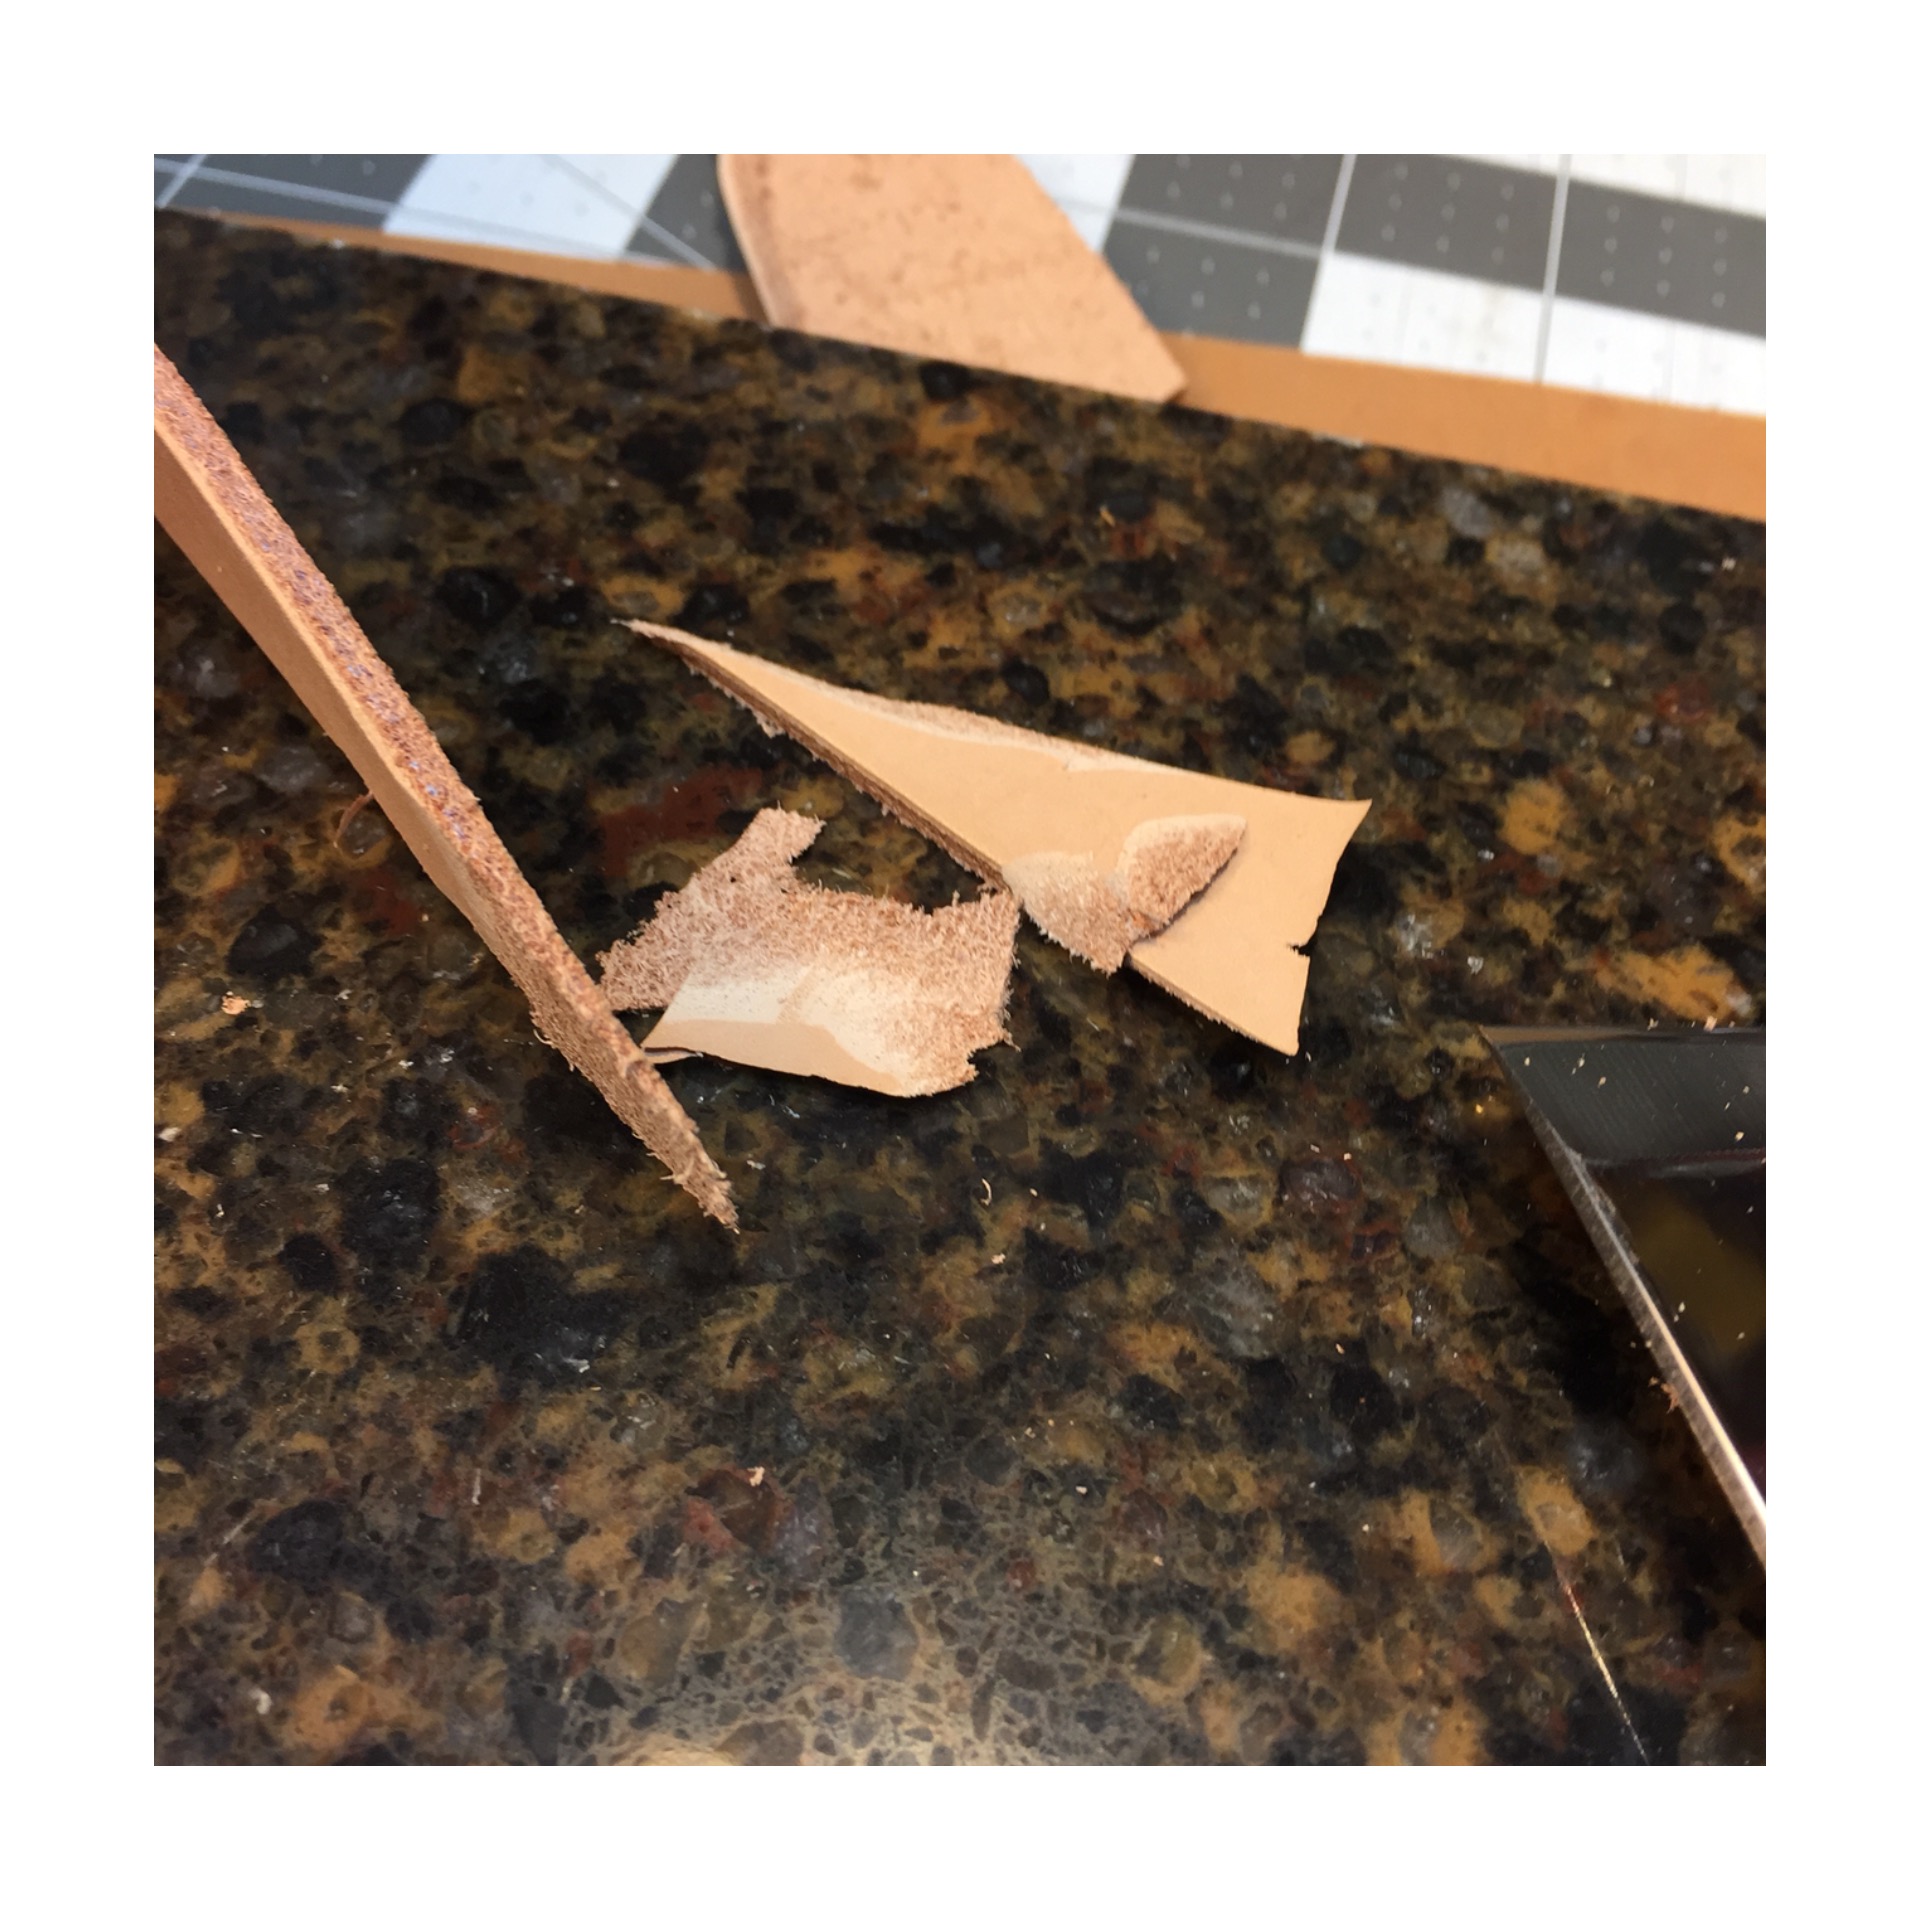
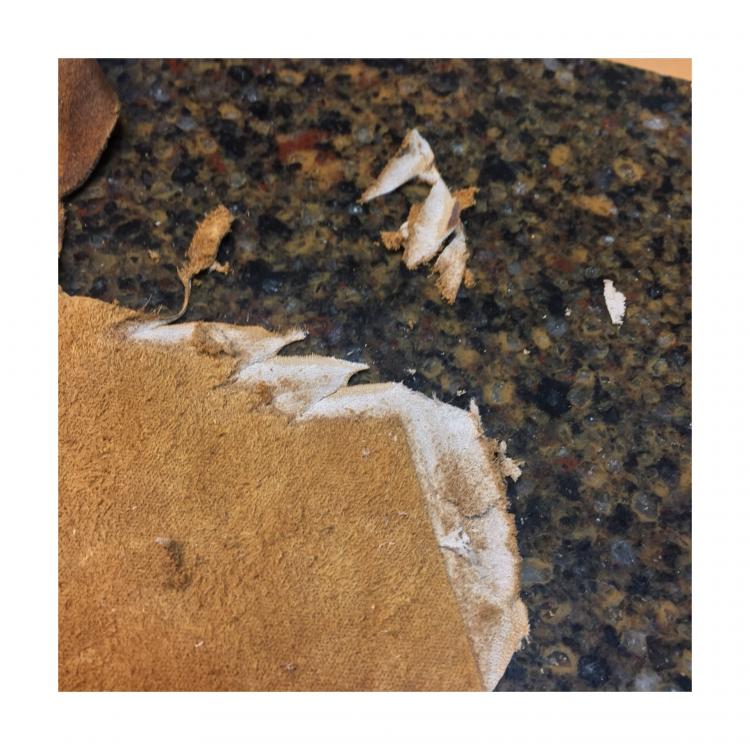
A follow up on the knife; it does a good job. However, if you want to shive more than 10-15mm, the wooden handle becomes a liability as it interferes with getting a shallow enough angle on the skive. Especially with thinner leather. I had get the leather high enough off the bench to allow the room to drop the handle low enough to get the shive correct. 10-15mm and less it is good. Something to consider if you are in the market.
-
I’m really interested in the flat knives, even thought of getting a d2 steel bar and try to make one. But it will be the next skive knife I purchase By the way, I nicked the edge of my Chinese special. I filed the nick out and re-sharpened it and all is well again.
-
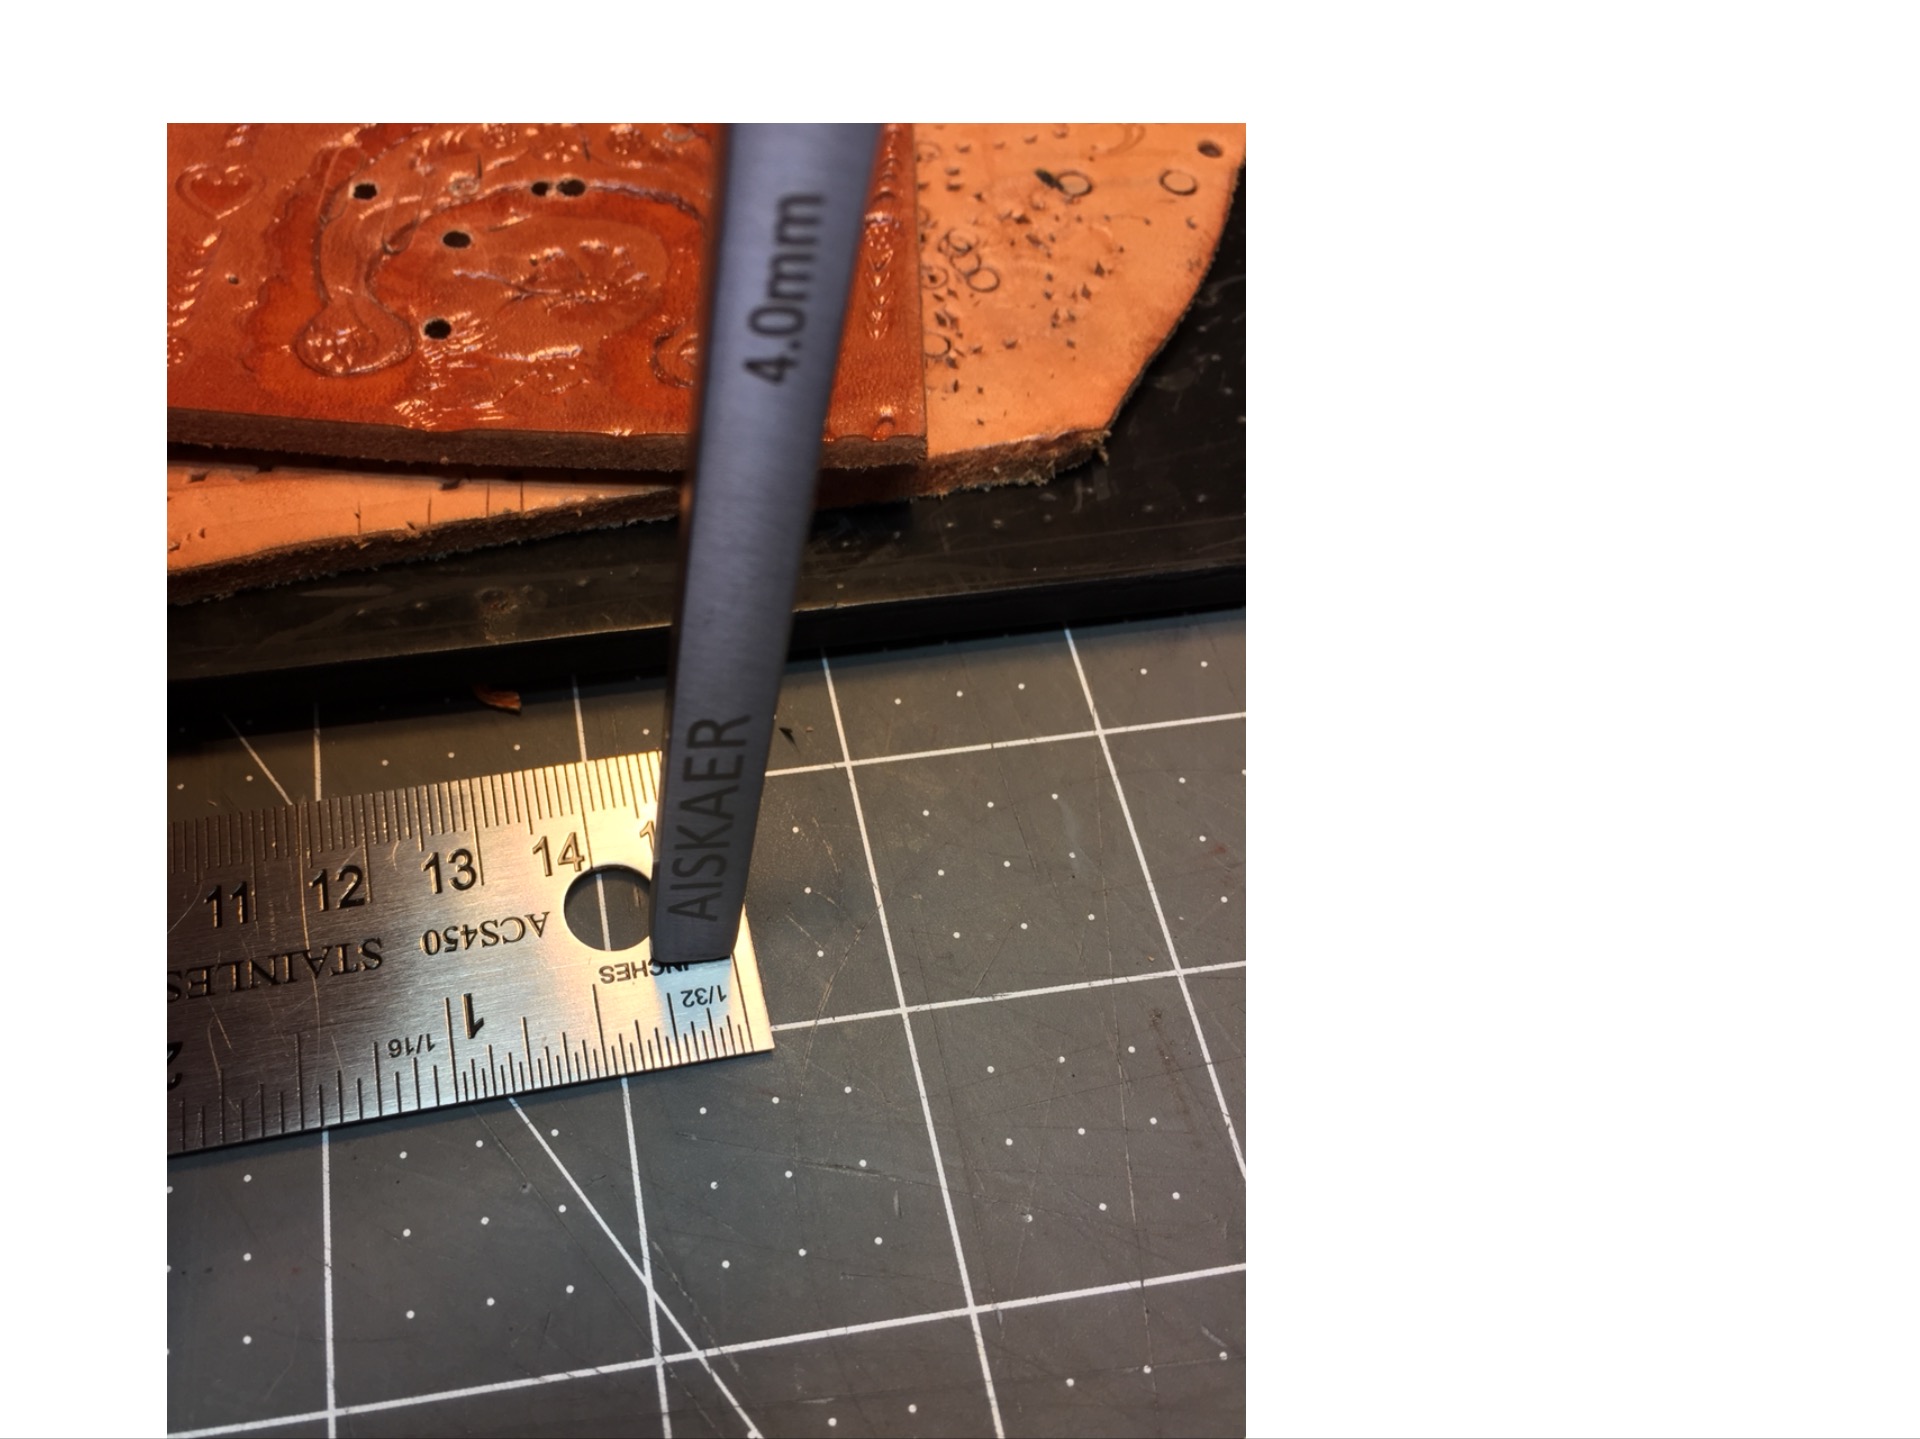
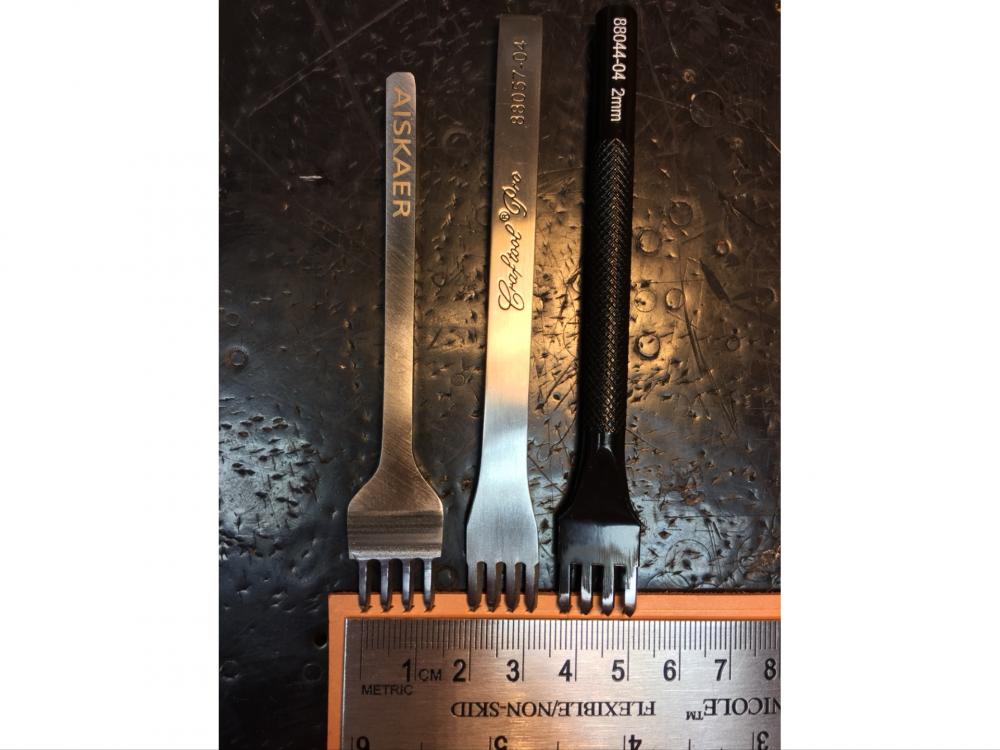
Just got a skiving knife off Amazon. Sold by Bayvan shop, $9.99. Stainless steel blade. Though it looks like several shops selling the same knife. I bought it because it was very cheap and also had numerous positive reviews. Also if it was junk, no real harm and I would buy a name brand knife. The edge was pretty rough but some time polishing and stropping fixed it up nicely. Opinion: it was worth the risk and price. And I accept that I will have to strop more often than a big boy knife, and start saving for a big boy knife. Works nicely on “designer sides “ too. As a side note: I also got the Aiskaer wide (French) beveler/skiver. Based on the stitching irons from same that I’m happy with. A quick polish and it is good to go.


-
Hey Pete, I made a coaster for my mom-n-law, I finished it with a couple coats of well rubbed in bees wax. It keeps the condensation from a glass of iced beverage from being absorbed. But she doesn’t use it because the moisture beads up collects in the tooling and then spills when she picks up the coaster. It of course works perfectly for all other beverages that don’t “sweat”. This probably doesn’t help you, but there you go. Richard
-
Travel Guitar Case- Best way to attach shoulder strap
RKCrowe replied to RKCrowe's topic in How Do I Do That?
I just got a picture of how the guitar will be carried on the suitcase and it really will not be an issue about the stress forces. Guess I just saw snarks and gremlins in the darkness of doubt. This will be my biggest challenge to date, being for someone other than me. Again, thank you all Richard -
Travel Guitar Case- Best way to attach shoulder strap
RKCrowe replied to RKCrowe's topic in How Do I Do That?
Thank you everyone for your responses. It has definitely helped.and what I love about this forum! -
Good day to all, I am going to make a gig bag for a Travel Guitar. The person that I am making it for travels a lot, and when walking with his bags he either slings the guitar over the shoulder , which poses no issues. The stress force is inline with the anchor point of the strap ⬆️⬇️,OR he loops the strap around the suit case handle and that poses an issue for me. The stress force is at an angle ⬆️➡️ The issue being, when he carries the guitar on his suitcase, the stress on the strap attachment point is at an angle to the normal. So consequently, on his nylon bags the strap stitches eventually start to fail. And why I am seeking some advise. I am planning to attach the sling to the inside of the bag, exiting through a slot to the outside. I plan to augment with reinforcing piece on the exterior and slightly above the slot to pickup some of the stress when pulled at different angles. Would that be sufficiently strong? I also consider, in addition, to angle the anchor point, thinking the strap would then curl some, wether carried over the shoulder or the suitcase handle, effecting a closer alignment of the stress force lines? I am open to all options. I plan to use “designer” leather that I got on sale at Tandy, for both the bag and liner. And 5-7 once veg for the sling. Or am I just over thinking it? Thank you for your time and advise. RIchard
-
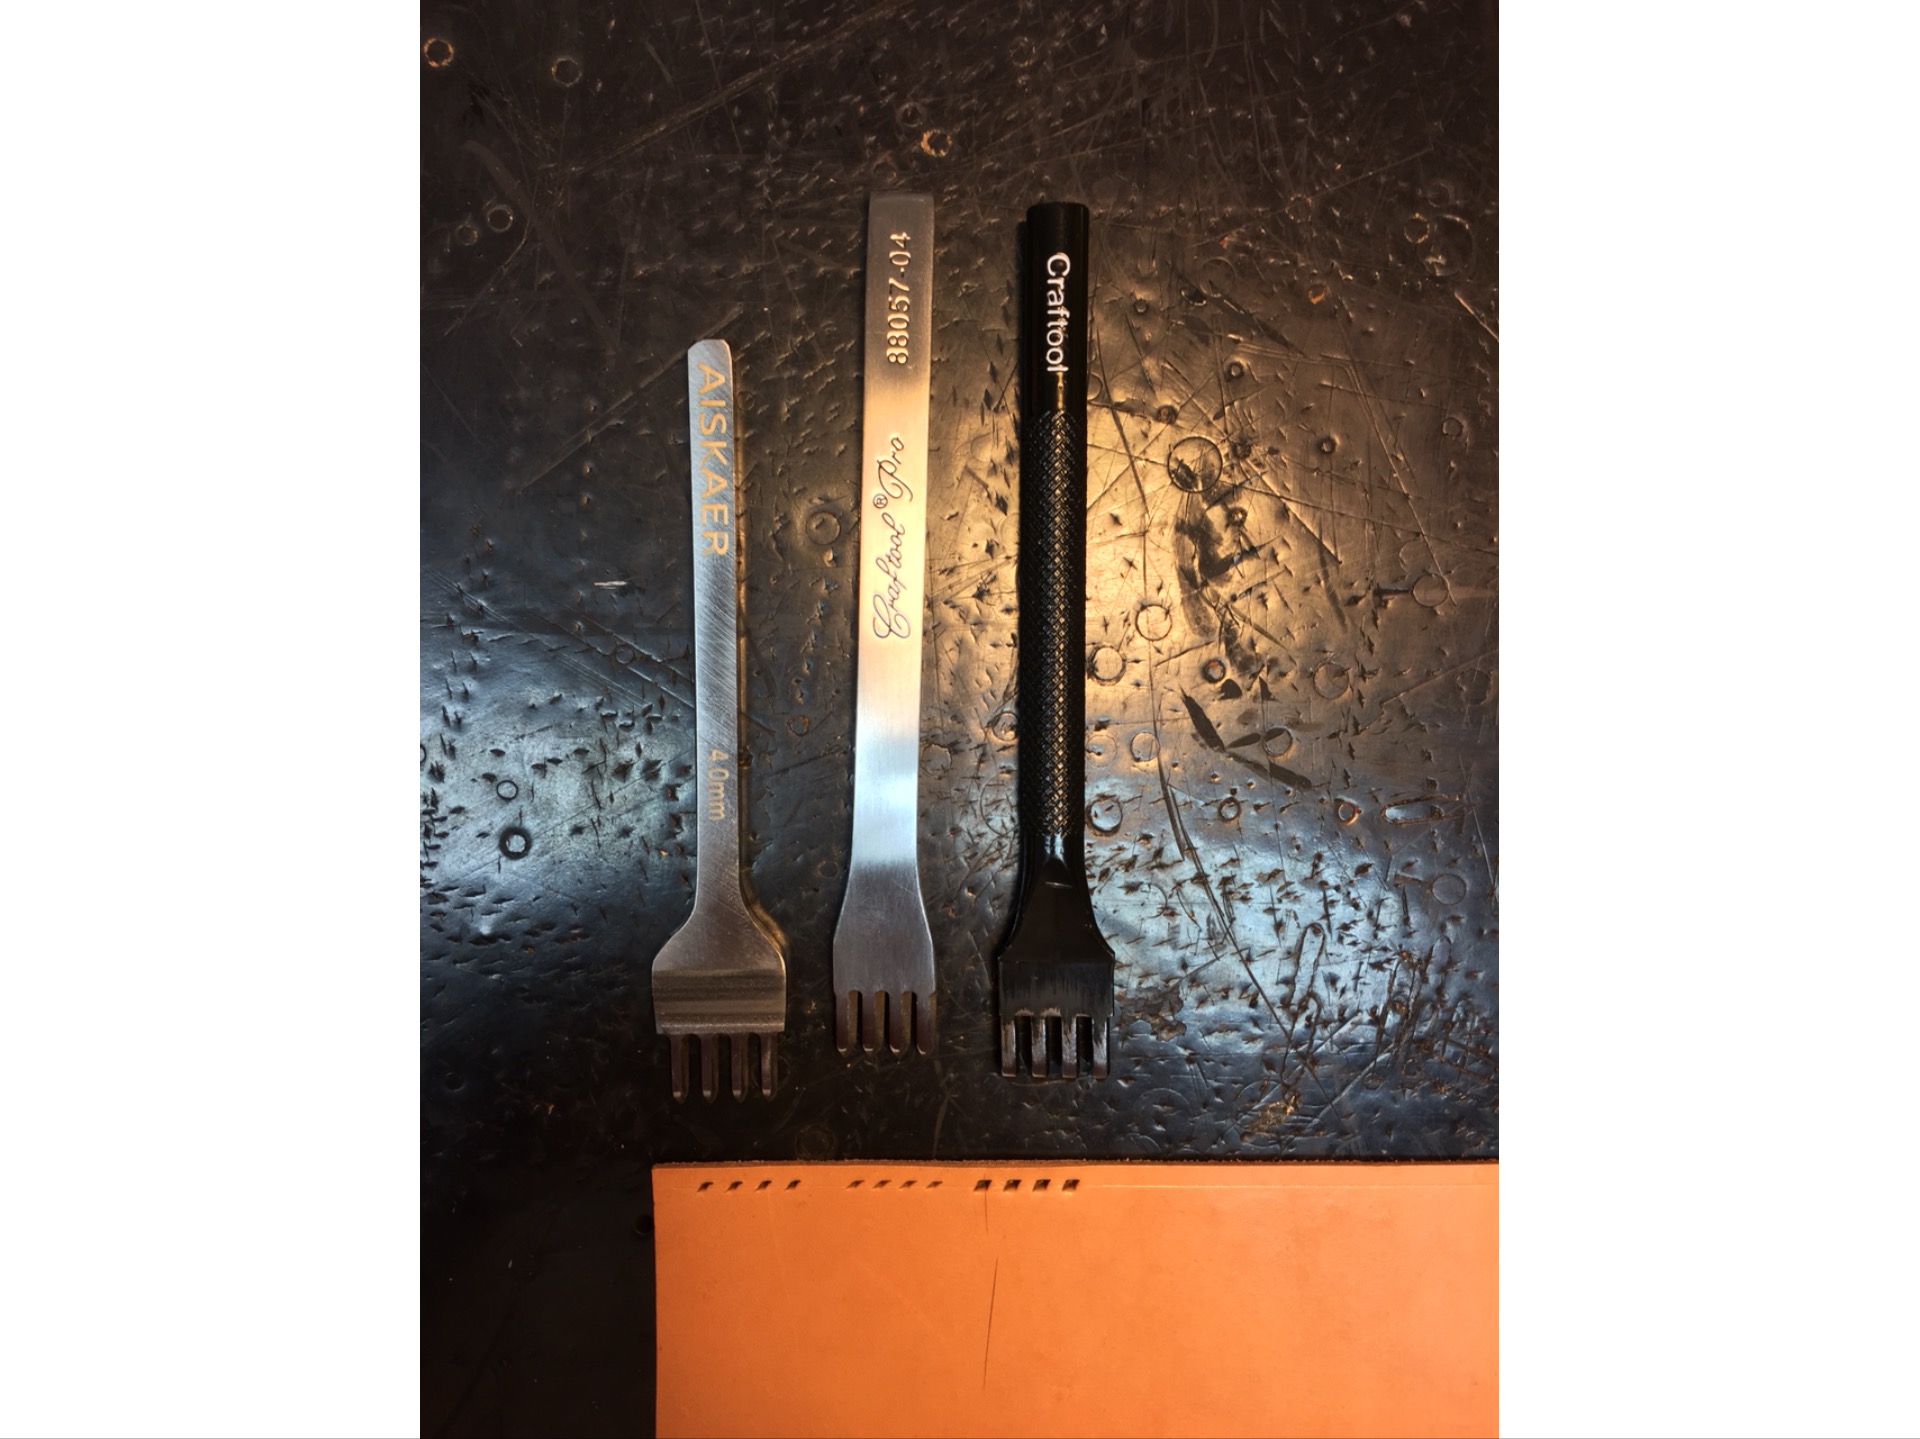
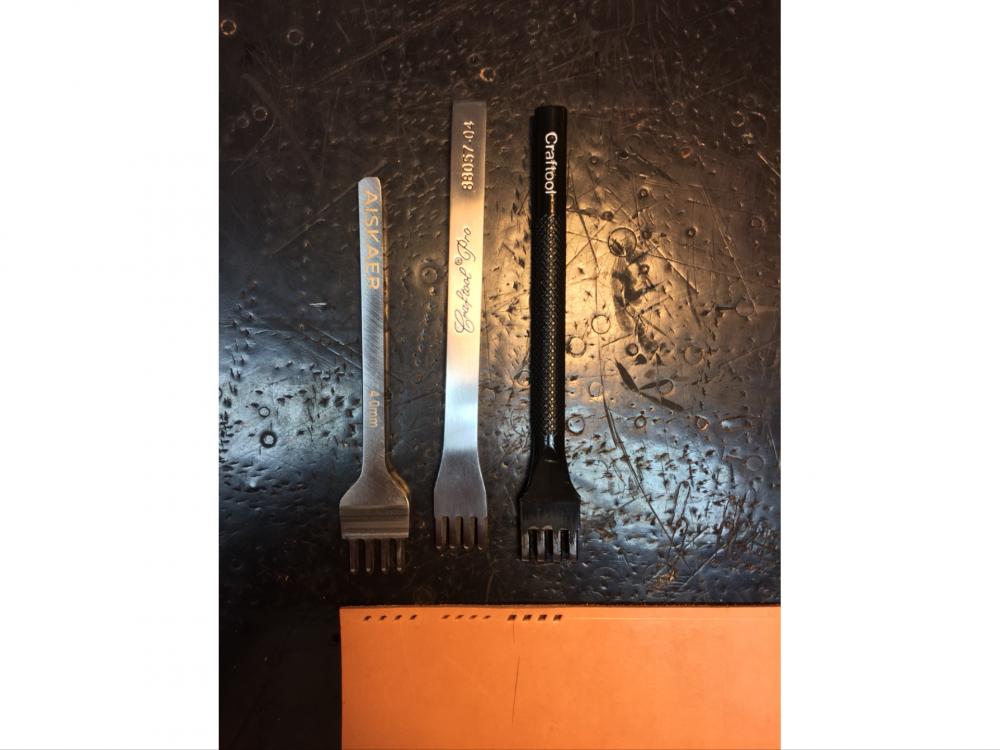
I just bought these off Amazon. They were inexpensive, no more than $15.00. With the thinking; if they are bad just toss them and keep looking. My thoughts: they are small and could get lost in bigger hands ( I’m a ML golf glove). I have used them a couple times with no problems. A little polishing helped. They have a smaller hole and better tine angle than the Crafttool Pro 3.5 mm from Tandy and much better than the regular Crafttool. Hope this helps a little. Richard

-
Good day to all, I would like to know what lining leather for use, against the guitar, for a travel guitar case? It will be two thin leathers with some padding in between. I don’t want to discolor the finish or ruin it as it is not for me. thank you, RKCrowe
-
This seems like the best place for a question: I want to make a travel guitar case, thin leather with a liner and padding between the layers. My question, is there leather I should absolutely avoid using for the liner, in contact with the instrument? To avoid discoloration or finish damage? And a 2nd question, would it be better to use a fabric and if so what fabric? Thank you, RKCrowe.
-
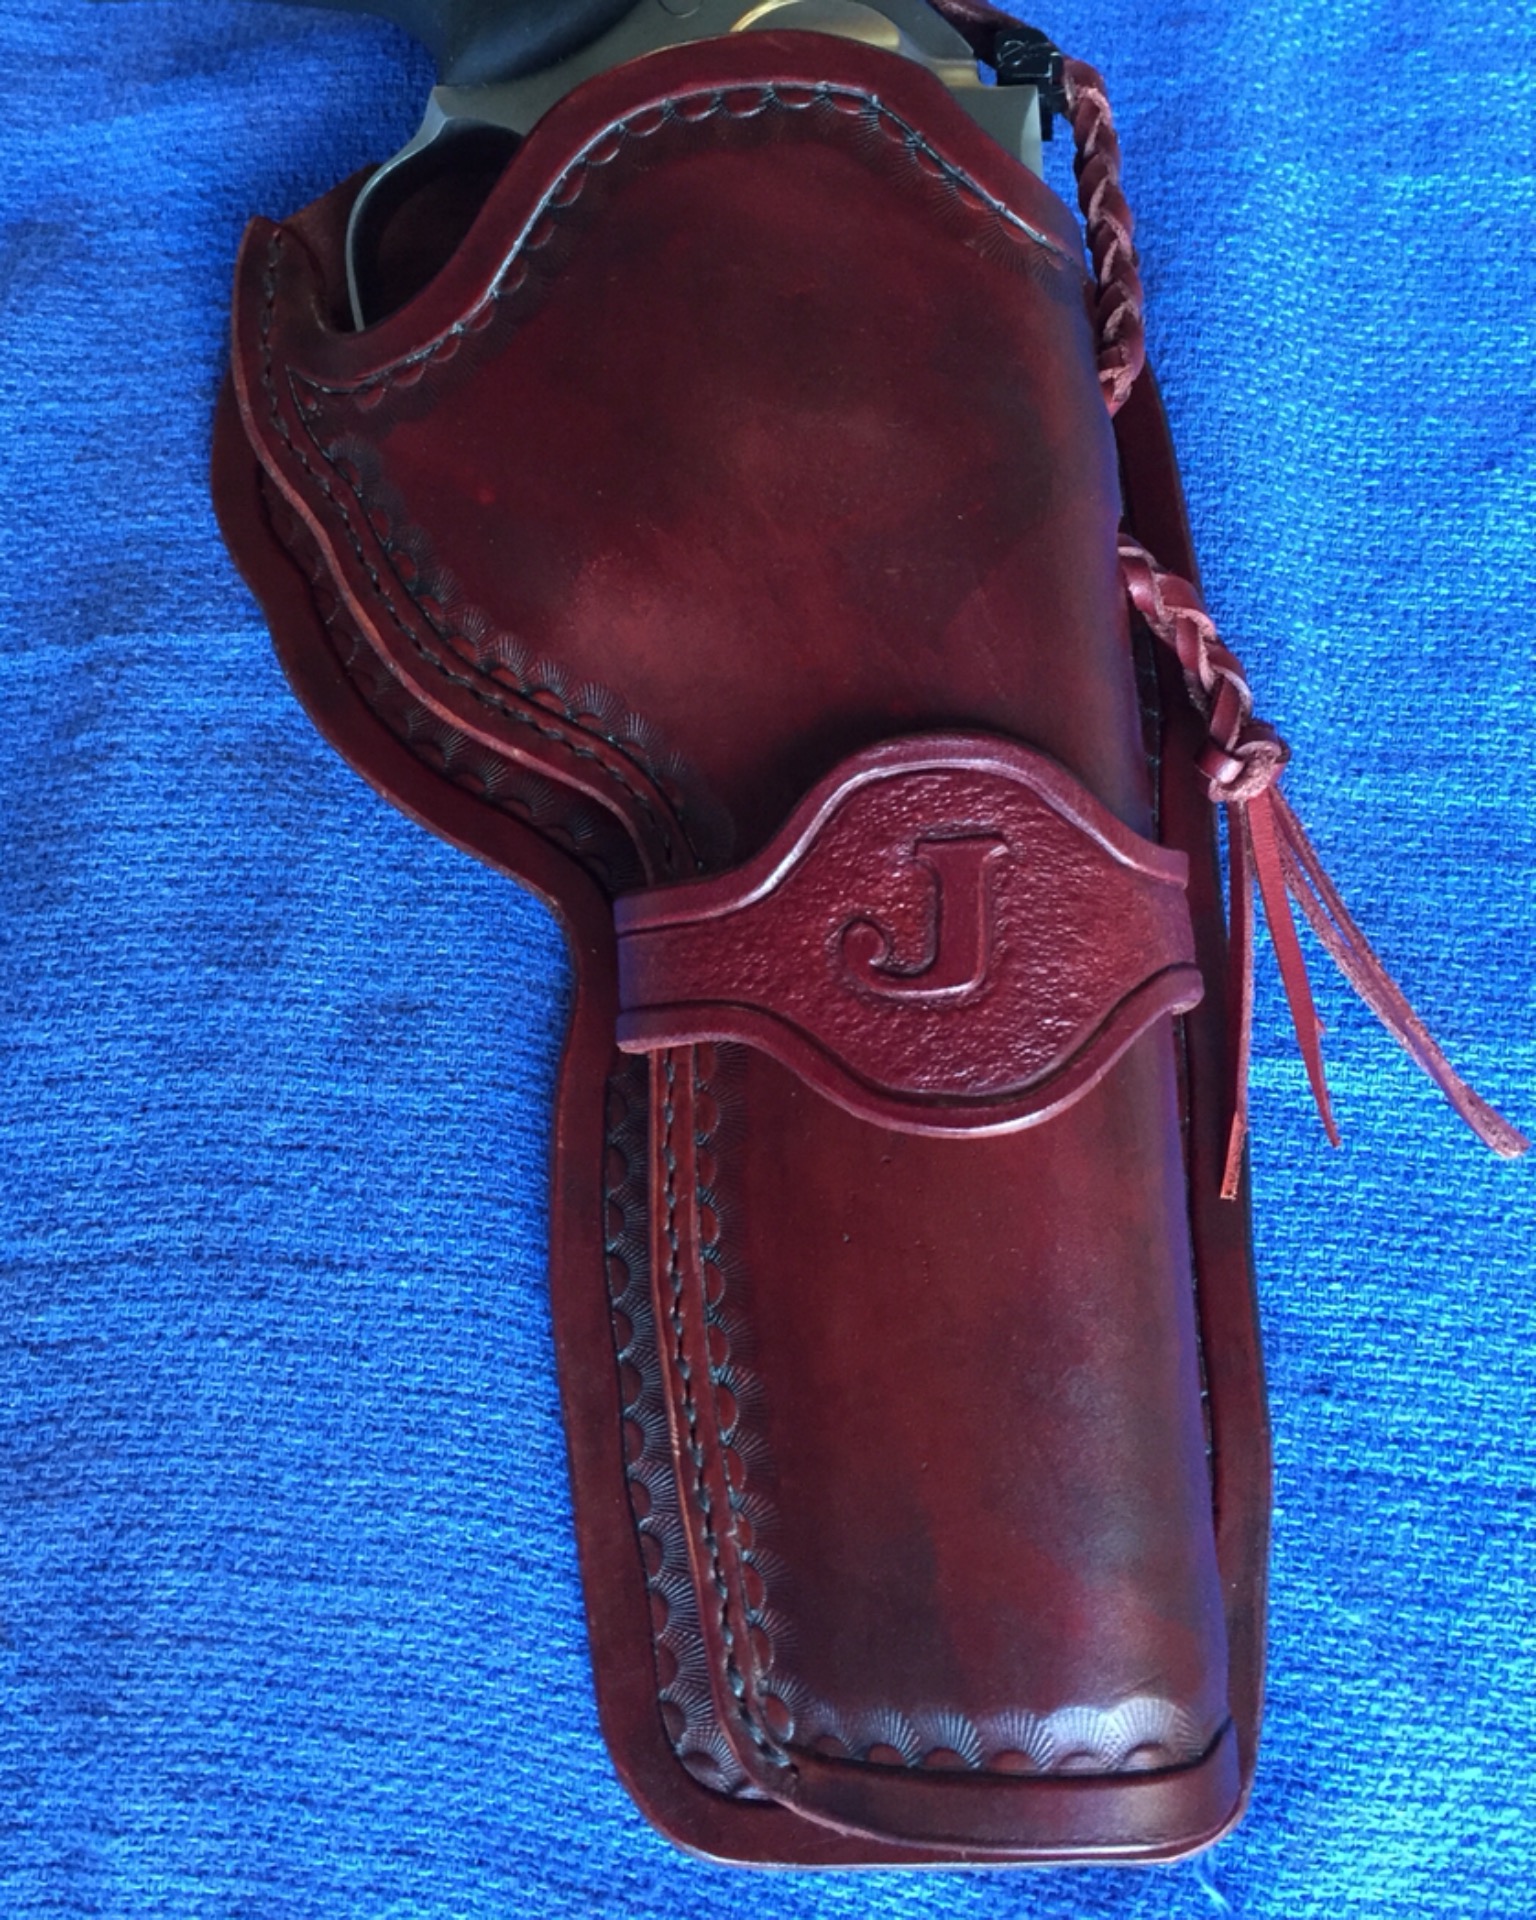
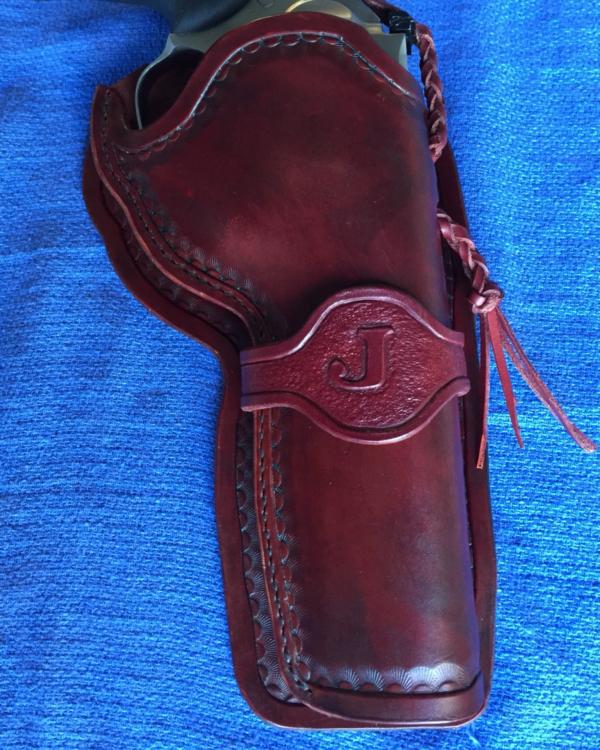
I used Jim R. Simmons, Making the Cowboy Holster. Thank you Jim,
-
Hey Jackwack, I agree, but..." person who can do gusset, can do anything!"
-
Thank you for the help. I did go back to my printed materials, Al Stohlman and Valerie Michael. They advise gouging, dampening and pre-forming the gusset. Also, Valerie indicates to use a 3-piece gusset for more square corners and one piece gusset for round bags. There is always a little gem to find in the printed material! thanks again to everyone. Richard
-
I recently made a bag with gussets of different lengths, on each side of the middle divide. Two things occurred: 1) though I measured several times one of the gussets, the wider one, ended up too long at the top. 2) I had to fight to get the gussets around the bottom curves transition to the sides. One gusset about 3.5cm, the other 8cm wide. Both from 3-5 oz. veg hide. the finished bag, now referred to as the "prototype " for the "real" bag to be made, the slimmer gusset side was a pocket for my iPad, the iPad sat above the top of the pocket I'm sure due to the bottom corners ending away from the edge, pushing the iPad up. The other side, was better but the gusset tops finished higher up the bag and had to be trimmed. So, if you please; How do you measure your gussets, considering the corners radius? If you require a thicker leather for a gusset, do you skive the edges? The length of the gusset or just the corner area? Are multi-piece gussets easier to get around the corner than a single piece gusset? And What techniques do you employ to get the gusset in place and ready for stitching? Thank you Rkcrowe
-
electrathon thank you. Of course, I found the thread after I ordered. But will be upgrading some of my stuff from GoodsJapan!
-
I just ordered one off eBay : alstonery is the seller, interchangeable 2 and 4 prong diamond shape heads. Doesn't mention the size but looks to be 3mm. $25.00 free shipping. Chinese made. When they get here I will write a follow up on what I think about them.
-
Thank you Tugadude
-
Good day to everyone. I am looking for recommendations for a stitching ( not lacing ) chisel pliers, for gusset edges that are too difficult to lay flat enough or far enough on a surface to use chisel and mallet method. Thank you Rkcrowe
-
GrampaJoel, your work looks great! That is what inspires me to do better.