


MG513
-
Content Count
206 -
Joined
-
Last visited
Posts posted by MG513
-
-
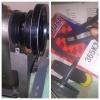
Ahhhh! Thanks Colt! Im already at work but i will try this when i get off. AM i to keep the flat head in that slot when its winding, or am I just to wiggle it around to get some separation and then take it out??On your bobbin winder - I had the same problem - Take a flat head screw driver and wedge it into the slot in the peg to spread it out some.
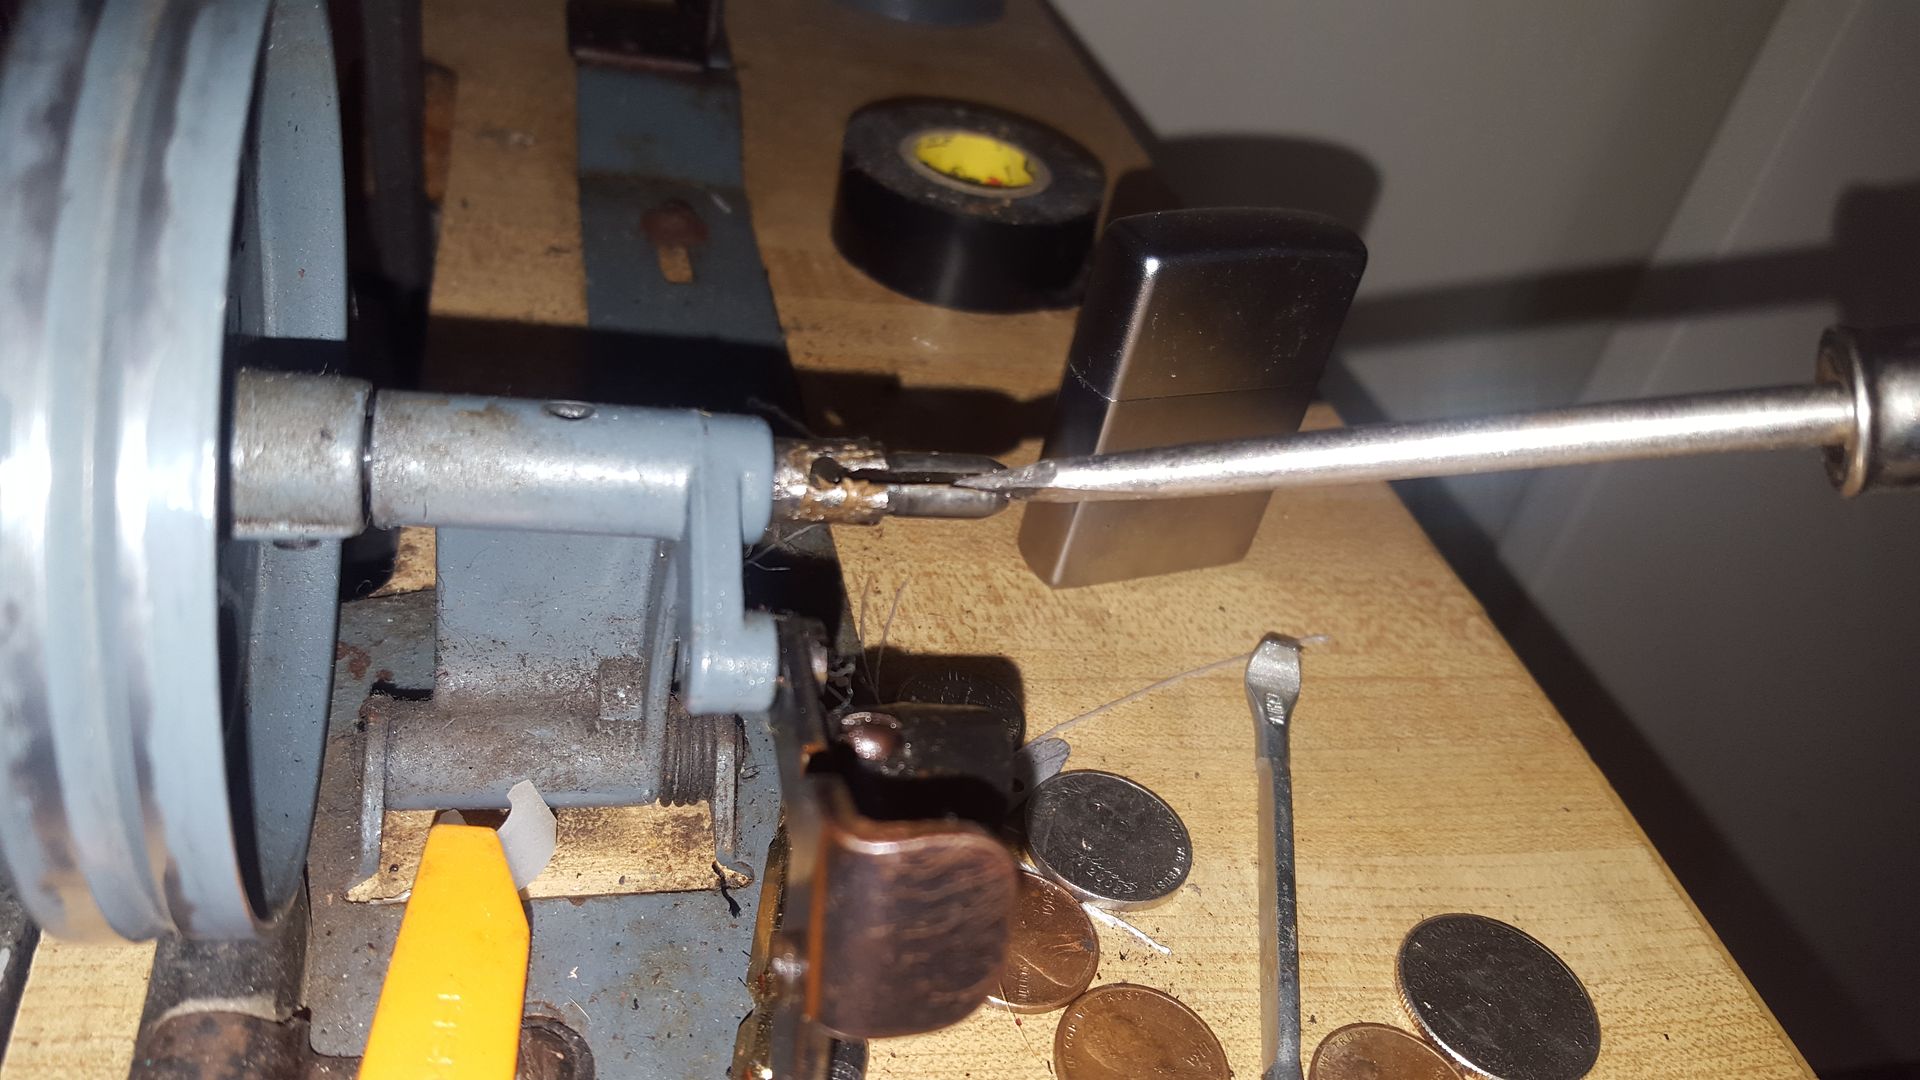
Wait is that an actual part?? Lol, I'm gonna look that up too... Thanks guys for the help. Im gonna try Colt's screw driver idea right after work!Chinese adjustable diameter bobbin shaft.
Simple fix with 38 cents left over.
Art
-
Ideally, the belt should set flush with the outer circumference of the pulley. So the belt size is measured around the outside. Make sure you measure around the outside of the pulleys to get the length. You should be able to roll the belt onto the pulley, but sometimes with new belts you can't. You can lift up the sewing end of the head and slip the belt on, or if the motor is in the standard position on a standard table, you can tilt the head back to install the belt. I know I have never removed a balance wheel to install a belt.
Art
I still prefer my piece of rope
 . As LumpenDoodle said, it's idiot proof (probably why I like it). No maths, no calculators, don't even need to log onto the computer to use it. Rope of the correct diameter, however, will be better than string as it will fill the pulley grooves.
(The guy at one shop had a measuring device that basically stretched the belt/rope/whatever between two half pulleys, mounted on a ruler. That way he could read off the exact size that I needed).
Anyway, maths makes my brains hurt.....
Here is the easiest way to get belt length:
1:) set adjuster to somewhere around 25% of total travel. This should leave you enough slack to make installing the belt easy but give you plenty of stretch adjustment.
2:) measure outside diameter of both pulleys.
3:) measure the distance from the center of one pulley to the center of the other.
4:) Plug these three numbers into this calculater: http://www.blocklayer.com/Pulley-BeltEng.aspx
5:) Double check with this calculator if needed: http://www3.telus.net/shebang/pulley_calculator.html
6:) Order belt to nearest 1/2 inch if possible. Done. No math needed.
I was about to post the same thing. I always tilt the head back to replace belts, to oil the underside bearings, etc. All industrial sewing machines on standard tables have pivots on the back.
Hey guys, i think ive got the belt down now! Finally lol.
Wizcrafts, yes your right my machine does have the hinges, but i took them off to remove the head when i bought the machine and i have since lost them. Ill have to buy another pair. But when i tried to lean the machine back while on the hinges i could not for some reason So at this point if ever i need to get or look under the machine i will have to lift the whole head up.
Looks like you still have more adjustment on the motor to move that pulley closer to see if the belt you have would fit.
Something you can try (since you won't be needing the old belt) is: Cut the old belt. Wrap it as tightly as you can in the grooves of both pulleys, then mark the point where the belt's end laps. Measure to that mark. Ask for that belt size.
-DC
Colt yes u were right, Bob walked me through how that worked on the phone. The previous belt was still a tad too short though when i adjusted it higher, i could wrap it around the bolt on the outside of the pulley burt not the actual pulley.
SO. Now that the belt problem seems to be solved i now have a new one; with the bobbin winder. Its not actually filling the bobbin. Made a short video to try and make the problem easy to diagnose. What could i possibly be doing wrong now?!
-
Bob called me this morning and walked me through the issues with the belt.,. I think I'm like 2 inches short! Gonna head back to auto zone for a longer one. Really appreciate every bodies help seriously. Thanks.Years ago when I first started repairing sewing machines my neighbor wanted me to look @ his mothers machine.I went there & it was a real old White treadle machine.So I looked it over oiled it,threaded it & started to sew & it started getting tighter,so I oiled it again & then it tied up & wouldn't turn.The she started yelling to him in Italian & he started getting upset w/me saying she thought I ruined her machine.I didn't know what to do so I said let me take it with me & fix it.She didn't like the idea but he convinced her it'll be ok.So I took it to work & told the old mechanic what happened & he just started laughing & thought it was really funny.Then he said that's what happens after years of 3 in 1.It builds up a waxing shellac type of crap in the bearings & when I oiled it it expanded & tied it up.He said take to kerosene & put in the bearings,so I did & it freed up.Took it back & she was smiling when I left.So after that I don't want to think about using 3 n1 on anything.ATF,motor oil,gear lube isn't good for most machines either,if it drips off the machine onto what your sewing it'll stain.It is best to use clear sewing machine oil or mineral oil.Even then if someone has used the wrong oil n the past it might stain for a while until it gets worked out of the machine.
Bob here is what I was talking about in that tension assembly! I still haven't tried threading the machine yet I will be doing that when I get back. I'm gonna try and hand fill the bobbin til the new winder gets here. Try and learn how to work this tension

-
Which is what I said a few posts back.......so it must work.
The parts list shows two grub screws holding the handwheel on, spaced around the wheel. If it still won't budge you could try tapping it GENTLY with a rubber/plastic hammer. Failing that it may need a pulley remover to exert some pull on it. As for the belt guard, in the parts manual it looks like you should still be able to change the belt without having to remove it.
Art, you're a bit of a worry........
Lol! You could just do what I do. Take a bit string, put it round the two pulleys, just like the belt, then measure its length.
I can guarantee from personal experience, it is idiot proof. :-()
I did do the string test guys. Still came up short:
My string laid flat is measuring about 18 in long, so that's the size belt I'm looking for.
But if I'm taking Toms instruction (correctly) and another member who says he has a 40 inch belt, I'm suppose to times my 18x2 which would equal 36. The old belt from the clutch is about that size and when I placed it its flopping all over because it's too big... Like why would I buy a belt that much bigger when I can see that it's already not gonna work.
Please excuse my ignorance. Never done this stuff before. Getting frustrated cuz now I have to do math to figure this out and I hate math.
Also, I can get the belt in with the thing on there it's just difficult. Seems as I have bigger fish to fry anyway trying to get this thing the correct belt. Thanks everybody. I'm about to take these belts back to autozone
-
Mounting the bobbin winder is the last thing to do. Ignore the bobbin winder when sizing and installing your drive belt.
Your belt length should be 2 x the centre to centre distance of the pulleys, plus 1/2 the circumference of the 2 pulleys. Position your motor about halfway in the adjustment range so you have space to install and adjust. The pulley size is the outside diameter of the pulley.
Tom
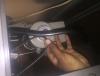
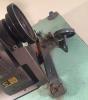
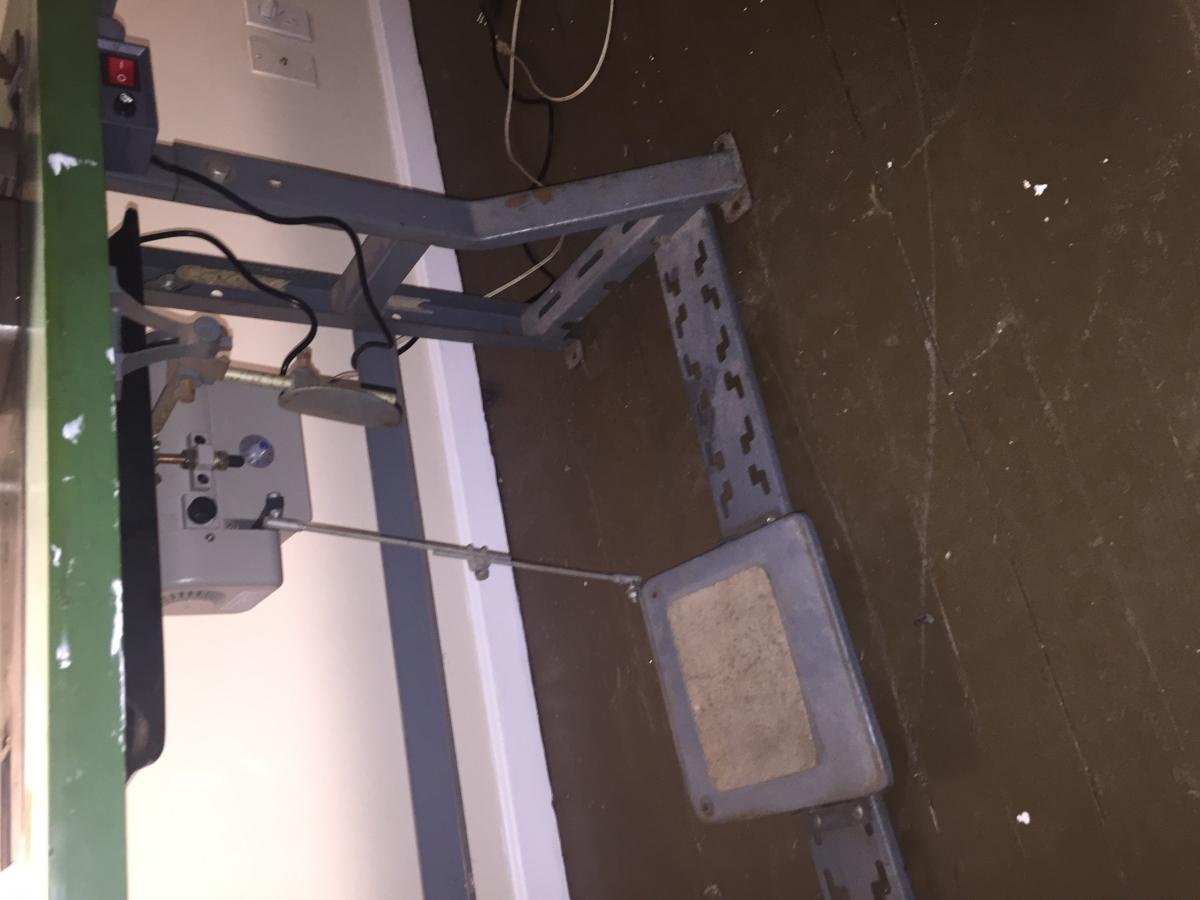
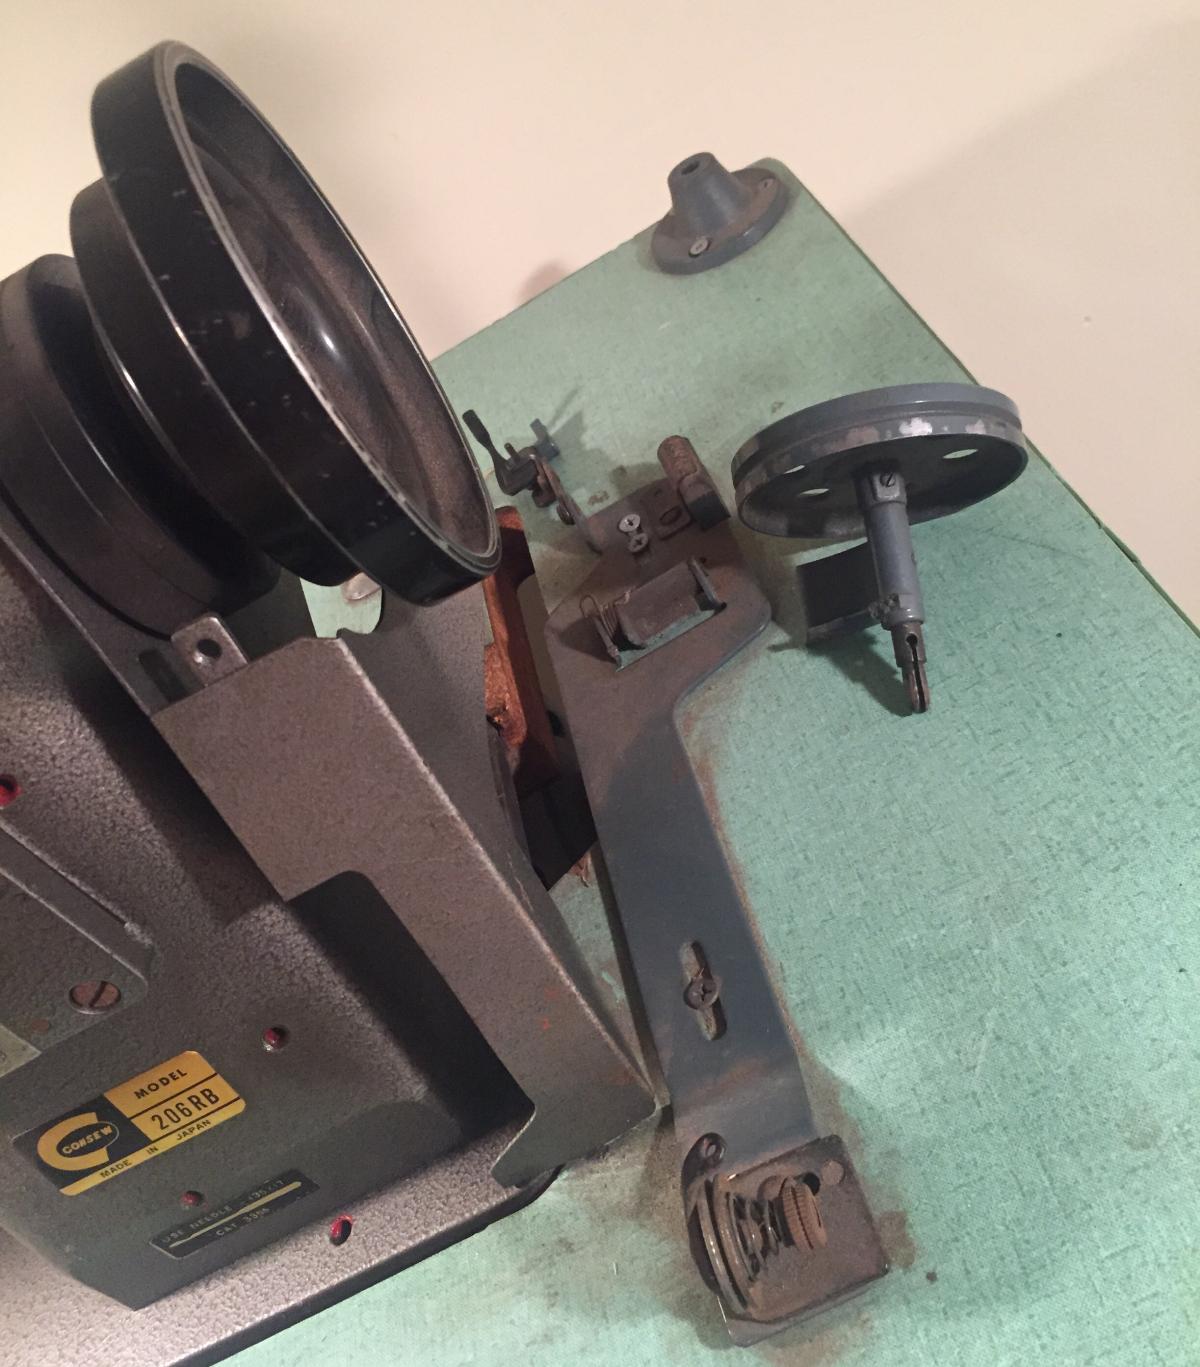
Tom, good to know that the winder should be last in my to do list!! Thx for that. Now as far as everything else u said, sounds like your speaking Mandarin. 2x this, circumference that, I don't get any of that unfortunately. But I'm determined to figure this out so... I will try and make sense of what you said. To be quite honest I do t know if the motor is in the right "adjustment range" or not. With no experience I don't have a clue how to figure that, so I will just be making adjustments until it's right! (See pic, yay or nay)?There's a screw in the center of the wheel(look from the outside) rightside, that is probably holding it on.
Bob, I did remove that screw.. I removed all the removable screws from the handwheel and pieces surrounding it and there is no give. I mean I'm not sure how much harder I could pull. That seems like the only logical way to get that stupid piece off but as of now I can't get the wheel off to get to that part. Im gonna have to scour the web to find more articles and hopefully some videos on this. I also think my tension assembly isn't out on correctly so I'm gonna spend my whole day tomoro trying to get this thing running properly...
-
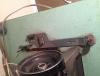
One more angle. What is this called, the belt guard?
Annoying little bugger.
-
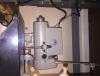
Ok. Been 2 auto zone 3 times the last hour and a half trying to get the right belt. I decided to hold off going back only because my bobbin winder is suppose to come in tomoro... And from all the photos on Google of it attached the right way, it looks like the belt is what drives the winder to fill the bobbin. But I have the plate thing (left picture) and I can't figure out how to get that off! I took the screws on the handwheel out and tried pulling but nothing happens. I've seen 206s with that thing not on there, it also make it hard to get all these belts I keep trying on and off... Any help? Please
-
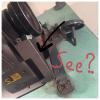
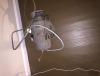
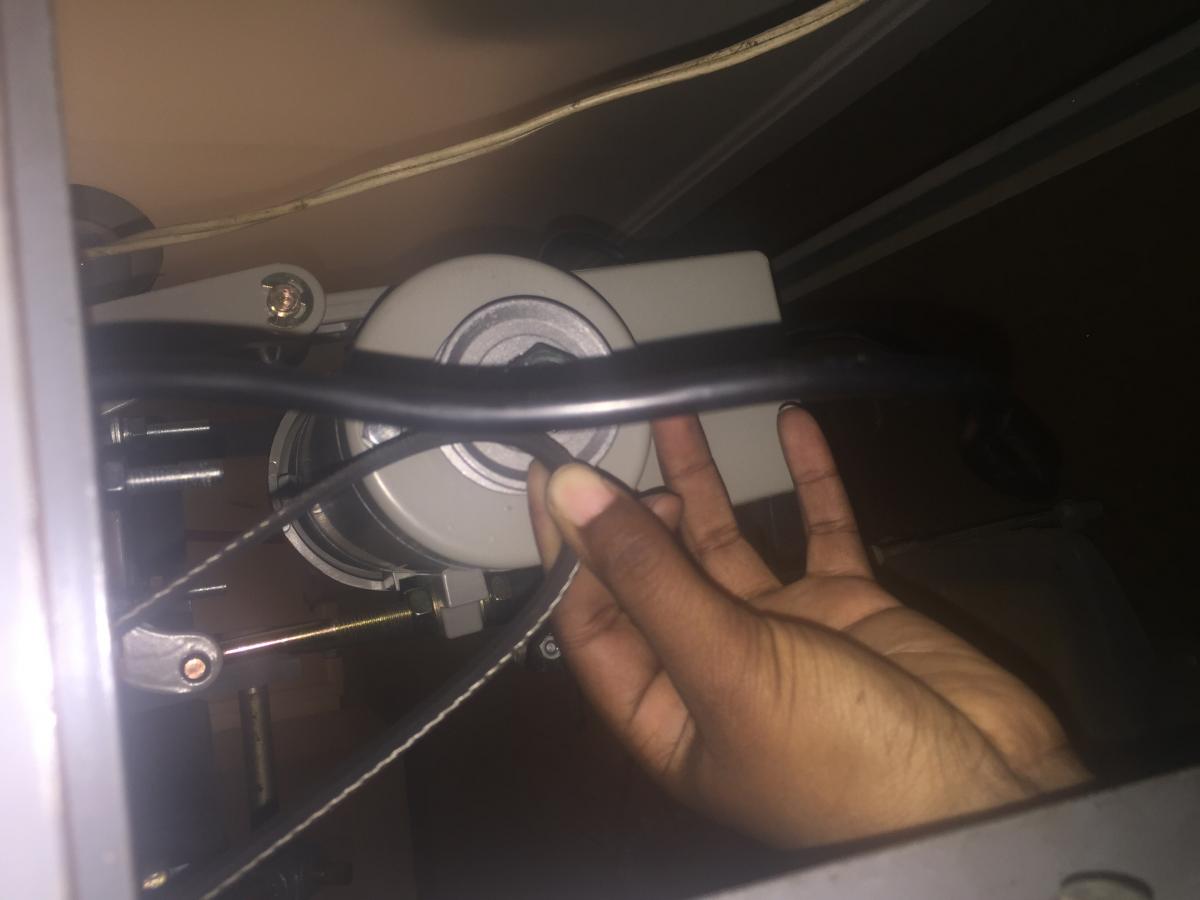
Wiz I couldn't add this photo on the last reply, but I think I figured out the lever you were talking about. You said keep it straight but mine is no where near straight, not sure if it's obvious enough from this angle. I don't have anymore rod to try and straighten it out with and I like the position of the pedal... What could I do to make this straight? Or would I have to just move the pedal over to straighten the rod?
Thx everyone

-
Art is right, it will work ok like that but it's probably better to have the thread coming in at the rear (I'd prefer to keep the thread away from the handwheel).
I doubt if too many servos would come with belts, mainly because you don't know what size belt you'll need until it's installed. I ran a piece of rope around the pulleys and tied it off with cable ties where it overlapped. Armed with this I went to autoparts stores until I found the right size. I also used the same trick when I needed a very small belt for a speed reducer setup. Figuring carparts stores were unlikely to have anything that small, I went to an industrial sewing machine shop.
The missing part is the bobbin winder tension assembly. I just bought one on eBay for $10.00.
Ok so just so im clear, when I get the new bobbin winder in I should install like in the picture? I'm amusing the wheel needs to line up to the belt or else what would make it "wind" right?
And I can't seem to get that flipping cover off to try and attempt to get the old belt wrapped around to see if it will even fit. I undid the screw but that piece that kinda covers the belt next to the hand wheel I can't get off, if u can't get it off how are u suppose to get a belt on it?!
Since we have the same machine and the sane servo, isn't it fair to say I could take your advice in what size belt to get?? I clearly don't know what I'm doing as is so your suggestions don't hurt even if they don't work for me lol.
-
You can buy the whole contraption for $8 or $9 here. Might as well get some bobbins and a bobbin case or two if needed.
Art
Bought the bobbin winder off ebay! I got the servo on, but it didn't come with a new belt! I don't know if that's my fault for not asking for it or what, I thought it came with it. Can I get a 2in belt from any in stores like vacuum shops so I don't have to order online and wait??The missing part is the bobbin winder tension assembly. I just bought one on eBay for $10.00.
Also, check this pic out. Is it just me or is the current bobbin wonder on here back wards?? All photos on google have the wheel toward the front of the machine, where mine clearly doesn't... I mean does it matter?
Thanks!!
-
The look of success. Now to get the servo on... I'm tired lolMG, this is based on my removing/replacing 3 clutch motors. Basic tools - a couple of spanners, because you don't know the size of the nuts you can either take a set of spanners or a couple of adjustable wrenches, a medium to biggish one for the nuts holding the motor on and a smaller one for the bolts on the pedal-motor linkage. A couple of screwdrivers to remove the switch box. It will be held on with either slotted or Philips head screws (use long shank if you can, just in case). Pair of pliers to remove any cable clips.
Procedure - unplug power cord (!) and remove switch box. Remove any clips holding the power cable to the table. Disconnect pedal linkage. Remove drive belt. Loosen the three nuts holding the motor on and let the motor hang down on the bolts. While supporting the motor remove the single nut at the front then slide the motor out from the remaining two bolts.
Done.
As for the oil question (I love oil questions!!!!) at the risk of starting a flaming war if you've got 3-in-1 oil handy use that. Much is written about oils, and much of what is written is irrelevant (and oft-times rubbish). Basically, all you really want is a thinnish oil. Auto Trans Fluid is actually quite good as a thin oil (it was originally developed as a replacement for Sperm Whale oil, which is considered by many to be one of the better lubricating oils - but obviously you can't get it any more). Just don't get yourself into a knot over oils as most of them aren't anything special (regardless of what the manufacturer might tell you - MSDS is your friend
).
-
Cool thanks everybody! I think im gonna order off of ebay so I can ask for next day shipping lol. Thanks
-
I just bought oil from Toledo bob. Lol. Done and done. Thanks for all this input though very informative!
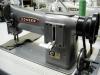
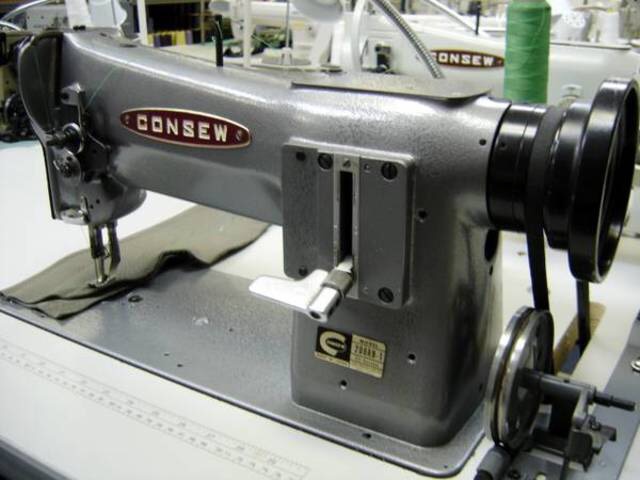
I just picked up my machine! Consew 206 rb, no clue what year but great condition. I did not test sew it (I know I know rookie mistake) but the ppl I bought from were pretty up front about everything so I have confidence. Buuuuut the bobbin winder is broke. I didn't know that, the lady didn't really know what the broken off piece went to, and the dad bought it simply to resell.
So. Isn't it best to just replace the whole thing? It's cheap right??
-
Years ago when I first started repairing sewing machines my neighbor wanted me to look @ his mothers machine.I went there & it was a real old White treadle machine.So I looked it over oiled it,threaded it & started to sew & it started getting tighter,so I oiled it again & then it tied up & wouldn't turn.The she started yelling to him in Italian & he started getting upset w/me saying she thought I ruined her machine.I didn't know what to do so I said let me take it with me & fix it.She didn't like the idea but he convinced her it'll be ok.So I took it to work & told the old mechanic what happened & he just started laughing & thought it was really funny.Then he said that's what happens after years of 3 in 1.It builds up a waxing shellac type of crap in the bearings & when I oiled it it expanded & tied it up.He said take to kerosene & put in the bearings,so I did & it freed up.Took it back & she was smiling when I left.So after that I don't want to think about using 3 n1 on anything.ATF,motor oil,gear lube isn't good for most machines either,if it drips off the machine onto what your sewing it'll stain.It is best to use clear sewing machine oil or mineral oil.Even then if someone has used the wrong oil n the past it might stain for a while until it gets worked out of the machine.
Wow. I'm hoping they haven't been doing the same thing. But I'm also glad to hear that it could be fixed if so! Again,this will be a one time use thing on my part as I know this oil isn't ideal, I'm just on time constraint. I will be calling you later today to order oil and possibly my servo. Thanks again everybody!
-
MG, this is based on my removing/replacing 3 clutch motors. Basic tools - a couple of spanners, because you don't know the size of the nuts you can either take a set of spanners or a couple of adjustable wrenches, a medium to biggish one for the nuts holding the motor on and a smaller one for the bolts on the pedal-motor linkage. A couple of screwdrivers to remove the switch box. It will be held on with either slotted or Philips head screws (use long shank if you can, just in case). Pair of pliers to remove any cable clips.
Procedure - unplug power cord (!) and remove switch box. Remove any clips holding the power cable to the table. Disconnect pedal linkage. Remove drive belt. Loosen the three nuts holding the motor on and let the motor hang down on the bolts. While supporting the motor remove the single nut at the front then slide the motor out from the remaining two bolts.
Done.
As for the oil question (I love oil questions!!!!) at the risk of starting a flaming war if you've got 3-in-1 oil handy use that. Much is written about oils, and much of what is written is irrelevant (and oft-times rubbish). Basically, all you really want is a thinnish oil. Auto Trans Fluid is actually quite good as a thin oil (it was originally developed as a replacement for Sperm Whale oil, which is considered by many to be one of the better lubricating oils - but obviously you can't get it any more). Just don't get yourself into a knot over oils as most of them aren't anything special (regardless of what the manufacturer might tell you - MSDS is your friend
).I would suggest that there is an enormous body of experience that discourages the use of either WD-40 or 3-in-1 oil in sewing machines, guns, fishing reels....anything which will be sensitive to gummy or hygroscopic shellac deposits over time. There is nothing easier to get than ordinary sewing machine *white* oil. Avoid any gimmick oil that is suspended in a volatile carrier, as the carrier evaporates over time and leaves lord-knows-what behind. Any machines with ball or roller bearings should not use an oil with moly additives.
-DC
THANKS EVERYBODY.
I told them not to use WD40 or 3 n 1, but 3n1 is readily available so it will have to do this time. This is my first go round Im just learning as I go… I ordered this stuff online but the post off lost my package, either that or it was stolen so I didn't have time to order this stuff again and wait for shipping. The sewing places I have here in my city are a joke, they sell nothing for industrial machines, not even basic V69 thread!! I got lucky and bought an almost used up spool from an old lady's shop for 5 bucks. I know we live in an online everything age but it starts to get really inconvenient at times like this when your learning a new craft and can't walk into a chain hardware store and find some darn oil! Or any other super basic parts!Anyways. Im feeling pretty confident with all the help I'm getting from everybody. I now have a list for tools needed from 2 very nice members, a short version and a long version for properly taking off the clutch/adding servo which was big for me cause I've never done this stuff before! I will order the proper oil when i order my servo today from Toledo Bob. Thanks yal! -
The FS-550s has a plastic activator lever facing forward when the motor is mounted under a standard sewing machine table. The lever moves down to release the brake and increase the speed. Just make sure that the rods or chain you use to connect it to the floor pedal are routed as straight vertically as possible. This is usually not a problem on walking foot machines, as the floor pedal sits pretty much under the left edge of the motor and control lever.
Thanks! I will try to figure all this out as I go along using this info and info from other members!
I put one on my Consew 206, makes sewing super easy because of the speed control, plus its much quieter than that old clunker of a clutch motor. Seriously, the clutch motor on mine weighed a good 50-60 lbs.
Yea colt your video pretty much sold me on it so thanks for that! Do you have a list of tools you know a person would need to remove the clutch/install the servo? Im going to pick up the machine tomoro and Ill be lugging it up stairs, after I test it I planned on taking the clutch off to make travel easier?? Thanks
ALSO! Does anybody have a IN STORE suggestion for machine oil??? I dont have access to lily right now i just need something between now and tomoro as this machine has been sitting! THANKS!
-
Talked to Bob on the phone one afternoon, and he mailed it the next morning. I think it took 2-3 days to get here. I've ordered from Bob 3-4 times and never had any issues.
I have 5 of those on machines here and must have installed 20 or more in the past 3 years. I did get one that never ran at all right out of the box. Bob replaced it no questions asked.
I have bought 4 Family Sew 550s motors from Toledo Industrial and have had no problems at all. They usually arrive in one or two business days, depending on what time you order (re: UPS truck pickup time). Two are on 441 machines and two on walking foot machines, one of which I sold.
The only caveat I discovered is that they work better if you pull the lever straight down, rather than on an angle. Pulling on an angle flexes the shaft and sensor and can cause a slowdown at the end of travel, just when you expect more speed.
Nice. Glad to know they ship quick!!!
Yes, I've heard a lot of good things this servo and Bob. He was who I was gonna originally get my sewing machine from but I found another one before he got around to servicing one at his shop.
Wiz crafts, I wish I knew what lever you were talking about, but I don't. Never sewn anything ever, this will be my first sewing machine (consew 206rb) and first time installing a servo motor. All I currently care about is that it works lol. I hope to become as knowledgable as many of you... I'm just taking it one step at a time. I'm gonna order my servo tomoro. Trying to gather all the tools I think I will need to disassemble the clutch so I can get it up more stairs more easily on Wednesday... Then tackle putting the servo on. Thanks everyone!
-
I bought mine from Toledo Industrial Sewing machines, and it has ran like a top for over a year now. This is the first time I have seen a complaint about the motor, but hearing Made in China electronics suddenly broke doesn't surprise me much.
Yes thats where I planned on getting mine as well. ABout how long did it take to get to you?
-
I was just going to buy one of those, let me have a PM on the dealer who was not very responsive.
Thanks,
Art
Yea I'm pretty sure it's a case by case thing. Have heard many ppl are happy with it and have heard that many didn't need a reducer when buying this.I have 3 of these and never a problem....
With that said, I have a pretty good idea of who they were referring too but I would hate to be wrong... So...
-
Inbox me not him lol***
-
Hi, would you guys mind in boxing him who this person was?? I plan on buying the same motor for my consew I'm picking up this Wednesday and would hate to have this same experience!! Thanks a lot
-
Thank god for this thread and thanks so much for that video!! I plan on buying this servo as well to install on my consew 206rb I'm set to pick up Wednesday on Craigslist. Right on time!
-
Machine has no reverse. Always important to check the condition of the timing belt. You will find a 111w153 manual + parts list online. Will not hurt to read the manual before you buy the machine or even print it and take it with you. Looks quite nice - great price also, I would buy it!
Its pretty much the same machine as the consew 225 or the LU-562 you were looking at. Less foot lift than the Singer 111-155, shorter max stitch, small bobbin, no reverse.
This is a helpful site for getting a rough ID on many of the Singer models.
http://ismacs.net/singer_sewing_machine_company/model-list/classes-1-99.html
-DC
Ok thanks guys, im waiting on a reply now. Thanks!
-
I figured it out. Basically, you have to finesse the stitch length selector. Definitely old school tech, reminds me of working on old motorcycles.
Yes - but old technology often enough it is very long lasting

The other machine i had planned on buying decided not to sell at the last minute. Just found this local to me. Any questions or specific things I should check out before i buy it? Is this easy to put a servo onto? Thanks!


Family Sew Fs-550S Servo Motor.
in Leather Sewing Machines
Posted · Report reply
Ok remove the screw driver lol. Got it.