-
Posts
62 -
Joined
-
Last visited
Contact Methods
-
Website URL
http://@claridge_leather (instagram)
Profile Information
-
Gender
Male
-
Location
Montana
-
Interests
Playing with my kids, shooting, hiking, mountain biking, hunting, fishing, drumming... and leather.
LW Info
-
Leatherwork Specialty
Custom holsters, sheaths, cases...
-
Interested in learning about
Carving, finishing techniques
Recent Profile Visitors
3,206 profile views
tclaridge's Achievements

Member (2/4)
-
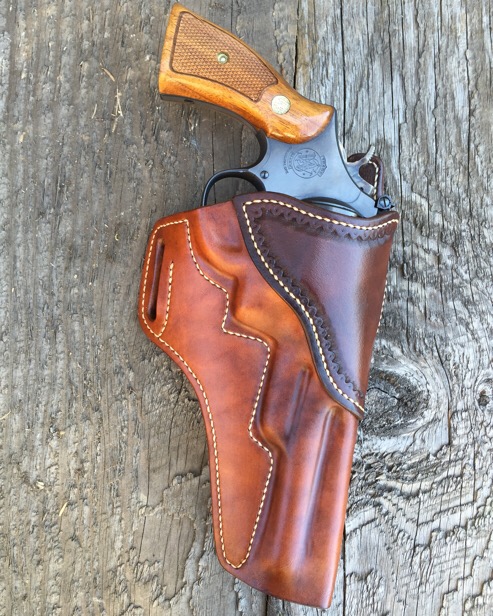
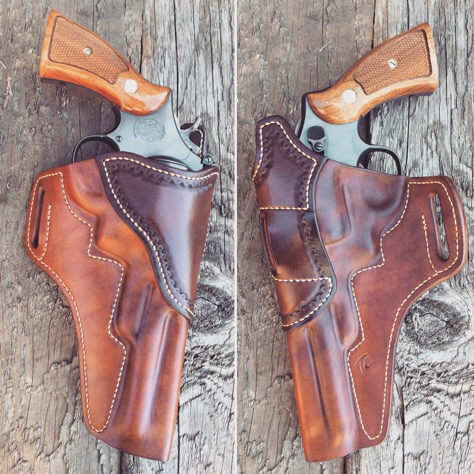
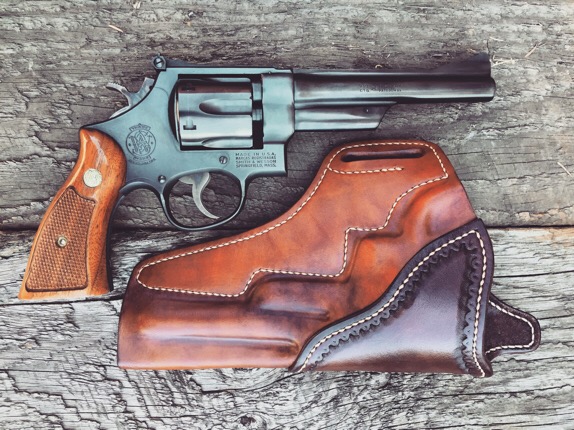
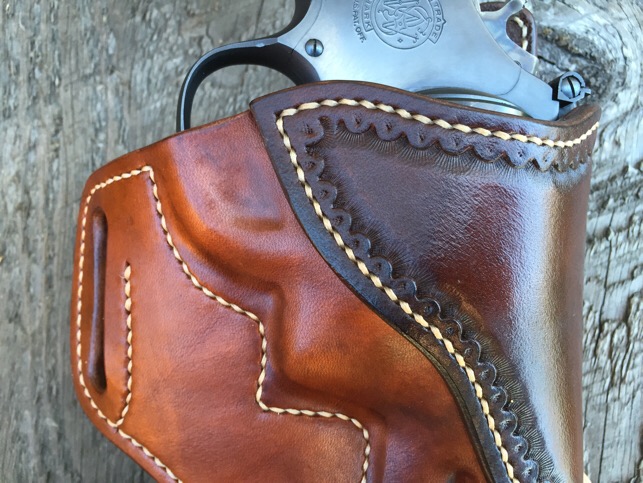
Here's a fun one I just finished up... My first Avenger style for a revolver. I'm pleased with it-- the finish brought some good character out in the leather. Light brown and dark brown Fiebing's pro oil dye, Ritza 25 1.0mm cream thread. 8/9 oz Hermann Oak veg tan on all pieces. Critiques are welcome, thanks for looking! God bless, Tanner Claridge
- 8 replies
-
- avenger style
- .357 magnum
-
(and 4 more)
Tagged with:
-
Glad you like it! I wish I had a CNC mill and lathe in the garage so I could send one down to you! Only leather tools now, though...
-
I also punch two holes and join them with a wood chisel, but if you're using a knife to join them (which I have) I might recommend stopping shy of reaching the second hole, then cutting backward from the second hole to meet the cut from the first (so you don't overshoot it). Then I sometimes tape some sandpaper around a drill bit and run it around in there to smooth it up before burnishing. Just some thoughts! Looks like a great sheath-- probably rides really tight. Keep it up!
-
where are in montana
-
I think there must have been some website re-vamping-- It looks like they disappeared for a while but are now up again. Let me know if you can't see them!
-
- 2 comments
-
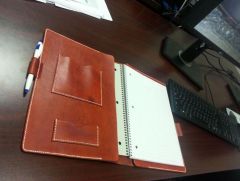
- hand stitched leather
- leather padfolio
-
(and 1 more)
Tagged with:
-
Thanks a lot! Here are a couple pics of the board-- unfortunately those are "out of print", as I am not a machinist anymore! Made a few for friends one Christmas... Cheers!
-
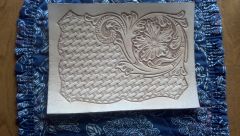
Once again, thanks to JLS Leather for the initial inspiration to get into this. You can see that this pattern is an extrapolation of his "look," which I find hard to top. Also, I didn't mention that the final finishes are Sno-Seal beeswax water-proofer, then another coat of carnauba cream to polish (I don't prefer Resolene, etc.).
-
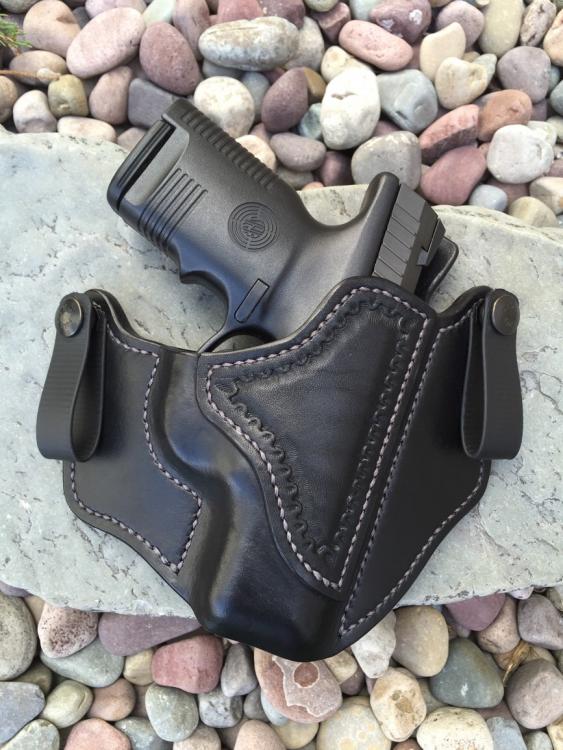
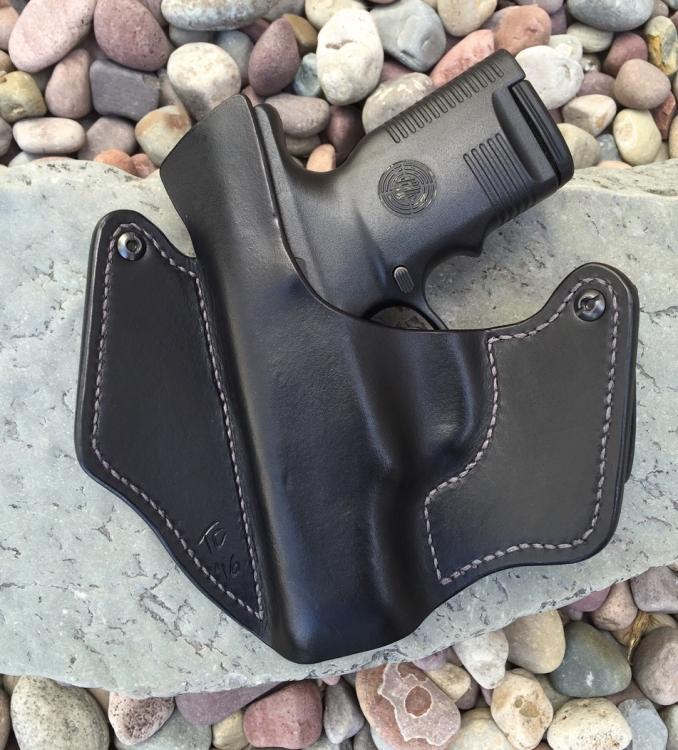
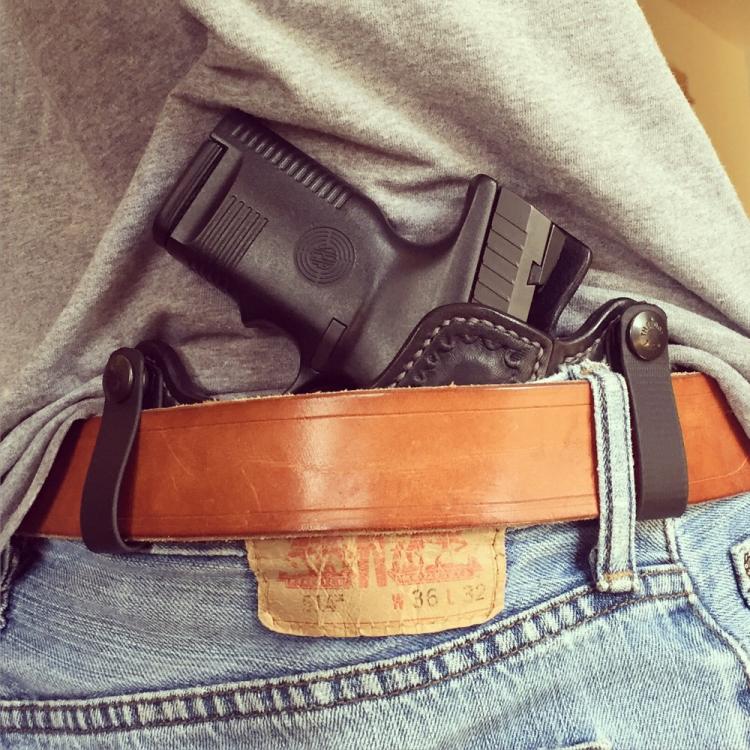
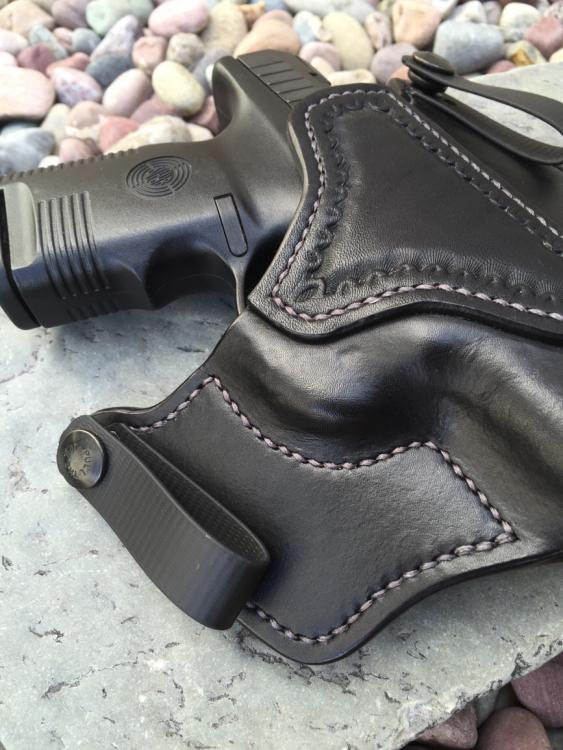
Here's a new holster with a lizard inlay (from the Springfield Leather scrap bag). It's Fiebing's mahogany oil dye, Ritza 1.0mm cream thread. I was especially trying to keep clean edges and stitching on this one. Always something to improve! All the best, Tanner @claridge_leather (Instagram)
-
I made an aluminum cribbage board for a friend back in machinist days. Now, in my "leatherworker" days he asked for a case Fun project! All 8/9 oz veg tan with briar brown EcoFlo antique gel, cream Ritza 1.0mm thread, carnauba cream finish. All the best, Tanner @claridge_leather (Instagram)
-

IMG 20160318 100930 560
tclaridge commented on tnleatherart's gallery image in Gallery- Our Leatherwork
-

Leatherman Wave Pancake Sheath
tclaridge replied to tclaridge's topic in Gun Holsters, Rifle Slings and Knife Sheathes
Thanks! Post one when you make it! I have seen some cool cross-draw pancake sheaths for fixed blades, which would be neat to try. This one just has a mild forward cant. Have fun! Tanner -

Leatherman Wave Pancake Sheath
tclaridge replied to tclaridge's topic in Gun Holsters, Rifle Slings and Knife Sheathes
Thanks! Post one when you make it! I have seen some cool cross-draw pancake sheaths for fixed blades, which would be neat to try. This one just has a mild forward cant. Have fun! Tanner


