


Double U Leather
-
Content Count
655 -
Joined
-
Last visited
Posts posted by Double U Leather
-
-
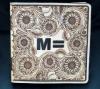
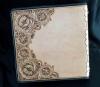
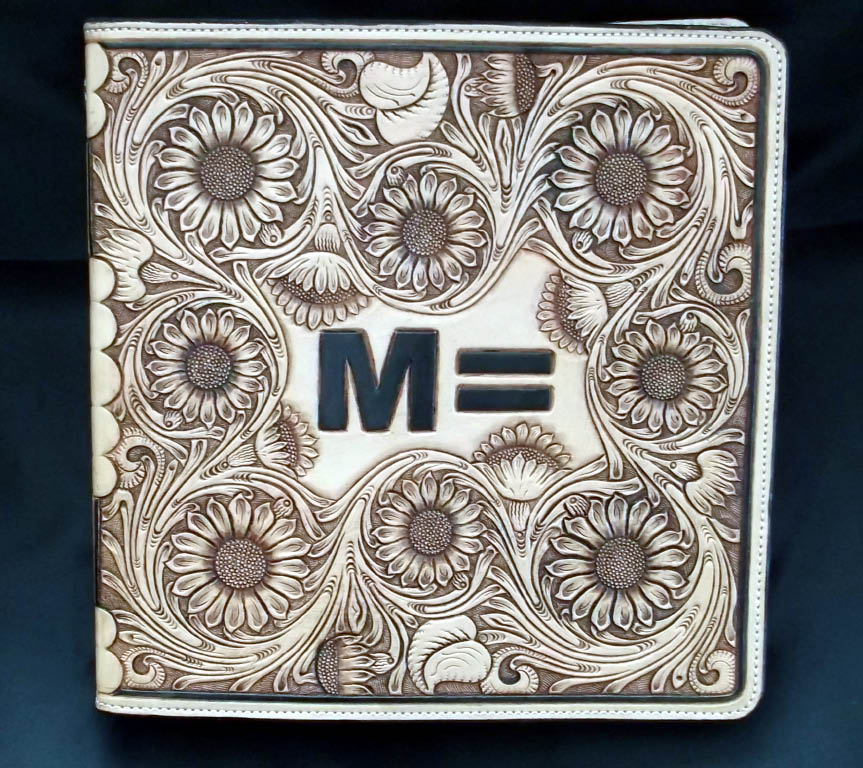
Thanks for the compliments gang. I do appreciate them. I was skeptical about the sunflowers at first, but they turned out pretty nice.
Bisset...the M double bar is the brand of the cutting horse ranch that this album is for.
-
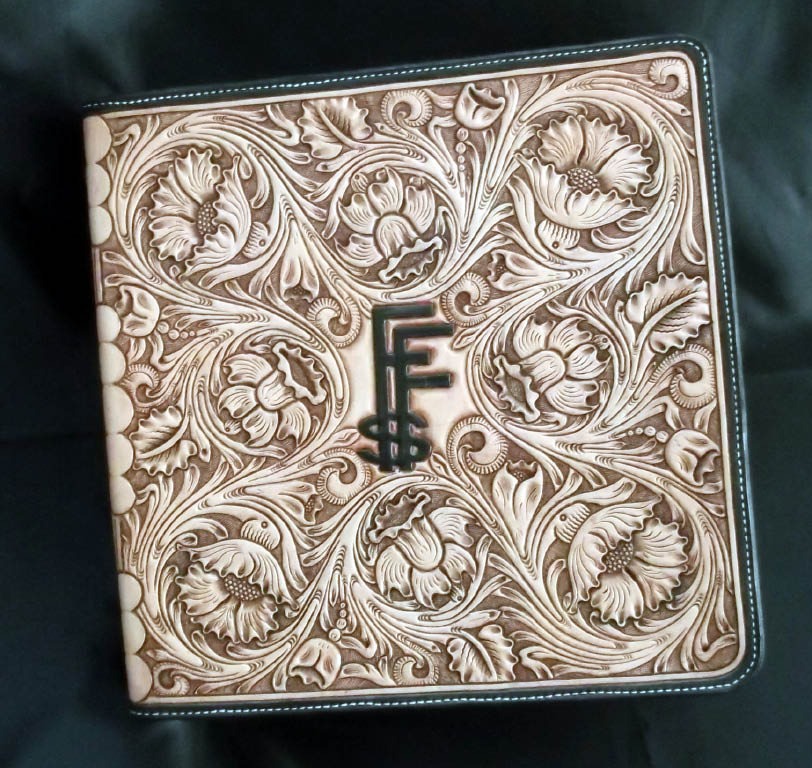
Here's the next order done...or at least one part of the order. This customer also ordered another, more traditional Sheridan style photo album. It's on the bench now. Anyway, this is the first time I'd attempted sunflowers, and I can tell you it was a bit of a stretch. I'm a bit partial to a seed pod center that you hit once instead of a tiny little seeder you have to hit a bazillion times!! Nonetheless, I was pretty happy with how it turned out. I hope the customer likes it as well. Have a look and let me know your thoughts. Stay blessed.
-
I stand corrected. Thanks for clarifying Mlapaglia. I was going off of second hand news. Too bad all the rest will probably pass.
-
Very nicely done Ms. Renee. And yes, by all means, it's time for a maker's mark. Your work deserves it.
-
Those look good Chief. We better all get ready to start packin' I think. The wonderful state of Calorado (cross between California and Colorado) just passed a whole bunch of ridiculous gun control laws today. I'm thinkin' it's about time to strap 'em on and saddle up. Anyway, nice work on the holsters.
-
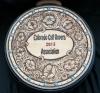
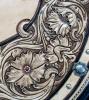
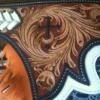
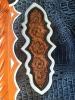
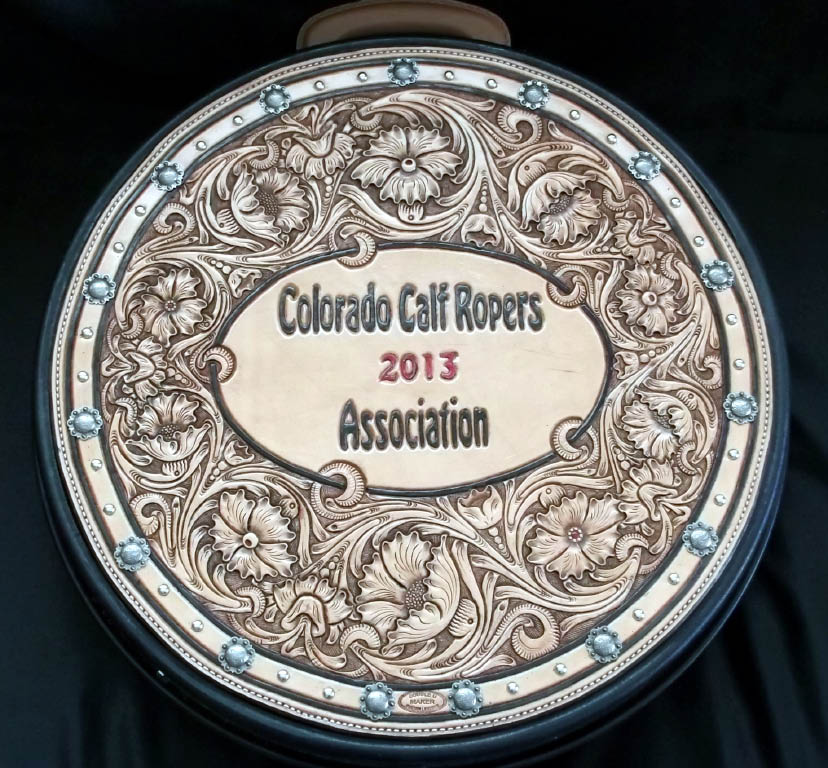
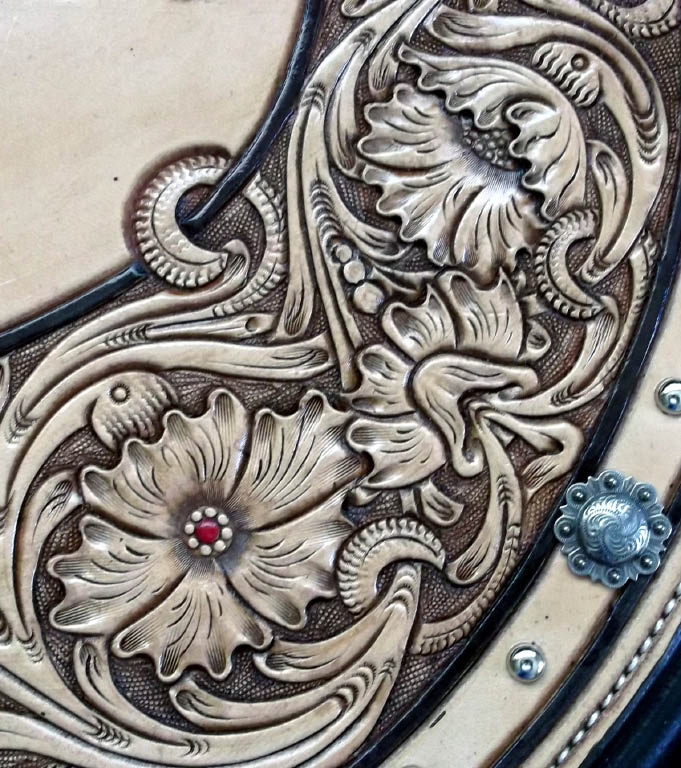
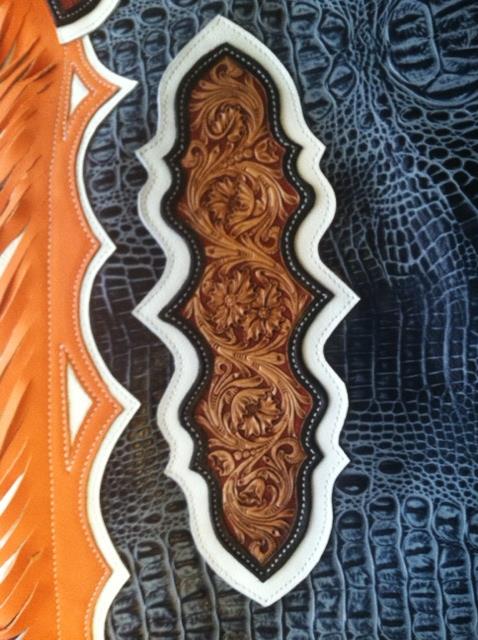
WWH....that is actually a closeup showing one of the "erupting flowers". There are 4 other flowers with colored centers throughout the design. In fact, those colored centered are a great example of my "thinker" not fully dialed in before I start cutting and pounding away. Not all of the other 4 centers are that type of center, and consequently the colored part on some doesn't show up very well at all. I told the customer that I was going to go a slightly different route on the following 4 cans.
-
Thanks again for the nice words. The customer came an picked up this first one, and was very happy with it. Now if I can get the other 4 to turn out the same way.
WWH...I must confess...on this project I did do a little drawing on paper before I started. I laid the the size of the can, drew the border things, and then drew 3 flowers to get the spacing right and to make sure the vines coming out of the flowers would fit. When I saw that everything looked like it would work, I went to carving. But still didn't transfer anything to leather. Just kinda went with it. One day, I'll undoubtedly get myself into a serious jam doing it the way I do I'm sure. But for now, it seems to working. Thanks again for the compliments.
-
Wow.....thanks for the compliments. I appreciate them all. I will say, this is the first project I actually drew out the pattern first.....well sorta. I drew 3 or 4 flowers to see how the spacing, etc. would work out. When the first few flowers on paper worked, I figured they all would and grabbed the swivel knife....LOL. Thanks again for the nice words.
-
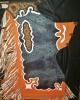
Here's the first of 5 rope cans for this association. I am really happy with the way this one turned out. There's definitely some Bob Park aka "Hidepounder" influences in it. I hope he won't mind. I do know that my interpretation of the "Hidepounder" things are still lightyears from his level of mastery. Nonetheless, I think for a bunch of calf roper's, they're going to like the awards. Take a look and let me know your thoughts. Be blessed gang.
-
Looks very nice. I've got a tool rack made out of an old yard border log. However, the tools I use most I put in the cheap lil plastic rack that's easier to reach. I also don't keep my shop picked up worth a hoot, and consequently the tools I use most frequently are never in either rack but just laying on the table. When I start a new project, then I put 'em all away and scatter 'em all out again as I progress. I envy people like you who are organized in their work area. My shop, desk, etc., are vertically filed. What I am working on most recently is as the top of the stock, and things that have been a few weeks old are a couple inches from the top...LOL. It's a wonder I can get anything turned out. Oh well. I really like your tool rack. It's looks very functional and very eye appealling. Good work.
-
Very nicely done. Isn't amazing how when God shuts one door, He always opens another? Great work.
-
Thanks for the compliment. I actually lightly antiqued it with mahogany, and then went over it again with a light antiquing of Sheridan brown. I was just curious how it might turn out using a double antique. I kinda liked the effect. It wasn't as pronounced as I thought it might be, but I could still tell it had a Sheridan brown with a hint of mahogany to it. Anyway, thanks for the compliment.
-
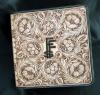
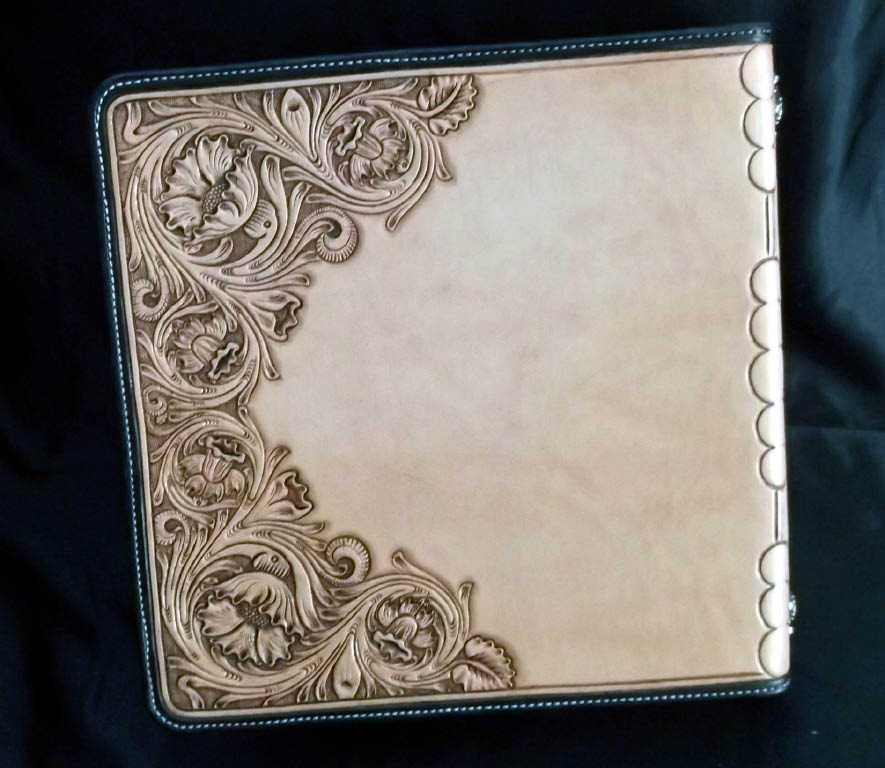
Another order done. This is a floral carved photo album for a barrel racing organization. I tried a couple new things with it, and was pretty happy with the outcome. Take a look and let me know what you think. Thanks for looking, and be blessed.
-
Holy cats Batman....that's a homerun purse. Ms. Renee, that is a stellar job. I don't know why I hadn't seen this before, but WOW. Very, very good work. All the way around. From coloring to construction to tooling...very nice indeed. Hats off to you ma'am.
-
Wow gang...thanks for all the compliments. I truly appreciate and value each of your comments. Blessings to each of you.
-
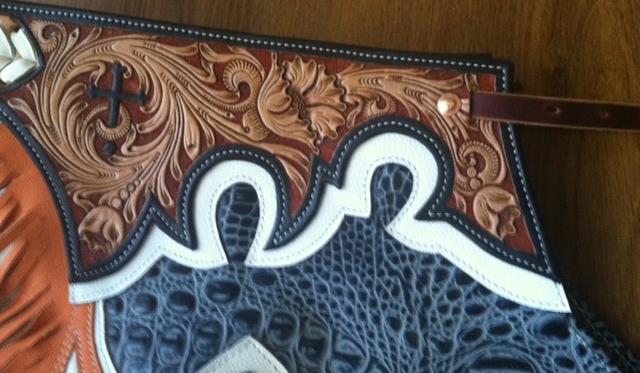
Finally got these done. Feels like I worked on 'em for months! At any rate, I think they turned out pretty sweet. The customer was way excited about them and is crackin' 'em out this week at a prorodeo in Gillette, WY. Take a look and let me know what you think. Stay blessed all.

-
Bob,
I don't know how I missed this, but WOW!! I've never done any geometric things, but I'd sure like to learn. Looks to me like you'd be the one to go to figure it out. Very nicely done.
-
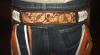
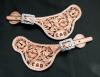
Hi all...just an update on these spur straps. I delivered them to the customer this past week while I was announcing a horse show. I couldn't really tell who was the most thrilled, the mom or the boy who got them! Needless to say, they were a hit. I always like to see the look on customer's faces when they get their order. Alot of times it's just an e-mail or something, but to actually see their face kinda makes it all worth while. Anyway....stay blessed.
-
Thanks all for the nice words. I truly appreciate the compliments. I'll let you know how the customer likes them...next project...a smokin' hot pair of rodeo chaps (at least I hope they turn out that way!)
-
Here's another order done, squeezed in between announcing contracts. They're for a little boy for a birthday present. His Mom said he's been asking for custom spur straps since he could barely walk. Hopefully, these fit the bill. Have a look and let me know what you think. Stay bless gang.
-
Thanks for the compliments guys.
Daily...that's very strange. I've never had any trouble at all with it. I'd be interested to know how you applied everything.
-
Update on this order...I delivered to the customer at an event I was announcing the past couple of days. He was thrilled with it. The kicker however is that a whole lot of other people saw it, and it will probably turn into several more orders! Life is good. Stay blessed folks.
-
I'll be darned. I bet you know the folks that put on the rodeo. They live east of town also. I think they're east. I remember turning left at Jeff's Party Palace to go to their house for the annual catfish feast every year. Small world.
-
It's made by Bee Natural. I really like it alot. I used to use Neat Lac/Clear Lac, but got into trouble when applying it with sheepskin over dye. It seemed to smear the dye. Barry King suggested the RTC, and boy it works. I use it in a spray bottle for an even coat, and I've never had a bleed/smear problem with it at all. The one thing I liked better with Clear Lac was the slight color change of the leather when applied. RTC doesn't darker the leather a bit.


Sunflower Photo Album
in Books, Journals and Photo Albums
Posted · Report reply
Dennis, Alvetjarn...thanks for the compliments. As for the pattern, it's my own design. In fact, it's rather redneck the way I did it. I had the size of the circles for the flow of the Sheridan style laid out, and then started the flowers. I started with the centers first. Here comes the redneck part...for the larger flowers, I think I used a quarter and for the smaller flowers I think it was a nickel. Then I drew 4 lines going out from the center, with the first line being straight with where the stem would be. Then I drew 4 more lines evenly spaced between the previous 4. I don't know if that makes sense, but it really wasn't overly hard to do. And, uncharacteristically for me, I actually drew stuff on paper!! I didn't draw the whole pattern, but I certainly did draw some flowers and such before I carved 'em. Since this was the first time I'd done sunflowers, all of the filler flowers, etc. were different as well. Anyway, I hope that helps. Thanks again for the kind words.