DarrelT
Members-
Posts
22 -
Joined
-
Last visited
Content Type
Profiles
Forums
Events
Blogs
Gallery
Store
Everything posted by DarrelT
-
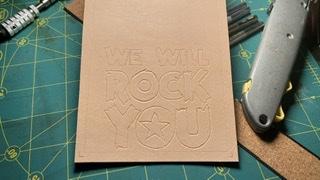
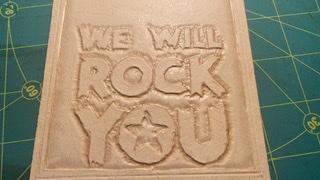
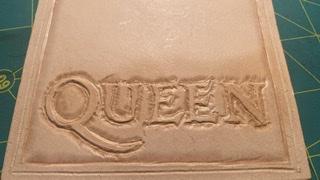
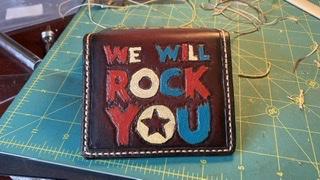
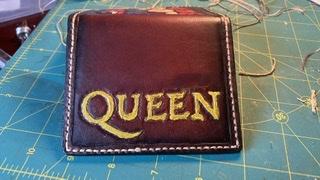
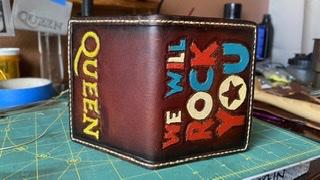
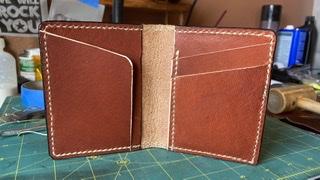
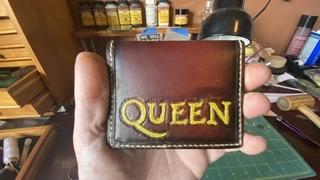
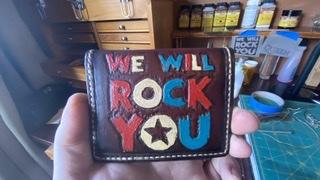
So after making the knife sheath for my nephew I wanted to make something for his brother too. He’s 15 and I think he’d like a wallet. This is from a Corter Leather pattern. Can you guess who my nephews favorite band is? This project was more firsts for me. First time I’ve tried acrylic on leather. It behaves a little different than I thought it would. The paint seems to leech out the stain a bit and discolored the paint. But since I was antiquing it anyway that’s not really noticeable. Also the first time using tracing paper to transfer a pattern. I found the designs online, adjusted the size a little bit, and printed out on tracing paper. Pretty simple process that worked well. I used an airbrush for the dye again. That process works really well and the coverage is really even. I like it a lot better than using a dauber This was a fun projects that didn’t take too long.
-
My first knife sheath
DarrelT replied to DarrelT's topic in Gun Holsters, Rifle Slings and Knife Sheathes
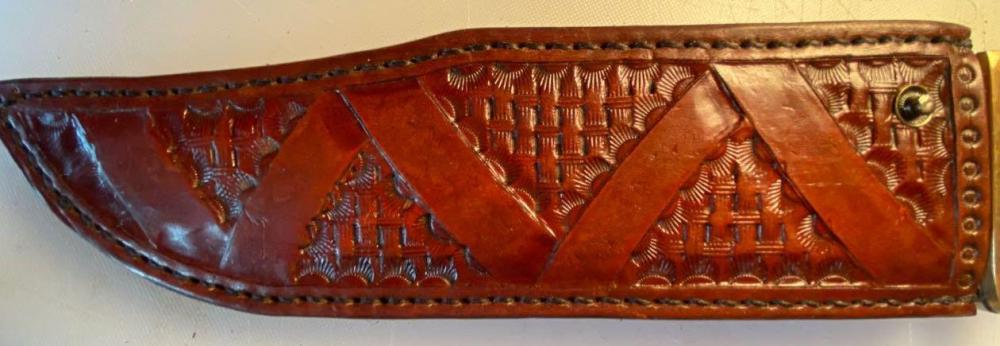
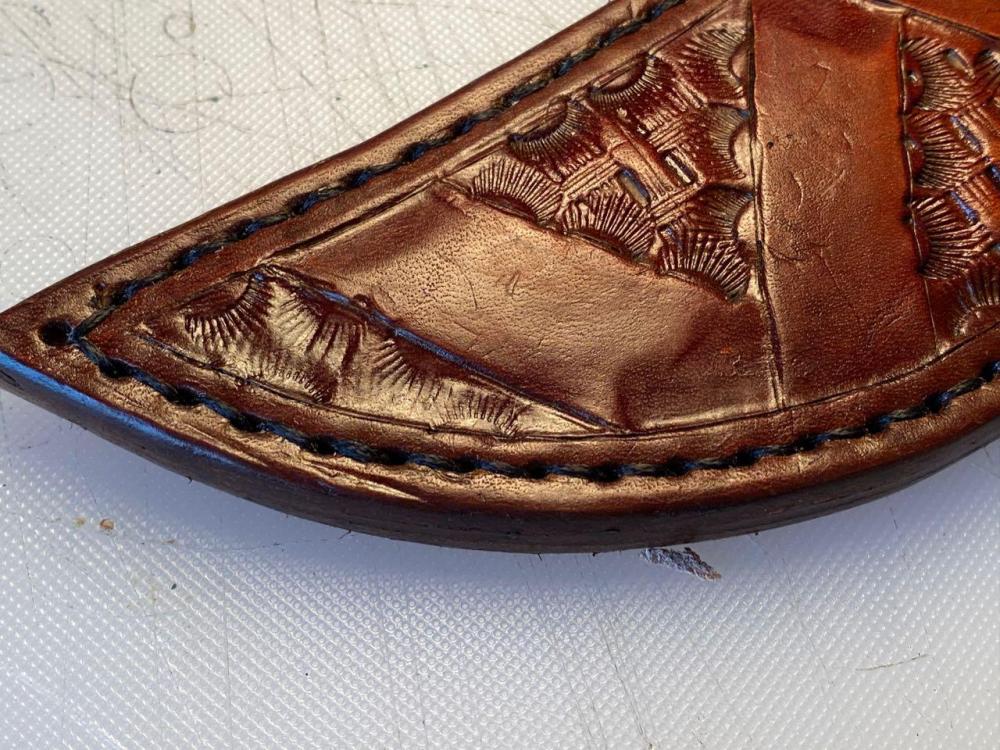
Tooling close up. This was a bit tough for me. I think the basket weave might not have been the right choice. A backgrounder tool would have been cleaner. -
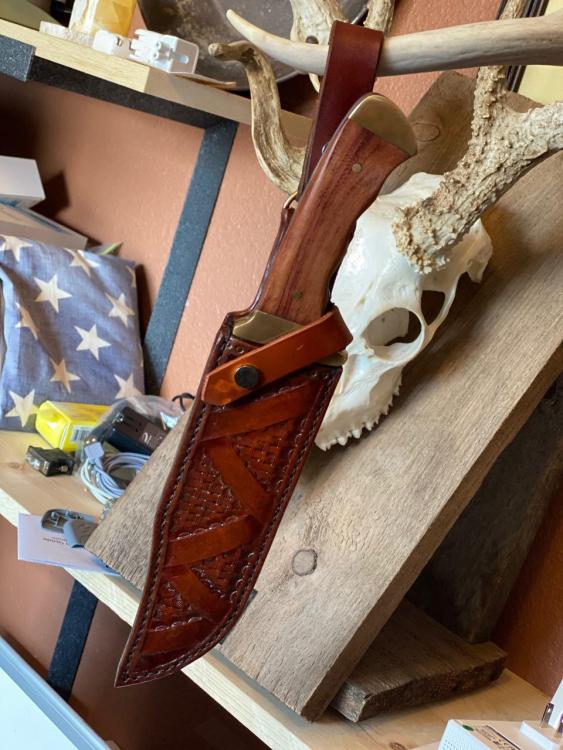
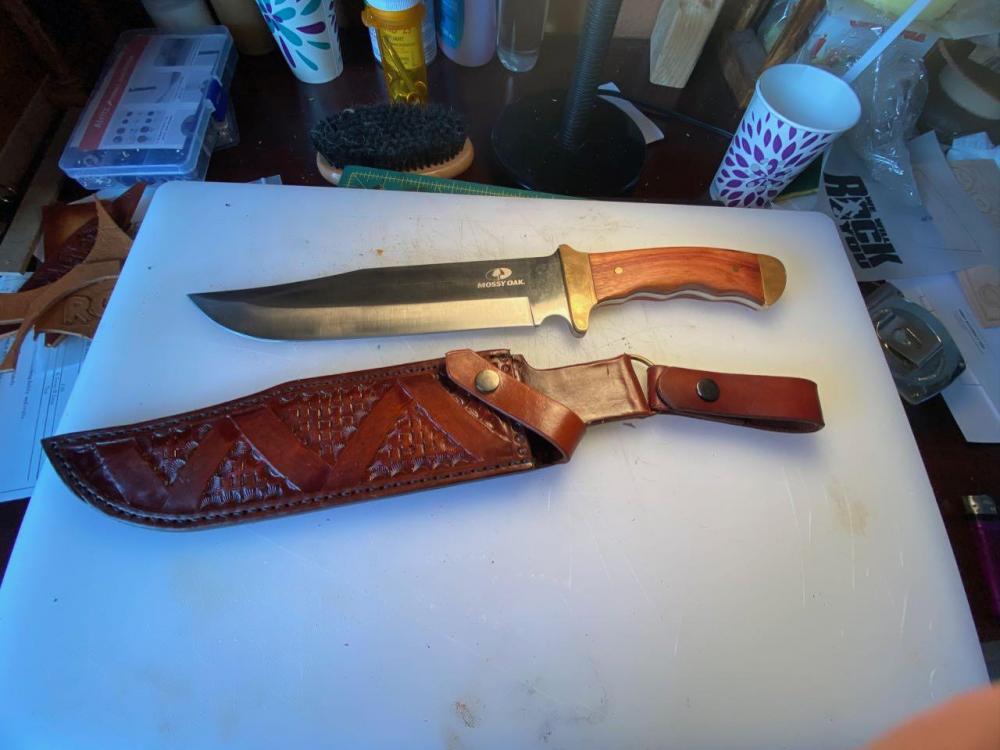
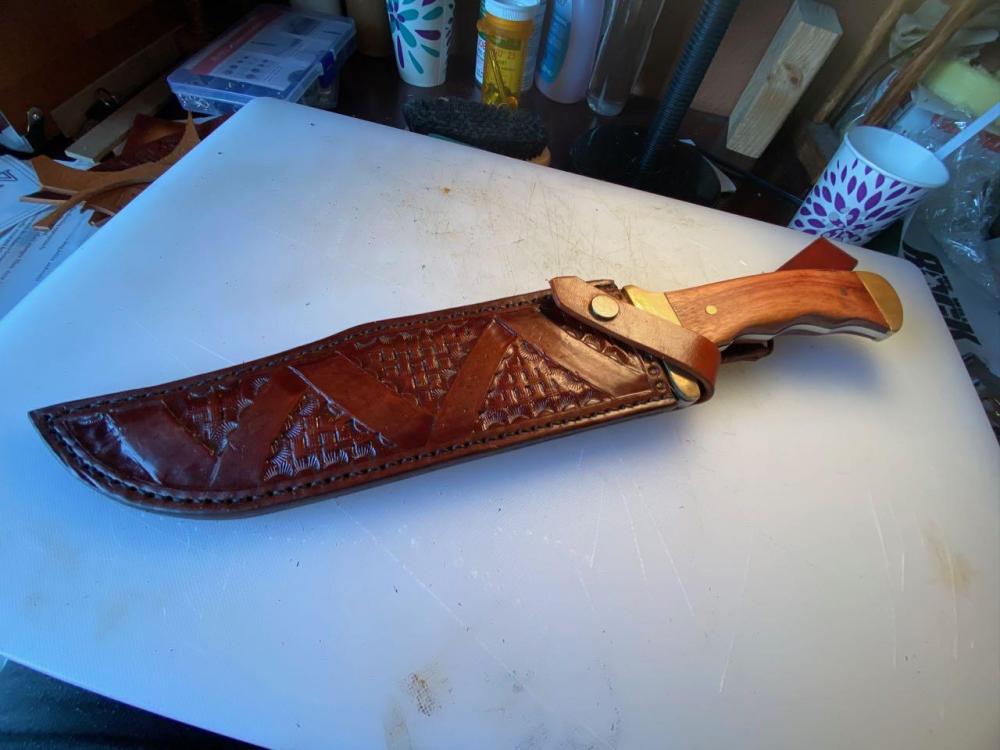
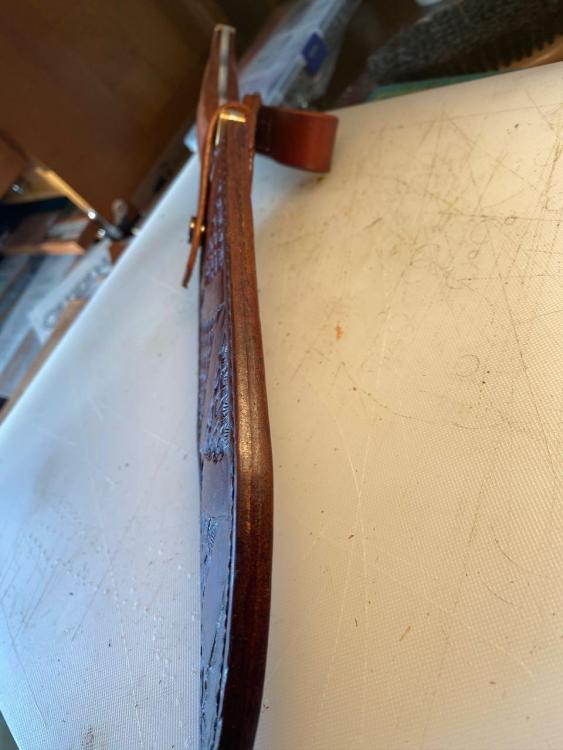
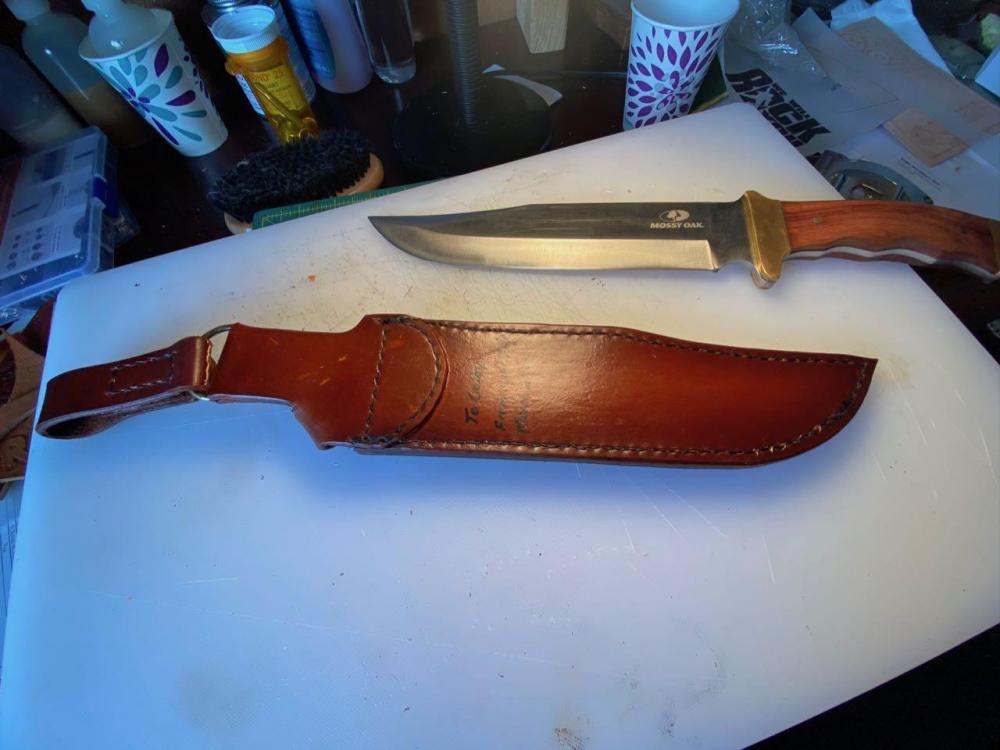
Last Christmas I gave my nephew an Amazon gift card. Like a typical red-blooded 9 year old boy he bought himself a 10" bowie knife! :D So I told him I'd make a sheath for it. I came up with this design myself. It took a few iterations on paper and card stock. This was a few firsts for me. First knife sheath, first real tooling work, and first time air brushing. All of the dye was airbrushed. I probably should have used a darker color for the sunburst. I learned a few things for sure. I added a welt, but I think it's too thin on the sharp side. It's a tight fit, but I'm hoping it will loosen up over time. I glued it up before sewing on the back strap. I had to split the seam to get that sewed on. I need to keep order of operations in mind. I could have done the tooling process much differently. I just made it up as I went along with no real plan. I'm pretty happy with it overall. I'll be giving to him in a few weeks. I can't wait to see his reaction. I'm also making a wallet for his brother. I'll share that when I'm done.
-
How can I keep the leather dye from staining hand stitched thread? Especially on longer stitching runs. After so many pulls the tread slowly picks up the leather dye and by the end of the run the contrasting color is almost gone. I’ve tried waxing but that wasn’t enough. Maybe I’m using the wrong kind of thread. I just have a cheap array of thread from Amazon.
-
Made a clutch
DarrelT replied to DarrelT's topic in Purses, Wallets, Belts and Miscellaneous Pocket Items
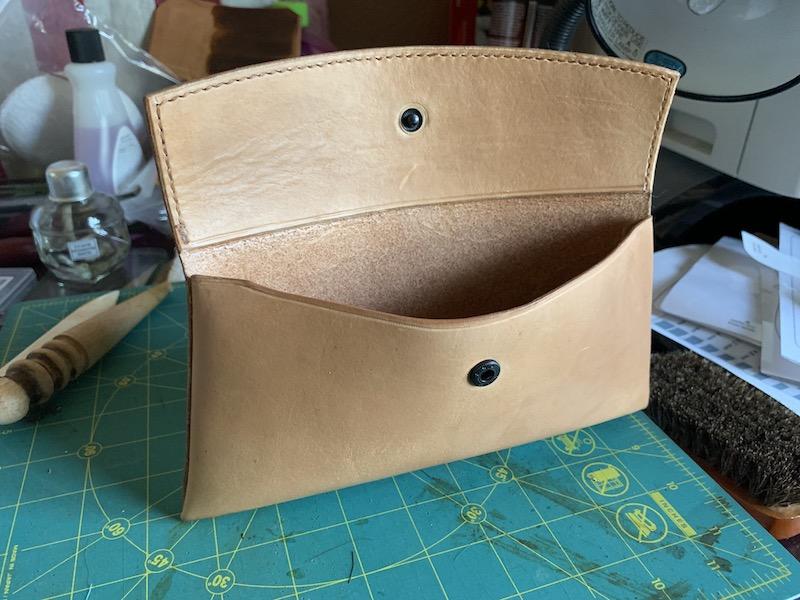
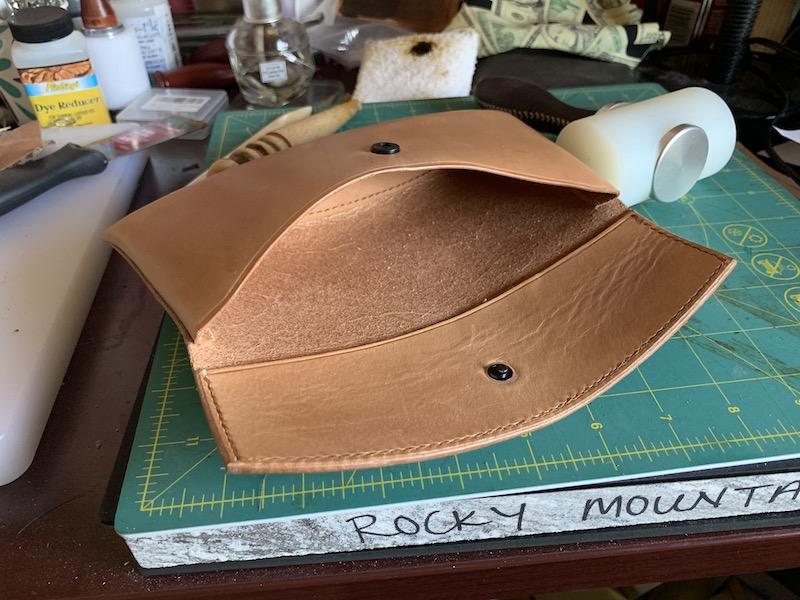
Thanks. It was a fun project. There’s a 2nd layer in the bottom. Call it a gusset. It helps define the shape. Without that I think the clutch would fold up like an envelope. -
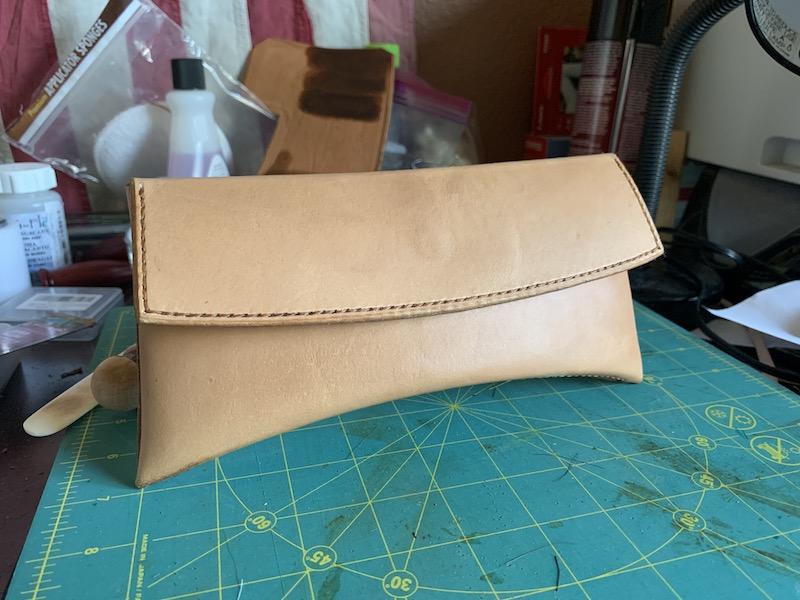
I made this for a friend of mine. It's from one of Hahns Atelier's patterns. Pretty easy project. The side stitching method was new for me. I'm not sure what it's called, but it's not saddle stitching. I might make another one with a tuck lock instead of a snap. I think that might work better. Different look too.
-
I'd like to build a motorcycle tank bib. Obviously it will spend a lot of time in the weather. Rain, sun, etc. I'm thinking that Latigo would be good based on what I've read about its durability to weather. But I may want to try some tooling or stamping. So in that case how should I treat veg for this use? Also I'm wondering what to put on the back as a liner against the painted surface. Initially I thought suede or felt, but I think that type of surface would actually capture more dirt over time and cause damage. So maybe pigskin? I'm open to ideas.
-
On my first sample project I split the thread with the needle on the return stitch a lot. A tip that I learned on YouTube to avoid that. When you're inserting the return needle, pull both ends of the opposing thread back to leave some space in the hole for the needle. Push the needle through half-way, then pull the opposing thread through the hole in either direction to make sure it's not wrapped around the needle. Once I started doing that I stopped splitting the thread.
-
Until I figure out tool storage I'm keeping stuff in a regular tool box. My Aiskaer chisels came in felt drawstring bags. Today I found this old piece of leather that was a laptop screen protector. It's lays over the keyboard and protects the screen when you close the lid. It just happened to be the perfect size for this. A strap cut from some other scrap, a snap, and some measuring and I have a new tool roll. I sewed this on a Bernina machine. No problem with this soft leather. This will be much more convenient until I figure out some better storage options.
-
I found out some more info. Apparently what SLC calls oil tan is actually chrome tan that's been treated or impregnated with oils and waxes to make it more resistant to weather and such. It also affects the surface feel. So it's modified chrome tan and will still have the same burnishing issues. But apparently because of the re-treating process the cut edges may have a good enough appearance without burnishing. If you do want to finish it you'd have to use yankee wax with a burnishing wheel on a dremel to generate some friction heat. I haven't tried any of this. It just the info I've been told or have read.
-
I inspired you @bikermutt07? That's pretty cool since I've just started. I like the concept of batch work also. Repetition definitely helps to work out the bugs and also the learning process.
-
I use a welt about the thickness of the blade. It's not hitting the snap. Just slightly rubs against it. Thanks for the suggestion. I'll look for a diamond awl. And I'm not particularly fond of the handle. It's just how it was made I might take some time to round it out and stain/seal. Agreed that I don't "need" to, but I think it would be interested to remake later and see the difference. I made a practice passport holder with some chrome tan. I'm working up to a set of real ones for the family. I also want to make a cribbage board holder of some sort. Still figuring that one out.
-
I put this together in about 2 hours yesterday. My family is traveling to Europe in September and I want to make four of these. So I'm practicing on scrap for now. This leather is pretty soft chrome tan. Not fun to cut accurately. For the edges I just stained black and use some gum trag. My real interest here was stitching practice. I'm working on consistency and trying to develop muscle memory for saddle stitching patterns. I'm pretty happy with my progress so far. I also want to make a biker wallet for myself. I also want to make a case for my old cribbage board and card deck.
-
I was about to order 20 sqft from SLC. They call it oil tanned, which I hadn't heard of. I called them about what I can use on it for finishing, sealing, burnishing, etc.They suggested burnishing with yankee wax and burnishing wheel. I looked up this yankee wax and for burnishing it's suggested to use with an iron, which I don't have. So my questions. Is oil tanned just veg tanned that's treated with oils? I'm curious if this stuff is good for items like wallets and such. Have you used saddle soap or any other type of conditioner on oil tanned? I'm not sure how to maintain this material. as anyone used yankee wax with a dremel and wheel to burnish oil tanned, or anything else? Thanks!
-
My company gave me an Amazon gift card for Christmas. I've been wanting to pick up leather work as a hobby for a while so decided to invest in some basic tools. This is my first project. Just a simple case for my skiving knife. I copied a design I saw on Youtube. It's crude but functional. The stitching was a bit difficult with the chisels. If I punched through all three layers the chisel was really difficult to remove. But it was hard to get the holes lined up when punching from both sides. I ended up starting with the chisels and pushing through with an awl. But the holes were so tight I had to use pliers to pull the needles through. I also should have recessed the inside snap or something. The blade rubs on it. I'm happy with it overall. Learned a few things and I might remake it. I got the knife from Amazon too. The edge was beat up so I had to rebuild it. Shaving sharp now.


