ftnpenlvr
Members-
Posts
56 -
Joined
-
Last visited
Content Type
Profiles
Forums
Events
Blogs
Gallery
Store
Everything posted by ftnpenlvr
-
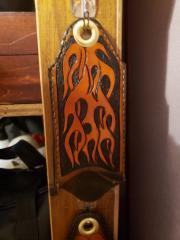
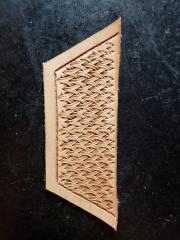
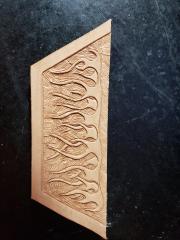
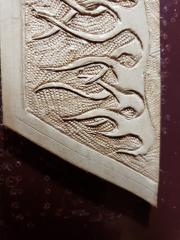
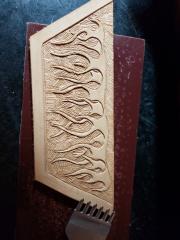
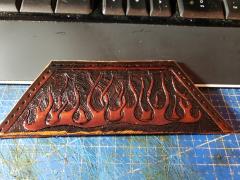
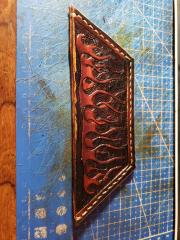
Don Gonzales was giving away free patterns for tooling these. I have one (not the best executed, but, I will just be using it in my own kitchen), and created a tutorial (Potholder) for the broad "second handle" on my grill pan. They work a treat!
-
From the album: Potholder
This was the "regular handle" potholder I wanted to complement -
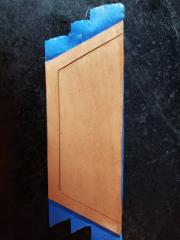
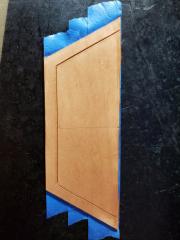
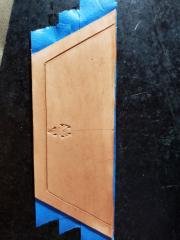
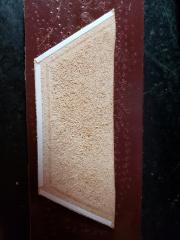
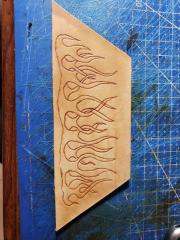
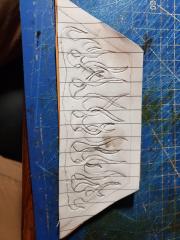
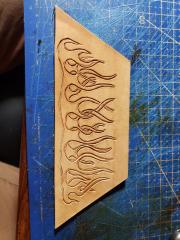
I decided I needed to make a potholder for the wide handle of my cast iron grill pan, to match the "flame pattern" I did for the regular handle. That was one of Don Gonzales' kindly given patterns, and I put these together for a buddy of mine who is just starting out. If you sort by the caption, they'll be in the right order (except the last one, which was marking the stitch line)
-
From the album: Potholder
back side - marked the border and cut that in -
From the album: Potholder
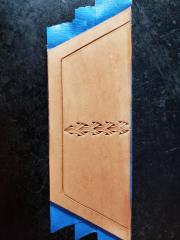
marked a center line -
From the album: Potholder
First stamp starts the pattern -
From the album: Potholder
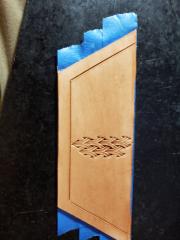
completed the center line. The stamp indexes into the one before it, but, it is easy to "twist" and get off center. -
From the album: Potholder
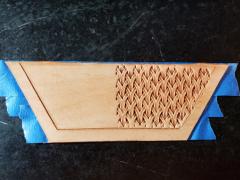
Start going sideways -
From the album: Potholder
Complete the side -
From the album: Potholder
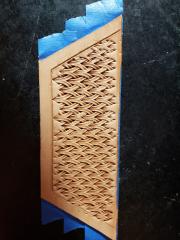
Complete the other side, same as the first. -
From the album: Potholder
Bevel the border -
From the album: Potholder
-
From the album: Potholder
I started experimenting with double-sided tape to hold the pieces together while setting stitch holes -
From the album: Potholder
Stitching line marked -
From the album: Potholder
Beveled and backgrounded -
From the album: Potholder
stained and slicked - note: I got a little overzealous with the gum tragacanth, and the stain didn't penetrate well in places. It's for my own kitchen, so, I didn't stress over it. -
From the album: Potholder
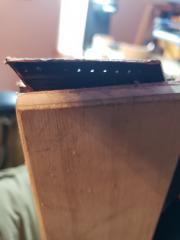
Into the stitching pony -
From the album: Potholder
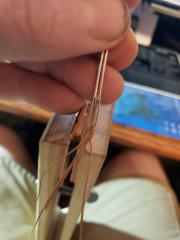
2 needles, 1 thread -
From the album: Potholder
all stitched up and ready to use -
From the album: Potholder
The design is transferred to the leather. -
From the album: Potholder
Drew the design, and placed it over the cased leather, then went over it with the stylus. -
From the album: Potholder
Cut the design in. -
My wife found a Keter 16" cantilever toolbox at the thrift store. Works great for most of my tools. One compartment holds punches, irons and swivel knife. Another compartment holds most of my tooling stuff. Threads go in another. Tandy hefty handle goes in a forth, along with a couple of stamps that fit it. Up top, I have space for handle, groover, beveler, rawhide hammer, pocket knife, needles, rivets, snaps & buckles. All my finishing stuff - dyes, daubers, etc, goes in a separate bag. My 30-oz mallet, poundo board, punching board and a slap of soapstone just sit on top of the toolbox. When I am ready to work on a piece, I cut and put the cutting stuff away. The poundo board goes down, and the soapstone goes on top. The the toolbox gets opened, I do the tooling I need to do. Then I put the punch board on, punch, sew, and put it all away before the finishing bag comes out. While I am very new to leather work, it seems to work for me. My tool collection is still small enough that I can hold all my tools in one hand. When I need to find one, I grab the whole lot, look at the heads, and pull out the 3-6 I actually need for the project I am working on, and put the rest back. I am sure, though, I will want to separate them out into more organized storage in the not too distant future.


