
adventureleather
Members-
Posts
29 -
Joined
-
Last visited
Content Type
Profiles
Forums
Events
Blogs
Gallery
Store
Everything posted by adventureleather
-
Global 205 Sewing Machine - Ontario Canada
adventureleather replied to adventureleather's topic in Old/Sold
Dang I forgot the most important part! Just an oversight thanks for letting me know. Asking 4000$ CAD. Located 45 minutes north of Toronto. Thanks. -
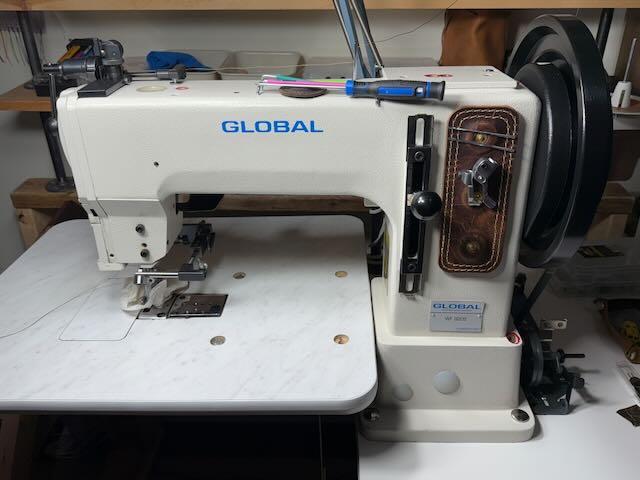
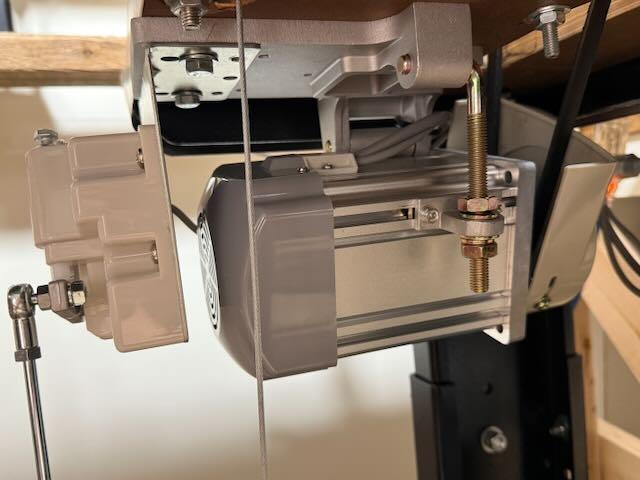
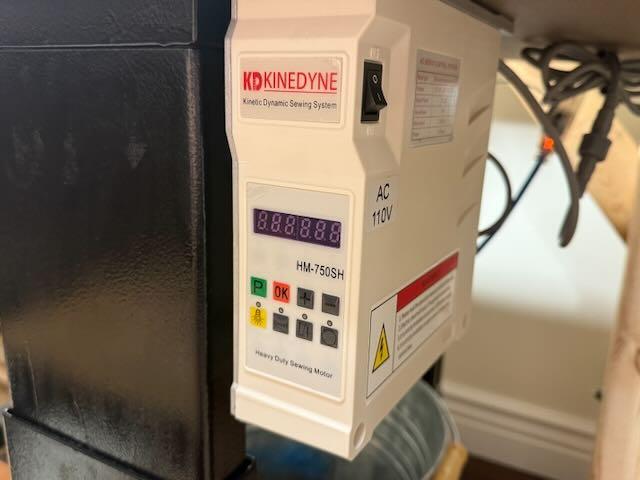
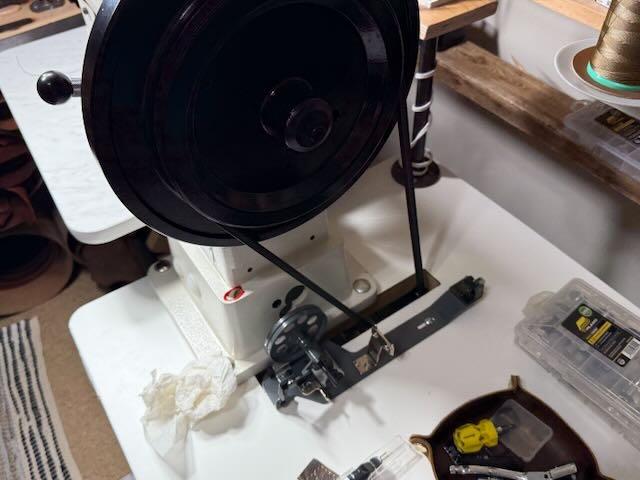
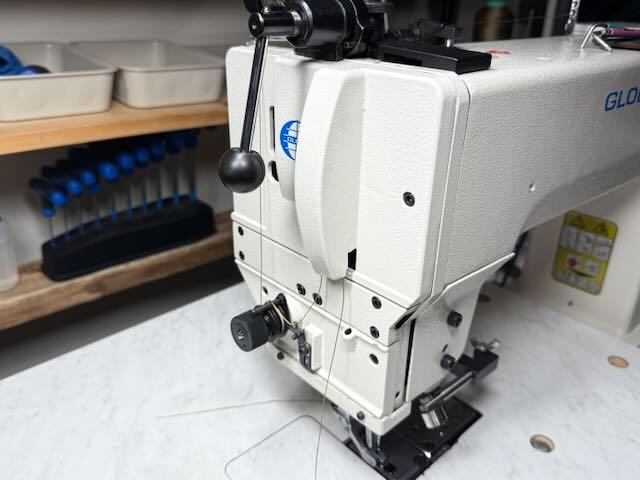
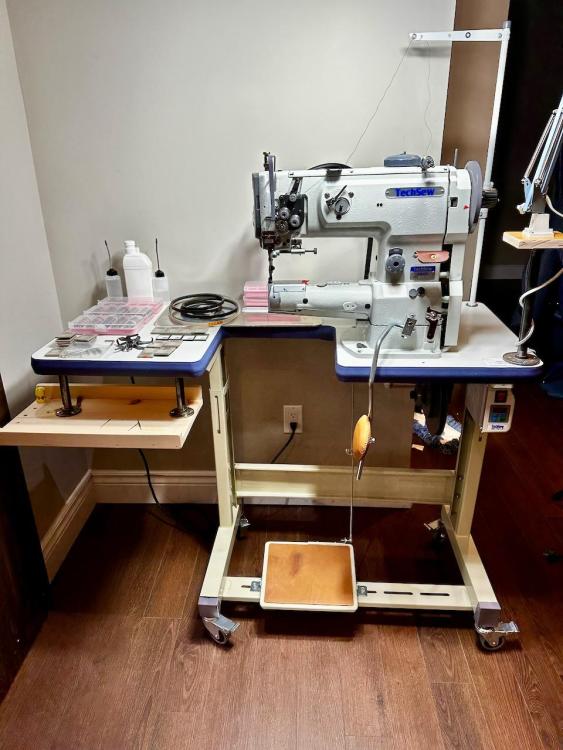
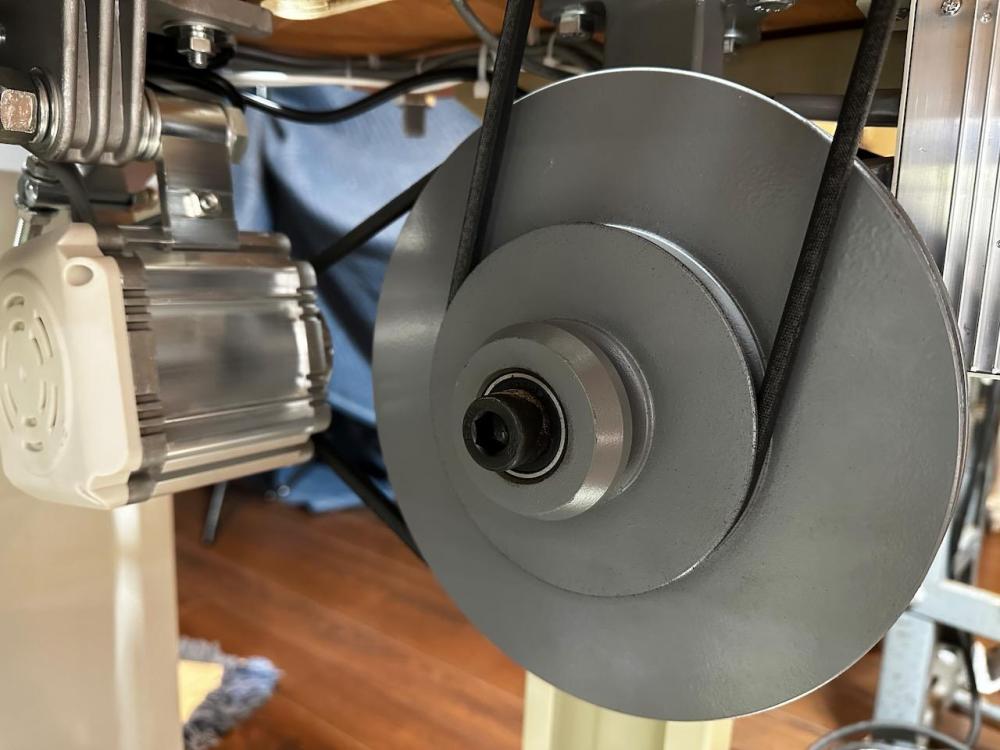
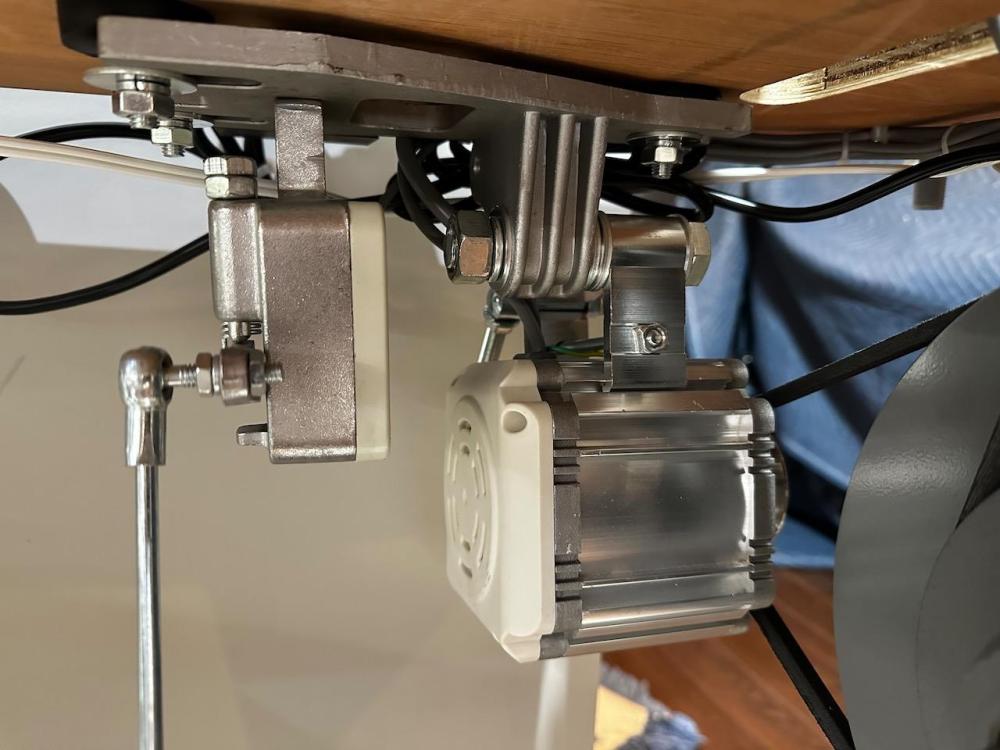
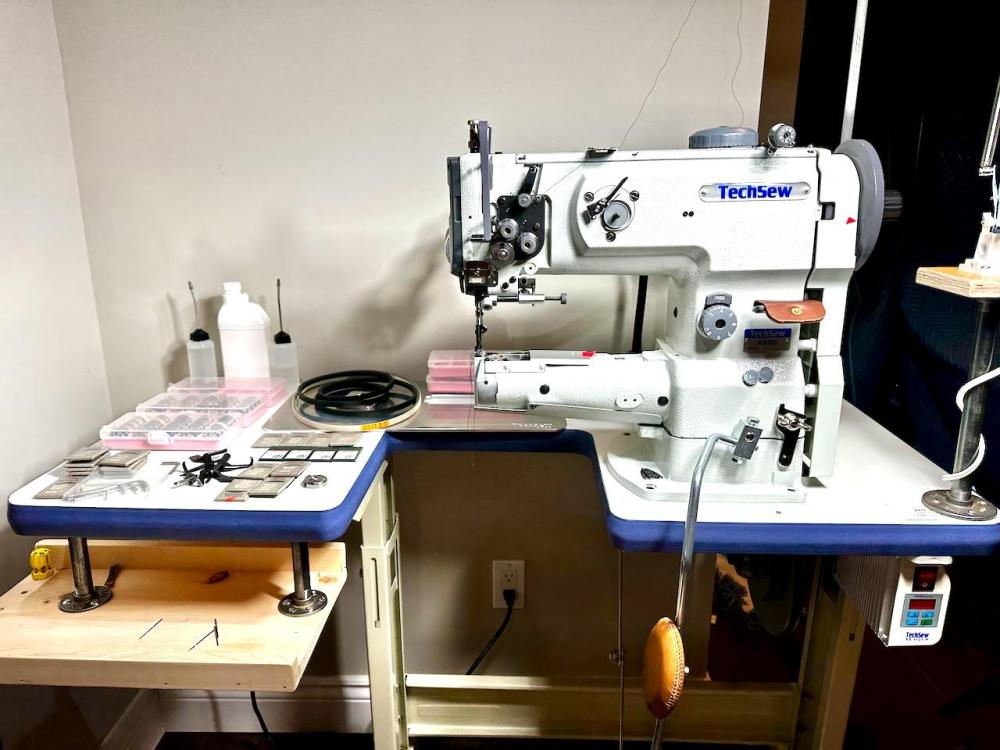
Hello, I am looking to sell my Global 205 cylinder arm sewing machine. It is used, in great condition and not from a factory setting. It runs smooth, timed well and creates a lovely stitch. Doesn't reverse well but I don't use that feature and haven't sorted it. I added a Kinedyne super slow high torque motor from Cowboy on it. The price I am asking for included the motor. This machine is quoted to be 6900CAD at my local supplier. There is the weaver 205 as well, US buyers I don't know how to ship but could check. The CAD to USD dollar is very good for you right now Comes with: - 6 bobbins (can purchase or bobbins or make a complete deal) - handful of needles (I have 50 LR packs available separately) - spare parts assortment - Kinedyne slow spin small pulley motor Machine is located 1 hour north east from Toronto Canada. I don't know how to ship it but I can inquire if anyone is interested. Thanks!
-
Techsew 4800 Walking Foot Pressure Question
adventureleather replied to Arturomex's topic in Leather Sewing Machines
I have had both 5100 and 4800, now a 205. The 205 is similar to the 5100/441 and leaves less marks than I have seen. Go figure. Something I always do is on a grinding wheel, I curve the sides, and back of the presser feed then hand sand them. After that I polish with my knife compounds. These machines need to be tailored to your type of leather since out of the box they are just generic. I love Herz Bags and watch their videos, some machines look super old and customized. I also sand down the throat plate and feed dog if needed. Next you can look at the presser spring, if it is all the way up and still too tight you can snip off a few coils of the spring. Be sure to have a spare incase though. I did that on the 5100, but didn't need to on my 205. I would start with the feet since rounding off the edges won't make a pronounced hard edge in the mark, but more a depress that can be hammered out. Be sure to watch for the material slipping though you're stitch length will change. If you top tension is too tight that will also move the material as the foot walks on a low pressured presser foot. If you don't want to grind the original feet, I get feet off of eBay and customize those since they are cheaper to replace. Also don't forget if you raise the feed dog, you're adding pressure. You'll have to make a machine adjustment to the new height with the centre foot and that just more fiddling. Those are some things that have helped me with chrome tan and veg tan like buttero. Some chrome tan that marks easy had bad marks before with the harder edges of the foot not rounded. -
Thanks Al. Totally understand. I had no choice..needed a better motor than what mine came with haha. Great questions. The SH model has more circuitry to help with the heavier machine for the torque of turning a bigger flywheel. I think for heat if you use the slower RPM settings. I don't recall the HP rating on the SL vs SH. The motor is well built very solid metal. Ryan mentioned to me that some saddler makers still like the reducer for the torque ability because they are used to it. But the pulley on the 750 is super small and the motor goes to 50RPM. For me it is super slow and powerful enough for my uses, 2.3mm 2 layers mostly and it is sewing fine with glue. I haven't trie thicker material. In terms of speed, yes no speed reducer needed..its very slow without. I didn't get the needle positioner. I didn't want to spend more and I haven't missed having one to be honest. The motor slows down immediately so finding BDC or full up is fine and easy.
-
I wanted to chime in real quick on the 750SH. I am in Canada and Ryan Neel had the motor to me in 3 days! WOW what an awesome motor. I am using it with a 205 style machine from Global. My machine was used and came with a Reliable style motor (grey plastic cover) and was not great. A speed reducer would have cost me the motor alone. The Kindyne is super slow, and will easily go through my 2 layers of 2.5mm chrome tan on a 27 needle. It is well built, of course time will tell how long it lasts. The best thing about the motor setup is it is very responsive. Pedle movement starts it slow and the ramp is nice. Once you let up it immediately stops or slows. Very easy to control. I didn't get the NPS because I didn't want to bother with the flywheel I have and with the speed control I don't miss it. I have had the typical brushless servo motor coming from just about every industrial brand (they all look same with the logo changed) and didn't like the feedback. If anyone is questioning the Kinedyne it is a huge value and can transform your machine performance. Showing the slow speed of the 750SH
-
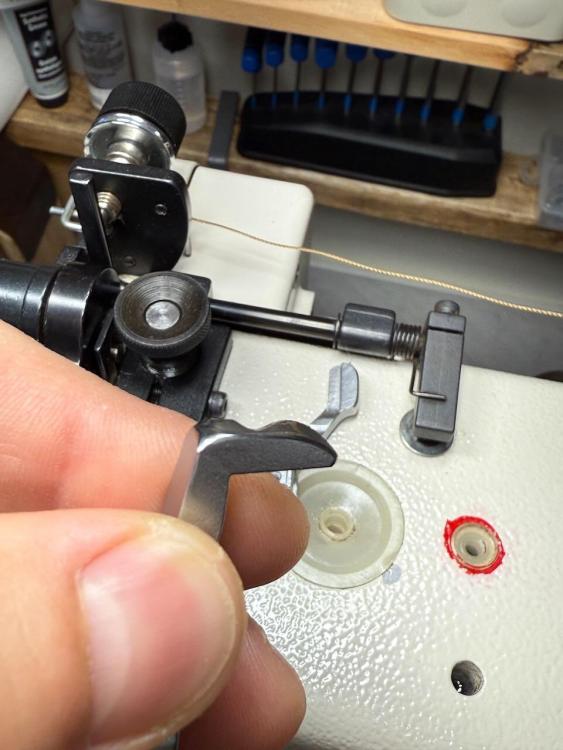
It seems I have fixed and solved my own problem so I wanted to update this post incase someone searches and has a similar issue. With the help of old posts I have added some solutions to solve my problems too. And with respects to the take up spring, thank you to Uwe and Wiz for old posts on that topic. It seemed like my machine was not liking the thread. With a bit of an ear for how a machine should sound it did sound off to me. The weaver timing device came in the mail and it was a bit help to get the timing perfect and repeatable. Along with Uwe's stitching video that helped me guage a good timed machine. Although with variances of course to mine. Timing - this one took some time and many efforts to find the right balance. I ultimately set the needle bar to the eye of the bottom needle just above the angle ridge on the deflector. I then set the timing device to this spot, went up to the next spot of the needle bar for the device, and adjusted the hook. I have gotten goo stitched here for 23 to 27 needles I use. Needle placement in the deflector and guard - I didn't know how to do this one but I took a guess. There are 2 locking collars on either end of the timing shaft. 2 bolts in each. Loosen both collars and the timing shaft has a few mm of play. With the plate and dog off, you can put your largest needle you'll us in, and get the perfect spacing here. Push the collar in while holding the defecltor piece and tighten. It's a bit fidly. Now with the collar closest to the needle tight, the other one needs to be pushed in against the inner wall (body of the machine side underneath) and tighten. This locks the shaft from moving side to side and holds the deflector in place. Here you'll want to make sure the needle and hook pass nicely, and the needle can't be pushed in to the right if the material moves, jamming the hook into the needle. I pushed on my needle and moved the flywheel to ensure nothing could crash, but still have fluid movement. Now the largest 27 needle can pass nicely helping make the stitch. I am using all 3 sizes, so it is possible to hit the smaller needle with the hook if it moves since the machine is now set for the 27, something to keep in mind while sewing. Those 2 adjustments helped make a nice stitch. But I was stabbing the thread on the way down. Check spring tension and placement - thanks to an old discussion on this with Wiz and Uwe giving some info, it occurred to me the rule of the check spring. To keep the thread tight around the hook, and also that the thread should not have any slack until the needle hits the material. My thread had plenty of slack on the way down. So I moved the check spring bar all the way down. There is also a small Allen bolt to the left of the the secondary tensioner, loosen this and you can turn the thread bar further back over the discs. This will take away slack as well if more is needed with the bar down. And finally some more tension on the spring, locking bolt located inside the head to the left info on Weaver's dvd videos. Walking feet - last thing after all these adjustments is to make sure your feet are in good movement. So I set my need to just enter the foot hole, loosen the two Allen bolts on the back of the head (Uwe's video helps here) push the feet down, tighten and check movement. You can check your height too when the outside foot as at its highest. Last thing was to dial in tension. I also don't wind my bobbins too tight to allow them to unravel easier. After all that I am getting some great results and the machine and hook even sound more happy by sound. I am no expert, just from my little experience so don't take every word as proper instruction. Hope this helps another novice diagnose their Adler 205 style machine if you have any issues like I did.
-
Thanks kgg, I have seen Uwe’s video over and over now haha. Keep trying to see if I missed something. I had had 441 clone and 1342 clone before but never a 205 clone. Even watch the Weaver ones too. I re timed tonight with needle bar adjustments, I think I have it in a good spot. I re-worked the tension and got some good results. I noticed the twist at some points still. I wonder if it is something with the winding, hook (comes out tight some times) or just getting the tension balance. How tight would you wind 277 thread on a bobbin? My hook is also missing the inner spring, I wonder if that has any place for making it even or just to help take out the bobbin. Thanks for the feedback.
-
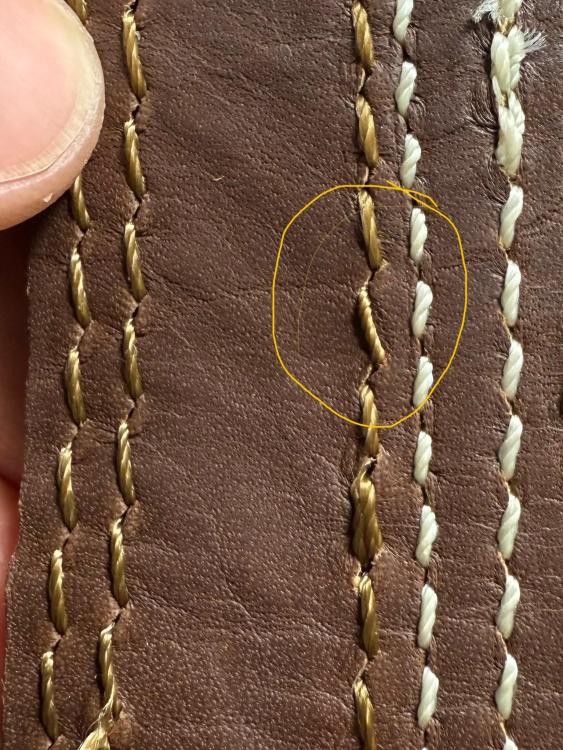
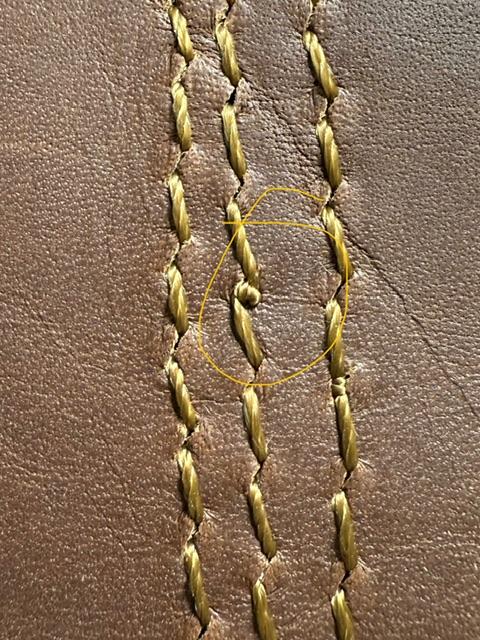
Hello! I am hoping to have some skilled eyes to look at my stitches on an Adler 205-370 style machine. I have these random twisted bottom stitches from time to time. Or sometimes after stitching perfect the twist will pull the knot out. I am not sure what can be causing this. I have retimed the machine many times looking for smooth movement with weaver timing device. Does this on both needles I have 24 and 25. Any ideas? Thanks for the help!
-
Techsew 4800 PRO Like New - NORTH GTA Ontario Canada
adventureleather replied to adventureleather's topic in Old/Sold
Sold, thank you. -
Techsew 4800 PRO Like New - NORTH GTA Ontario Canada
adventureleather replied to adventureleather's topic in Old/Sold
Yes I forgot to mention..CAD$ Thanks. -
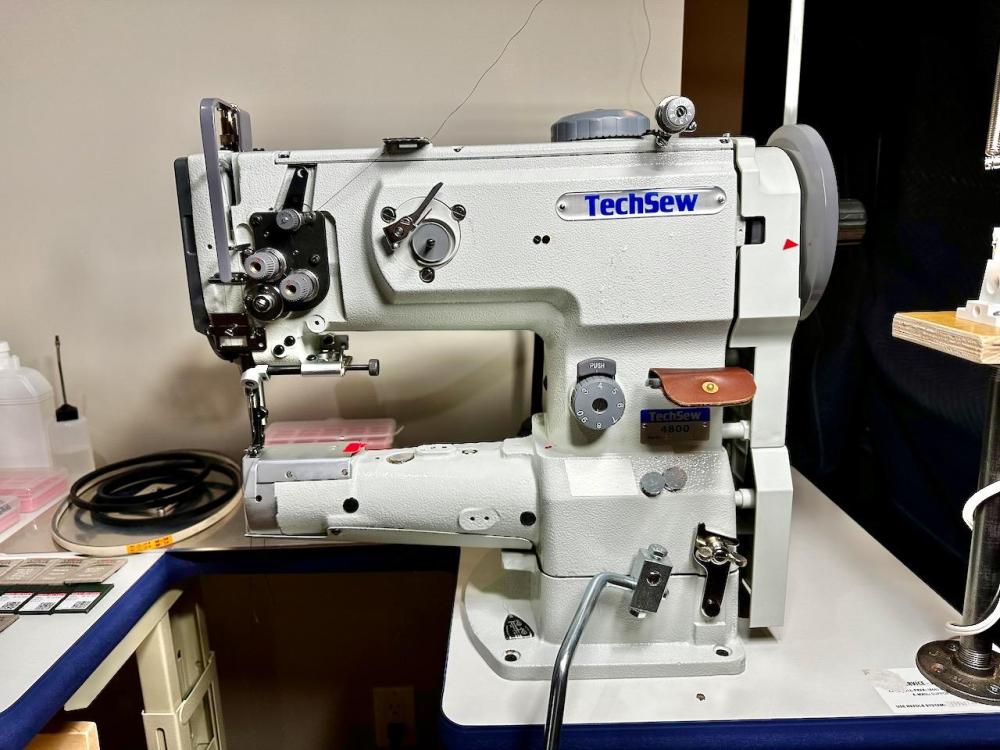
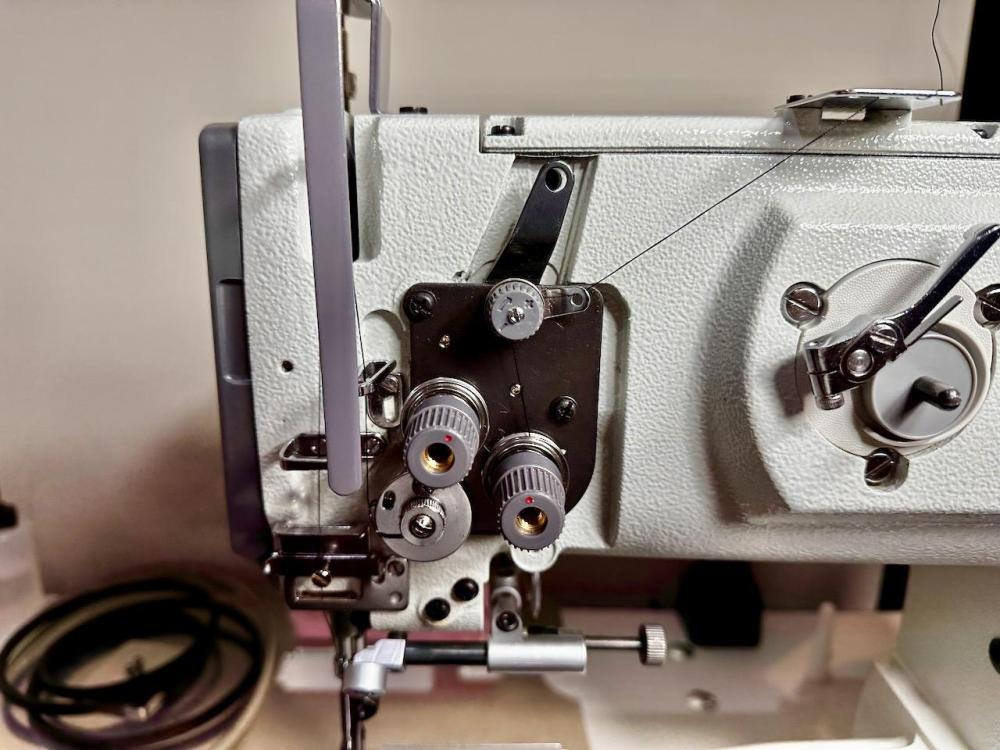
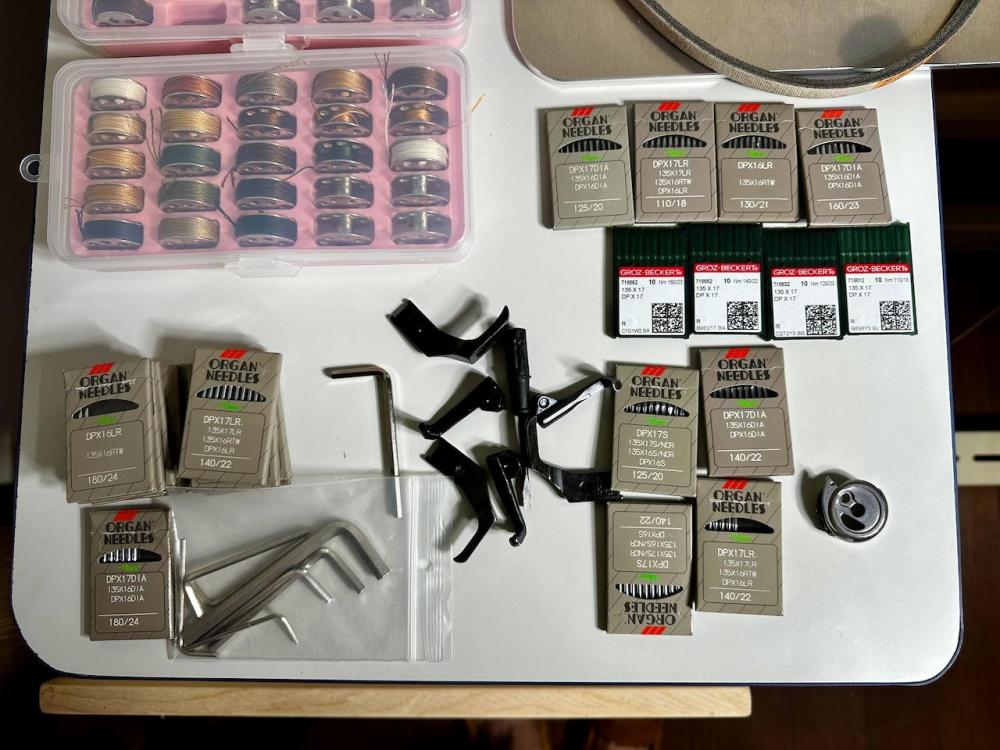
Hello, For Sale is a LIKE NEW Techsew 4800 PRO Cylinder Arm Industrial Sewing Machine. Purchased directly from Techsew in Quebec. It is only 1.5 month old and basically brand new. If you are looking for a walking foot sewing machine this will be a great deal for you. This machine is amazing for leather, vinyl, canvas, jean, fabric and many other materials. Everything works perfectly and is brand new. It is the PRO version which comes with the roller edge guide, laser guide, speed reducer and aluminum flat bed attachment. I have a lot of accessories for it including left, right and double narrow presser feet and many needle sizes and types, and spare bobbins. This will be a complete package for anyone looking to get a cylinder arm machine. Size 210 thread is available for an extra price. The machine is not able to transport easily so viewing and testing will be in Uxbridge, Ontario, Canada. The whole package is $4700. With shipping it is $5400 from Techsew. Please contact me if you have any questions.
-
Juki 1341 Hook Hits Needle and Thread Binds
adventureleather replied to adventureleather's topic in Leather Sewing Machines
Thanks Glenn I was thinking the same. Though I’m confused because Juki does list 138 to work. The shop was having issues with thinner thread too a so they’re trying to solve it. Thread is getting cut. Something is out I’m guessing. -
Juki 1341 Hook Hits Needle and Thread Binds
adventureleather replied to adventureleather's topic in Leather Sewing Machines
Thanks I’ll ask if needed. I did see chris once for some needles and foot and he was expensive. At the time I didn’t check and just grabbed them. Didn’t like that. Best to know what I’m getting next time before I pay. -
Juki 1341 Hook Hits Needle and Thread Binds
adventureleather replied to adventureleather's topic in Leather Sewing Machines
Thanks Kgg, yes I did see that. I have 138 vinymo only right now and the issue persists. Might have to get some eyes on it to try and resolve this. I was thinking that too. Some fresh parts may be something to try. There's a place in Brampton that stocks parts and repairs. Luckily it's not completely broken just not functioning and making leather work unfun haha. Thanks for the input! -
Juki 1341 Hook Hits Needle and Thread Binds
adventureleather replied to adventureleather's topic in Leather Sewing Machines
Thanks so much! That did the trick so far. I was able to move the feed dog over to clear the hook during the rotation. Now the original issues persists. I have some videos I’ll share to show. The notch in my throat plate doesn’t leave enough room for the thread to nicely pass by and form the knot. It snags and pulls leaving a bad bottom stitch. Since it is used I wonder if the throat plate is an off make and the notch isn’t normal size. I did try the lever adjustment to position the groove in Uwe’s video but thought no luck. Thanks again! -
Hello, Hoping to find the great sewing machine minds for some help. I have a used Juki 1341 and the hook is hitting the feed dog and needle. It seems like there is not enough space for it to turn and pass the needle. Is there an adjustment to slide the hook assembly? The main issue I had before this was that the thread was binding on the notch as it passes to form the knot. The thread would snag there, clunk and pull up. This made the tension off and knots were not formed. Thread is 207. So far I have gone through the timing sequences and needle bar height. Everything looks good there if it didn’t hit the feed dog or needle. I will get some videos but for now thought I would start with this. Thanks for the help!
-
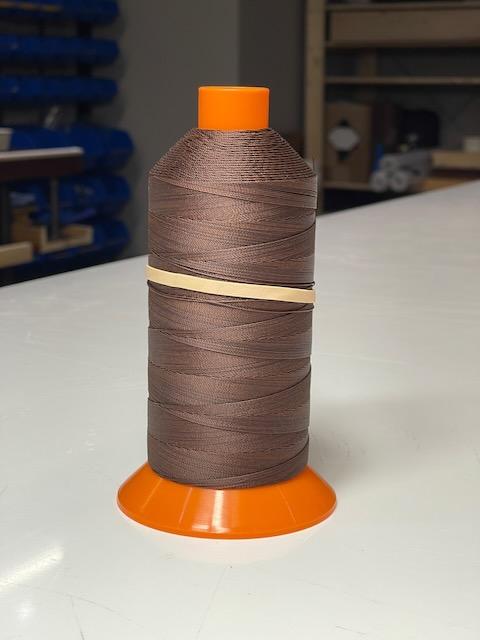
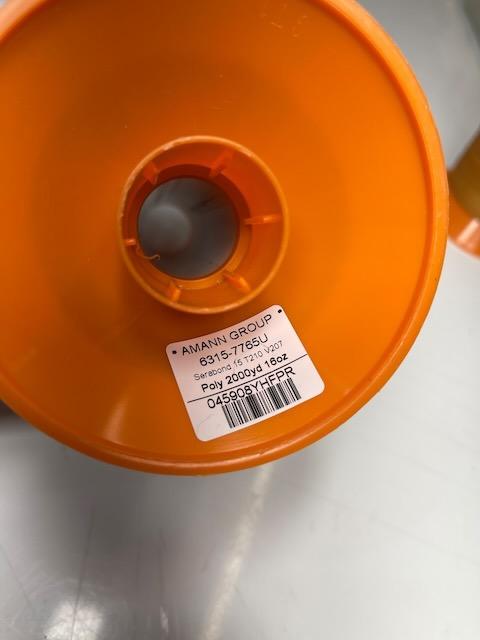
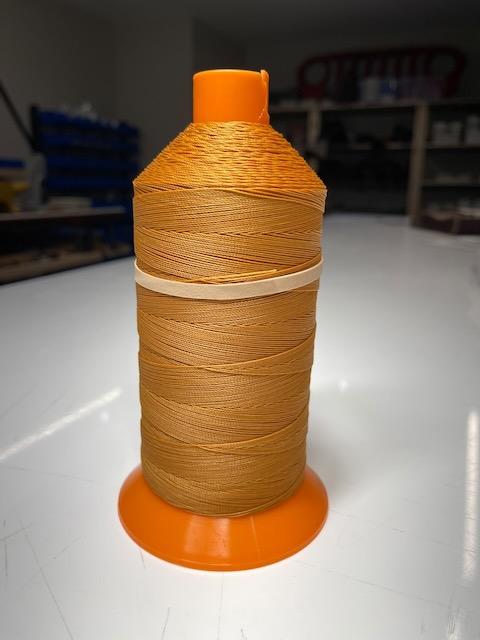
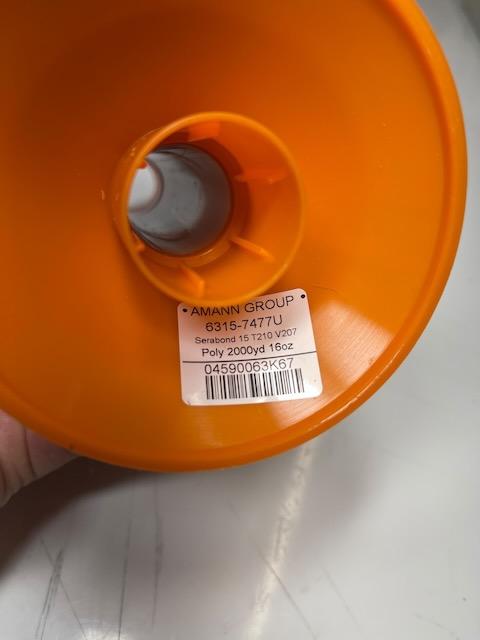
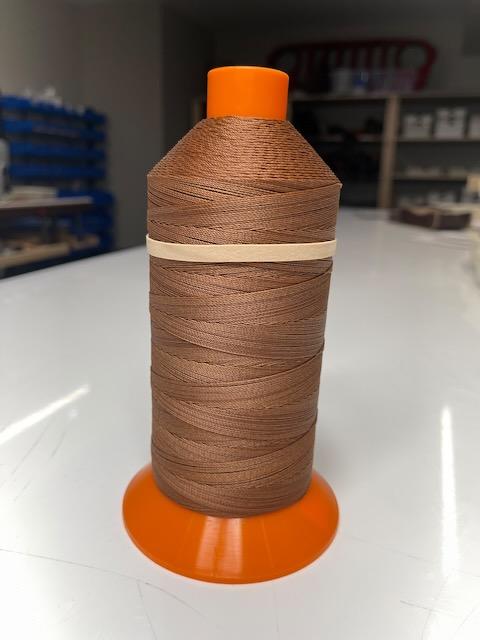
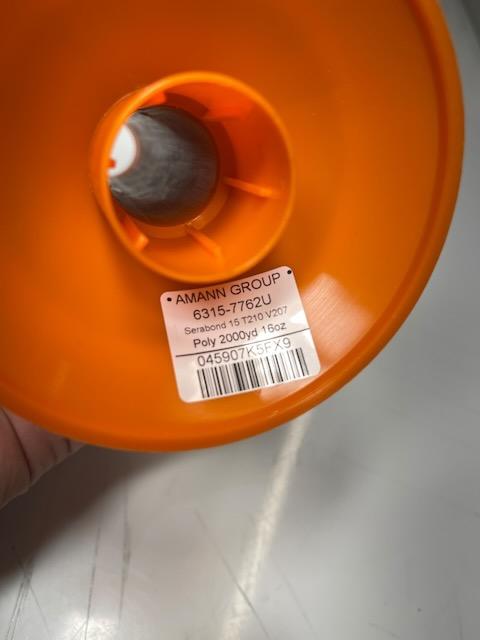
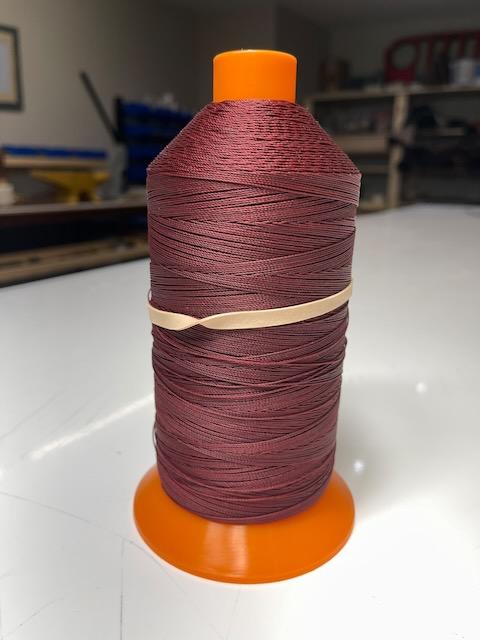
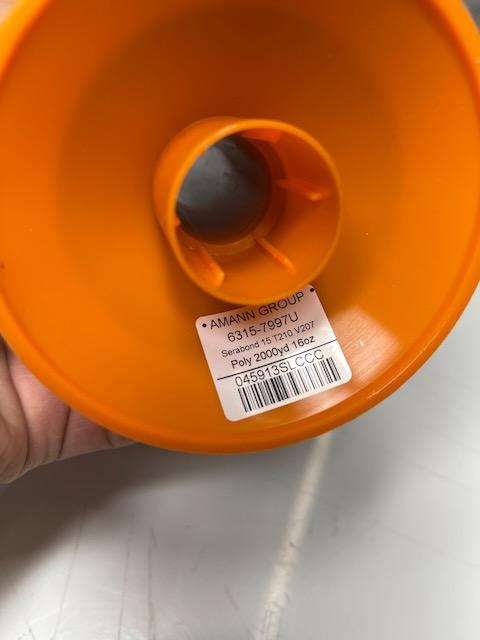
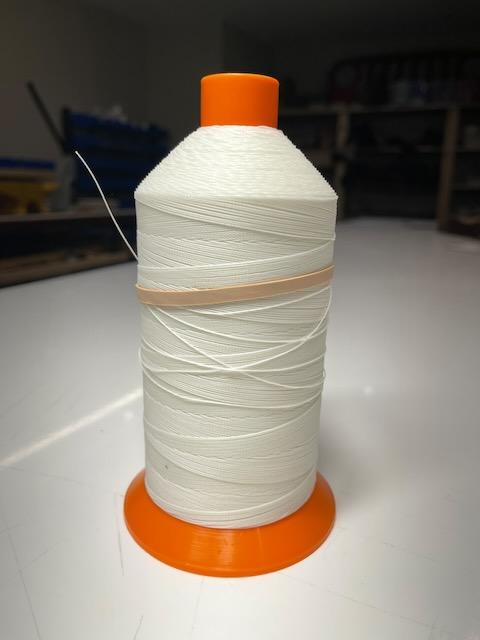
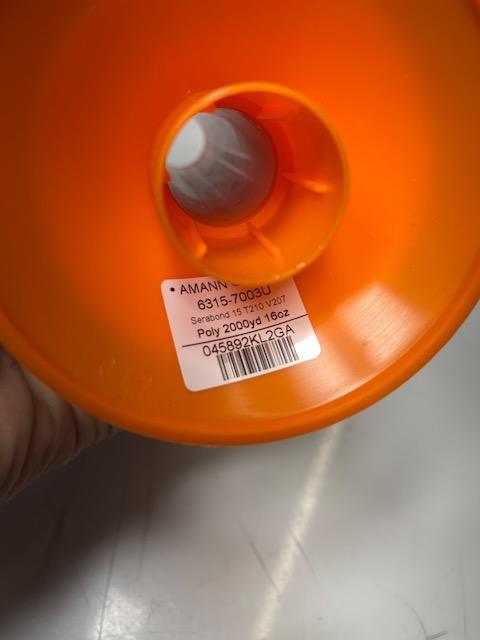
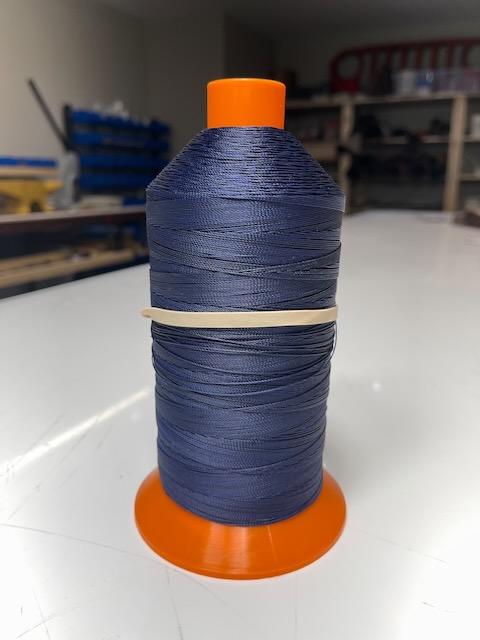
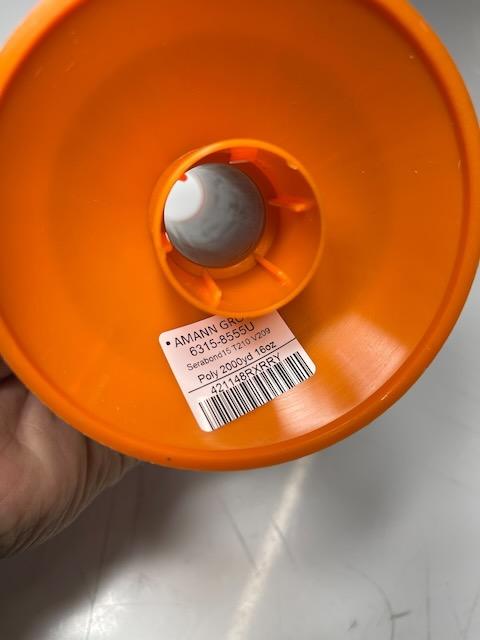
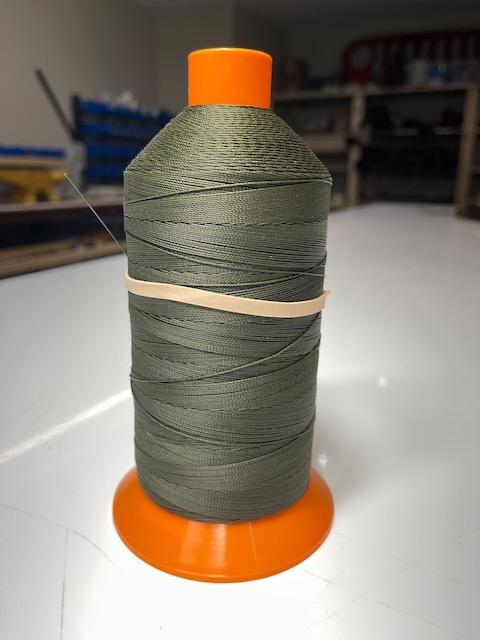
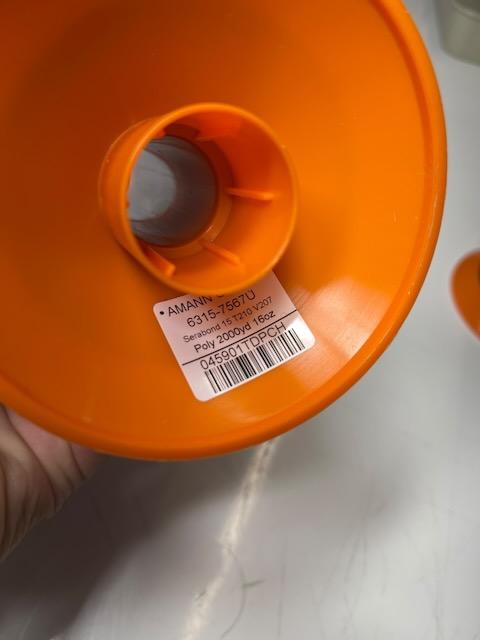
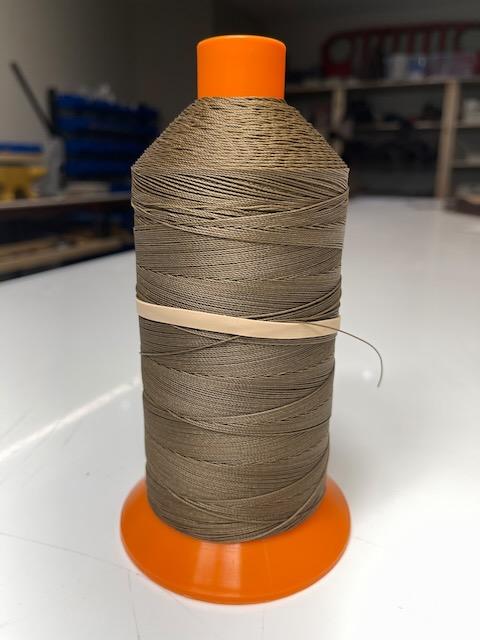
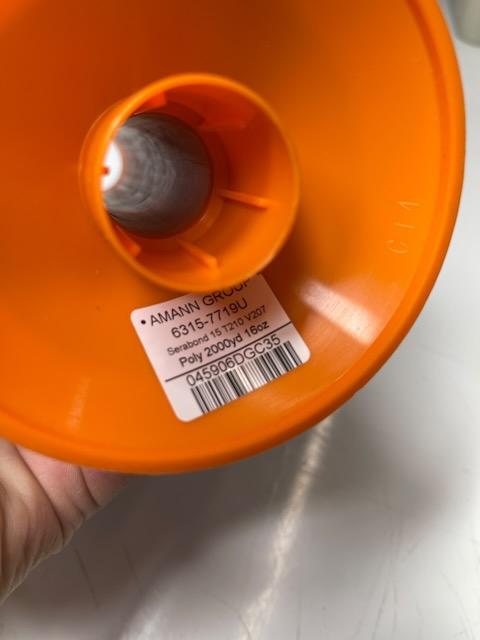
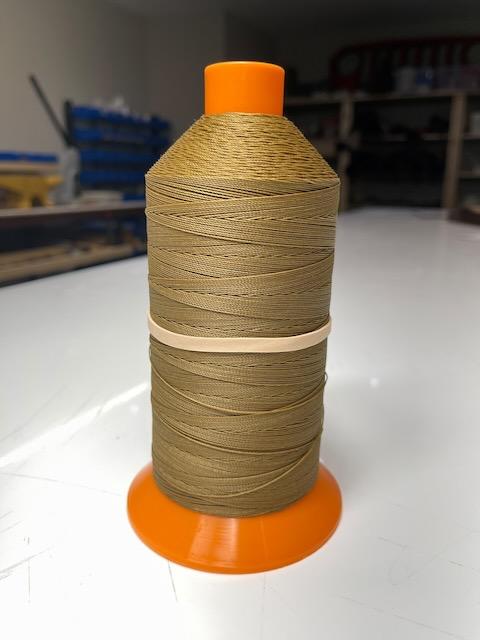
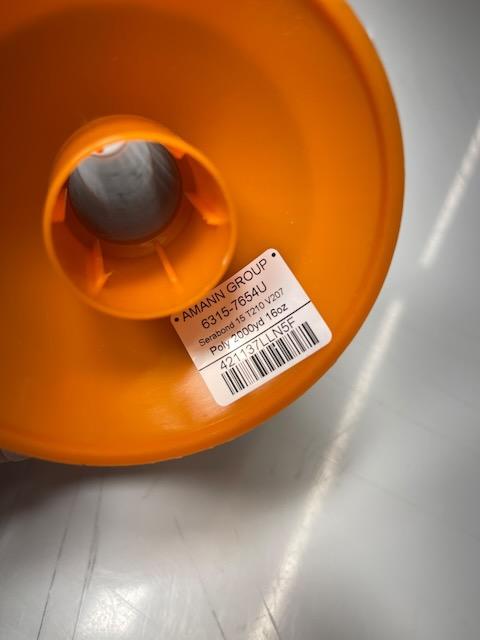
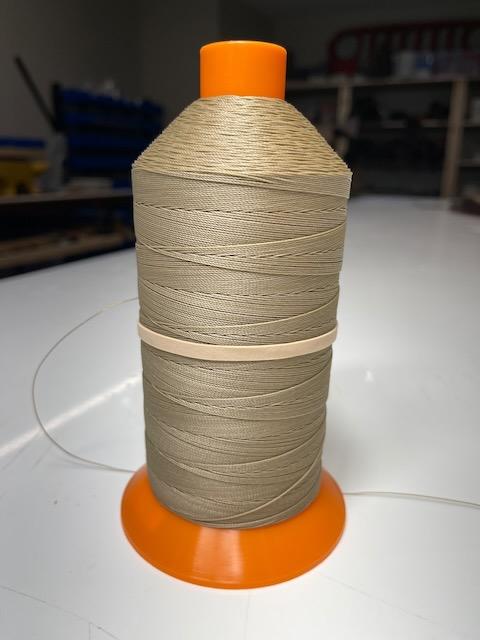
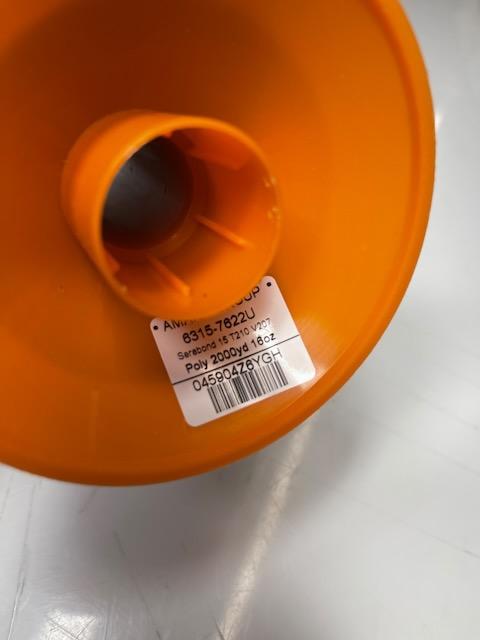
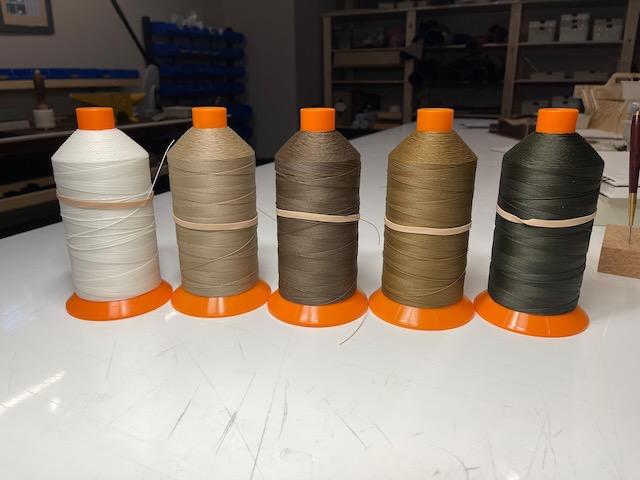
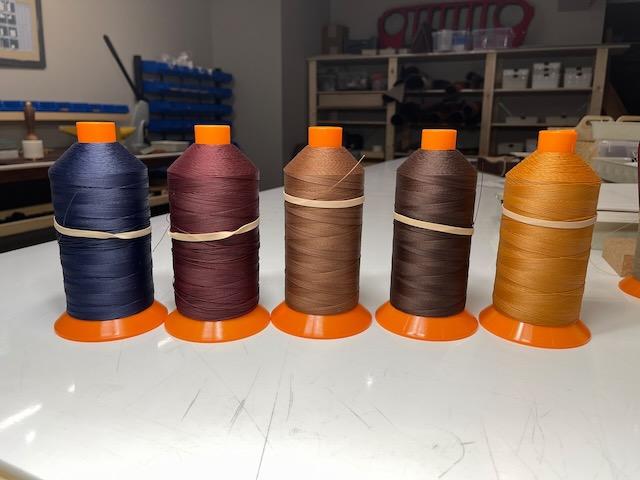
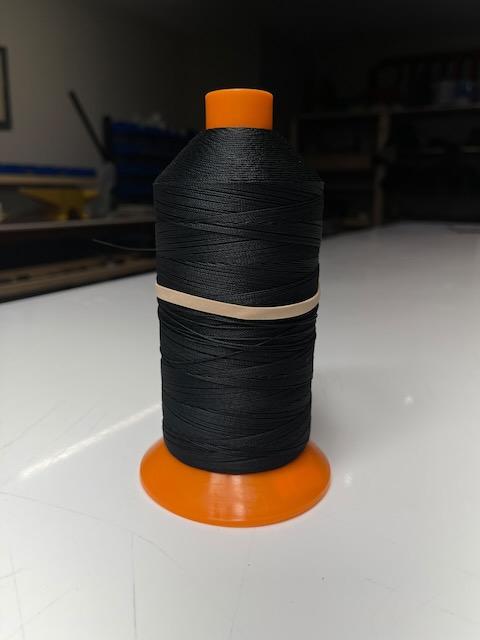
Hello, for sale are various colours of Aaman Serabond Sewing Machine thread. Great for leather work or other types of sewing that require a strong thread with UV resistance. All spools have been lightly used, about 3/4 left on them maybe more. Relicate has them for 25US new, selling for 20$ per spool CAD. Buyer can pay shipping. Colour codes are listed in the photo if you want to see the exact colour you can check their site. Size is 210/207. Only selling them because I no longer have the machine I used them for and have moved to a waxed thread. They are located in Ontario Canada so they will ship out of this location. Thanks!
-
Very true and good point to mention and take note of. To be fair the spring I forgot was changed and adjusting the hook spring was only to gain more tension below from a separate issue that fixed it. It still works with this spring but I had too much tension from top and bottom (made the bobbin too tight). A lot of little details gets lost in text typing too. One thing I noticed from the machine is that it is easy to jump around trying to see what happened that like you say easy to forget what was changed. Leather craft is full of lessons learnt.. too many haha
-
Hi everyone, I have a good update that is hopefully the cause of my issues. Techsew here in Canada was super great in helping me. As have all of you here in this thread. I made a custom spring for the stirrup plate and left it in thinking I was doing myself a favour with softer chrome leather to not have the foot tension so tight. So I put back the lower compression spring that I got from techsew and added some tension to keep the material in place better. We also adjusted the center foot to walk better. Timing from my side of doing it was good. Next thing we worked on was my tension on top and bottom. Since I was having bottom tension issues a few weeks back I bent the hook spring a bit to give more latitude on top. Well seems my top tension knobs were way too tight and that made the bottom tighter too. This caused the thread to be too tight when the knot was formed pushing the material forward. Mixed with not enough foot pressure and we have what the video shows. I will also try sanding very lightly away the paint in the machine as Brian mentioned to have everything sit better and maybe give me some room with the hook and needle. But timing here helped too. I hope this information can help someone else in the future that might run into similar issues with this 441 type of machine. I really thank the problem solving of the tech at Techsew and thank you all for your input here too. It is much appreciated. The only benefit from having issues with your machine is that you know so much about it haha. At least I learned a lot from my mistakes. Happy sewing!!
-
Good idea Ok here it is. 0 feed movement with the shuttle in place. From what I think the needle is late coming to the feed. I re-timed and to my low experience it seems ok. It does sew well and reverse stitches are consistent and in each hole. But the feed timing seems off to me. But have a look at this video. Longer stitch moves the material back as the feed moves and needle is up. It kind of looks like the feed pushes the thread forward but I don't know..I don't have the experience to know what I am looking for. This is the narrow feed and plate on there. Good idea about the paint. my race does install tightly. I will check behind the shim. Uwe thanks for your shuttle video nice info in there. I am chatting with the place I got my machine currently so I will see what they suggest as well from the videos. Thanks all!
-
Thank you all for the suggestions! I’m going to digest them tonight and see if I have some time to adjust. I see that shim now very interesting. I love learning about the machine I just wish there was a manual that explained all of what each component actually does. This would make troubleshooting so much easier. I just don’t know what to adjust. I had some good results with re-timing the 3/16” bdc way to the hook so which put the hook by the scarf instead of the tip after a kind phone call. My only issue so far is that the needle does not meet the feed dog and centre foot all at the same time. Do all three meet above the feed all at the same time? Is there a way to adjust the needle bar rotation to match the feed dog? It seems like once you adjust one the other goes out so there maybe is a way that I don’t know. I’ll share a video once it’s all times to show where I’m at. Appreciate the help here!
-
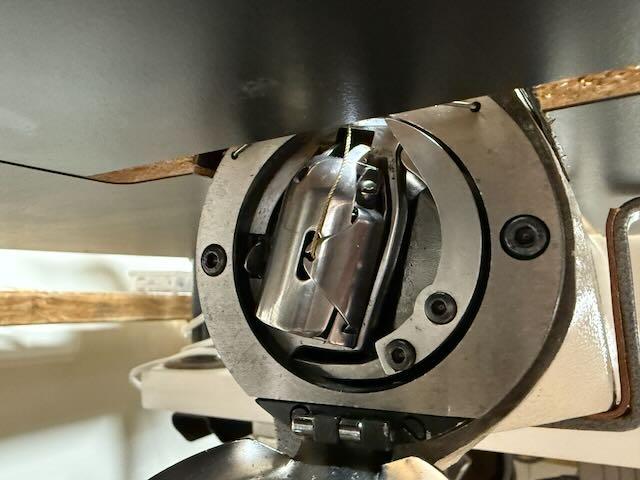
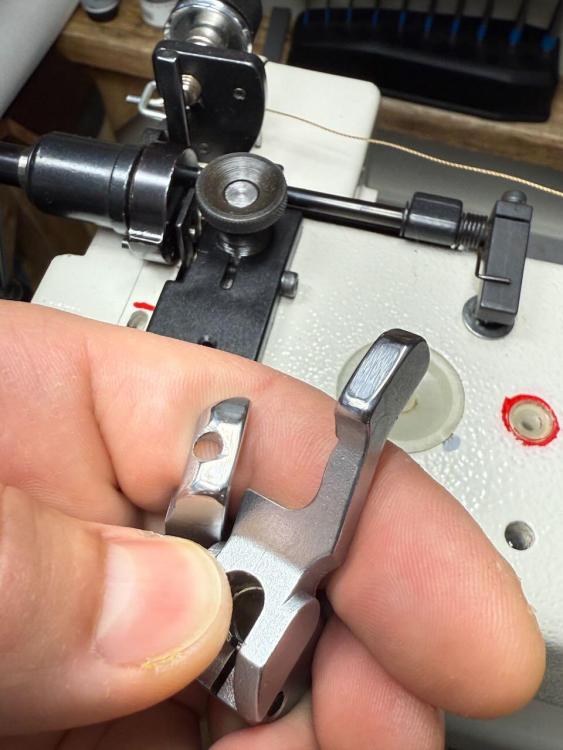
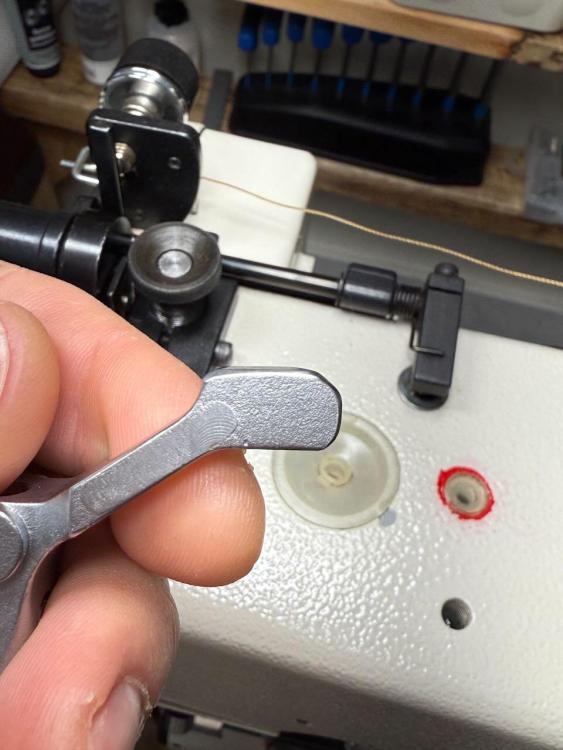
Hello, I hoping there might be some experienced sewers here that can have a look and help me out with my machine. It is a 441 clone and I have noticed the needle is being hit/pushed to the left side but the hook. It is not the deflector. I have tried and tried to re-time based on UWE's video and Al Bane's videos. Both of their methods seem like different results so I am not sure if it is my machine or what. I was close to fixing the issue a bit but using Al's methods with 3/16 from bottom dead center to adjust the hook to the needle. And by having the needle bar height adjusted with bottom center and eye of the needle above the deflector bottom. This puts the hook about middle of the scarf. Then if the hook clears on the needle coming down, the needle will brush the shuttle behind the hook indent. Lastly, I noticed with my last re-timing attempt the material would get pushed forward by the tension/knot forming. So as the center foot rises at the end of the stitch to move forward, the thread forming the knot pushes the material forward. Any sort of help or tips you can provide would be great. I am trying to get some help from the place I purchased it from but emails back and forth are proving to take too long and not helpful. Trying to talk to them soon. Thanks! Hook Hitting Needle Shuttle View Hook Hitting Needle
-
Oh interesting. I wonder how round the edges of the plate could get. Not having to fuss with the feed each time would be a big time saver. But that’s a good idea too, I’ll have to make sure my designs fit what I am able to sew first.
- 9 replies
-
- cowboy cb3500
- cowboy cb 4500
-
(and 3 more)
Tagged with:




.thumb.jpeg.2cd0927656e0ce5a873a0e1bed39628e.jpeg)