TomWilson
Members-
Posts
28 -
Joined
-
Last visited
Profile Information
-
Gender
Male
-
Location
Surrey, BC
-
Interests
Jesus Christ, my lovely wife, electronics, AV for church, lighting, woodworking, a nice little Norfolk terrier friend, baking bread and pastries, cooking, meaningful discussions, washing dishes, Bible memorization and meditation….
LW Info
-
Leatherwork Specialty
A beginning student
-
Interested in learning about
Everything
Recent Profile Visitors
The recent visitors block is disabled and is not being shown to other users.
TomWilson's Achievements

Member (2/4)
-
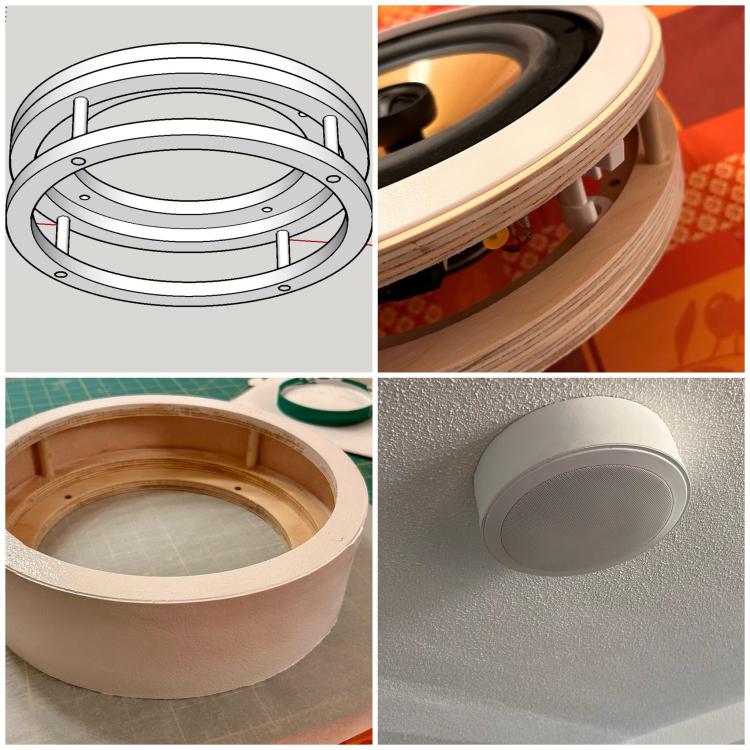
Had to make a speaker enclosure for a ceiling mount speaker that I couldn’t fit between a joist and conduit. So I fabricated this enclosure and we then wrapped it in leather. Sounds great. This is for the foyer in our church.
-
If you purchased a standard sanding belt that fits your machine, could you then machine stitch several layers of felt around the top surface of the belt using a stitch line near each edge? Or, stitch the length of felt layers and use contact cement to adhere it to the sanding belt?
-
Thanks, Bob! Great idea! I’ll do this on my next pony. Thank you, CJJ!
-
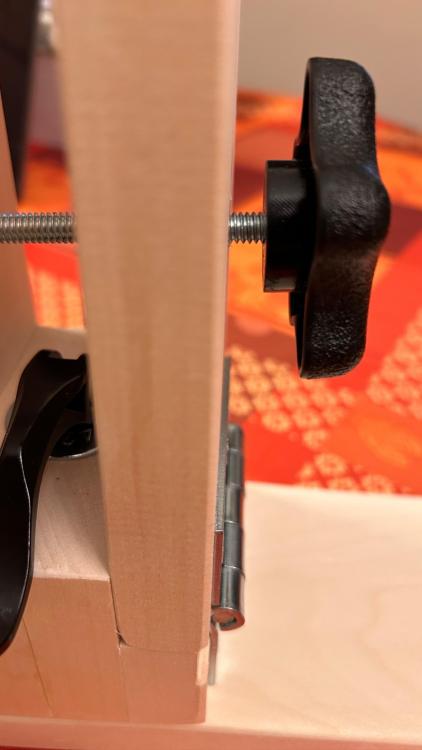
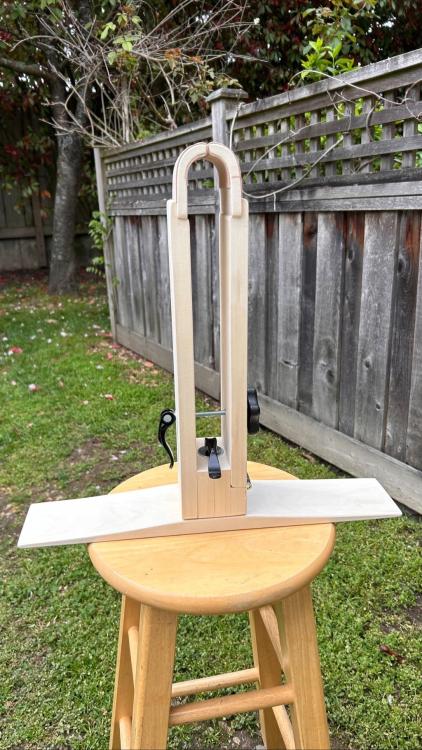
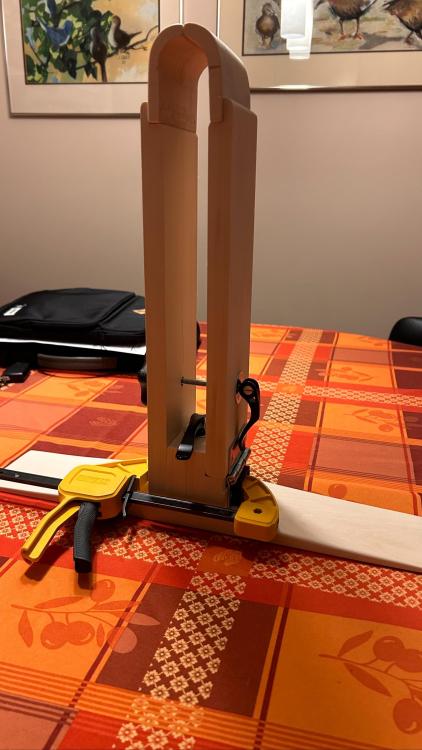
Thank’s Klara! I have the head of the carriage bolt on the outer side of the knob, and when the knobs rotated against the bolt head, the bolt’s long enough to let the jaws open up to a little over 1” wide. I then use cam clamp to tighten the jaws. I used blue thread lock on the other end of the bolt where it goes into the cam lever threaded insert.
-
-
Welcome to the group. I look forward to seeing some of your work. Have you fabricated baseball gloves?
-
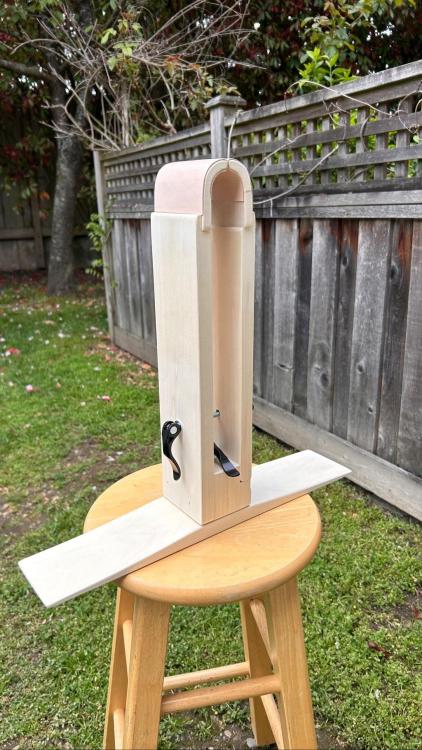
Ah, yes! This has already happened. This stitching pony I found on Etsy very cleverly avoids protrusions that will catch your thread. Looks like it is made by a seasoned wood/leather worker. I think I should have started this topic in the Leather Tools forum.
-
Wonderful craftsmanship! What are some of the challenges you experienced? Will you used it on the soccer pitch?
-
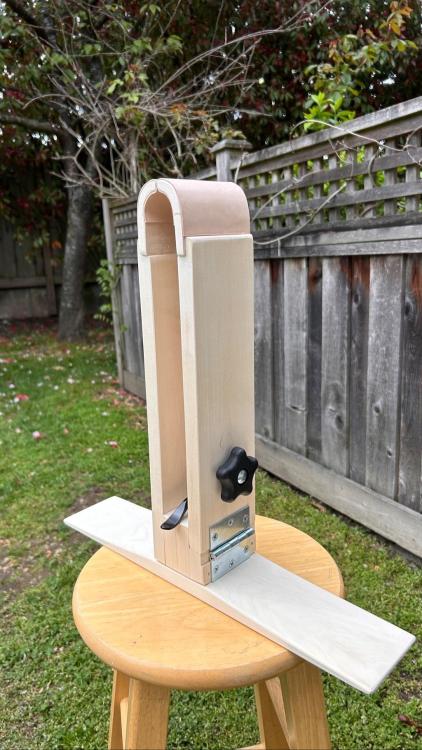
I've been reflecting on the design of stitching ponies and what an ideal design might entail. While searching for "leather stitching pony" on Google, I noticed that most have large, substantial jaws, some with a surface area measuring 4" x 4" or more. I also came across a model with a bench vice-like handle to tighten the clamp on the leather being stitched. These observations have led me to question my own design, where the clamp jaws are rounded like fingertips and offer a much smaller surface area to hold the pieces you're stitching. My design is inspired by the sleek, minimalistic style of this Saddler's Clam and is intended to allow maximum distance between the jaws and the center bolt for stitching larger designs. However, I'm wondering if this is the right approach. Additionally, I'm curious about the amount of clamping pressure needed to securely hold leather pieces for stitching. Is it necessary to use substantial jaws that apply significant pressure, as seen in most designs? This exploration is quite new to me since I've only made two wallets and a messenger bag so far. What are your thoughts on the ideal stitching pony, considering there may not be one perfect design for all types of leather crafting? On a personal note, I enjoy my retirement as it gives me the freedom to devote time to family, community, and projects like this. My background in woodworking has been helpful, and now I have the opportunity to engage in more precise work and experiment with my ideas.
-
Thank you, Marshal. Thanks, Chuck. Thank you, dikman. I like your idea of adding a compression spring on the center bolt between the vertical clamp arms. I'll add a spring to my pony! Here's a link to Home Depot's selection of compression springs. Hi Doc, Search for cam clamping levers on Google to explore multiple suppliers. I bought mine from Lee Valley Hardware near Vancouver, BC. The knob that fits the 1/4"-20 carriage bolt is available at Home Depot (with link to their knobs). For the clamping mechanism, I used a 6" carriage bolt, which I trimmed to the needed length. The bolt's rounded end should be positioned at the knob side of the pony. Typically, the knob is adjusted on the carriage bolt so that the rounded end protrudes slightly from the back of the knob, but not so much that it could snag your thread. To adjust the clamp for the leatherwork I am stitching, I begin with the cam clamp in the closed position. I then rotate the knob clockwise or counterclockwise to open or close the jaws of the pony, allowing me to insert the leather. After placing the leather pieces, I tighten the knob to secure them. To reposition the leather for more stitching, I use the cam clamp to open the jaws by about 1/4", move the leather as needed, and then close the cam clamp again. I plan to buy some blue Loctite thread locker to secure the bolt end that threads into the cam lock, preventing it from moving too far into the cam lock thread, which would limit the lever's movement.
-
The pony’s all done! Time to stitch! For versatility, I think I’ll make a second base with the mounting hole near one end rather than the center. If anyone is interested in the source file, message me, I think there’s a free SketchUp viewer you can download. All the pieces can be cut from a 1”x4”x8’ length of wood.
-
Beautifully crafted. I didn’t know you could buy 3/8” D2 drill rod until now. I imagine, with the proper training and skill, one could make all manner of leather cutting tools with this.
-
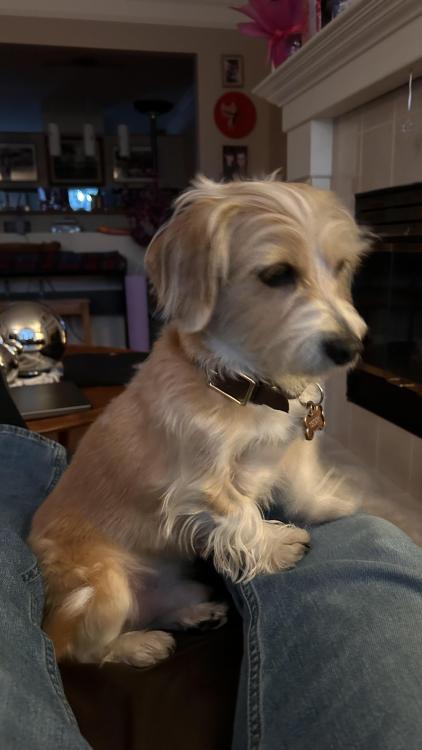
Beautiful collars. Are they for your pups? We got into leather working after adopting a Norfolk Terrier from freekoreandogs.org last year. We live about two miles from a Tandy Leather store, so we bought what we needed to make some collars for our Teddy. We’ve been back dozens of time now, and have great joy in working at the dining room table in the evenings. Teddy sits on a chair in between us.
-
I have to sand a bit to smooth edges, make a few adjustments, and then connect (glue and nail gun some 16ga finishing nails) the two outer boards to the inner swivel block. Then cover the clamps with veg tan. Between the cam clamp mechanism and the knob, I can easily work with anything up to about two inches thick. I can open wider if I replace the carriage bolt with a longer one.
-
Very nice work! Should provide many years of service to your friend.


