Search the Community
Showing results for tags 'cricut'.
Found 5 results
-
Hello! I've been researching all the leather cutting options for a while now. So I am new at leathercrafting but I would like to find a way to make perfect cuts so I could make good products. I have very little space - 1.5x1.5 sq.m. and I need a little machine for that purpose. The options I researched are as follows: Laser To use a laser for cutting skin, it is necessary that the laser has a power of at least 10 watts. Mandatory should be added air assist to get less skin burns, encloser, as well as perfect ventilation. My space is easy open air area and I would not have problem with ventilating. Lasers that would work for me are the following: Wainlux K8 - That would be the best option due to size and portability. The big downside is the working area /130x130 mm maximum/; Longer Ray5 10 W - may the best option for me. Ortur LM3 Laser Ortur LM3 LE Laser Engraving & Cutting Machine Atomstack X12 Pro Atomstack P9 M50 xTool M1 10W - best quality. May be the first laser and also with blade for cutting. CNC with drag knife - looks good but very big and loudly. Not compatible for me. Cricut Maker 3 & Cameo 5 - both look amazing. They can cut leather but I don`t know. i would like to know your opinion about that those two. Sizzix - I find on amazon "superdant" store. There cutting dies for leather which work with sizzix - 1/2/3/4 . But that`s it. I don`t know if they can make it custom patterns and I have doubts for the quality. Clicker press - I think that would be the best option for me to buy low cost clicker press. I was looking that ones by vevor: 1/2/3 . I have problem with their weight - around 30-40 kg. I was looking for a smaller by zonesun like that ones: 1/2/3 - but I would by a machine for 120-200 $ and pay 200 $ shipping .... Arbor press - looks good for 50-100 $ I could buy an arbor press 1 or 2 tons. But than I have to order a base and the only good option I found is that one - link . The cost is 120 $ without taxes and shipping so no thanks. I would like to start with wallets and small stuff - no bigger than a medium bag. I try to cut by hand but the finish is not good enough for me. I don`t like it and got frustrated. I'm already seriously confused about which path to choose to start with. I ask for your opinion.
-
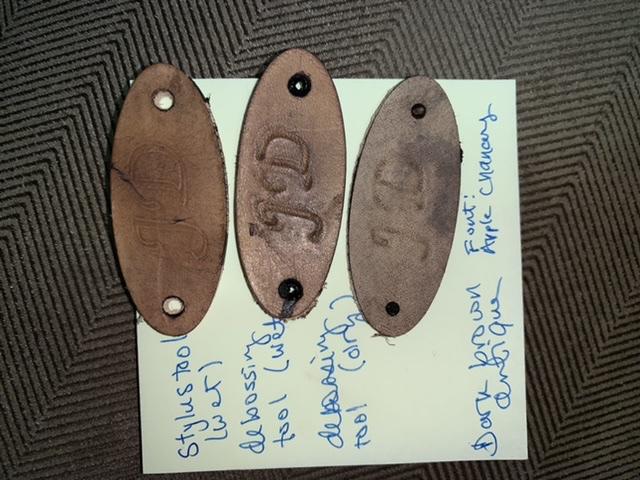
First off, read my earlier review which includes info and tips on cutting and saving your mat. Tests done: New Engraving tool on quick swap housing, wet (line type: engrave) Old scoring stylus tool, wet (line type: draw) New Debossing tool, wet (line type: deboss) New Debossing tool, dry (line type: deboss) Fiebings Dark Brown antique paste was then applied. All tests done with Apple Chancery Font. Results (see photos) The engraving tool did NOT disappoint. If I’d beveled this before applying antique I think it would look even better. I prefer this over the other options previously reviewed. I’ve attached all the photos, but you can read my remarks on my earlier review. The photo with no label is the one done with the engraving tool.
-
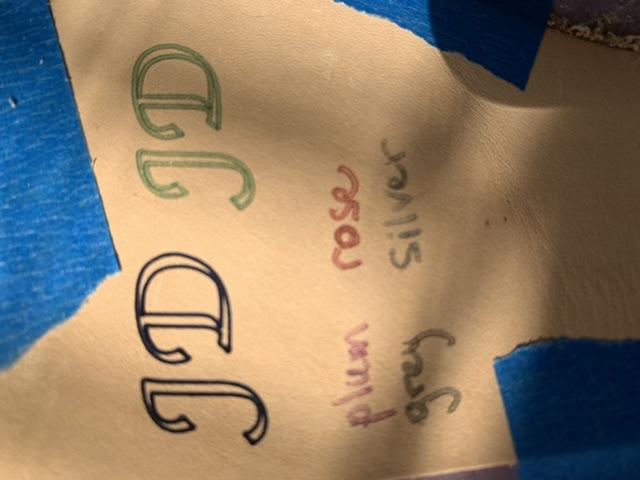
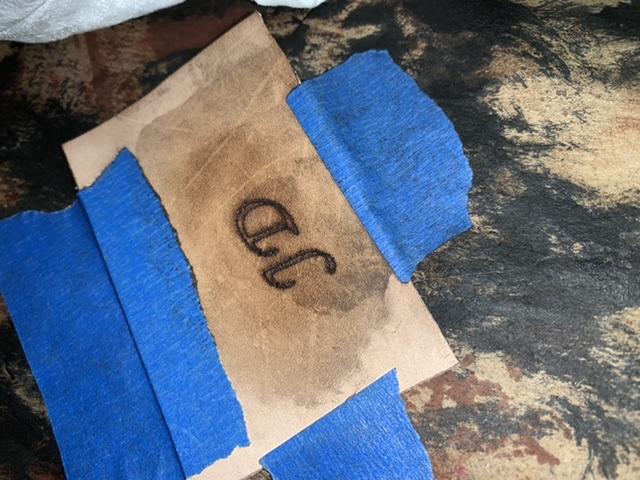
 Working on a project for my kid’s school. Just got in the new Cricut debossing tool and decided to test it out. Cutting First off, all the cuts were made on the maker on the leather setting appropriate to the weight of the scrap used. I’ve had NO TROUBLE cutting leather up to 5oz. It will cut a hole small enough for rivets. Tip- put transfer tape on the back of your leather before applying to strong grip mat to keep the fuzzies off your mat and avoid compromising the stickiness of your mat. Use a piece small enough not to go under the black roller wheels as it CAN get stuck and bunch up. use masking tape around the edges and remember to move the white star wheels all the way to the right so they don’t damage your leather. Tests done: Old scoring stylus tool, wet (line type: draw) New Debossing tool, wet (line type: deboss) New Debossing tool, dry (line type: deboss) Fiebings Dark Brown antique paste was then applied. I also tested out Cricut pens on dry leather: 0.4 fine point black as well as 1.0 tip in green (metallic petal) All tests done with Apple Chancery Font. Results (see photos) The old style scoring stylus (pen shaped) gave the cleanest impression but wasn’t very visible. The debossing tool was disappointing in that it was messy looking and you could see the dimple where it had started. I think either of these tools might be fine for a larger piece, especially in the case of the stylus if you were looking for a subtle effect or wanting to subtly mark a pattern for painting or stamping. I think this is where it would really shine. For the project at hand, I’m going with the pens. Caveat: the petal metallics are water based and the black pen’s composition was not on the packaging I had- I have not tested putting finish on them. Also note there are third party adapter for using other pens. I’m curious to see how refillable dye pens or the colored dye pens from Real Leather perform. Hopefully I receive some for Christmas so I can let you all know how it works. Bottom Line I like the Maker, and plan to use it more. I think I’ll import my patterns and use it to cut out patterns, mark alignment and fold lines when I have lots of pieces or small pieces that need precision. I might experiment with using it when I’ve got SO MANY HOLES to do as I tend to use a micro punch 0.5-1mm for my sewing holes (I know, I’m a heretic with joint problems, sue me). The debossing tool is not ready for prime time when in comes to leather though I can see some applications for it. I look forward to trying the forthcoming engraving tool which fits in the same quick change housing. Will it replace the laser cutter in my heart? No. But the Maker was affordable, worked for my many crafts, and doesn’t require me to drive across town to the maker space to use! Additionally, the company has made good on their promise to continue to release new tools for the adaptive tool system they introduced with the Maker.

-
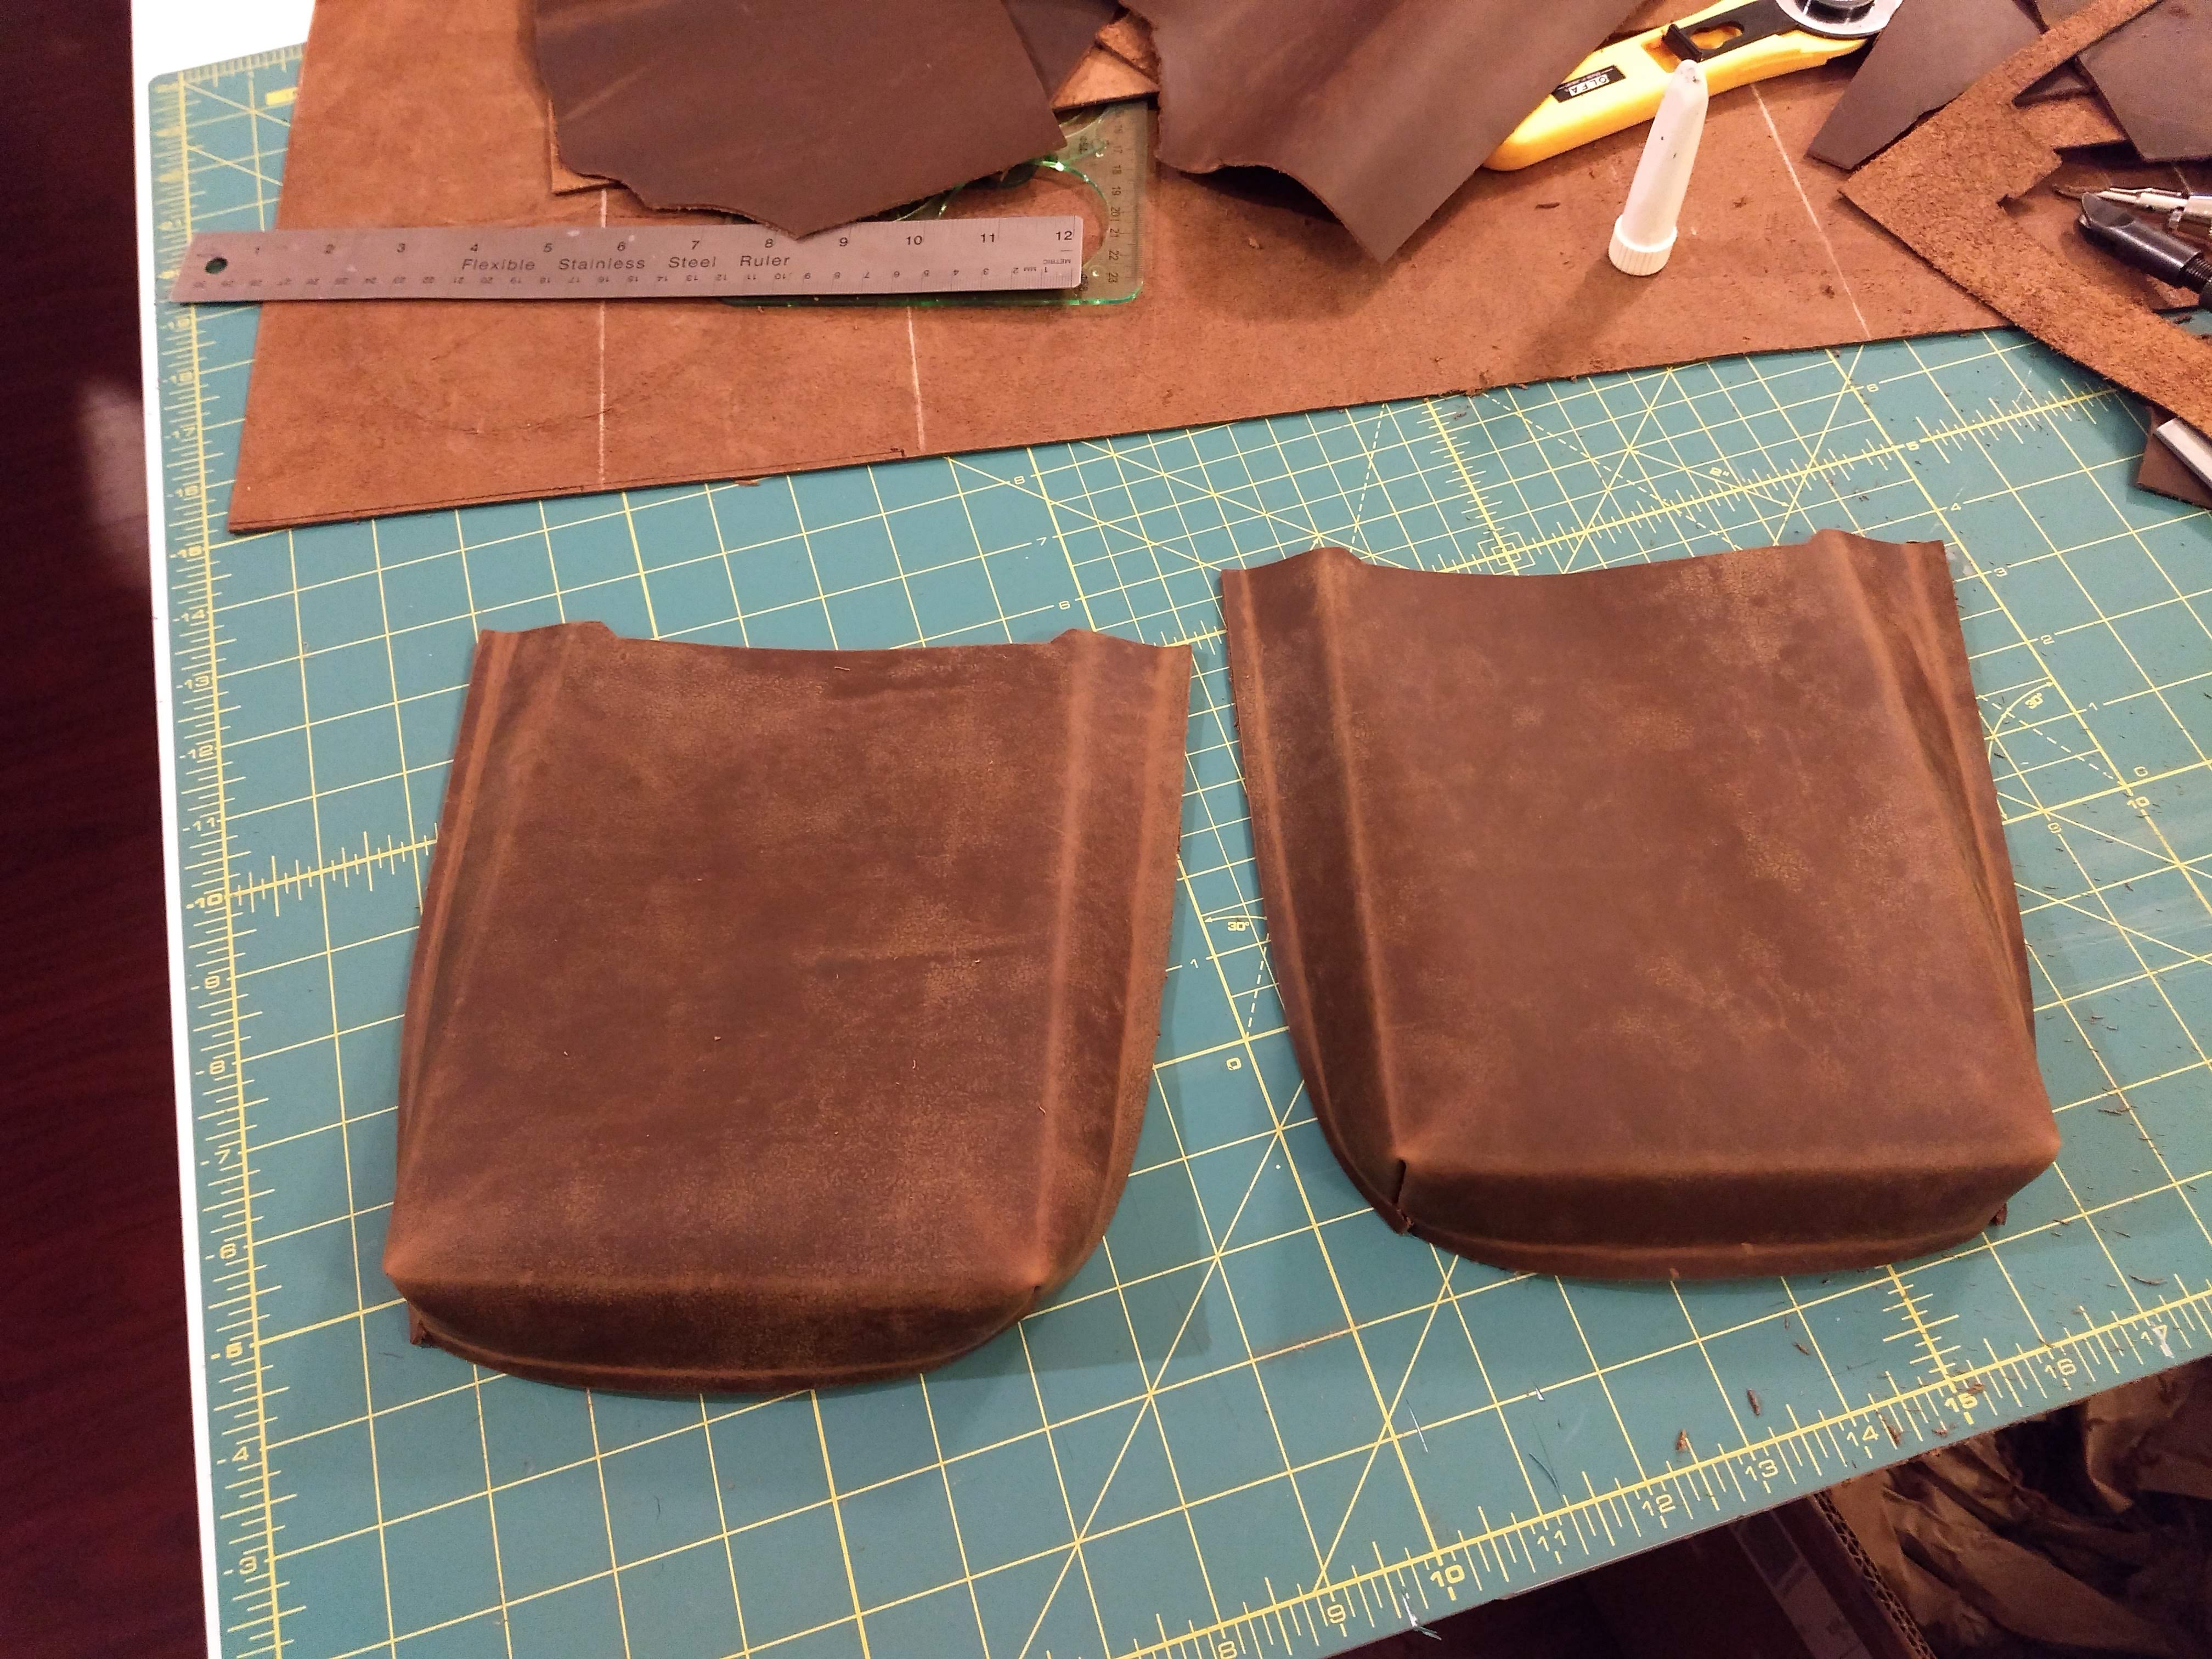
So, I'm working on another messenger bag, this one has two front pockets that are about an inch deep. Instead of using a gusset i borrowed a design from a tandy book and made a printable/cutable template....i used a stoned oil side on my cricut to cut this out, but laser or print, trace and cut should work. The dimensions can be adjusted in inkscape for wider, taller, and deeper pockets...just remember to keep the distance inside the "gouge lines" even. The .svg file is below and the direct link is on pinterest to the cricut project. https://pin.it/nkkrzks5tuuhoc bag-front pocket.svg

-
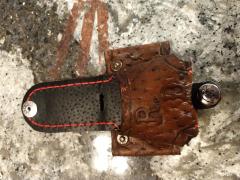
From the album: Blue Falcon Leather
Here is a golf ball and tee holder, I used a template I converted to svg in inkscape to cut out the back and pigskin liner, and to cut the snap and rivet holes with acricut explore air 2. It took a few iterations with the deep cut blade but came out nice on 4/5oz economy veg tan. Here is a link to my YouTube video of the cutter in action... Almost forgot to add I also used the scoring stylus to scribe the stitch lines. This cheap veg doesn't case well it tool easily but with some patience it can turn out decent.