Search the Community
Showing results for tags 'thumb break'.
-
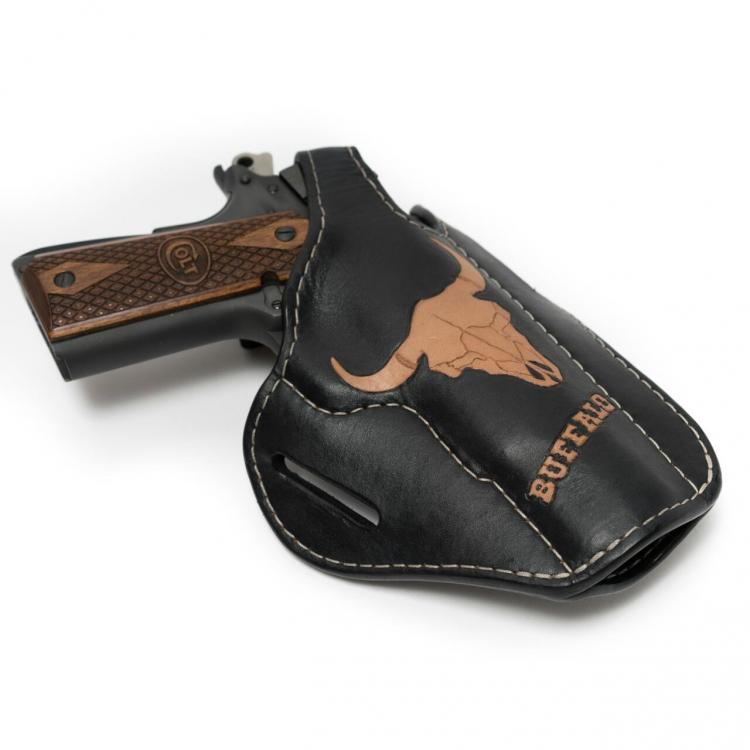
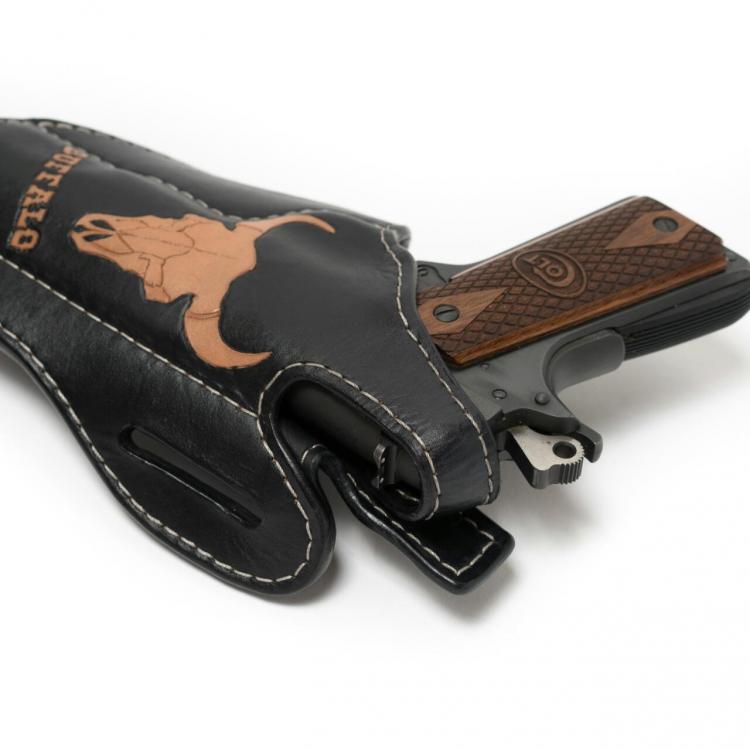
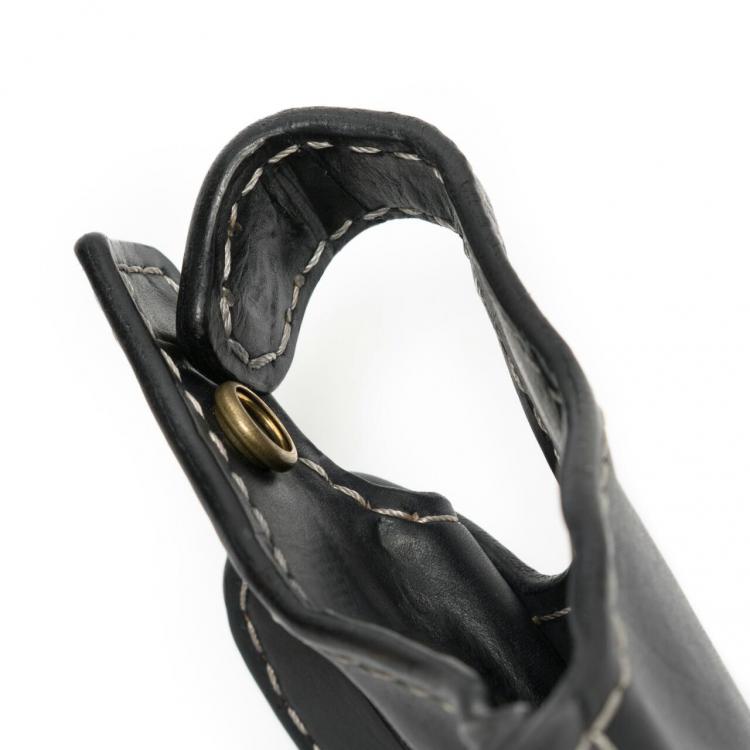
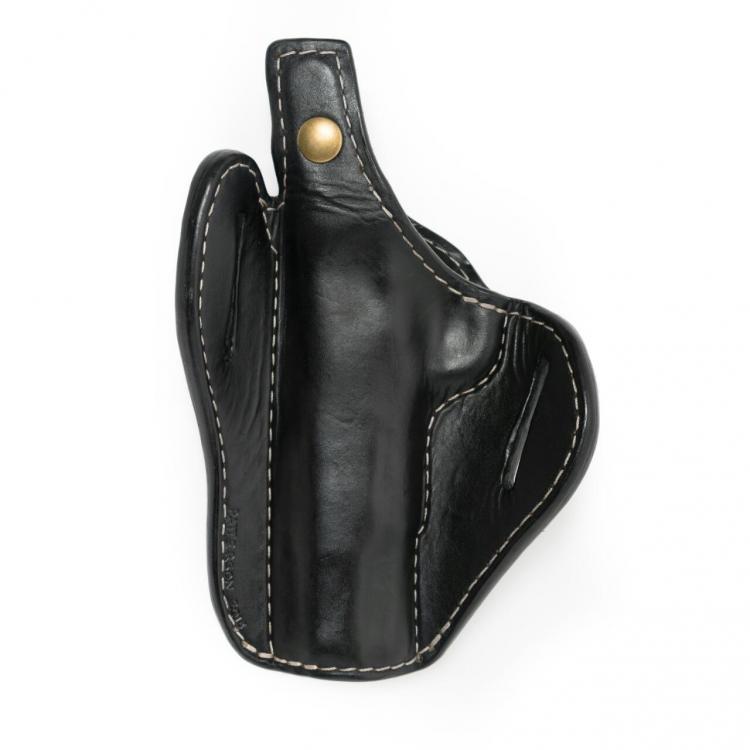
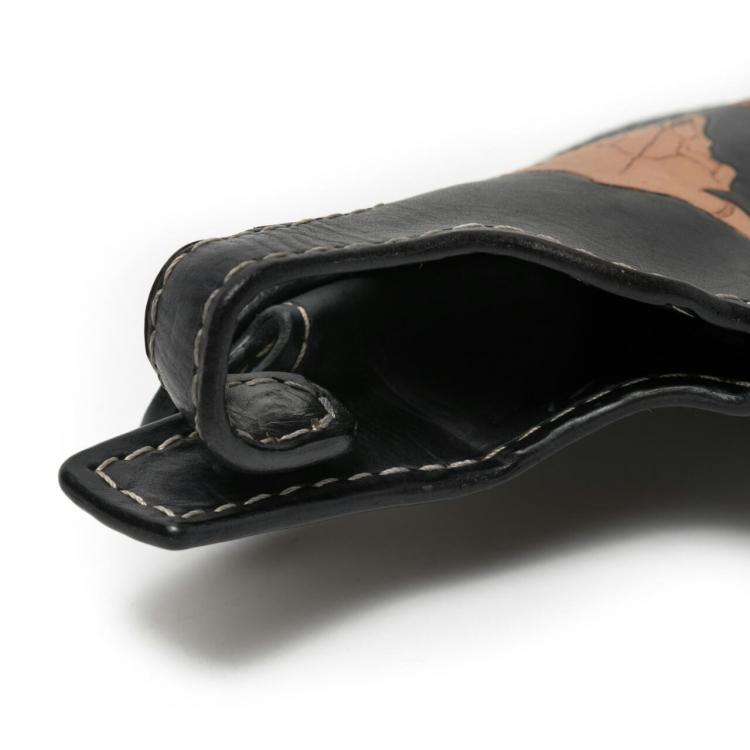
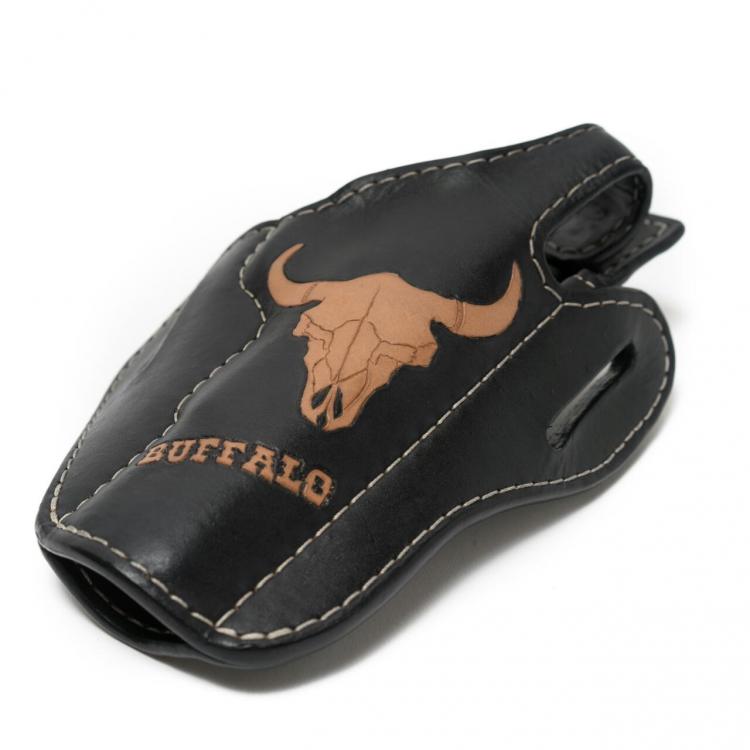
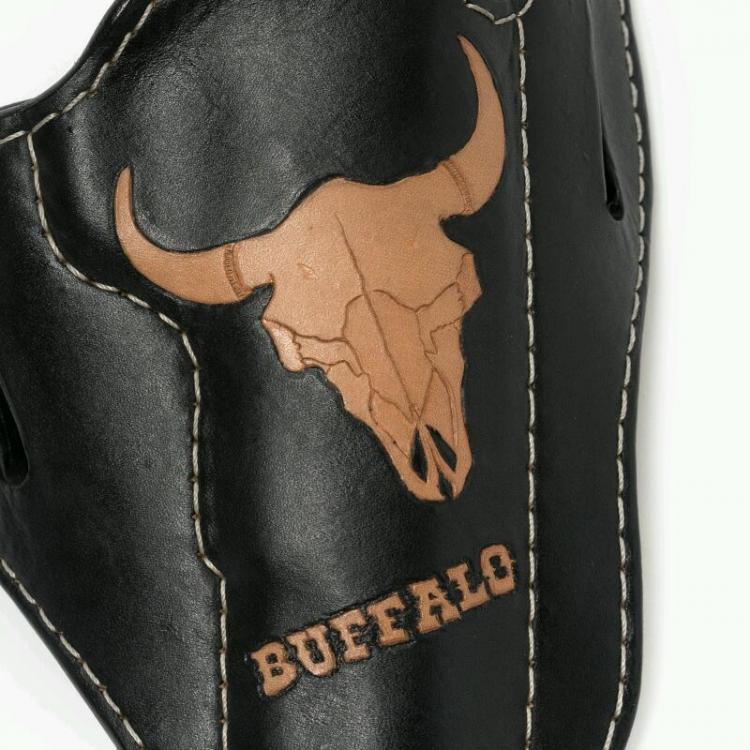
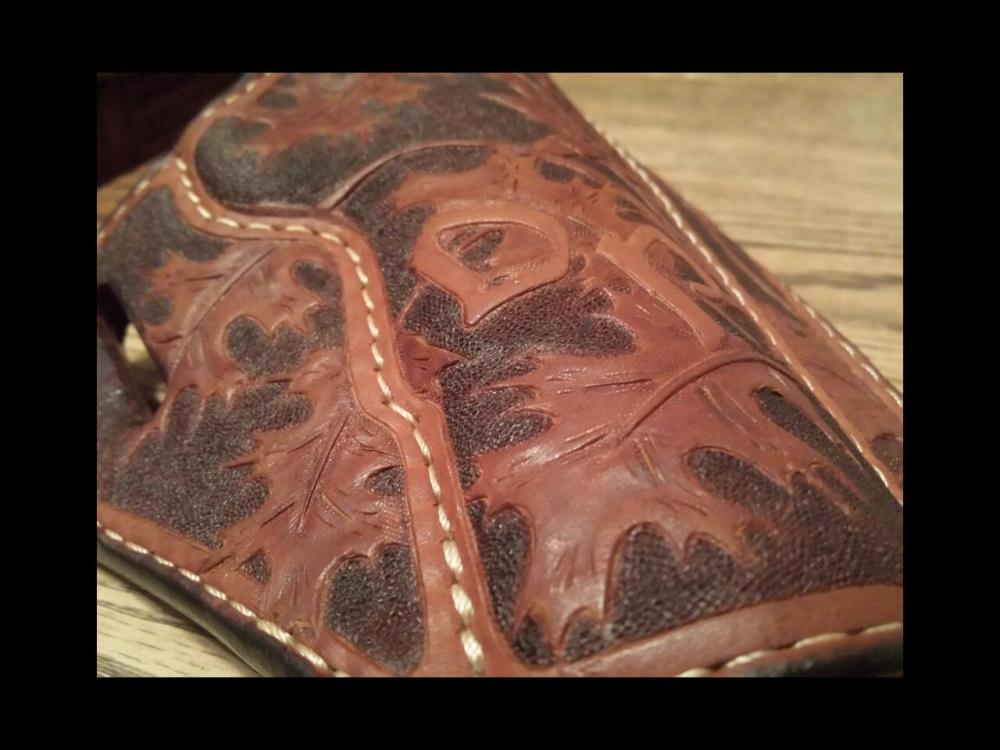
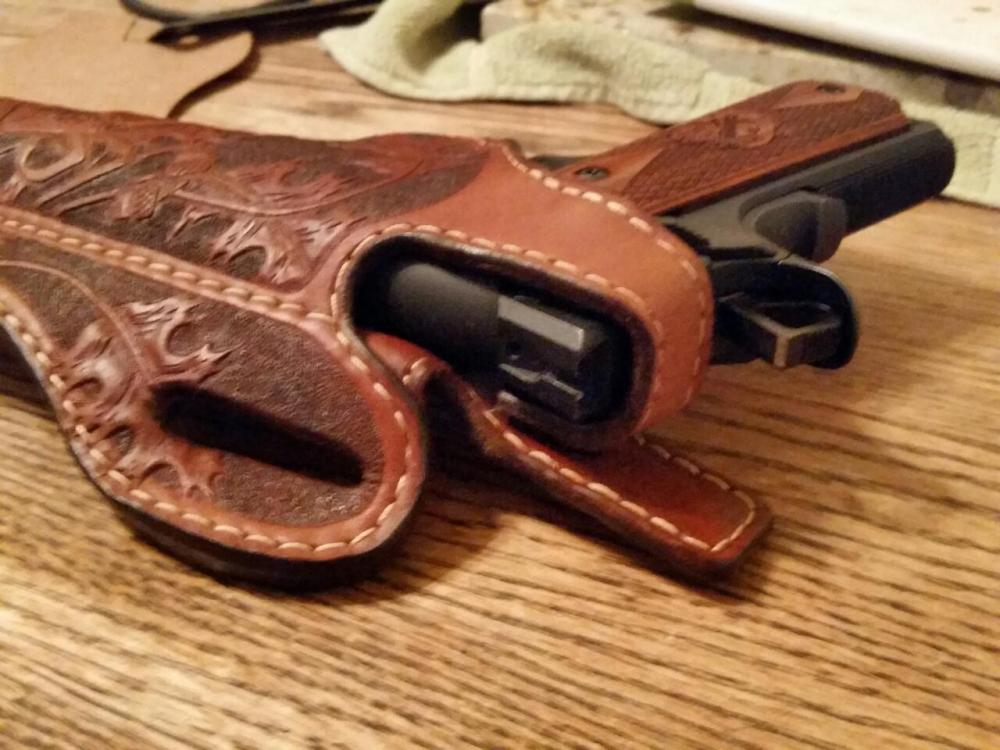
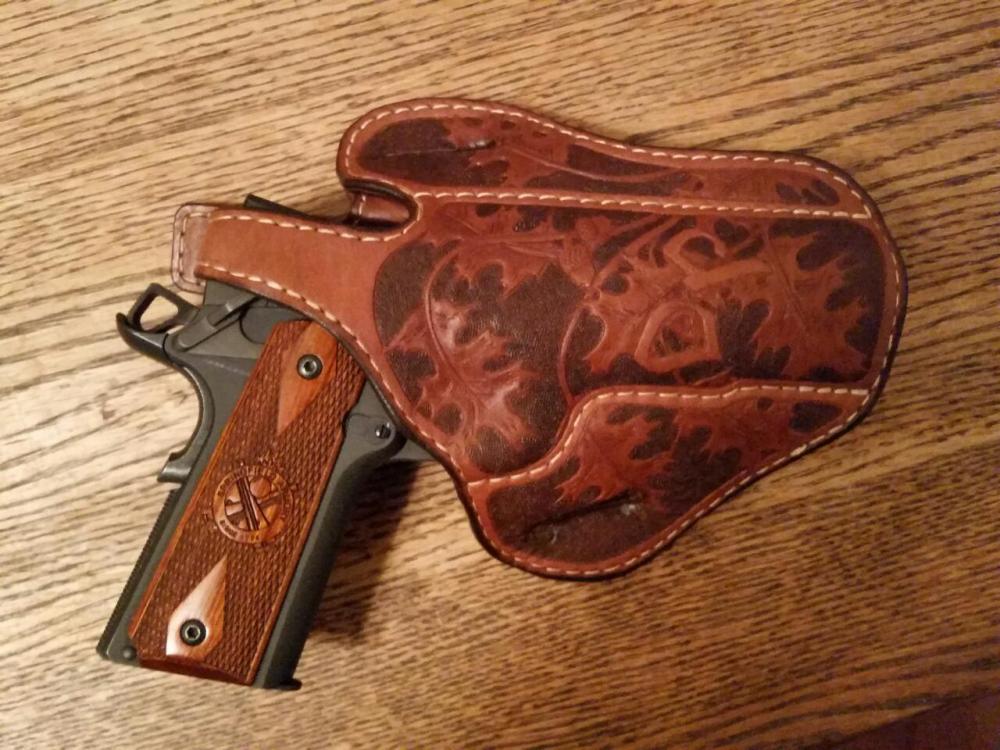
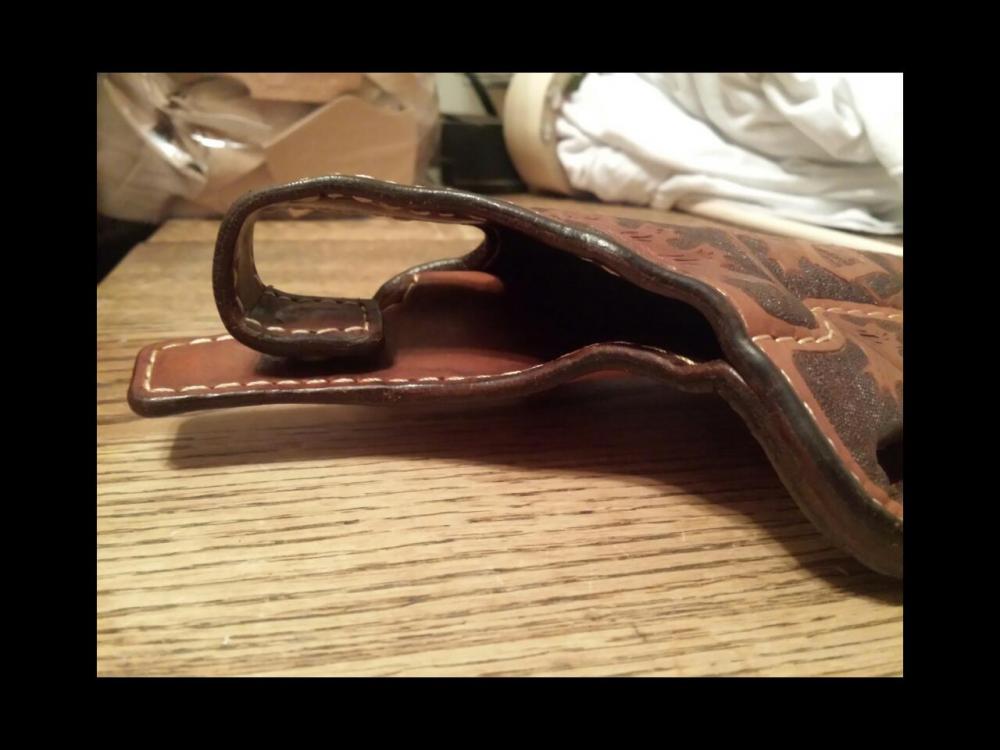
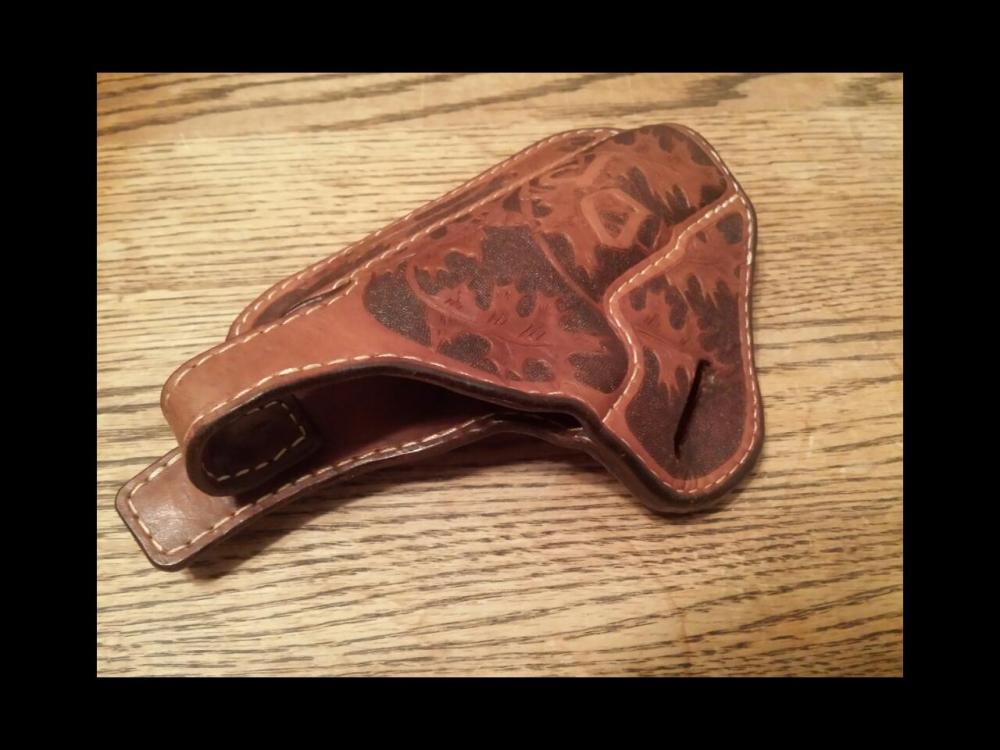
I'm starting to get the hang of this holster thing down, though I definitely have a lot to learn. For instance, those darn wrinkles! Ugh! Anyway, here is my fourth holster. Making holsters was the sole reason I started to learn leather working. I'm totally hooked. This is the first piece I've actually sold. I don't count the one I did for my dad. I consider that family helping family. He asked me how much I would need to get started and make him a holster. Naively, I said $150. Ha! I had no idea. I had a few tools, but nowhere near what I needed to complete the holster I had in mind for him. This was a custom job for a guy I work with on occasion. He wanted something special for his Colt Delta Elite 10mm. This holster is 6-7oz. lined/laminated with 4-5oz. Hand stitched with #207 bonded nylon. Thumb break stiffener is buried between the two layers. The snap is covered by a skived down piece of leather, stitched into the strap. I found a picture of a buffalo skull online, and sketched up my template based on that. I hand carved the letters, didn't have small alphabet stamps and didn't like the fonts available. The filigree knife really came in handy on this one. Dyed with Fiebing's Pro Dye, gently painted around the edges of the skull and letters. Well, as usual, let me have it. The criticism offered by everyone on this site has vastly improved my work, and I welcome every bit. Thanks again for everyone's help and for all of your comments. If you are curious, here is a link to the one for my dad.
- 8 replies
-
- pancake holster
- hand carved letters
- (and 3 more)
-
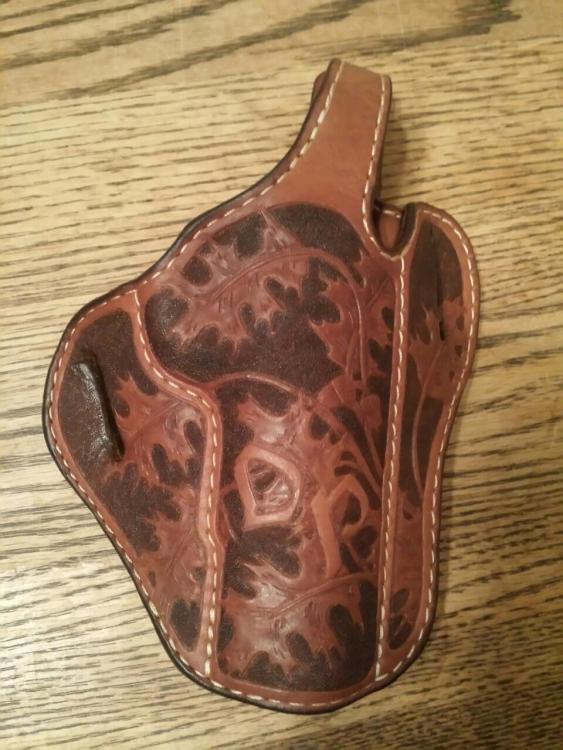
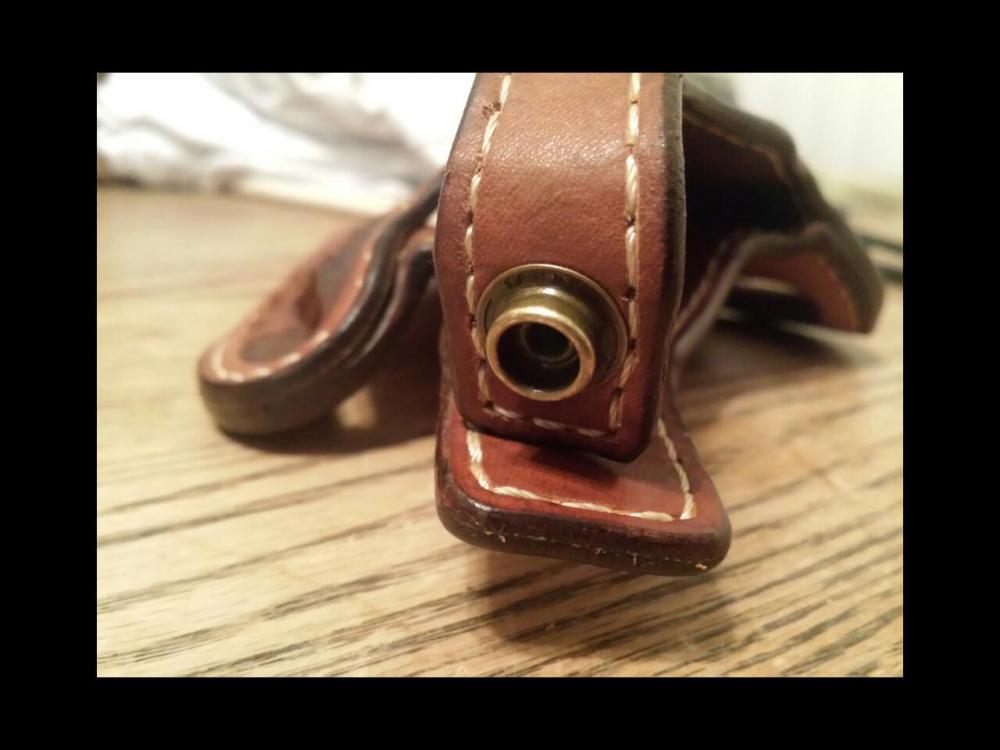
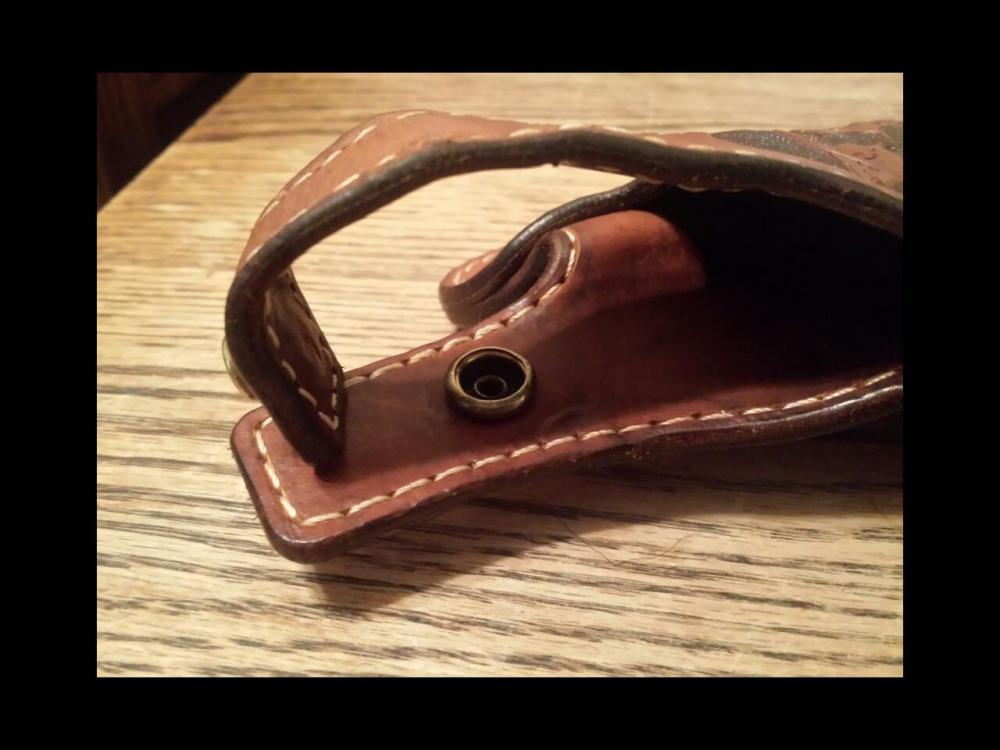
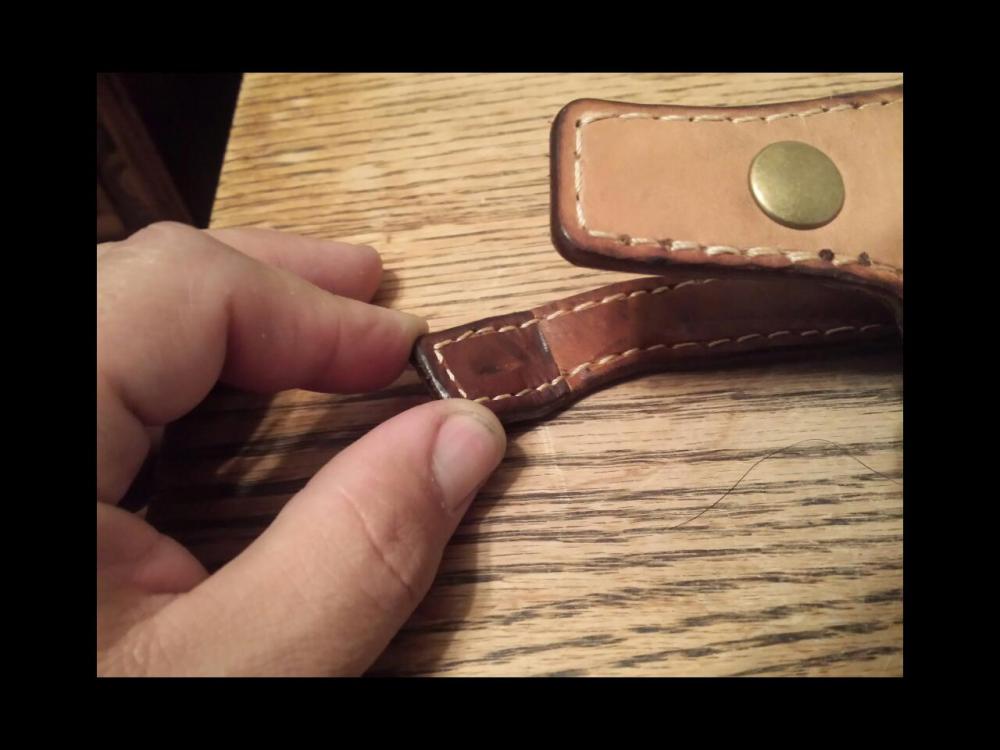
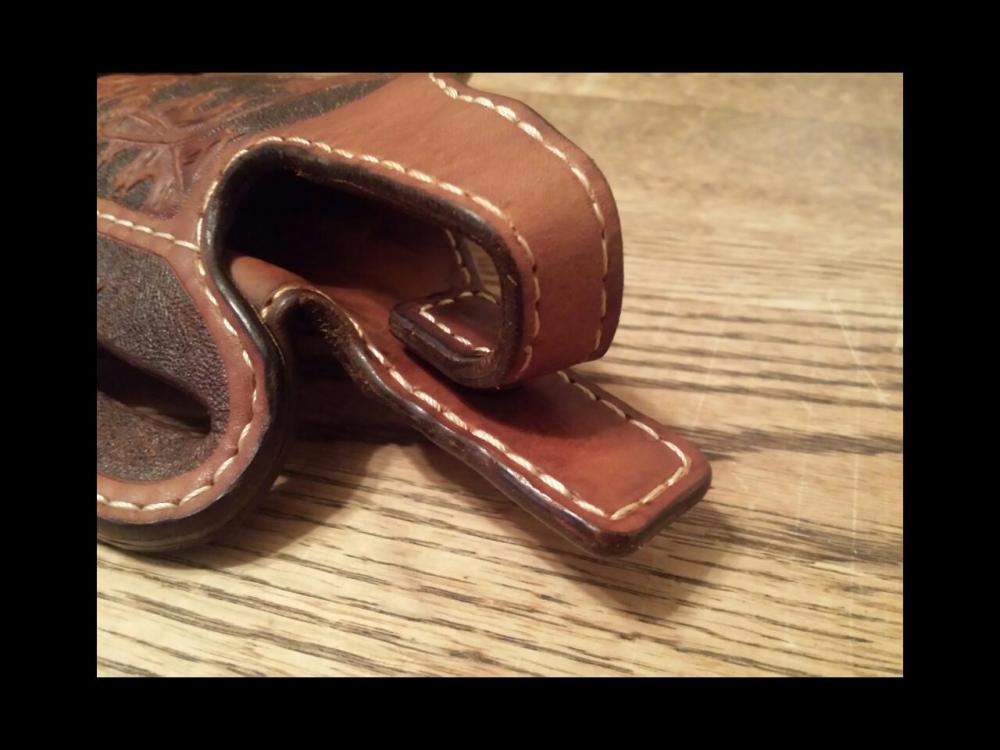
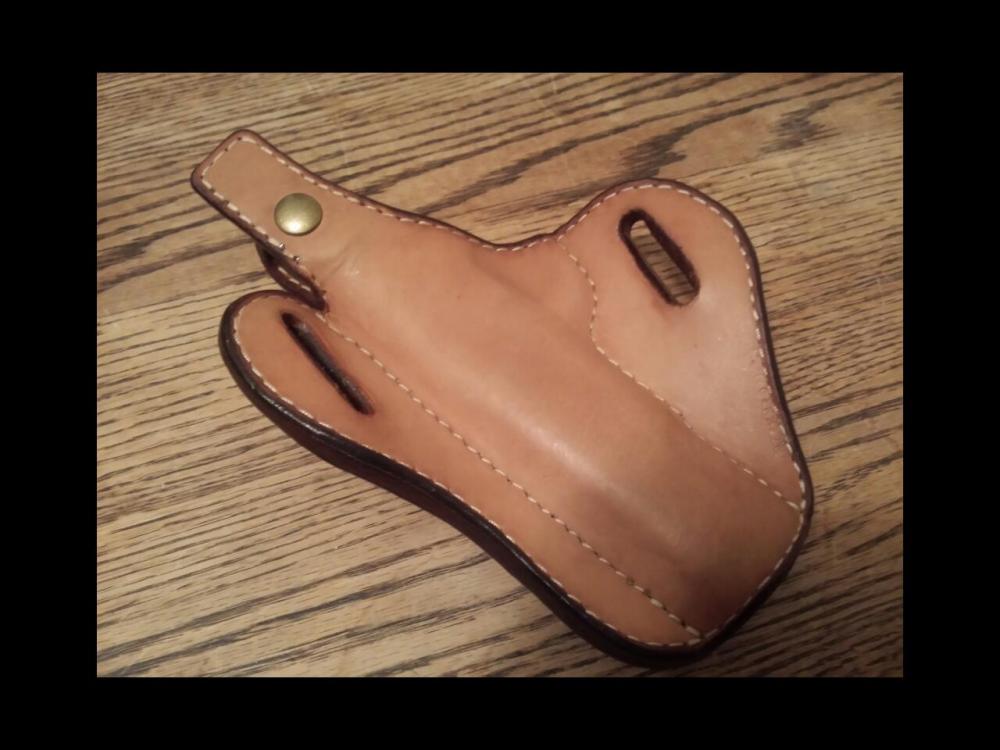
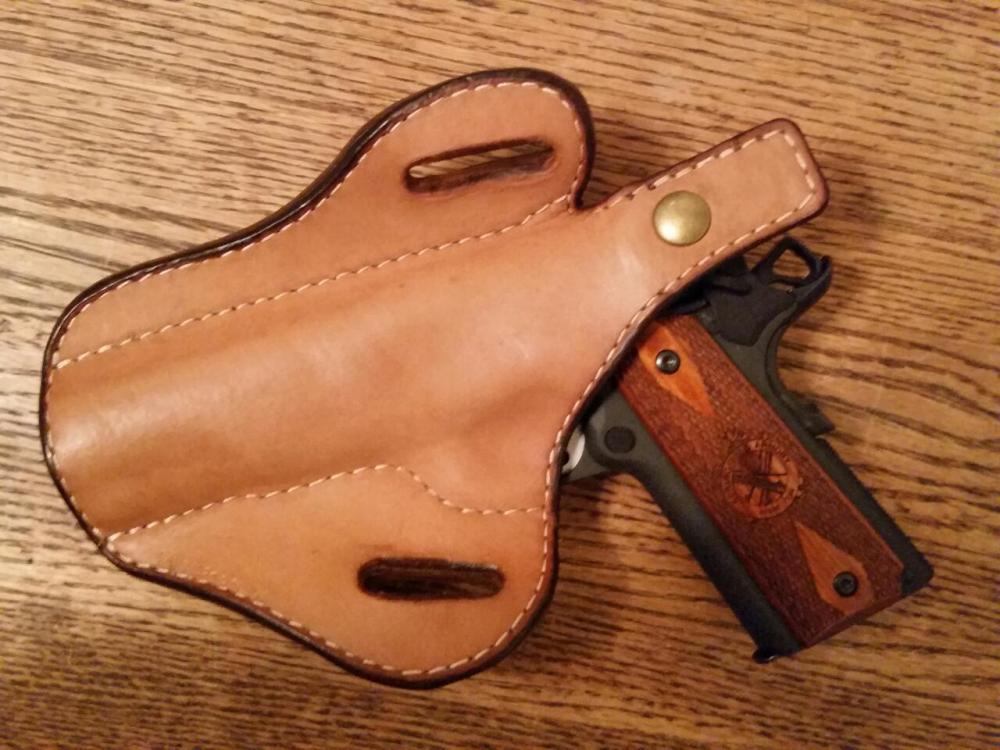
This is my third holster. It is my first attempt at a thumb break. The holster is 6-7 oz. lined/laminated with 4-5 oz. leather. Hand stitched with #207 bonded nylon (cashew color.) It's dyed with Fiebing's Professional Oil Dye (Light Brown), painted into background with a brush. I had a heck of a time with that thumb break! Now I know why a lot of people don't do them. The leather had to be skived down to fit the snap and stiffener, which is buried between the two layers. I skived down a small piece of leather to cover the back of the other part of the snap and protect the finish of the gun. I just didn't want to add the thickness of those plastic covers. It took me way to long, but it was a valuable learning process and is a gift for my dad, so I can justify spending so much time. Thanks to everyone on this forum for all of their help and tips. It is made for a Springfield Loaded 1911, and when I first pulled it out of the holster, the front sight was scraping out leather, so I remolded it with a sight channel. Now it works great! Not quite the retention of my last holster, but with the thumb break, I figure it's not that much of an issue. It can hold the loaded gun upside down, but will fall out if I shake it too much. So, thank you to everyone for your advice and tips. If you have any suggestions for my next one, please do tell. I'm about to start on another thumb break holster for a Colt Delta Elite 10mm. I welcome the criticism and have a thick hide. Ha, ok...dad humor. (I'm sure no one has ever said that one here before.) In case you were wondering, here are the links to my last two. Like I said, I have learned a lot from everyone here.
- 6 replies
-
- holster
- thumb break
-
(and 4 more)
Tagged with:
-
From the album: Getting started
The thumb break (my first) took a little doing, but ended up very nicely. -
Here are two holsters I finished today. They are both hand stitched. I'm particularly happy with the light bearing holster (only took me three tries). The light is a pretty nifty Streamlight TLR6, which is a light and laser combo. The leather is 7/8 oz Hermann Oak. The thumb break has a stiffener from High Desert Leather sandwiched between the leather. I drilled a hole in the center of the stiffener to accommodate the snap post (it came with just the two holes - one on each end). The inside layer of leather of the thumb break sandwich has a 9/16inch hole punched in it so the snap can be mostly recessed, thus minimizing some thickness of the snap (and allowing the snap to attach to one thickness of leather). I am also very happy with the slot for the trailing belt loop. I recently had Texas Custom Dies make me a slot punch. It makes the slot 80% easier than drilling two holes and connecting them.
- 2 replies
-
- glock 43
- lightbearing
-
(and 4 more)
Tagged with:
-
Glock Thumb Break Holster
dakotawolf posted a topic in Gun Holsters, Rifle Slings and Knife Sheathes
I still consider myself a novice to leather work and holster making. But I am glad to say I'm improving. I'm improving to the point I feel confident in the design and construction/durability of my holsters. I think I'm finally confident enough to switch from Tandy leather to Hermann Oak (never tried it, but there seems to be a consensus that it's high quality - usually). I made this holster from Tandy 7/8oz leather. I made it for a co-worker for $40. He seemed really happy with it. I'm particularity proud of the thumb break on this one (3rd one I've done). This is the first one where I extended the main belt loop leather up to the top of the thumb break (see back of holster photo), and then sandwiched the metal stiffener between two pieces of leather. I recessed the snap, which really streamlined the look. I had to improvise a punch for the snap recess: a 3/8 copper pipe cap was 'sharpened' and then hammered through before I applied the extended belt loop piece. I think the trailing belt loop could have been in towards the trigger a year more. I'm going to look for a little thicker thread. I used thick thread on the main belt loop and back side of the thumb break. I'm thinking something in between the two sizes I used would be better. The thin thread almost disappeared on the stitch line next to the gun. Speaking of the stitch line, I brought it in a smidge between the front of the trigger guard and the muzzle on my pattern (for next time). Any comments or suggestions for improvements are eagerly sought. -
Hello Everyone, I asked this question in another thread, but have yet to receive any responses, maybe someone can assist in this thread. I received a request to make a replacement holster for a Smith & Wesson VE9. Now I've never made a holster before, so this will be my first one and I want to do a great job, but I can't seem to find any patterns for a thumb break for this model gun on line. I'm wanting to do this in either an Avenger style holster or the (pic) link down below. Any Ideas?? Thanks This is similar to what I would like to make: http://www.warriorde...-hand-md-22900/
-
Hello Everyone, I asked this question in another thread, but have yet to receive any responses, maybe someone can assist in this thread. I received a request to make a replacement holster for a Smith & Wesson VE9. Now I've never made a holster before, so this will be my first one and I want to do a great job, but I can't seem to find any patterns for a thumb break for this model gun on line. I'm wanting to do this in either an Avenger style holster or the (pic) link down below. Any Ideas?? Thanks This is similar to what I would like to make: http://www.warriorde...-hand-md-22900/
- 11 replies
-
Glock Thumb Break Holster
dakotawolf posted a topic in Gun Holsters, Rifle Slings and Knife Sheathes
I still consider myself a novice to leather work and holster making. But I am glad to say I'm improving. I'm improving to the point I feel confident in the design and construction/durability of my holsters. I think I'm finally confident enough to switch from Tandy leather to Hermann Oak (never tried it, but there seems to be a consensus that it's high quality - usually). I made this holster from Tandy 7/8oz leather. I made it for a co-worker for $40. He seemed really happy with it. I'm particularity proud of the thumb break on this one (3rd one I've done). This is the first one where I extended the main belt loop leather up to the top of the thumb break (see back of holster photo), and then sandwiched the metal stiffener between two pieces of leather. I recessed the snap, which really streamlined the look. I had to improvise a punch for the snap recess: a 3/8 copper pipe cap was 'sharpened' and then hammered through before I applied the extended belt loop piece. I think the trailing belt loop could have been in towards the trigger a year more. I'm going to look for a little thicker thread. I used thick thread on the main belt loop and back side of the thumb break. I'm thinking something in between the two sizes I used would be better. The thin thread almost disappeared on the stitch line next to the gun. Speaking of the stitch line, I brought it in a smidge between the front of the trigger guard and the muzzle on my pattern (for next time). Any comments or suggestions for improvements are eagerly sought.


