


Gawdzilla
-
Content Count
271 -
Joined
-
Last visited
Posts posted by Gawdzilla
-
-
I'd think that by driving the nails, you could deform them in the process. The result would be a row of nails that aren't exactly straight.
With a drill press, you have a guide that maintains distance from certain points and makes it easy to put all the holes in a straight line, something that's not exactly easy doing by eye (which is something else that could throw off nails if you drive them in).
At least, that's what I would see as potential problems anyways.
Drilling pilot holes in the wood would stop the formation I think, but that puts us back to the drill press, doesn't it? I need to talk to the local machine shop about grinding a wheel pizza cutter.
-
After some experimenting: If you lower the holes on the side flaps 1/2" (and adjust the flaps accordingly) there will be enough of the phone sticking up that the push hole won't be needed. Still optional, however. If you do this, take 1/2" off the top.
I'm planning on using velcro closers from Wally World.
-
Another simple little trick for perfectly spaced anything: take a small, narrow piece of wood, . . . maybe 1/2 in by 1/2 in, . . . maybe 3 inches long.
Use a rule to mark your spacing, . . . cut the head off a #3 finish nail, . . . put it in your drill press, . . . drill straight through the piece of wood, . . . making a perfect line of holes.
Gently drive new #3 finish nails into the holes, . . . you then use the whole thing as a marking tool, . . .
Takes 15 minutes to make, . . . will save you hours in marking and poking.
May God bless,
Dwight
If you put two pieces of wood together and drive the nails into both, then separate them, you wouldn't have to drill the holes, correct?
-
I use bulldog clips to hold glued items until they dry. Two scraps of leather keep them from dimpling the leather.
Wayward Shrimp, I just bought four granite floor tiles, total $20.00 from Lowes. I can stack them if I have a small item and spread them out if I have a larger item.
When I have a "wrap around" item that needs glued I use cable ties to keep it in place.
-
Here's a case pattern I just worked. Few warts yet, so feel free to modify as you wish. There will a push hole on the 4 5/8" line, I just punch two holes with a good size punch and cut out the leather between them. I will also put relieving holes at each end of that line. Rivet holes on the flaps pretty much depend on what weight leather you're using.
Feel free to make any improvement or suggestions. Thanks in advance.
-
No, I did buy a cig case once for a pattern but did not like it so came up with my own.
Probably the best way to go when possible.
I've asked a smoker friend to cut me two wooden blanks, "regular" and "king". He'll send them over to me when they're ready and I can make a pattern from those. I prefer rivets to stitching, four rivets for regular and five for king on each side.
-
Rubber cement usually just rubs off anyway. It doesn't seem to penetrate. Try it on regular contact cement. About the best thing I've found for that is the stuff they sell at autoparts stores for removing road tar. Then lots and lots of deglazer will maybe allow the dye to penetrate the leather where the glue was, but don't count on it.
Okay, I'll try it on contact cement. Stand by for news!
-
Jordan, good idea. Have you ever used the flap-and-strap system like Tandy sells?
-
Somawas, Glock21, remind me about that on or after the 1st. I have a plan to make this a bit easier but I need some disposable funds to get 'er done.
-
Okay. I applied Goo Gone to clean leather and let it set overnight. I dyed the leather this morning and got no indication of stripes. So far so good. The stuff is really good on rubber cement, a vaguely damp paper towel cleaned dried cement off some leather quickly. I'm letting that dry to see if there's any "ghosts" from the glue when I dye it.
Oh, by the way, "your mileage may vary", so test it out for yourself to see if you get good usable results.
The above was inspired by a recent commercial. At the bottom it said, "Close course, professional driver, do not attempt." The car in question NEVER LEFT THE GARAGE. So we should not attempt to leave a parked car in a garage?
-
Anybody got one they like?
-
Acrylic worked fine for this. Two coats of white was all that was needed. Pix when the lady picks out her gee-gaws to finish it off.
-
I have used the Tandy kits for patterns in the past, but altered them to be laced because I suck at sewing and they turned out pretty good.
I rivet them most often. When I was doing them a lot I had two steel blocks that I slipped into the case to make riveting easier. They cost a few bucks apiece back in the '70s.
-
Anybody have a pattern for the regular and king cigarette cases? This is something I'm planning on doing for the Endangered Wolf Center store.
-
Okay, Fiebings White is a total waste of time. Six coats and the leather still shows through. I guess I'm going with acrylic on this one.
-
This came out very good, better than I had hoped. Here's the final version. The crown is taller than the Maverick hat, but the brim is much narrower.

-
I never made any hats, wonder if they need any belts or gutiar straps?....
Ken
The guy who taught me to work leather was, to put it most kindly, butt ugly. He used to make leather halter tops and his sign said, "Hand fitted halter tops are free."
 He had a gal ask him about a bikini and I thought he was going to have a heart attack.
-
It was suggested I post this here. Sorry if you've already seen it. I'll add another to make this thread worth clicking.


-
The owner of the local Tandy suggested I try "Wedding White" for a project I'm doing. I'll keep you informed. Dyeing should start Thursday on that project.
-
One additional note on making the top hats. I tried a cheat that worked rather well. Tandy says to glue the upper and lower brim together before lacing it to the crown. I decided to not do it that way. It was easier to do the lower lacing without that second piece already in place. When I got that done I put the hat on a piece of leather with 1/2 inch of excess inside and out and glued that in place. (I kept the recommendation that you leave 1/2 inch of unglued leather on the inside in case the hat needs the lacing replaced.) Then I trimmed the excess off after the glue had set. After you get some experience on this you can reduce the excess.
BTW, I added a one inch strip of suede to the lower lacing so people could add padding if they didn't have perfect fit or their hair style changed (by choice or by nature) after they had the hat for a while. I used the lower edge of the crown pattern to get the holes right. You can used more than one strip of suede if you don't have one long enough, but try to avoid putting a seam where the forehead will be . (You can also use this for a "sweat band" on your hats. "Waterproof" the leather behind the band and sweat won't soak through as readily.)
-
I am curious to know what kind of leather you make your hats from. White cowhide/calfskin, leather is available from some one that has been mentioned here before.
ferg
So far I've just looked for the lightest leather of the appropriate weight I could find. As noted, it's be quite a while since I did the last one in white. The local Tandy suggested "Wedding White" would do the trick now. I guess I'll have to see if it does. The person requesting has already given me a second color choice if the white is a dud. Of course I don't know if lilac will cover the white evenly if the white fails to come out even.
Some days I feel like Baron Frankenstein, never knowing what's going to walk out of the "lab".

-
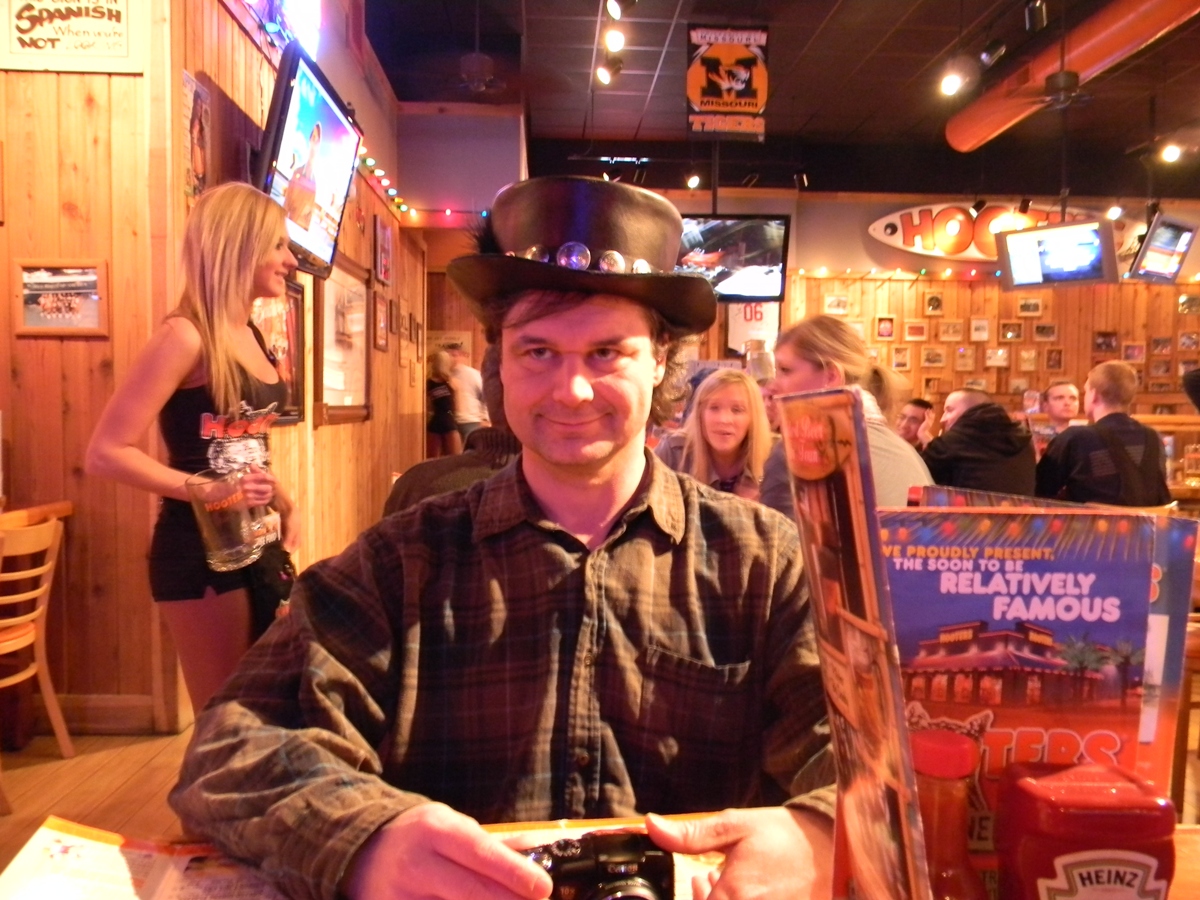
I made these hats and my friend and I wore them to Hooters to get some Philly cheesesteaks before going to a meeting at Jack Patrick's Pub. The staff loved them. This isn't the only show, but it's one of the most scenic.

-
It's been a "few" decades since I did any white dye. Now I have a white top hat request. So, any thoughts, suggestions, horror stories to share?
-
If you use a VERY VERY little bit then you can just do it on the area with the glue and the oil will dissipate quickly. What I like to do with olive oil is to put a little bit on a washcloth. Then I dab that on a piece of cardboard and THEN I rub my finger lightly on the washcloth and use my finger to gently remove the glue.
That seems to work most of the time.
I'll keep that in mind. Full day at the wolf sanctuary so it will be tomorrow before I get the test strips done on the Goo Gone.


Smart Phone Case Pattern?
in Patterns and Templates
Posted · Report reply
I'm dealing with the flu right now so I'm a little slow. I have both styles cut and punched. I have to stamp them then dye and rivet. Hopefully pix today.
Basically, however, the flaps bend in and match up with the holes on the back panel. I put the flaps on the inside to reduce snags in the pocket. Your call on that, of course. You can also sew them rather than rivet if somebody has concerns about scratching the glass on a phone. I usually rotate mine 90 degrees to check messages so that's not an issue with me, the glass is always "out".