BanjoMan
-
Posts
120 -
Joined
-
Last visited
Content Type
Profiles
Forums
Events
Blogs
Gallery
Store
Everything posted by BanjoMan
-
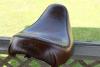
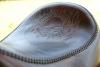
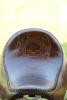
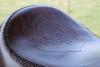
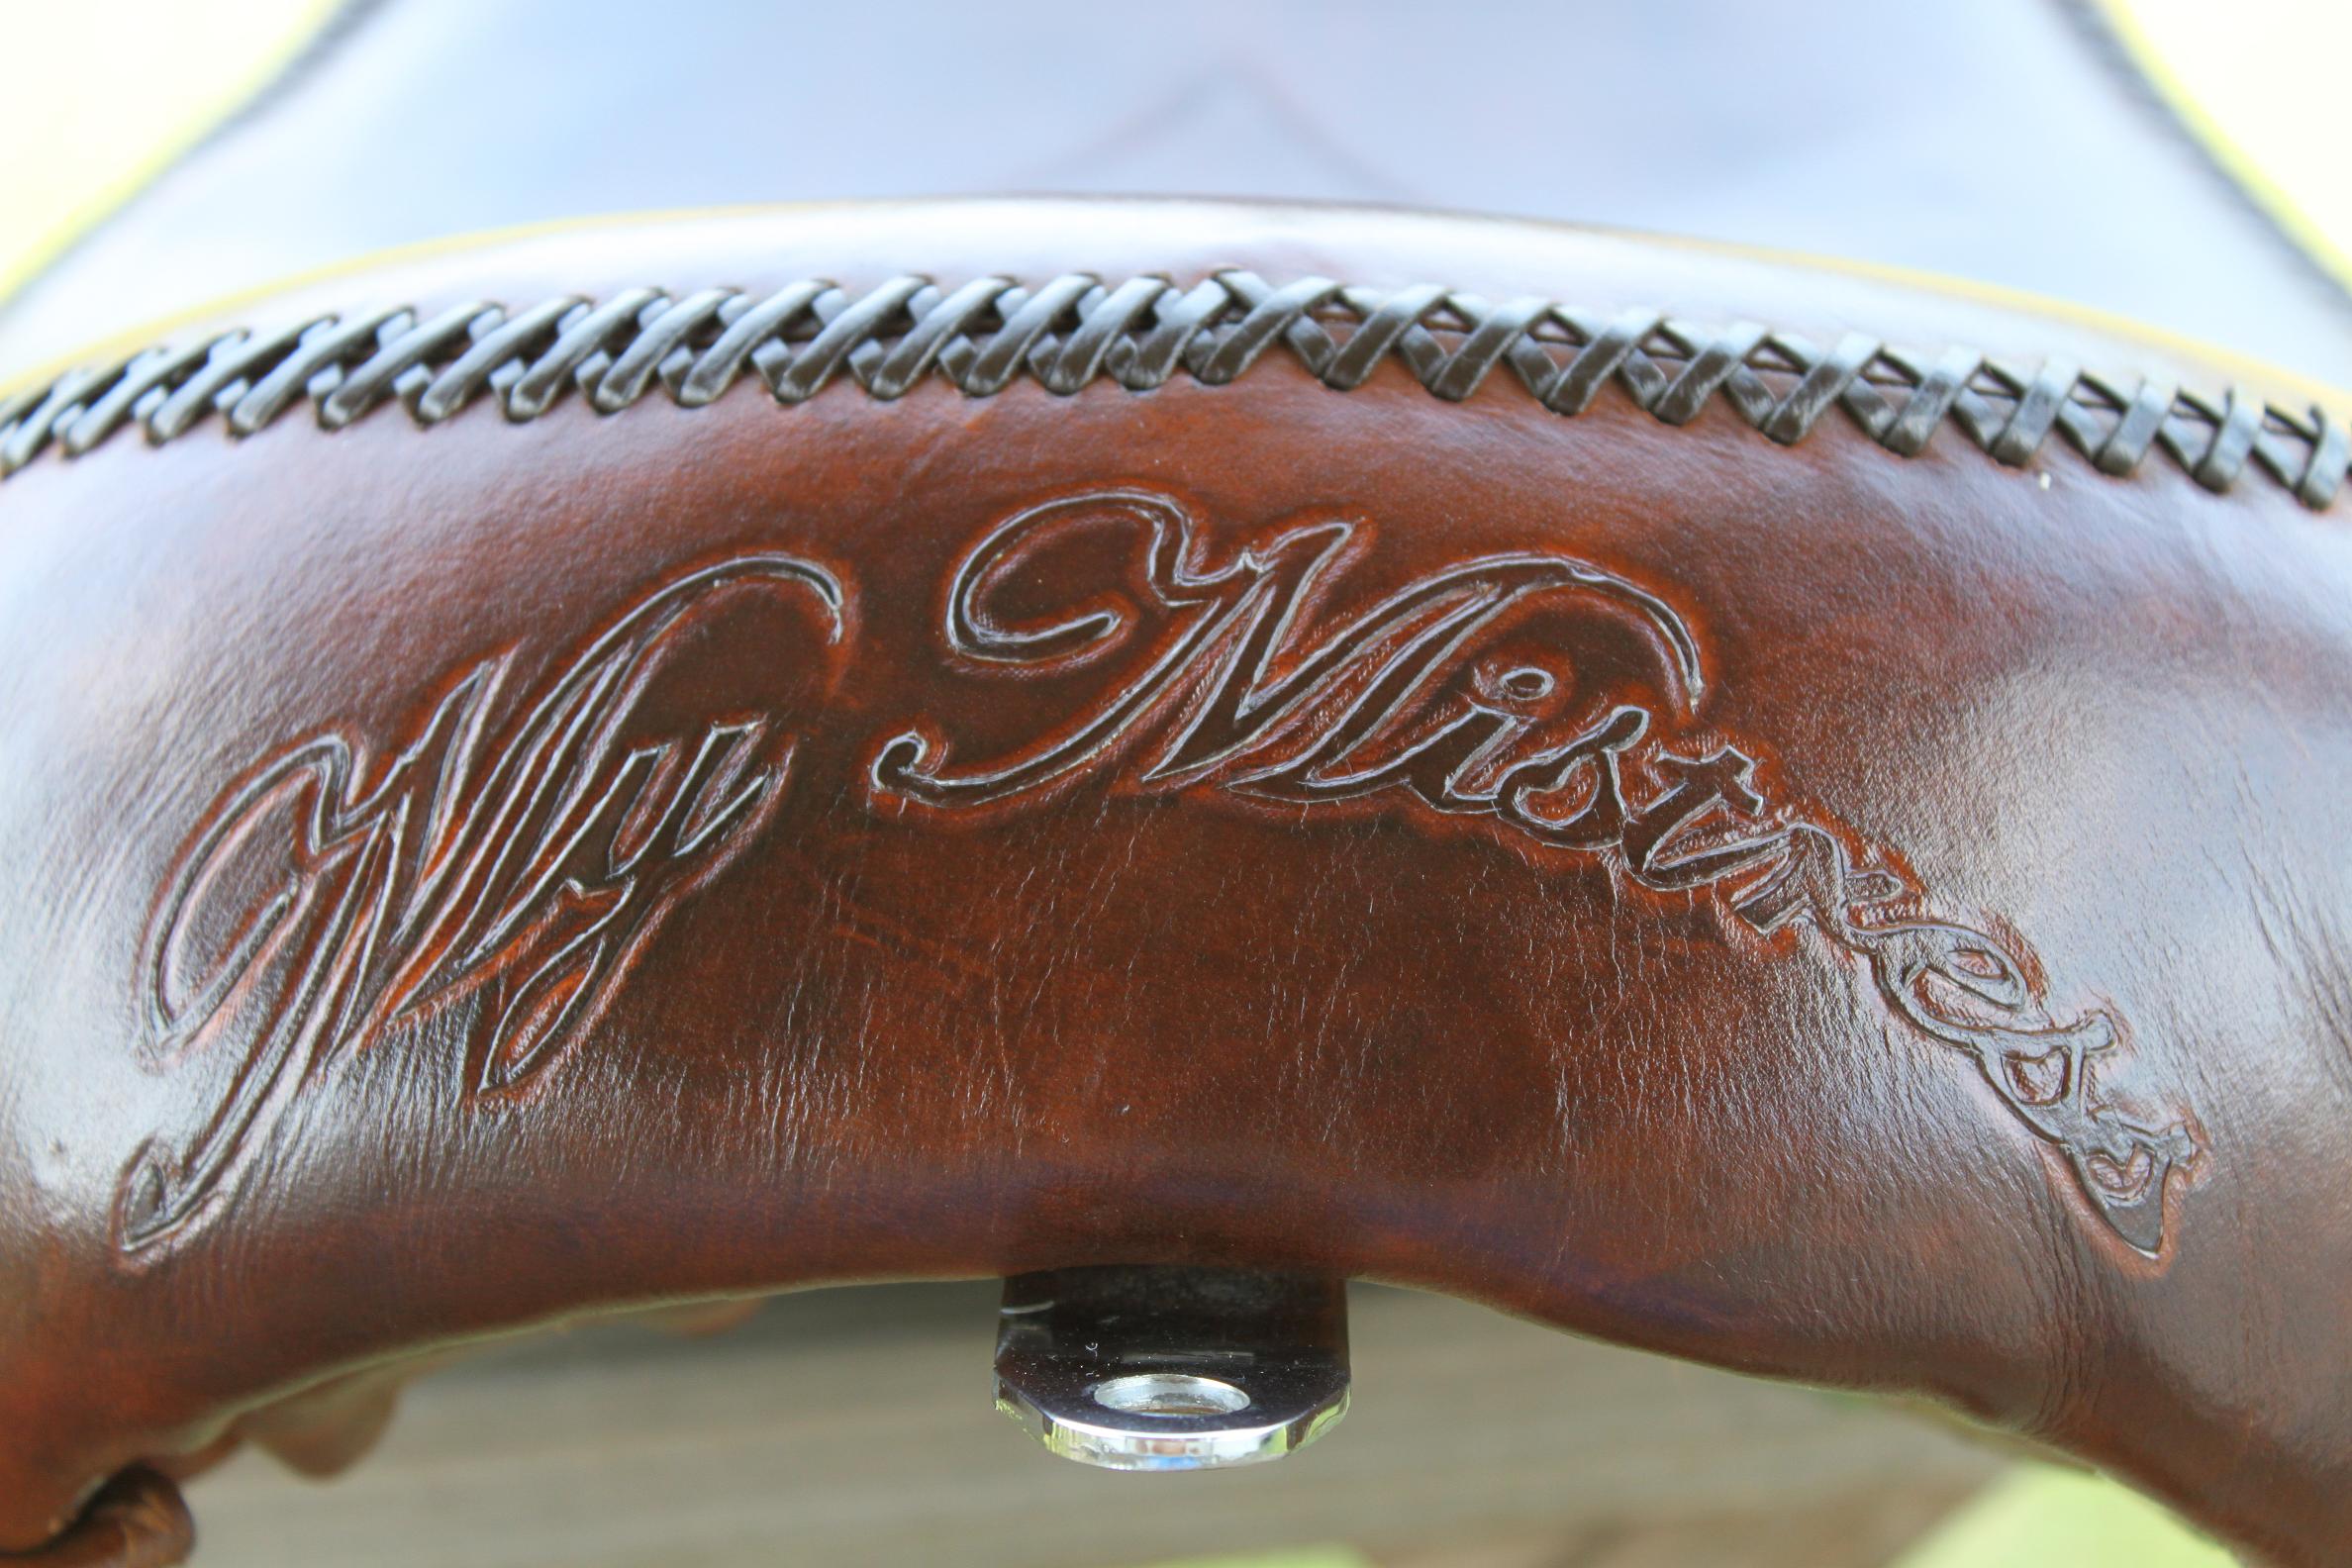
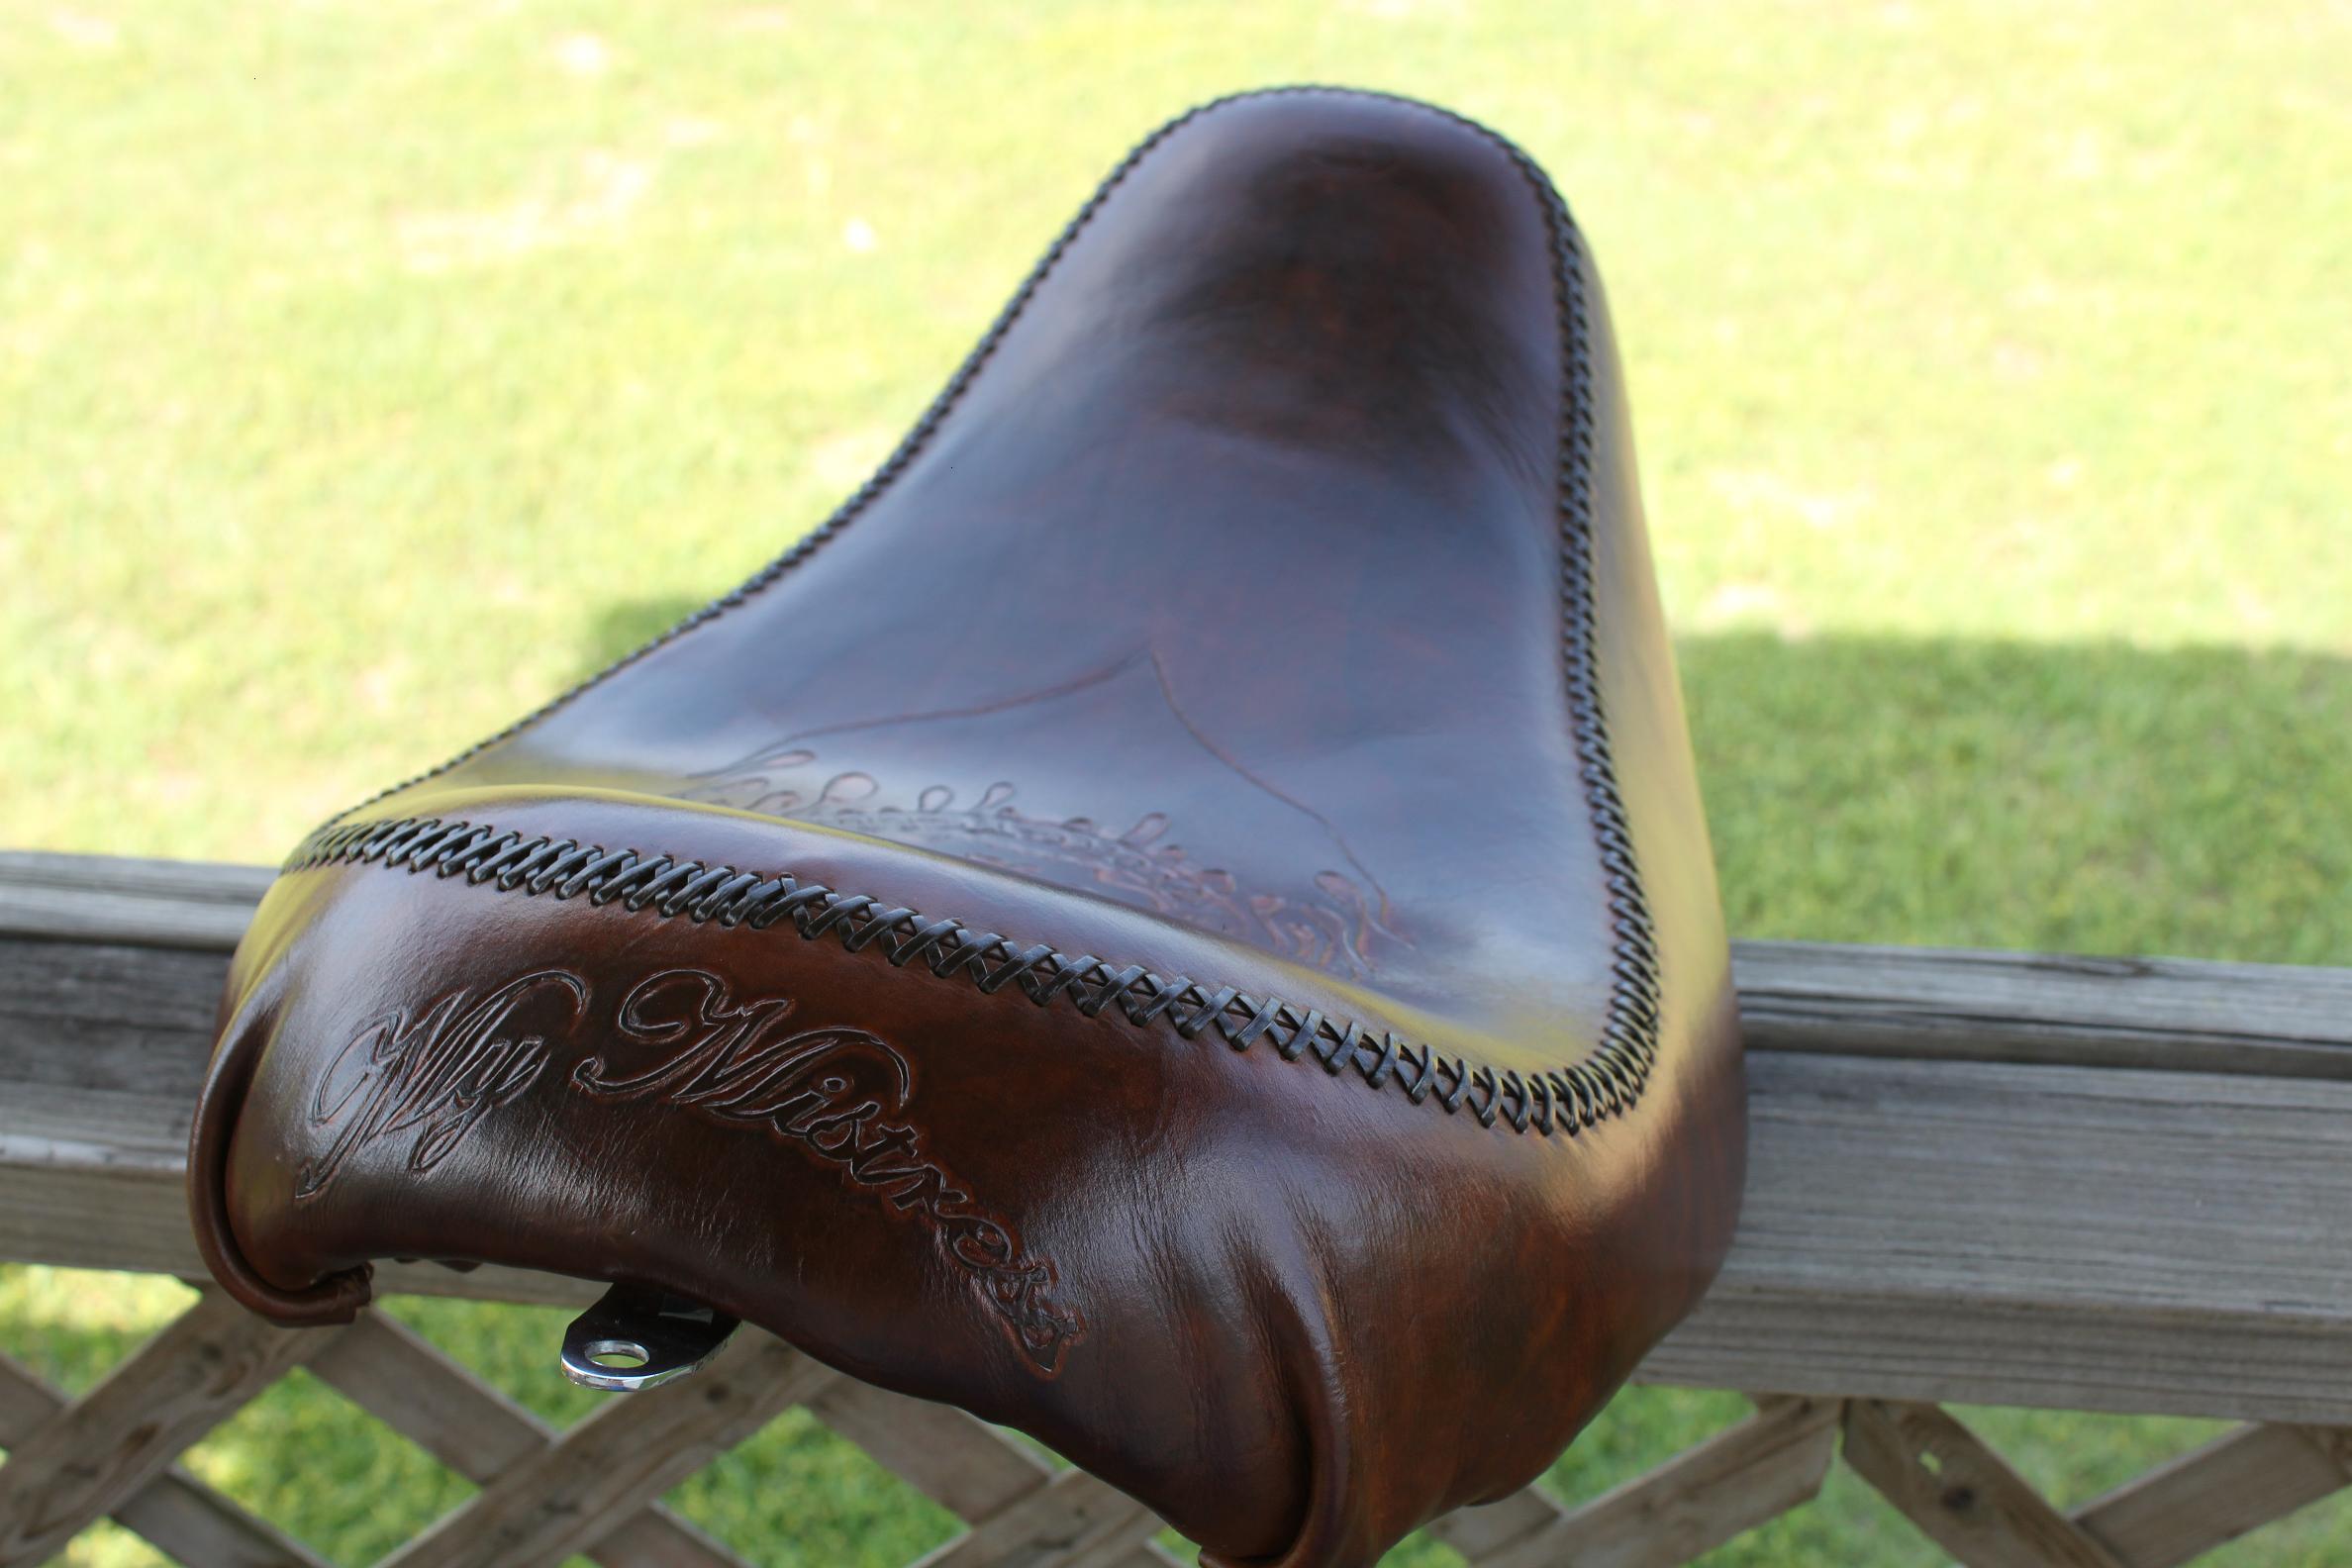
Here are a few more pics...
-
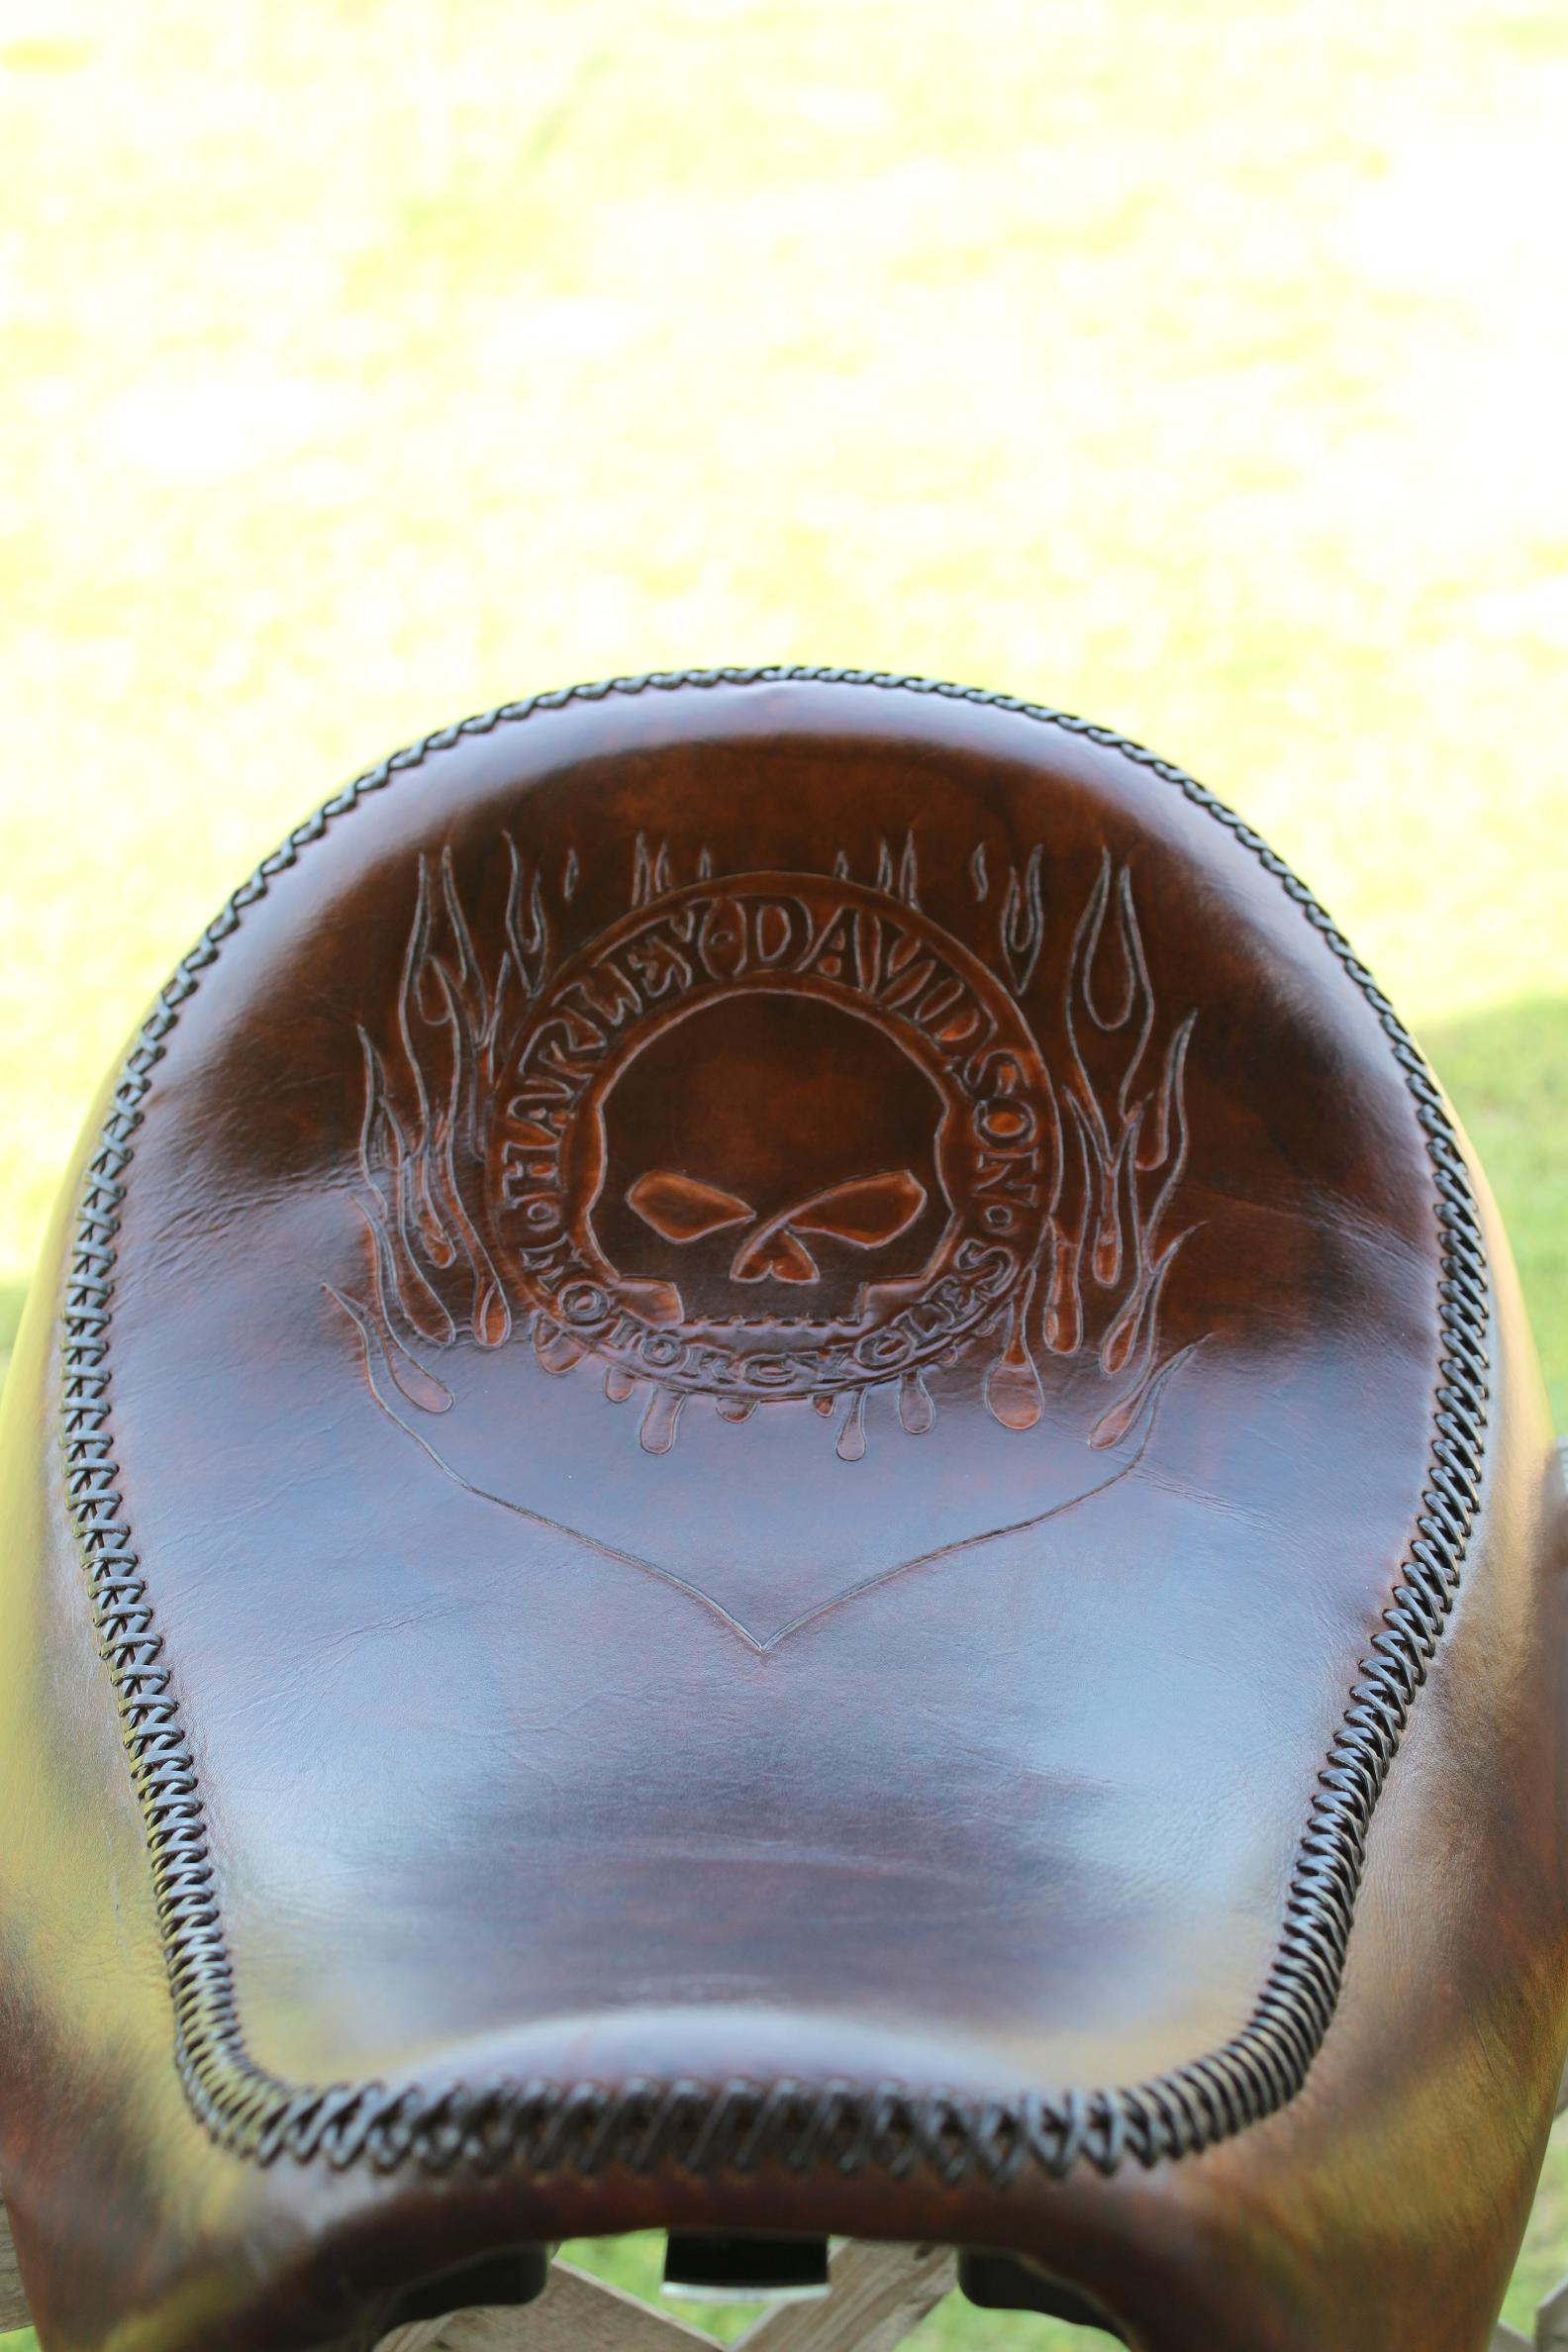
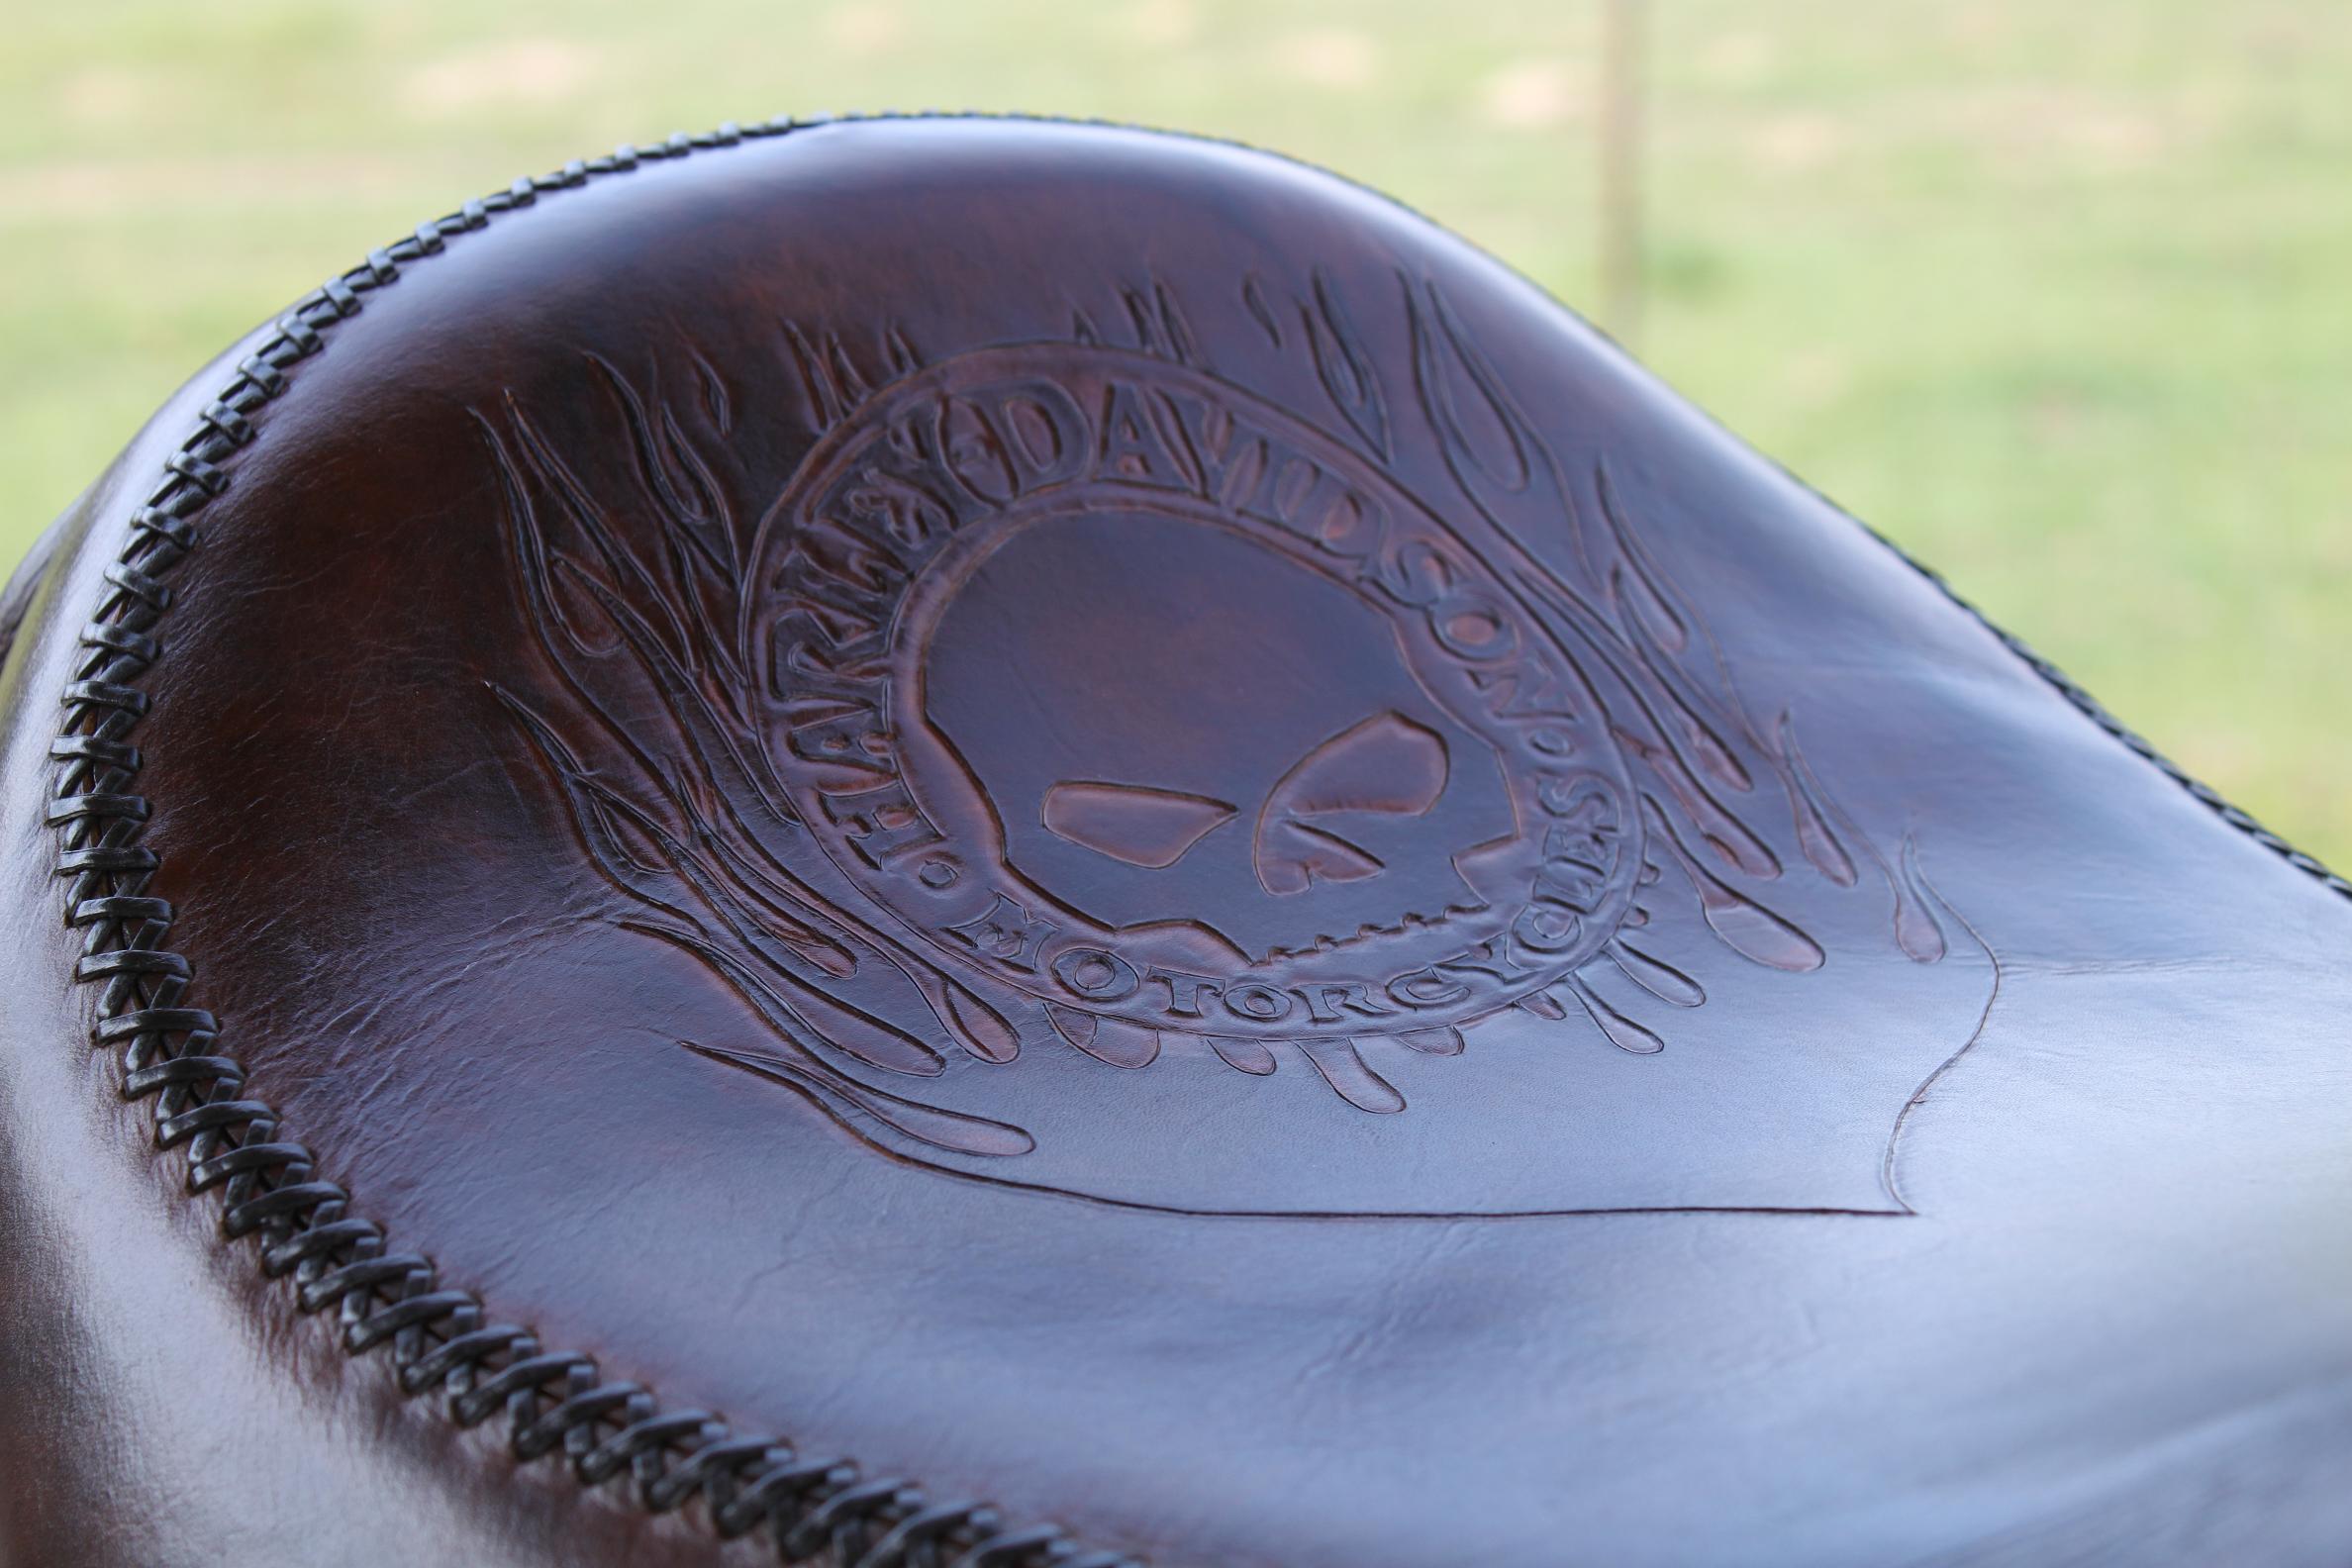
This is my first attempt at a motorcycle seat and any feedback would be helpful and appreciated! So far my main focus has been on making holsters and related accessories, so this was definitely a bigger job than what I'm used to. The seat belongs to a friend of mine and fits a Harley-Davidson Street Bob. I used 3-4 oz. veg-tan leather that I got from SLC for the top and the skirting and I used calf lace to hold it together. After tooling and lacing, I wet the skirting and hand stretched the cover to form to the seat. I used Fiebing's walnut pro-oil dye, applying the first coat with a dauber and blocking the second coat in order to get more of an antiqued look. After dye, I applied a coat of neatsfoot oil, then resolene, then bag-kote, and finally a coat of Kiwi neutral shoe polish, allowing around 24 hours between application of each product. The only real issue I had during the entire process was during the stretching. I had excess in the skirt that I could not pull out, which resulted in having to overlap the skirt at the back corners of the seat. Looking back, I should have cut out the excess and laced up the cuts, leaving a vertical seam at each back corner. Overall, I am pleased with the seat since this is my first one and I definitely learned a lot that I can apply to my next one. Not to mention, the seat looks GREAT on the bike! Please let me know what you think!

-
Outcast, just to make sure we're on the same page, I am referring to gluing the leather "top section" of the seat cover to the foam surface of the seat. I feel like this would help a lot when I get ready to wet form the cover to the shape of the seat. Where can you get the 3m Super 77 and how does it come? Is it a spray or something else? Thanks for your help!
-
Need help guys! I'm working on my first motorcycle seat and so far it is coming along well. I have completed all of my tooling on the top and back and I'm in the process of lacing the pieces together. The next big step is going to be installing the cover to the cover, forming, attatching, etc. The seat is off of an H-D Street Bob. It is basically a heavy plastic pan with a foam top. What is the best adhesive for glueing the top section of the cover to the foam when I get ready to mount the cover? I am scared of certain products because I do not want to risk damaging the leather or allowing the glue/adhesive to bleed through the top. Please give me your comments and advice on the pro's and con's of using an adhesive or not using an adhesive, and if you use one what do you use? Any help would be greatly appreciated!
-
Holster Finishing, Oil? Sheen?
BanjoMan replied to jlaudio29's topic in Gun Holsters, Rifle Slings and Knife Sheathes
Everyone has a different method of dying and finshing that they prefer, you just have to play around with it to figure out what works for you. Lobo recently posted a topic on his method of building a pancake holster from start to finish. In his post, he gave some really good tips on finishing a holster and what products he uses. The first thing you need to decide is if you want your holster to have a glossy finish or more of a matte finish. This will determine what type of sealer you need to use. I am under the impression that no product is completely "waterproof", but most acrylics are water resistant. EcoFlo satin sheen will give you a satin, almost flat finish and still protect the leather from moisture. Fiebing's resolene and EcoFlo super sheen both result in a high gloss finish and will also protect the leather from moisture. First, dye the leather with your choice of dye. Fiebing's makes some really good products that penetrate and cover really well. A good quality dye such as this will make a BIG difference. Now would also be a good time to apply Edge Kote if you are planning on using it. After dying, but before applying your choice of sealer, it is a good idea to apply a thorough coat of neatsfoot oil to help put some natural moisture back into the leather before sealing it off permanately. Make sure to let the neatsfoot oil soak in and settle (approxiamtely 24 hrs.) before sealing. After sealing and letting dry (another 12-24 hrs.) you can leave it alone and call it done, or you can apply a coat of Kiwi neutral shoe polish. The shoe polish will give you a nice, waxy topcoat and it will also subdue your sealer a little if you wind up with more of a gloss than you were going for. As far as your best method for applying all products listed above, it is completely up to you. A lot of people spray their dyes and finishes, and this is probably the best way to get even, consistent coverage. But, everyone is not set up yet with a spray rig or may not have a good area to use one. In any case, you can apply most dyes with a dauber and achieve excellent results with a little practice. Neatsfoot oil should be applied with a clean rag. Most acrylic sealers can be applied well with a damp sponge and Kiwi shoe polish should be applied and buffed with a clean rag or terry cloth. The best advice that I was given and can pass on is to take some scrap peices and EXPIRIMENT! It's a lot better to mess up a scrap peice of leather than to mess up a completed holster! Good luck! -
Holster For An Hk W/ Tac Light...
BanjoMan replied to Sixer's topic in Gun Holsters, Rifle Slings and Knife Sheathes
I have not attempted one yet, but I have a request in for an OWB pancake holster for a Glock 35 with a tac light. I am about to start on it and the best idea I can come up with is to build it like any other pancake holster, but when wet molding I am not going to mold around the trigger gaurd at all. I think I'm going to try to get most of my retention from the ejection port area, and also try to mold around the light. I usually put a thumb break on all of my pancake holsters, unless the customer doesn't want one. Hopefully the thumb break combined with what little molding I can achieve will give me a good, snug fit. I'll post pictures as I make progress. Good luck with yours! -
Another pic....
-
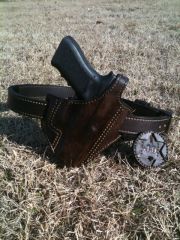
Thanks everyone for the replies and the good advice! Sorry it's taken me so long to get back, I've been busy.... Since starting this topic, I have obtained several colors of Fiebing's oil dye, Fiebing's resolene, bag-kote, tan-kote, and other products. I knew as soon as I touched the dauber to the leather, Fiebing's black oil dye is in a whole different league compared to the Eco-Flo. Seems to me that the Eco-Flo acts more as a stain instead of a dye, requiring several coats before showing results. So after solving my problem with the dye, I ran into the question of what finish to use? Keep in mind, I want LITTLE to NO gloss! I tried the resolene and immediately noticed that it produced more of a gloss than I preferred. It may have to do with the fact that I applied it full strength with a damp sponge....just gonna take some practice I guess. I then took the advice of many and applied a coat of Kiwi neutral shoe polish and it helped cut the shine somewhat. I would like to try a different sealer and am considering using either tan-kote or bag-kote, but am having problems finding someone who knows what the difference is between the two. Even the people at Fiebing's could not give me a definite answer! At this point, I think I'll just finish several sample pieces with different products until I discover what gives me a desired result. In conclusion, Fiebing's oil dye (black and other colors as well) is AWESOME! Below is a picture of the project I just completed using (in order): Fiebing's black pro oil dye, neatsfoot oil, resolene, bag-kote, and kiwi neutral shoe polish. Hope you like it!
-
Shooter, the holster looks awesome! I also just made the switch from eco-flo to fiebings and I couldn't believe the difference. It is much easier to use and the finished result was a lot better. It penetrated better and covered consistently with a couple of coats. What did you use for a finish after dying?
-
Various leather holsters and accessories
-
-

From the album: Gun Leather
© © leatherworker.net
-

From the album: Gun Leather
© © leatherworker.net
-
From the album: Gun Leather
© © leatherworker.net
-
From the album: Gun Leather
© © leatherworker.net
-
New Pancake Holster For Glock 22
BanjoMan replied to BanjoMan's topic in Gun Holsters, Rifle Slings and Knife Sheathes
More pictures...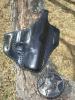

-
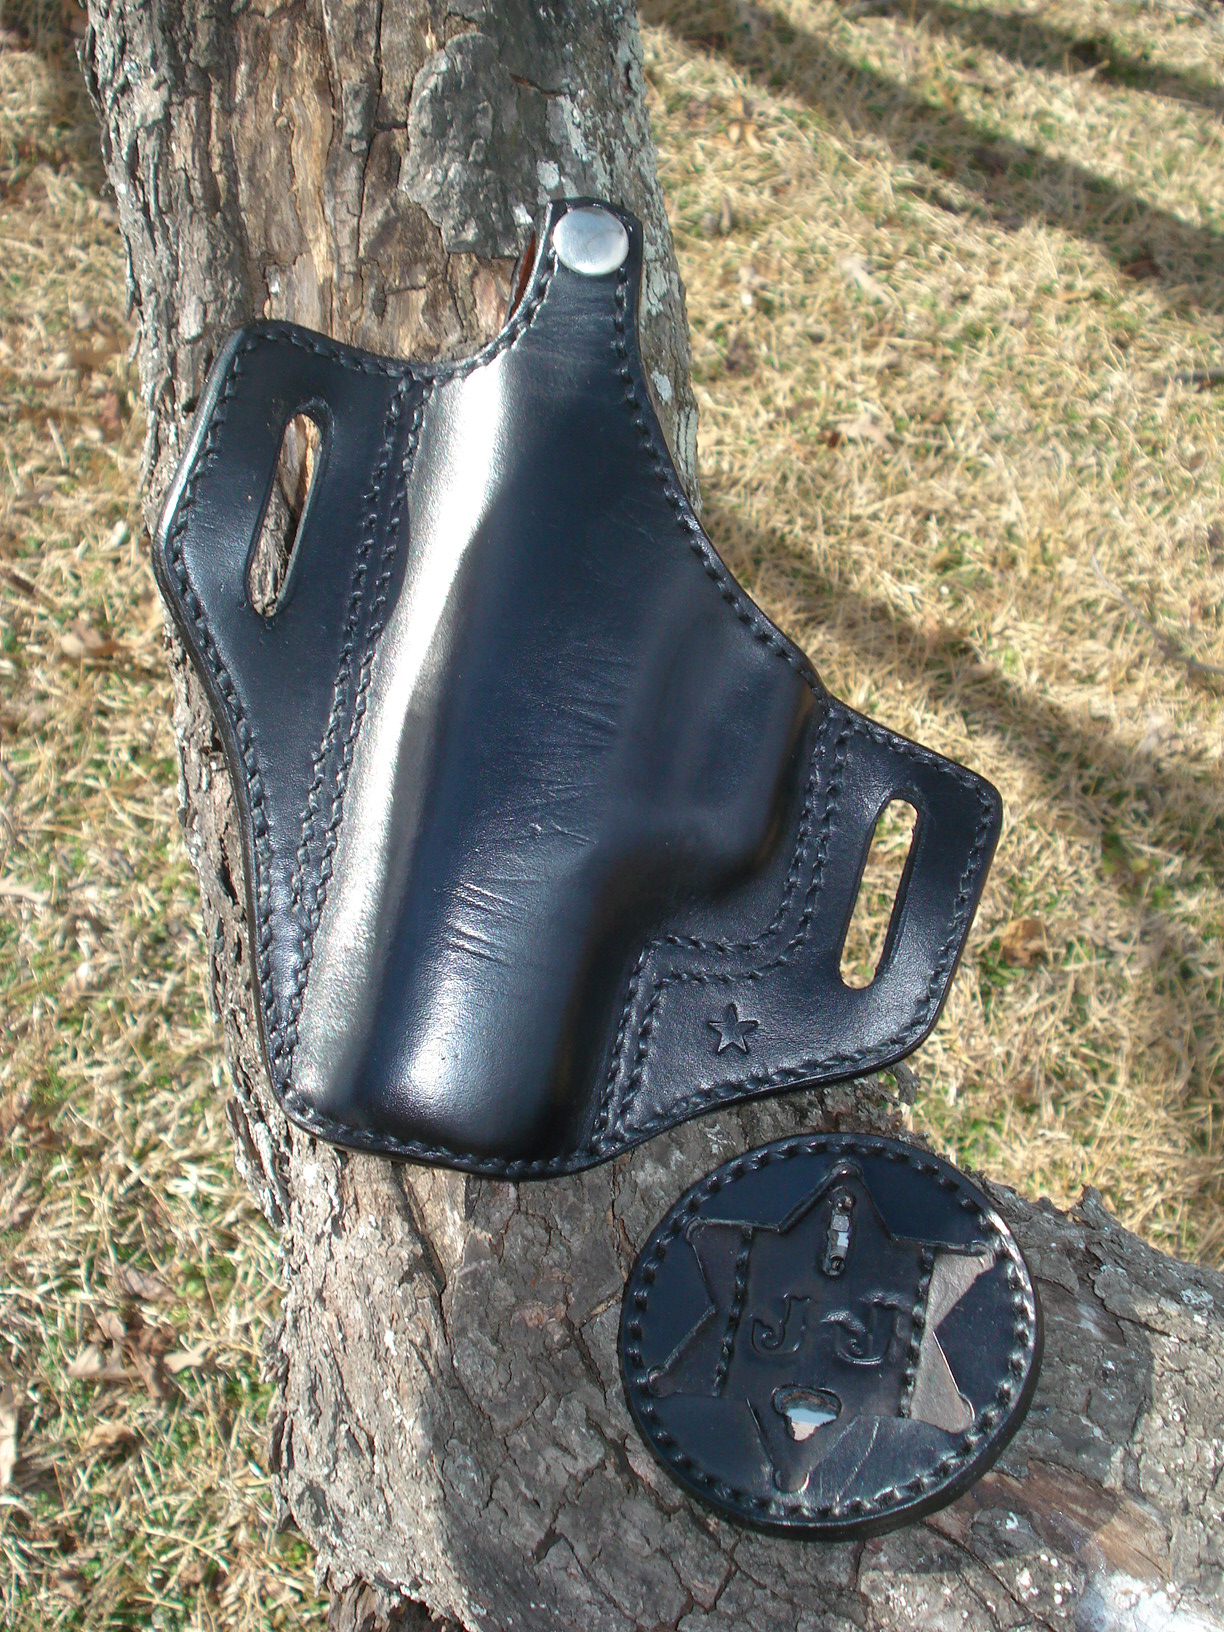
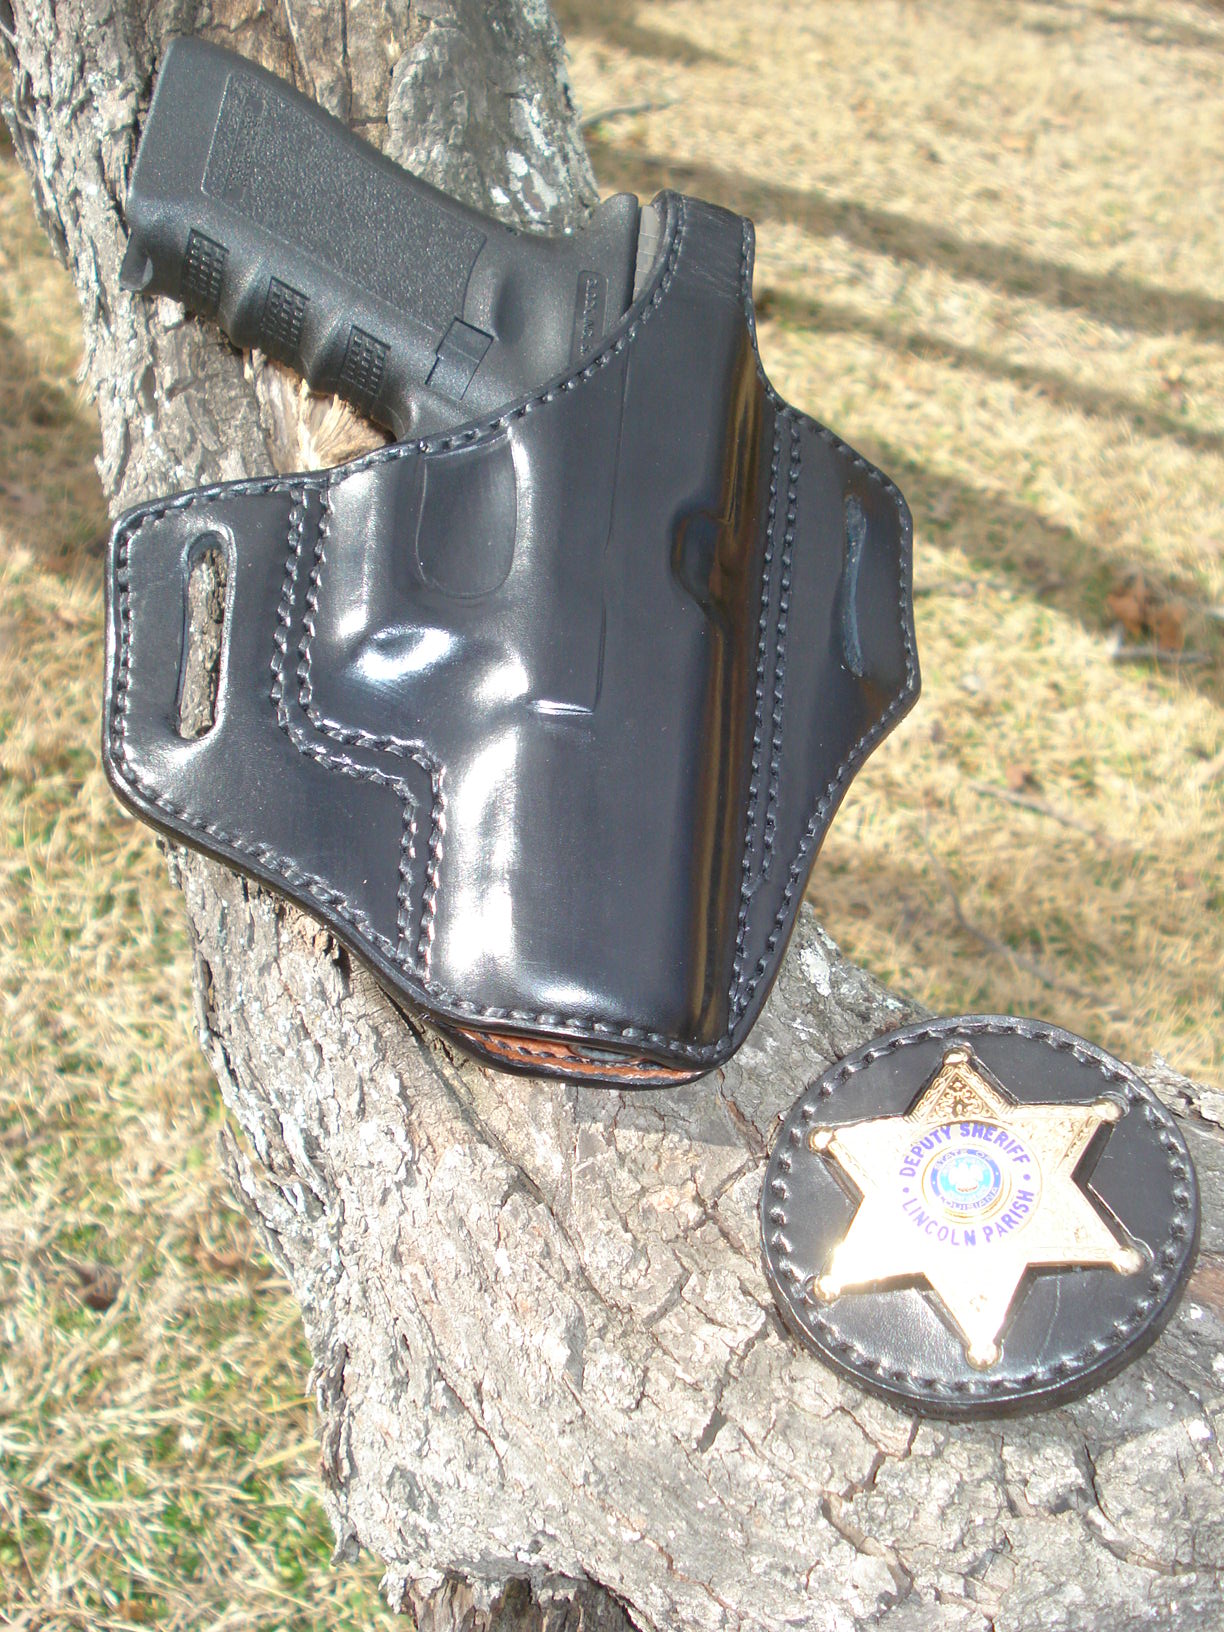
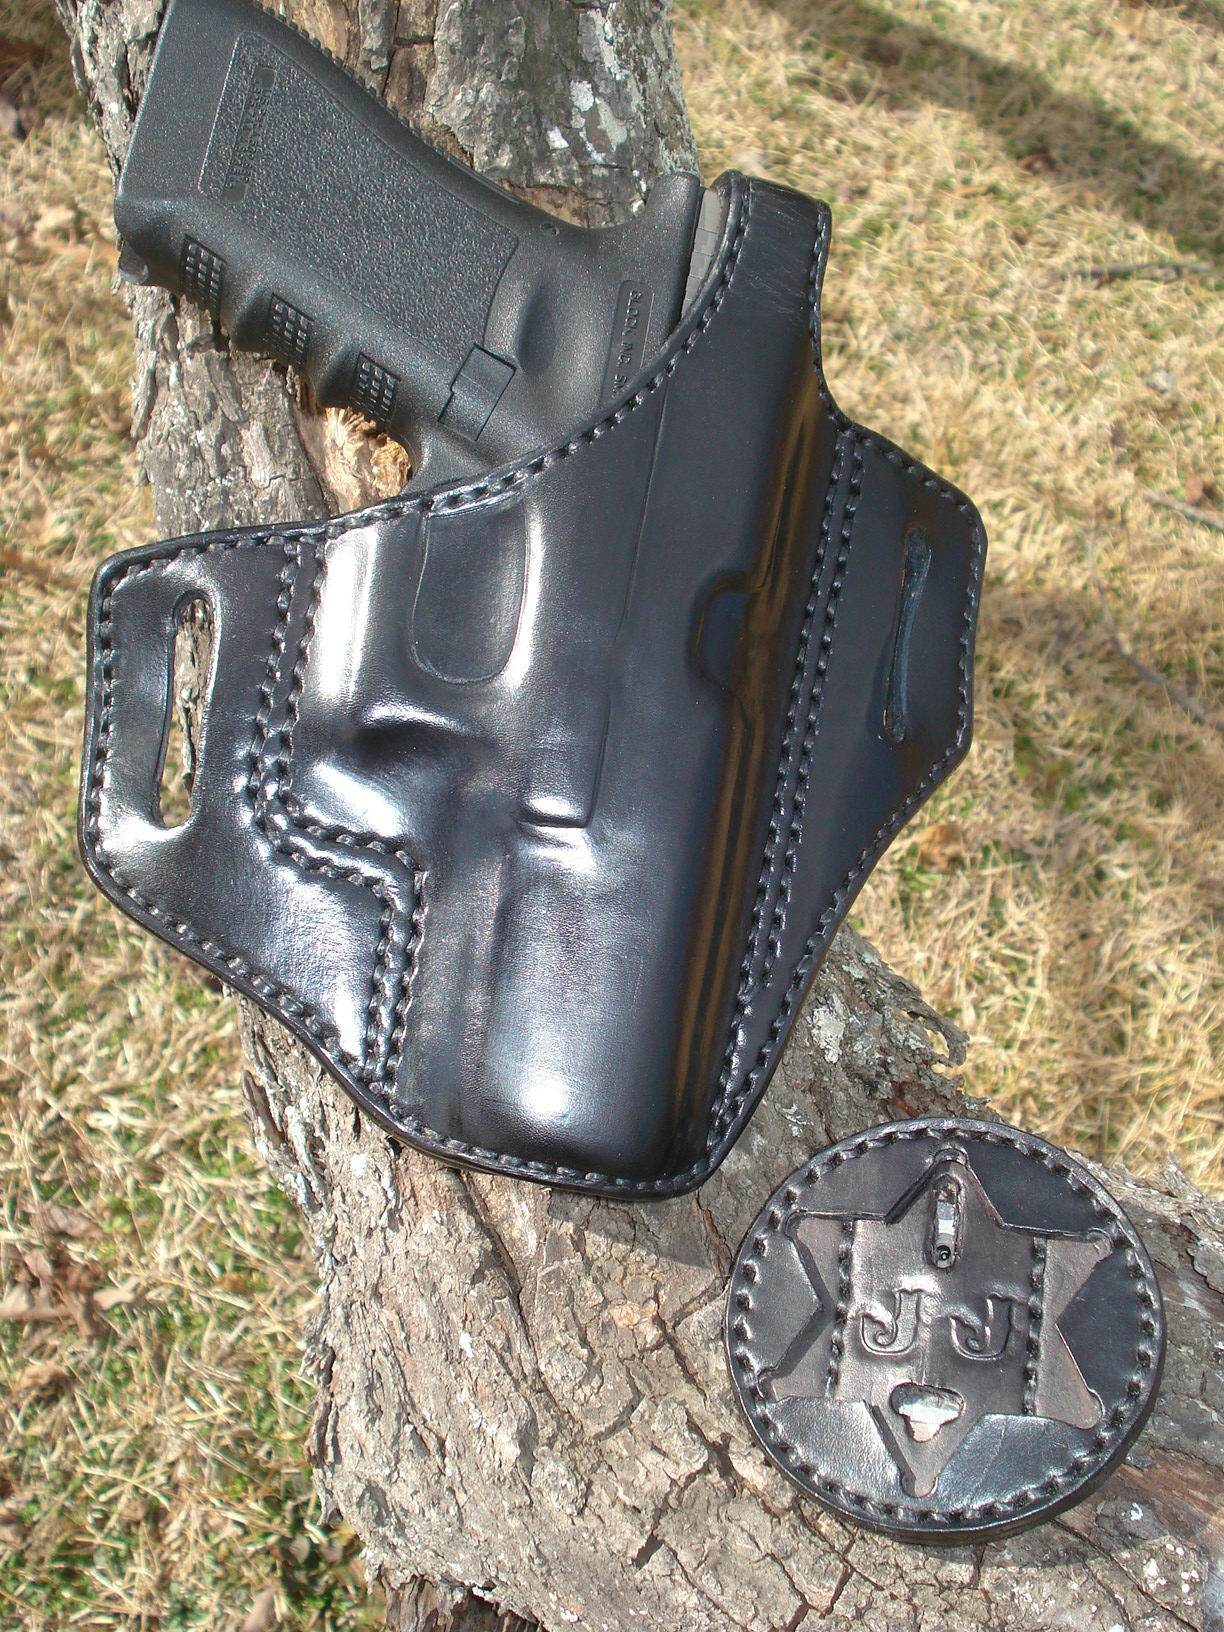
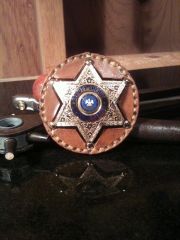
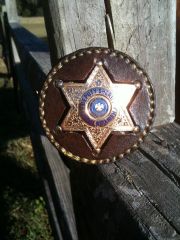
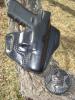
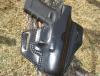
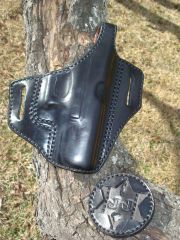
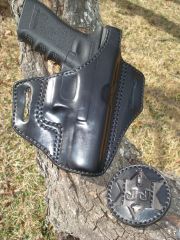
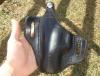
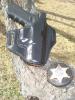
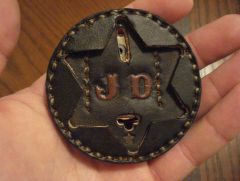
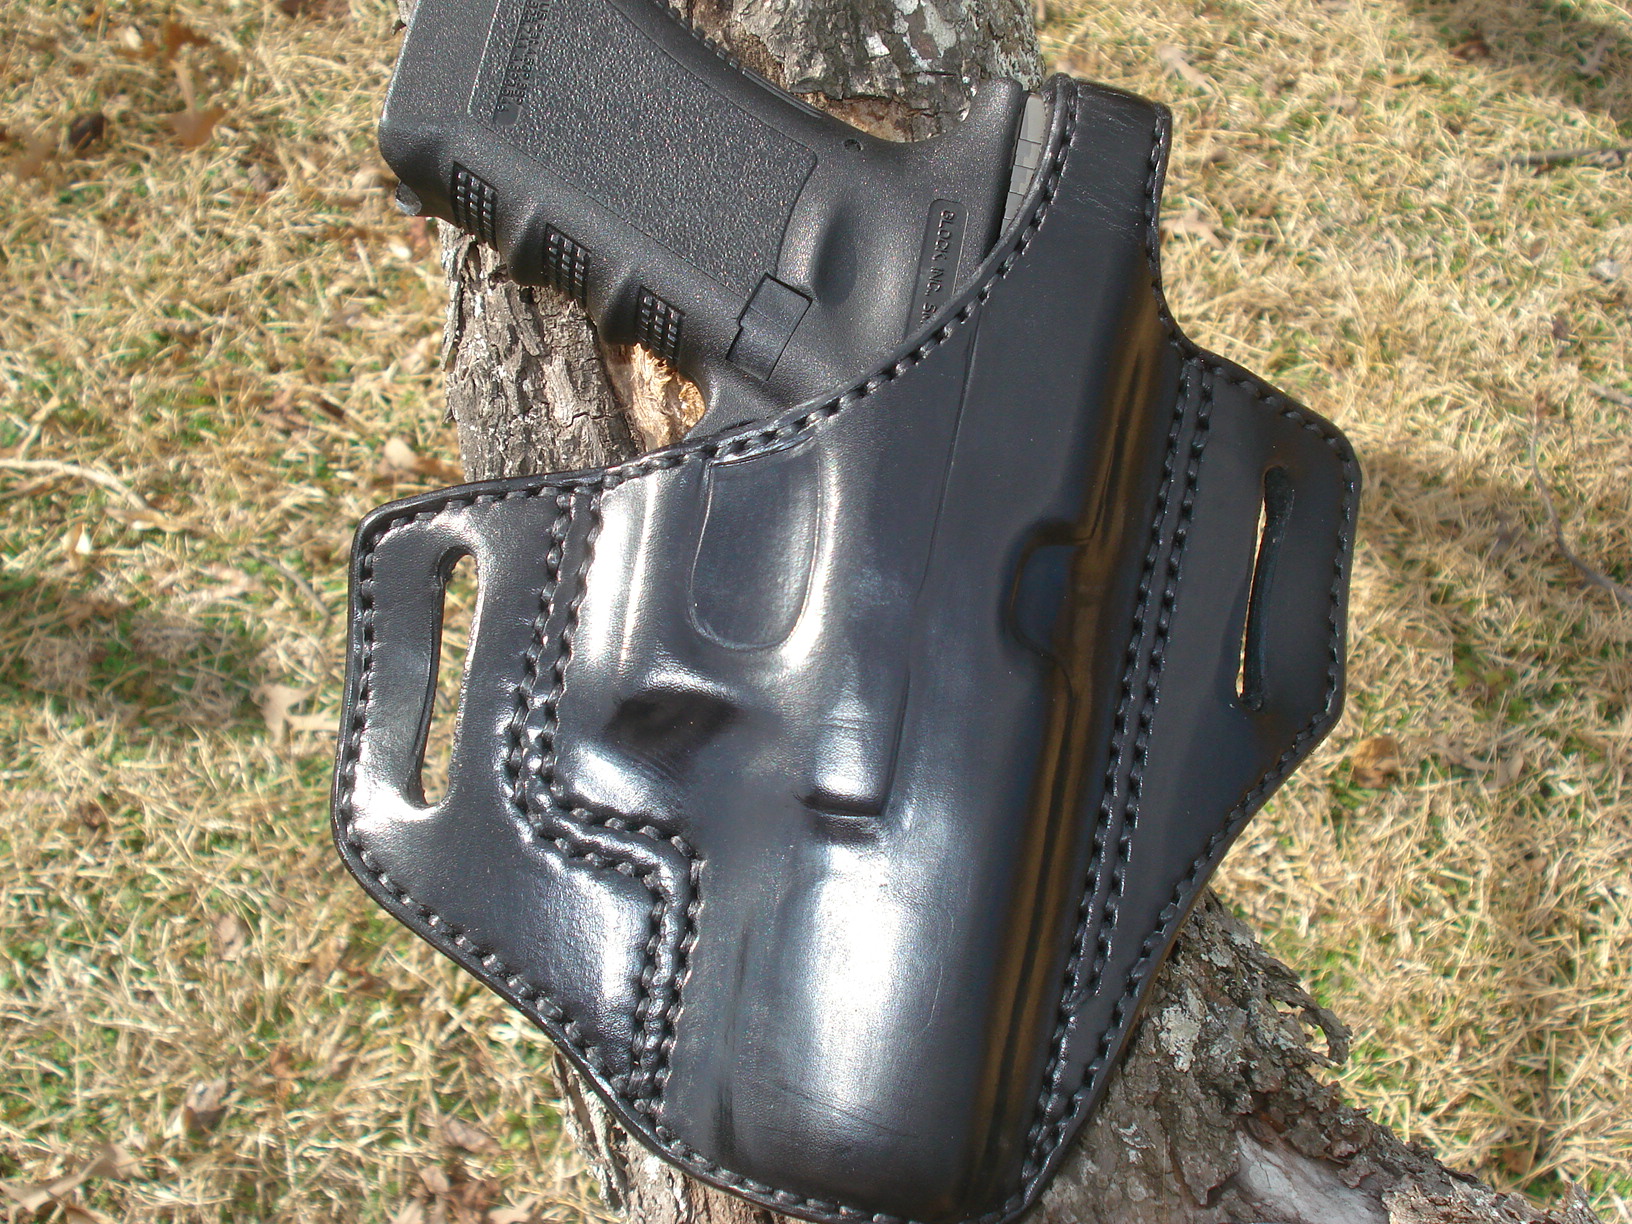
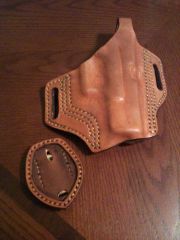
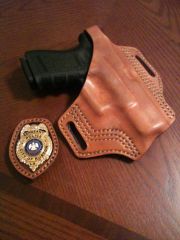
This is a pancake holster and badge holder set that I recently completed for a Glock 22. The holster is 8/9 oz. leather with a glazed pigskin lining (approximately 1 1/2 oz.). Both the holster and badge holder are hand stitched. This was my first attempt at a black holster. I personally prefer different shades of brown, but the customer requested black so I tried it out. It turned out a little more glossy than I hoped, but I am pleased with it for a first attempt at this color. Please let me know what you think. Any feedback would be appreciated!

-
Slingblade, In response to your question-I mold and bone by hand first and then dye. As long as you keep your moisture content right while forming and are careful not to burnish the leather, you should be able to achieve consistent coverage when dying. I know it's a matter of personal preference, but this method has worked well for me so far. How are you applying your dyes and finishes?
-
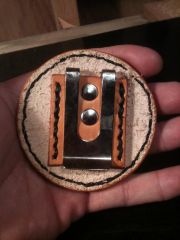
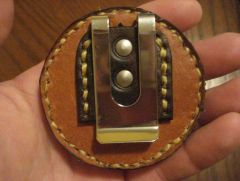
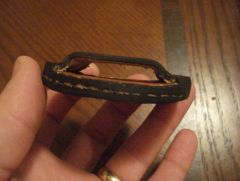
Particle, to answer your question, yes you can still lock the clasp on the belt loop model. I've found that you have to use a small knife or other object to get in behind the loop and reach the clasp, but it can be done. (This is another reason you need the actual badge when making the holder.) Big O, I agree that the belt clip model is more versatile but I have had trouble finding a metal clip that will open up wide enough to slip over some gun belts. Some of your higher quality off-duty gun belts can be up to 1/4" thick in order to accommodate a pancake holster or a tunnel and loop holster with a fully loaded firearm. The extra weight in the belt prevents the hoslter from "rolling out" as it would with an inferior belt. Like I said before, it's really a matter of personal preference. I just like to offer another option. Also Particle, don't hesitate to ask your customer for the badge if you need it to complete the project. I feel like most anyone would rather give you their item to ensure a good fit, whether it be a badge, gun, etc. Not everyone can afford to purchase a training gun in every model to use while forming holsters. I usually require cutomers to give me their weapon at some point during a holster build so that I can use it to bone the holster and check for fit. Good luck!
-
1911 Holster Design Question
BanjoMan replied to Haystacker's topic in Gun Holsters, Rifle Slings and Knife Sheathes
Jeff, I have to agree with most everyone that this may not be the safest design. I like the idea you are going for, but I would definitely relocate the strap. Even with the safety lever in position, I would not like the lace getting close to the backstrap safety. Another thing to consider, most people prefer to be able to deploy their weapon as quickly as possible and I don't know if you could do that with a lace tie down as opposed to a traditional thumb break. I do like the idea you're going for and I think with a little tweaking you will have an awesome holster! J.D. -
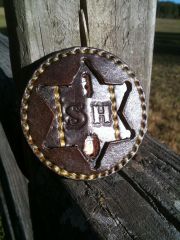
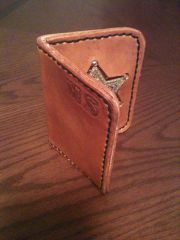
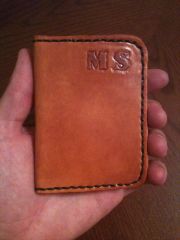
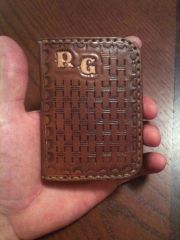
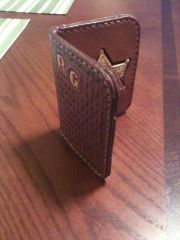
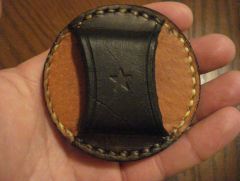
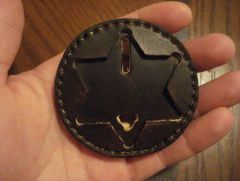
Wallets & Badge Holders
Images added to a gallery album owned by BanjoMan in Our Leatherwork Galleries
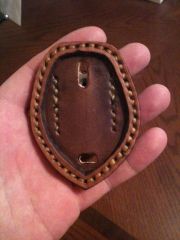
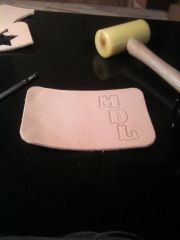
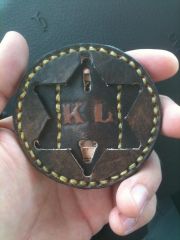
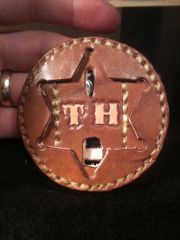
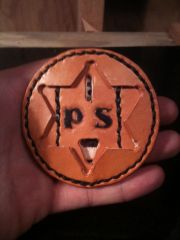
Various badge wallets and badge holders -
-
-
-
-
-


![photo[1].JPG](https://leatherworker.net/forum/uploads/1293032179/sml_gallery_18515_677_69475.jpg)