billsreef
Members-
Posts
51 -
Joined
-
Last visited
Content Type
Profiles
Forums
Events
Blogs
Gallery
Store
Everything posted by billsreef
-
I've been using Neat Lac about 10 years less than Bobby, and I've had the same observations. Haven't had any problems with it when using it as a final sealer over Fiebings Antique gel. Makes for a great combination I think. Haven't had any peel, crack or chip in that time either, and I'm pretty hard on belts and sheaths
-
Some Knife Sheaths And Pouches
billsreef replied to mkleathers's topic in Gun Holsters, Rifle Slings and Knife Sheathes
They look good -
Paint Pens
billsreef replied to Flip's topic in Dyes, Antiques, Stains, Glues, Waxes, Finishes and Conditioners.
It's a gloss finish after buffing, satin if you don't buff. -
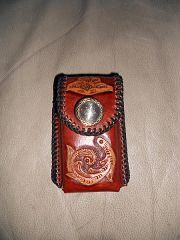
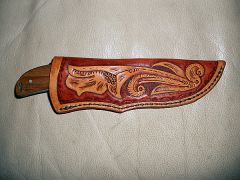
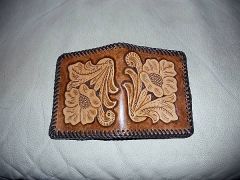
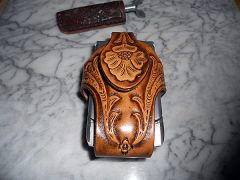
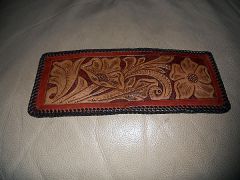
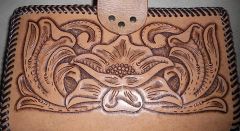
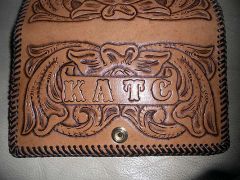
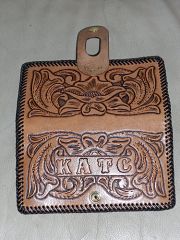
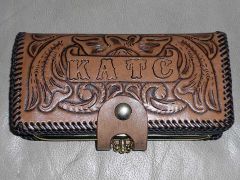
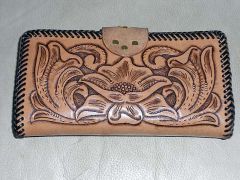
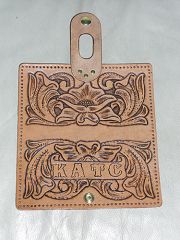
Finished this one up last week, for myself
-
From the album: billsreef leatherwork
© © leatherworker.net
-
billsreef leatherwork
Images added to a gallery album owned by billsreef in Our Leatherwork Galleries
-
From the album: billsreef leatherwork
© © leatherworker.net
-
If I was going for an aged natural look, I'd skip the die. A light coat of neatsfoot oil and day drying out under direct sunlight would naturally darken the leather a bit. Follow that up with some antique paste. Might want to use a resist before the antique paste, but possibly not. I'd play with some scrap to see what gives the best effect for what your looking for.
-
Since the black is in the tooling marks, die the whole piece brown, apply a resist, followed by black antique paste.
-
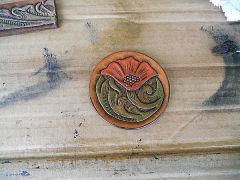
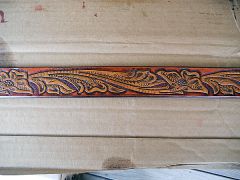
Something like this? I used a fine tipped brush for the background and edges around the tooled pattern, and wide brush for the open areas of the edges. A couple of coats of die till I got the effect I wanted, followed by buffing after the die dried. A light coat of neatsfoot oil that I allowed to dry overnight, followed by a coat of Neat Lac as a resist before applying the antique and final coats of Neat Lac.
-
This book, How to Carve Leather, by Al Stohlman is a great start. It's the one I started out with many years ago. Lots of pictures and very descriptive how to's. Covers basic florals and some figure carving basics.
-
They had me set up in a matter of hours via email. Though keep in mind this is Saturday, so I'd be patient till Monday.
-
Were you still getting any die coming off on the cloth when you stopped buffing? I've never used the oil based dyes. With water based and spirit based dyes I've never had die rub off with the final finish so long as I put in the elbow grease to buff till absolutely no traces of color come off on the buffing cloth or pad. I also like to let the dye dry overnight before buffing.
-
Wallet Card Pockets
billsreef replied to itsben's topic in Purses, Wallets, Belts and Miscellaneous Pocket Items
Typically the pockets do get stacked one on top of the other, with the top one being a little shorter than the bottom pocket. Generally the lining is bit thinner than your planing on as well. I usually use 3-4 oz tooling leather for backs, and 2 oz lining for the pockets. Keep in mind, once you put cards in those pockets, no matter how thin the lining, the wallet bulks up. -
How hard are you guys hitting your stamps? I started with the same set as a kid back in the 70's, and I've yet to have a stamp bend.
-
Don't know if there is going to be a difference with leather goods, but I can tell you how it works with live specimens for the aquarium trade that are CITES listed. In the case of things like seahorses and hard corals, the exporter needs an export permit from his country, and the importer an import permit from US Fish and Wildlife. For sale of the CITES listed species within the country, there is no further need of any CITES paperwork (however, if your the importer it is good to file it). Now if your going to export the CITES listed item, you will indeed need proof of origin to get the needed export permits. That said, it's probably worth asking Kevin at Springfield if there are any nuances with leather that you should know about.
-
The same dye can have a different appearance on two different pieces of leather. Add to that, the vagaries of computer monitors to look at dye charts, and the best bet is to get a couple of different dyes in the general color category and make up your own dye chart on a piece of scrap left from your work. This way you know how the dye will look on the leather your using.
-
From the album: billsreef leatherwork
-
From the album: billsreef leatherwork
-
From the album: billsreef leatherwork
-
Adult area on Leatherworker.net
billsreef replied to Johanna's topic in Announcements and Administrivia
Always liked bad jokes. Appreciate it if you could turn me on also -
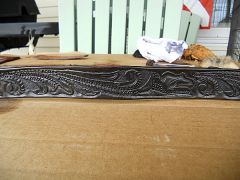
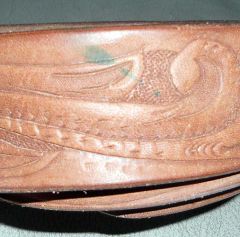
The stain really needs to go on before any finish. This is the order I use. I've never had any streaking problems with this method. Naturally, let each application dry well before the next. 1. Stain (I use spirit based stains) 2. Buff well to remove any excess stain. Use a clean cloth and buff till no residue is removed. 3. Neatsfoot oil, let dry overnight and buff. 4. One or two coats of Neat Lac as a resist, depending on the effect I'm going for. One coat will allow some color from the antique to shade the raised areas lightly. Two coats gives a nice clean look to the raised areas, while still giving a nice effect in the tooled impressions and cuts from the antique. 5. Antique. (I like the Fiebings Paste). 6. Final coat of Neat Lac. Here's a belt I finished last week. The background color is Cordovan, and I used Black Antique Paste. Only one coat of Neat Lac as a resist, as I wanted to darken the design a bit and mute the Cordovan.


