


Mike Craw
-
Posts
578 -
Joined
-
Last visited
Content Type
Profiles
Forums
Events
Blogs
Gallery
Posts posted by Mike Craw
-
-
Thanks Art! I was pretty sure it wasn't just that the paint was more expensive.
Mike
-
Could you guys enlighten me on the difference (other than the color) between the Cobra and the Artisan machines? I have been using an Artisan 3000 at the saddle shop that Carlos bought when we got back from Saddle Week '06. I'm OK with it, but I can't say my confidence is really high when I sew stuff. I noticed that the two lines look almost identical when you compare size to size, but the Cobras are several hundred dollars more. I just wondered if anybody has sewn on both and could compare them. Thanks,
Mike
-
Hey Gunter!
I have never made one of those, but like all patterns, I'd suggest that you start with the firearm you are making the holster for. The spring clip is encased in leather to protect the finish of the cylinder and frame of the revolver, so you could take a piece of that weight of leather and wrap from one side of the firearm, over the frame and around the other side of the cylinder. This will give you the length of the spring clip you need. I would guess that the clip is riveted to the holster body, so you can add enough length to allow for drilling holes for the rivets. I would cut the arc of a hole from the edge of a piece of cardboard that you could slide over the frame and cylinder. If the size is off a little, you can adjust it until you have the general shape, and your frind could bend the clip to that arc. Remember to allow for the thickness of the leather.
Hope this helps.
Mike
-
CJ1,
When you say "posted" do you mean on YouTube, Twitter, or on leatherworker.net?
Mike
-
Geez Ben,
I got to the part of your story where you asked, "...where did your blade go..." and I was almost afraid to read any farther! I know where it would have gone with my luck!!!
Lucky story, thanks for sharing.
Mike
-
Hey jls!
I have had fairly good success with both basket stamping and tooling holding up during the molding process if I am willing to give up a whole lot of forming and boning on the front. I tool or stamp the front panel of the holster, whether a separate piece for a pancake and let the leather dry, or the front half of a wrapped style like an Askins or a western style which I fold into the general shape and then let the leather dry. I then do whatever sewing I have to do and get ready to re-moisten to form. Notice I said re-moisten and not SOAK! On a pancake, I wet the rear piece real well and then the INSIDE ( or grain side )of the front piece a little. With the wrapped style, I dampen the non-tooled part fairly well and then less moisture on the tooled part.
It's kind of a feel you will develop after you've done a couple. You don't want the inside (flesh side) of the tooled portion so damp that the front side (grain side) darkens from the water. Let the whole thing case until it starts to all go back to it's original color and then insert the firearm and start forming. I form and bone the back and non-tooled parts fairly well. If I need to form the tooled portion a little, I try and form it in a little with the tool I made the impressions with (backgrounder, bargrounder, thumbprint, whatever). I like to put concealment holsters on my belt in the carry position before I insert the gun. That way the holster is formed to my body and to the firearm all in one shot. Once the holster has been on the belt for a little while, you can take it off and bone the back of it. You'll see that the belt slots are formed and slightly burnished.
Hope this helps.
Mike
-
I've been to Peter's site several times (incredible work) and went back again last night after reading this thread. I don't see any tools listed at all. Am I looking in the wrong place?
Mike
-
Hey Dwight!
I've built a few saddles and repaired a whole bunch more, and here's my 2 cents worth. If you haven't done anything with saddles and don't have access to and help from somebody who has, minimize your headaches and sew the skirts in place rather than trying to break down and reassemble the whole thing with no prior experience.
First, wash the saddle with a good saddle soap and a stiff nylon bristle brush. Soap, scrub, and rinse until the foam you get is pure white and not dirty anymore. Rinse it off really well and dry the moisture off the surface. Pure neatsfoot oil would be your best bet at this point.
If you are going to use pre-waxed thread, burnish it really well with some paper from a brown paper bag. This removes most of the extra surface wax and makes it slippery. If you don't you will wind up pulling wool up through your stitch holes and what is normally a tedious job becomes really unpleasant.
A good cleaning and resewing those skirts will make a huge difference. If you have a drawdown stand, block the rear of the skirts so that they flatten out. Leather skirts tend to bend toward the moisture in them, so those were probably pretty damp with horse sweat which is why the skirts are trying to curl under. When they are damp on top from washing, they will tend to curl back toward the flat position.
Work slowly and carefully and your buddy will be amazed and grateful.
Mike
-
Hey cstephens!
I've never used a damascus blade round knife, but the damascus belt knives I own are all pretty good steel. Seems like making one out of damascus is more an exercise in blade making than an improvement over regular carbon steel. As for the finger hole, if you strop often enough to work your way back to where that hole is, you must cut a hell of a lot of leather!!

Mike
-
Thanks Tom!
Mike
-
Does anybody have a ballpark idea of the price on a Campbell lockstitch leather sewing machine. Every time I try to find a price online, I wind up back at the company's website that only offers a lease to own. I probably can't come close to affording one, but I love an old machine with that many moving parts! OK, I was born 100 years too late...
Mike
-
Hey Lobo!
What a great looking result you got with your fininshing. I really appreaciate your willingness to share your finishing techniques with the rest of us. I don't know about anyone else around here, but whether it's my wood projects or my leather projects, I love the process of designing and constructing but I'd rather have a root-canal than put finish on them!!
I have re-read your description of the finishing steps you use, and I have two questions. First, when you say "antique" I assume you mean liquid antique and not paste? And you apply it after the initial light coat of neatsfoot oil. Do you let the oil absorb and dry or do you antique directly after the oil coat starts to even out?
Thanks again for being willing to school those of us who are interested. I've been making holsters since 1981, and I can't say I've really been happy with the finish on any of them!
Mike
-
Clay,
PM sent.
Mike
-
Hey Luke!
Did you ride that storm out in a TENT???
Mike
-
Hey knight1,
I would be interested in some of the Ray Pohja stamps. Could you give me an idea of:
What type of stamps they are,
Will you sell them individually,
What are you looking to get per stamp, and
Do you take PayPal?
Thanks,
Mike
-
Hey Guys!
I was looking to get a 5/8" swivel knife when I saw the Shop Talk article about swivel knives and they mentioned that Gomph-Hackbarth makes them in 1/2" and 5/8". I called Lonnie out in Arizona and about three days later for $65.00 plus $2.00 shipping, I had this beauty. Man, it's built like a tank and cuts really well. Even with my relatively small hands, I can carve for quite a while without cramping up. I really like it! I got it with a 1/2" blade, but you can have it with a wide variety of straight and angled blades.
Mike

-
Hey Ray!
I don't know if you've seen the YouTube video that Keith Valley did on antiquing, but he shows how he does a tooled saddle part. If you search "Cowboy Saddlery" there will be a list of videos on carving and tooling, and also the one he did on antiquing. Hope this helps. I notice he does not use a dog in his process.
Mike
-
Hey Guys!
A guy I work with wanted a pancake holster and Ranger belt for his 1911. He wanted it to ride lower than a standard pancake, a little more straight up and down (rake) and he wanted the Star of Texas on it. I decided to give him the whole flag!
Mike
-
Hey mdmorgan!
I don't know if you have access to the "Making Leather Cases" series by Al Stohlman, but he shows moulding cased leather over a wooden form of the shape and size of the object you're making the case for. You form it with a rub stick until the leather is tight down the sides and against the main board, and then nail all around the form where the stitch line of the case will be.
Once the item is dry, you can remove it from the form and stitch it to a flat piece of leather that has your belt loop(s) on it. You'll stitch through or over your nail holes so they will never show.
Hope this helps.
Mike
-
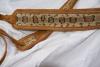
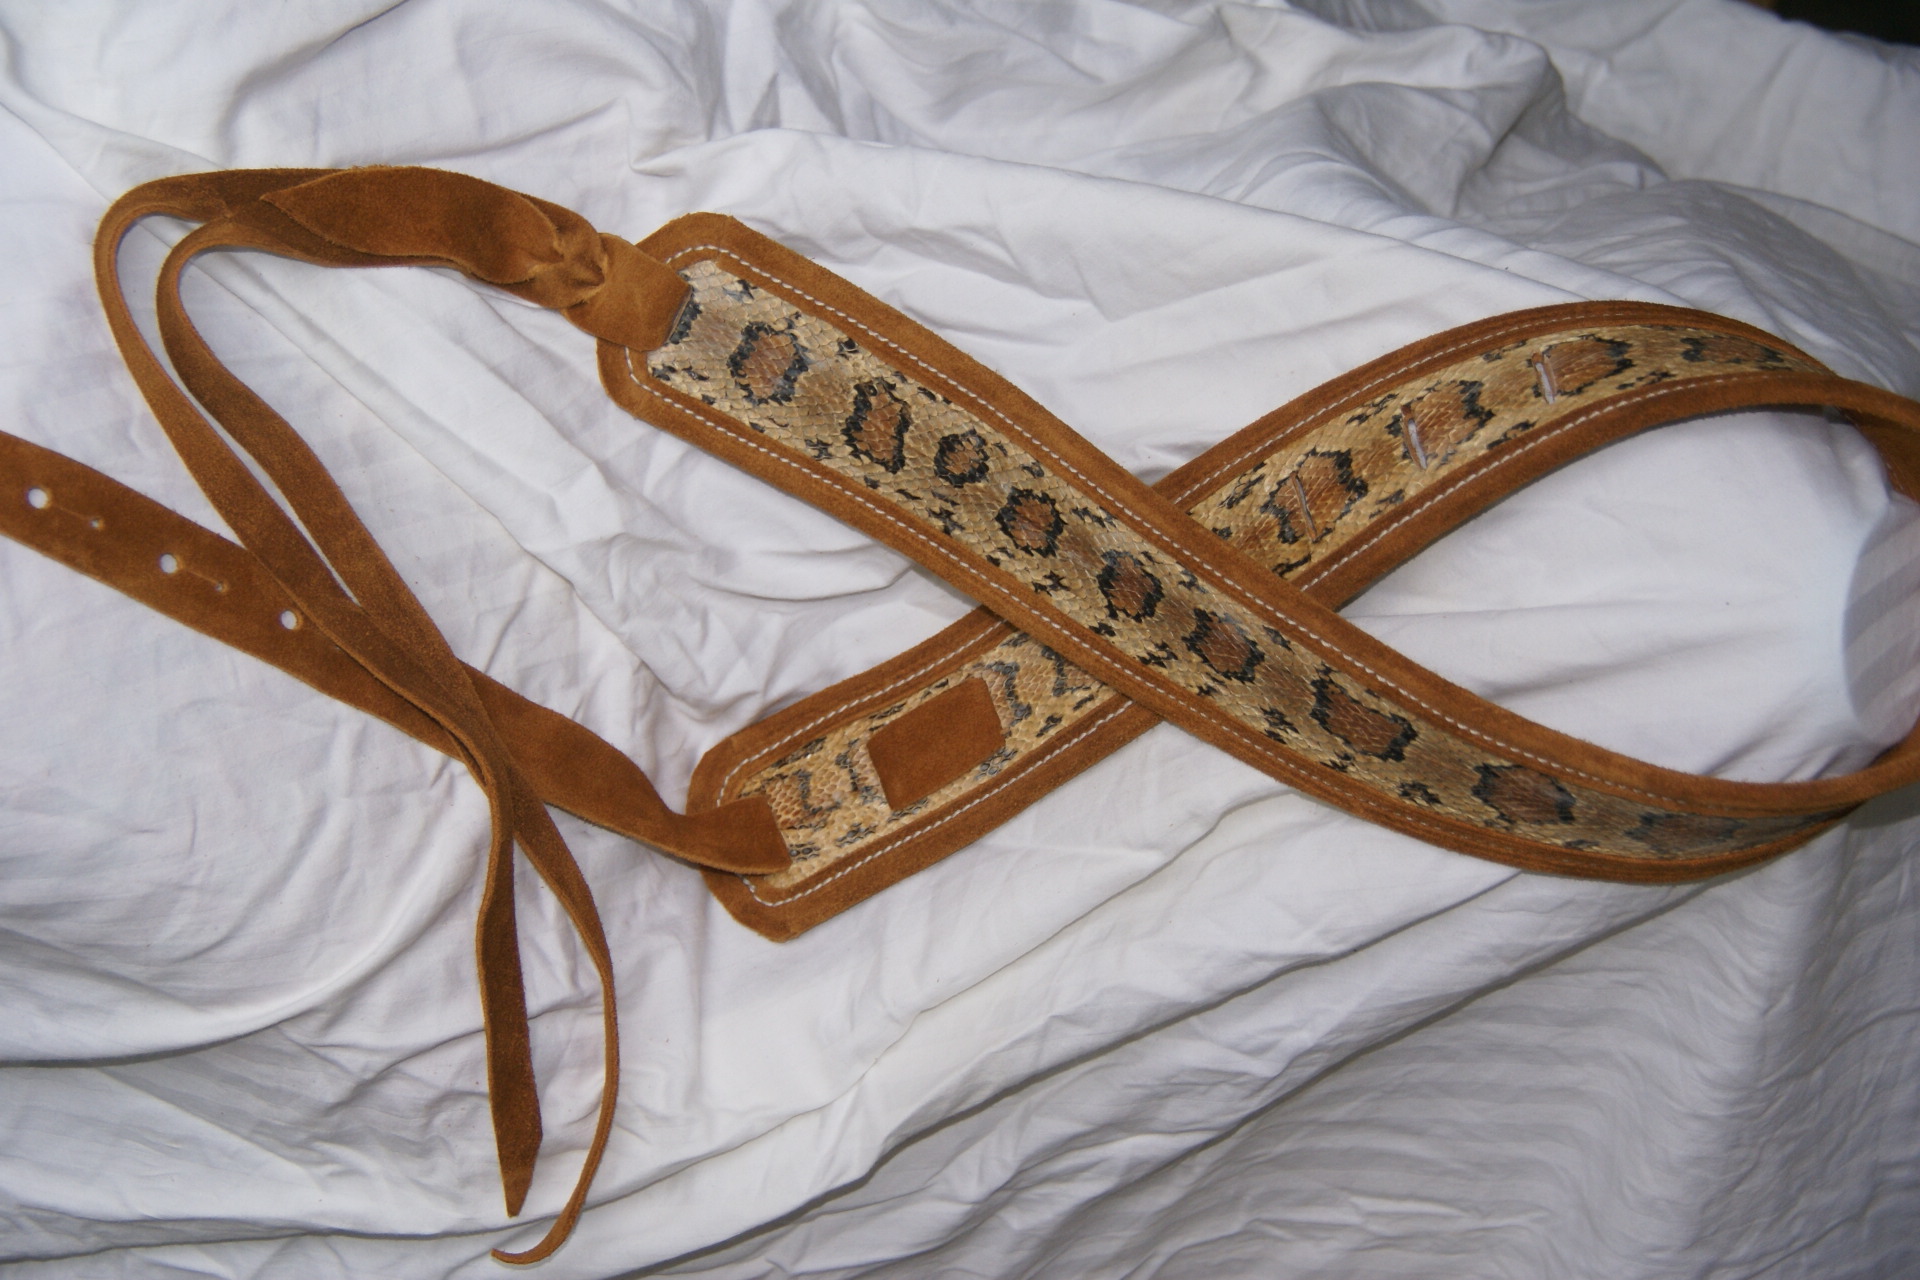
Thanks Fred!
The only color I can take credit for is the color of the binding split. The color's of the skin are thanks to the snake and the taxidermist who tanned it.
Mike
-
Thanks Luke! Maybe when I give the strap to my buddy, the song will stop?
Mike
-
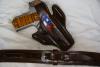
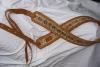
Hey Guys!
This is the copperhead skin I was asking for tips on oiling and preserving. Now it's a guitar strap.
Mike
-
Hey Dave!
i appreciate the wuick answer. Thanks!!
Mike
-
My friend said that a taxidermist tanned the skin, so he's pretty sure it wasn't done in antifreeze. The skin is fairly pliable, so it might work as is. Do you guys who use snakeskins a lot use NeatLac to protect it?
Mike


Hobby Horse "stitching Horse"
in Leather Tools
Posted
Hey Darkbeer!
That is indeed an outstanding first effort in wood, and it should serve you well over the years. I had the same thought about the bolt as 50 Years Leather did, but perhaps for a different reason. As you sew, the loop of thread on the right side is going to catch on that bolt about 9 out of 10 times. Having a thighteing device on the inside between the jaws will make your sewing a lot faster and more pleasing.
Mike