


TwinOaks
-
Posts
4,513 -
Joined
-
Last visited
Content Type
Profiles
Forums
Events
Blogs
Gallery
Posts posted by TwinOaks
-
-
Luis,
The tension screw usually is attached to a T-nut inserted from the rear of the holster. Between the two layers of leather (front and rear of holster) it's not uncommon to have a compressable spacer. Something akin to sorbethane- firmer than neoprene, softer than typical nylon spacers. Basically, the tension is adjusted by tightening the screw and squishing-for lack of a better description- the spacer.
Shorts,
Very nice work. Nice and clean, and the stitches looks great.
-
Once you have a basic pattern, and lay out your stitch lines, use a removable contact cement (along the lines of rubber cement) to hold the pieces together while you groove, mark the stitches, and punch the holes.
You can cheat on the holes by using a dremel or drill, but fair warning- an awl punched hole will reclose around the thread and in my opinion, look better. Drilled holes will always be drilled holes, and you have to use a drill bit / thread combination in the right proportions or you'll have ugly stitching.
I see Randy is reading this at the same time, and is probably typing a small book to add here. So, since he's a bit more experienced than me, I'll let him offer his methodology to you. Mine isn't really any different, and I've modified mine to reflect some of his advice. So, that said, look for RandyC's post- it's good info.
-
One of the things I've discovered is that some dyes are easily resisted by finger/hand prints.
 Cleaning the leather before adding color is definitly a good idea
 -
Very nice work there! If you have plans for a left handed version, I'd like to link this page to a member of another forum I frequent. The person in mind would probably be very interested.
I have to agree with Ron on the molding of the safeties, but I'll offer that on a well built 1911 (or any pistol for that matter) the safety should have positive engagement/disengagement and not be prone to unintentional movement.
-
Nice work, Luke. I have a question though....what's that shiny part on all of them?
-
Mike! Where do I send the money?!? As soon as I sell my old cow, I want to buy your magic glue!
Brent,
Don't worry about getting the cash, I'll take magic beans if you happen to find anyone peddling them

-
Great info, and thanks to everyone. Ken, thank you so much for the layman's explanation. And Dave...wow! Thank you for posting those pics so I could see what is possible with lacing. Since this one is for the tool box, I won't be remaking it, but for the other braiding projects I have scheduled, I know how to 'fix' it.
Thanks bunches,
Mike
-
Don't ya hate it when you haven't reloaded all the prog. files (after HDD replacement) and can't resize anything?
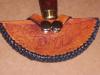
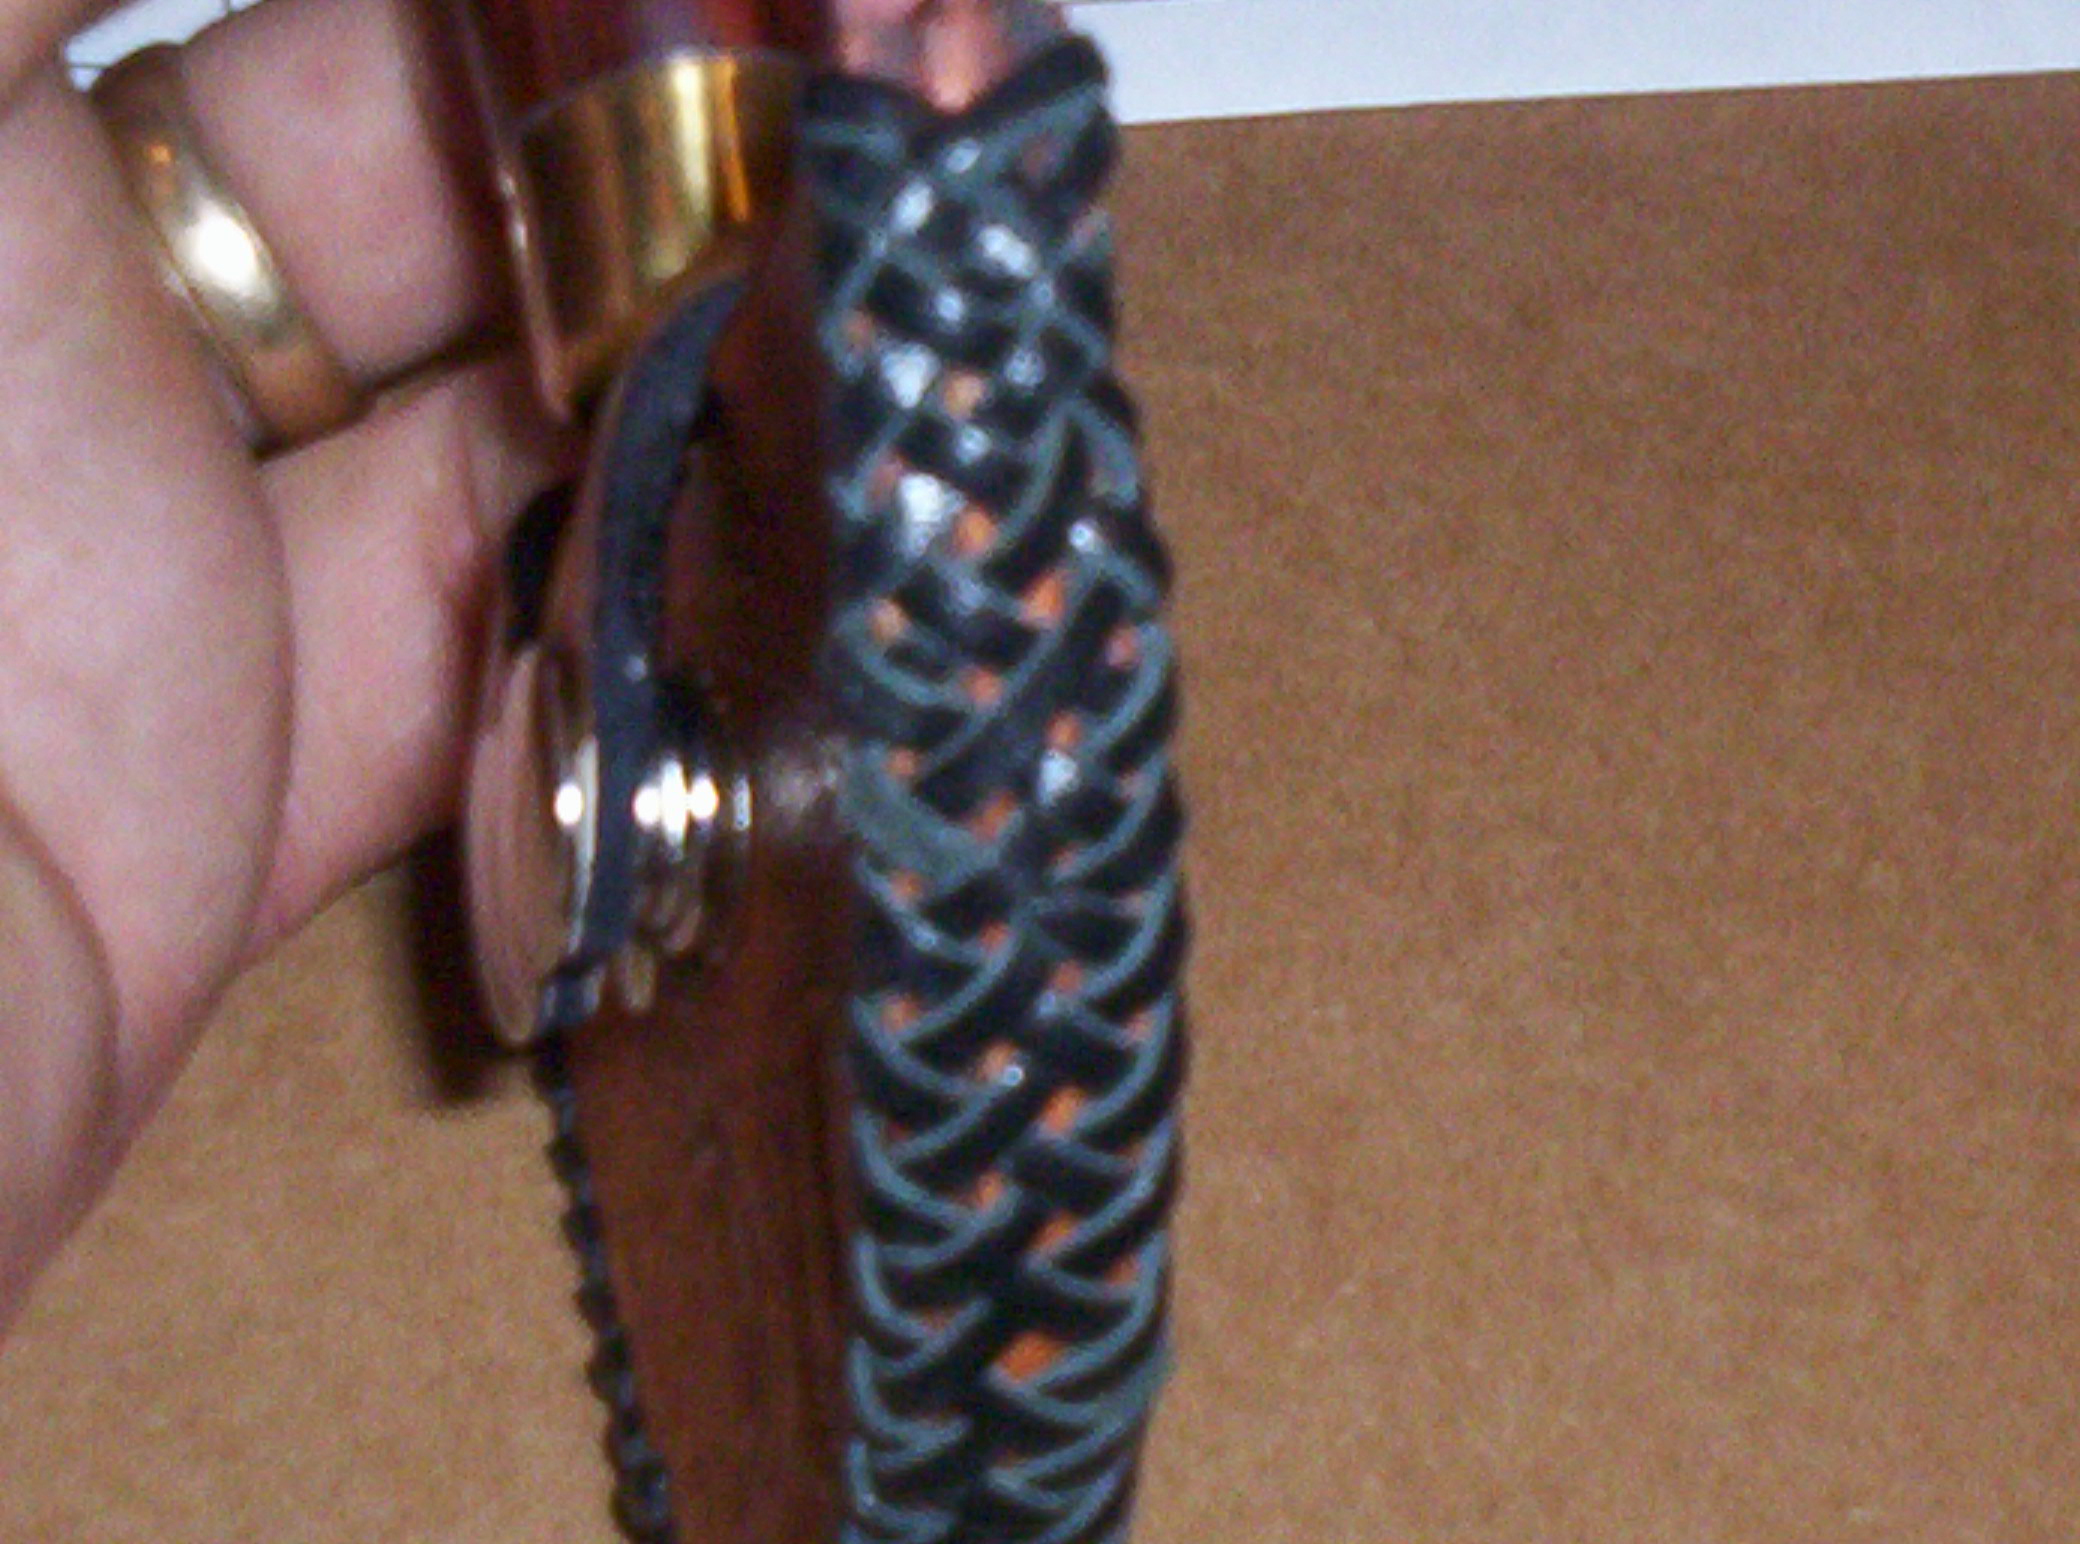
Here's the other photo...that wouldn't fit on the OP.

-
The sheath came out just fine, if a little oversized, but I'm wondering why the braid isn't as tight as I thought is should be. Is it b/c the lace is thin?
I'm pretty sure I could use a bit more care on the alignment of the lacing holes too.
Tell me what you think.
-
not bad looking at all!
And you ain't kiddin' about the scrawny part

-
The video presented a "worst case scenario", I think. But, I gotta agree with most of what's written above- use the right material for the application, and anyone can be disarmed given the right circumstances.
P.S. I prefer leather...it's purdy-er.
-
Hi all,Pardon the absence, but I was workin'. Drof, the piece of leather around the mouth is to help keep the holster open when the pistol is out. Yes, it is a wrap-around style that mimics one made by member JORDAN, and is kin to the Aiskin (<---did I spell that right?) (if you didn't, you should read the entire thread I linked) and there are advantages to both, but the most important thing is your preference. Pancake hosters usually lay flatter against the body, and IMO conceal better. The type I made (again IMO) makes for an easier grab and draw. They also use a bit less leather than a two piece...but just a bit. Sweat shield is optional, and doesn't make sense to me on a belt holster. Primarily, it should protect the pistol from you, and provide a little comfort if your pistol has sharp corners ( think 1911 with a spur hammer). The carry position on the body also GREATLY affects how well a hoster can conceal a pistol. I made a holster for my wife's M&P compact, using the one linked as a basis. I wear it about 5:30 and the whole rig disappears. I wear it any further forward, and I need a heavy jacket to conceal it. If my wife wears it at all, it sticks out at an odd angle, and she can't draw the pistol with anything resembling smoothness- so back to the drawing board for hers. Keep body shape in mind for holster design!
Okiwen,The drop of dish detergent acts to break the surface tension of water, and helps it penetrate leather better. Other alternatives are Lexol, and Procarve.
The file folder patterning can be used for both holster types.
-
Looking good so far as I can tell!
Something you might want to consider: A lighter weight holster will take less room ( I know, I know, we're talking fractions of an inch here) than 8oz, and you can modify your carry options to eliminate some of the drawbacks. One example is to build the holster to ride under the belt instead of attached to it. Thinner leather is a plus here, and you use the belt to stabilize the pistol in the holster, in conjunction to the thumbstrap, which helps retention.
Mike
-
AHHH I forgot to mention something!!!
You might try adding a stitch line around the belt slots, too. That will help reinforce the leather at the slots, so that it doesn't separate. Having the pieces glued helps of course, but that stitch will really improve the life of the holster.
Thanks, Randy, but as you noticed I pasted your instructions. I'm just passin' on what I've learned here, my friends.
-
I use Barge contact cement, but others also recommend using rubber cement, as it is moveable once set. Barge can be repositioned, it just takes little convincing. And recoating once you've peeled it apart. The thing about using a contact cement between layers is that it keeps the leather in place for stitching/lacing, and keeps the leather from 'creaking' later on. The trick to a rounded edge is to bevel with the edger, then use a rounded boning tool or something with a curve for burnishing. You can also make multiple very light passes along the same edge to give a 3 angle bevel that very closely resembles round. Tandy sells some nylon edge slickers that work pretty well, but personally I like wood. Don't laugh too hard at this, but one of my best burnishers is the peg off a coat rack. I don't have a piece of antler/bone, but I hear that it works very well, and was one of the 'original' designs.
If you'd like to take a look at one I did, follow this link, post #60: http://leatherworker.net/forum/index.php?s...40&start=40
-
Regrets to inform that all photo evidence of previous leather work is on my recently deceased hard drive (laptop). If'n anybody knows an easy way to retrieve it, I'd love to hear about it. Johanna, Kate, any word on recovery of old files from November-ish of last year?
-
Hi, and welcome!
Something to consider is that many knife sheaths have a welt on at least the edge side. The welt prevents the blade from cutting the thread. So not only do you have the thickness of the leather, but also the welt to deal with.
For forming...try glueing some pretty stiff foam (seat cushion stiff) to a plywood backer, then use the foam to press the leather into shape. Use some weights on top of the plywood to hold it there. This will get the general shape for you, but for really crisp lines, you'll have to use a 'bone folder/creaser' of some kind to trace the contours. Modeling tools work well for this, too.
-
Okay, I understand the question a little better now.
For the body of the holster- that which isn't formed to the gun's shape- you just have to arbitrarily decide a shape. You can trace the pistol and just draw shapes to see what you like, and use the gray matter to think about how the body of the holster will effect concealment (i.e. a pancake style will pull the holster closer to the body, and for IWB, especially, a bit more leather 'under' the muzzle of the gun will help to flatten the shape by pressing the clothing out just a little). Use a ruler or other straight edge to line up where the belt line will be, and mark the holster with a light scribe line top and bottom of the straight edge in the approximate belt slot areas. You'll want to consider and allow for placement of retainment straps, rake (cant of the holster), and general comfort issues like sweat shields.
For the assembly, it works well to use contact/rubber cement to hold the pieces together. Once you have glued the front and back together, use a overstitch wheel to lay out your holes. If you have a stitching groover, use it before the wheel. This makes a nice little channel for the stitch to lay in and avoid abrasion. Having the leather glued really helps keep it in line for hole punching. If you're set on using the awl, go for it, but I've started using a 1/16 drill bit to make the stitch holes. You should adjust the drill bit size to you're thread, of course. For the edge, let the piece dry a good bit, and double check your alignment. Little bitty variations might be covered by burnishing, but if it's a lot, you should dress the edge with a skiver, dremel with sanding drum, regular sand paper (600 grit, I think), or a file. Once you've got an even edge, remoisten run the edge beveler (Unless you rounded the edges with the sand paper) and start burnishing. Having the glue right to the edge will help keep the layers together here as well, and the seam should disappear. If you're going to lace it instead of sew it, do the same thing, but use a lacing chisel in place of drilling the holes.
Hope this clears up the process a little (at least my version of it).
Mike
-
I hope Randy doesn't mind me doing this...
These are the steps I use to build a holster. I myself use an arbor press for my initial forming of the holster, then I use my hands and sometimes molding tools to complete the job. You do not really need the press. All of your molding/boning can be done by hand. Different holster makers use different steps in the building process. Some stitch the holster prior to molding and some stitch after molding.For pocket and IWB Holsters I use 6-7 Oz. vegatable tanned leather. For belt holsters, I use 8-9 oz. vegatable tanned leather. Best advise I can give you is to study the postings on this forum. Theres some real good holster makers hanging out here with a wealth of knowledge.
1.After patterning, cutting, evening, edgeing,and dyeing, I glue the holster together with (Barges Cement)
2. I layout my stitch lines with a groover.
3. I stitch the holster.
4. I soak the holster for 15-30 seconds in hot tap water with a couple of drops of "Dawn" dish soap.
5. I let the holster dry to the point of the leathers natural color returning and the leather feeling cool to the touch.
6. I wipe the pistol down with a lightly oiled rag.
7. I place the pistol (naked without seran wrap) into the holster.
8. I mold the holster to my satisfaction.
9. I remove the pistol from the holster as soon as I'm finished molding.
10. I allow the holster to dry.
11. I finish and burnish the edges
12. I photograph the holster.
13. I post the photo on this forum for you guys to critique, praise,
 laugh at or write whatever you guys think of my holsters.
Good Luck!
Randy
Now number 8 is a little ambiguous, and here's how I do it:
Once the leather is cased, I start working it by hand, and pressing it along every ridge and valley. Then as it's drying, I'll take various things - mallet, blunt end of stamps, modeling tools, bone folder/creaser, and really push the leather to the pistol. You can get some nicely burnished effects this way. It won't be as pretty as something from horseshoe leather, but it's the same idea.
For the pattern, use a file folder. The fold crease makes a nice center line. (also credit to Randyc) Lay the pistol upside down, on it's sights on the center line then carefully pivot to either side for outline tracing. Then pivot to opposite side and repeat.....Randy laid all this out, but I can't find where he put it so I could quote him on this part.
-
You need some "TwinOaks Magic Glue" it does everyting you asked and is really cheap at $20 for a 4 oz bottle. Send cash, and don't worry about it seeming to be the same stuff that Beave'r is talking about.....ummm I licensed them to use my magic glue....and they changed the label....yeah..but it's the same stuff.
-
Very nice work, I'm sure it will literally be able to hand down a few generations. Although I haven't used the same leather as you, I think the results (long lived leather) are obtainable with regular veg tan. Christmas for Dad was a triple triweave stamped belt. We put nearly 2/3 bottle of carnuba on the belt and worked it in by hand (after dying) then finished with neat-lac. My dad did the same thing to a belt he made for his dad 35 years ago, and that belt is still strong yet pliable. It's even held its floral/sheridan carving, without significant 'fading'.
-
I'm glad others have chimed in with suggestions for storing the leather. I have a much simpler solution- Work at break-neck speed, develop insomnia, and just work the piece until you're done...straight through, with naught but a smoke break here and there :D
It's what I do (although I think I may have just given away the secret to the one day turn around on the monthly figure carving...) and it certainly allays the problems with storing leather.
Good luck,
Mike
P.S. Don't leave leather laying out if you own cats.:angry:
-
It appears that I have a fatal crash on my laptop HDD. I have a replacement drive on the way, but all the goodies are still on the old one. Does anyone have a suggestion for data retrieval from the old disk? There's some personal info I don't want to distribute (tax returns, etc.) when I send the old HDD back for warranty swap out, so I also need to do a complete DOD wipe. Any suggestions for how to do this if the drive is bad? TIA,
Mike
-
Nice work Brent! I like the idea, and might just have to do one of those too.
I think the term you were looking for was faites pivoter le couteau fourreau double

Preserving old leather
in Dyes, Antiques, Stains, Glues, Waxes, Finishes and Conditioners.
Posted
Wow, a bona fide Anti-Q!!!!
As far as preserving the leather, if it's already cracking, it may be too late. I'd think some oils would do well to remoisten it, but at that age, I'm really not sure. One thing you can do is make sure it stays away from harmful UV light as much as possible.