


calanneh
-
Content Count
413 -
Joined
-
Last visited
Posts posted by calanneh
-
-
Hey folks!!
Been awhile since I posted but thought I would share a little today!!
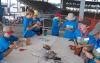
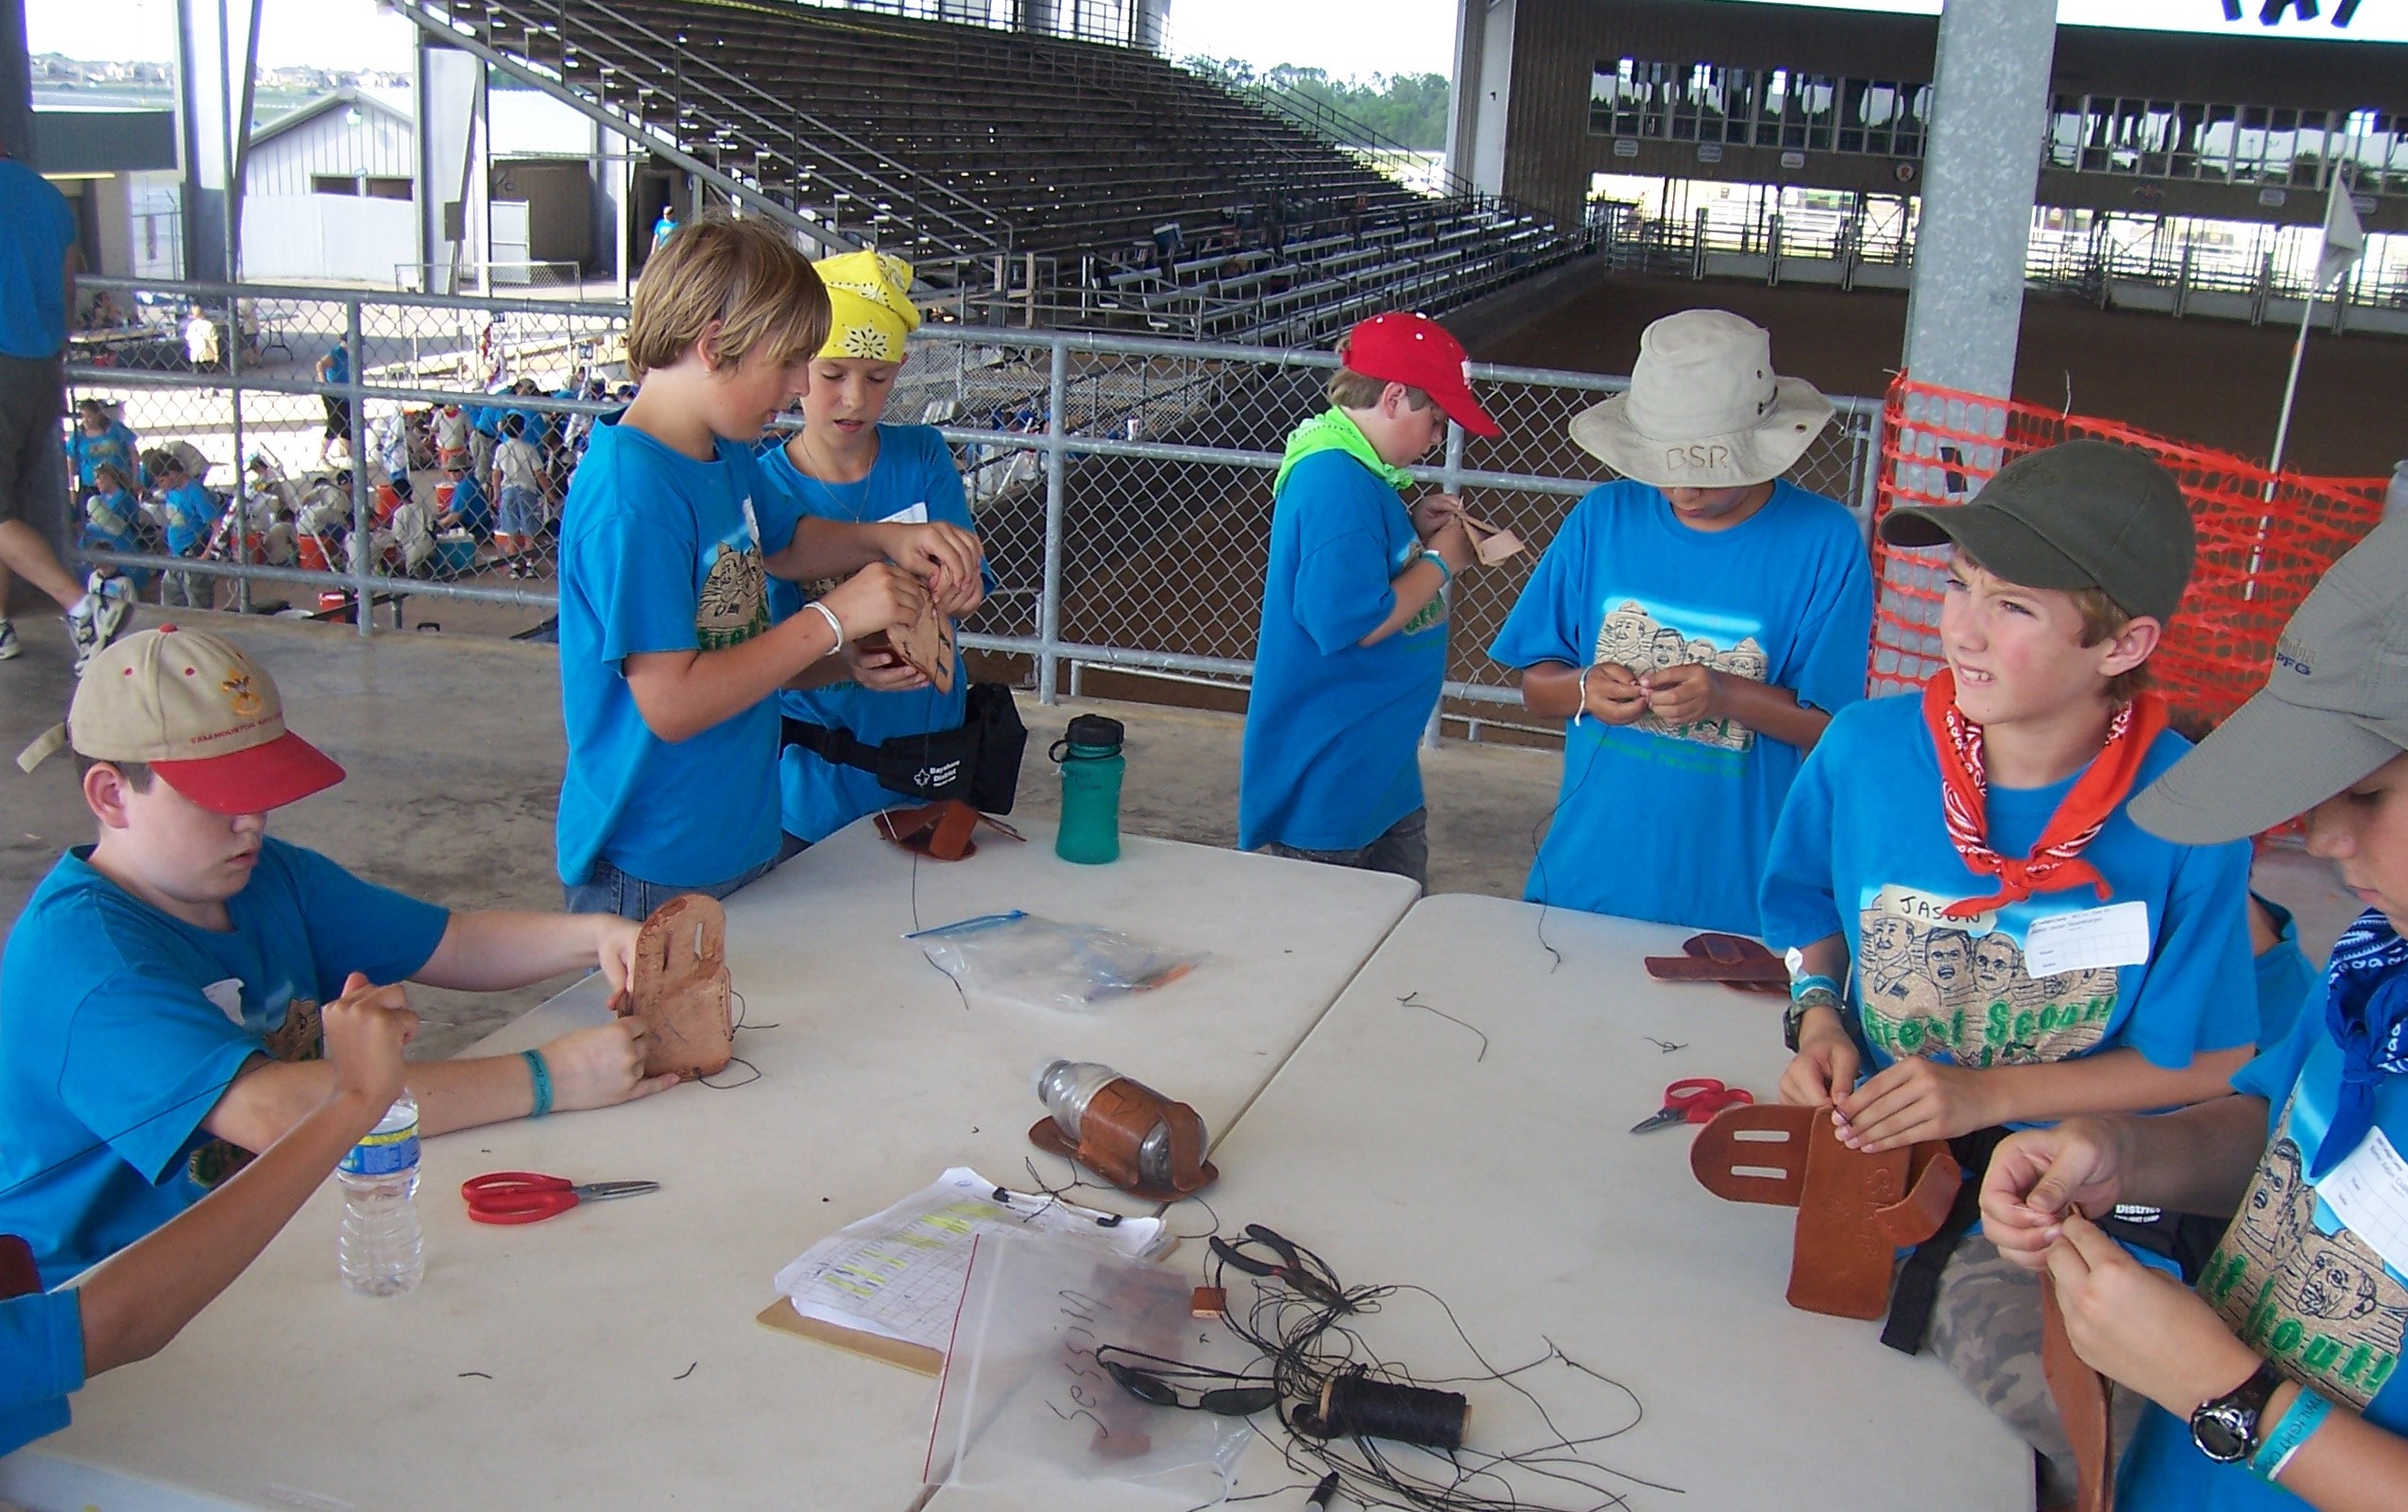
I taught the Leatherwork Merit Badge this past June and thought I would share a few pix. I went a different way this time and picked one pattern for all the guys to make instead of them each picking different patterns. I used the 'beer bottle holster' design that I have seen on several sites on the net and used it as a 'water bottle holster' for the Scouts to use on campouts. It holds standard water bottles and the smaller gatorade bottle perfectly!
Most of the boys were in 6th to 7th grade, but i even had an older teen girl (staff) come by and take the whole class to make a holster for herself.
I dont have the pattern on this computer to upload, but you can see one laying flat in the middle of the table in the first picture.
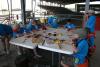
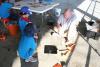
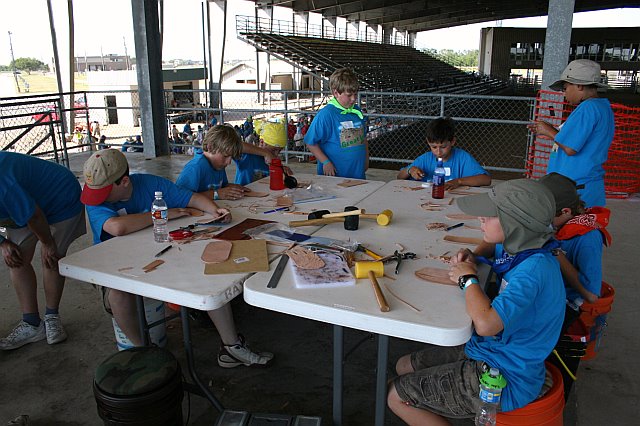
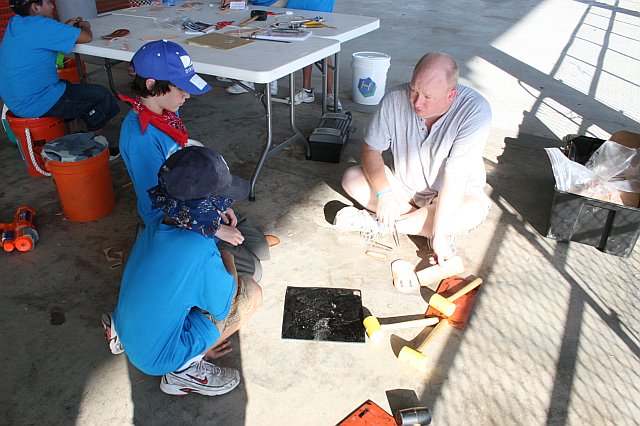
It is a simple 3 piece pattern, back, front and tab at the bottom. The guys layed out and traced the pattern onto a piece of vegtan, cut out and then punched the holes for sewing, bevelled and slicked the edges, stamped their designs into them, I spray dyed and sheened them to save class time, I helped them set the rivets and then they sewed them up!!
They all loved the class and had a blast!!!
Enjoy the pix!!
p.s. Yes that is my bald head attached to the fat guy sitting there on the floor...

-
Guess they got tired of sharing as the link is no longer active.
-
Beatiful work Tina!!!!
-
Thanks for the patterns Jim!!
The projects and patterns both look wonderful!!!!
-
Looks great Tom!!
I love working a pattern out and making them from scratch, even if it takes a few times!! LOL
Great job!
William
-
I love it! The wet forming around the bottom looks wonderful. I dont see any stretches or wrinkles at all.
Great Work!
-


Congratz bro!!!
I can't wait to see the article!!!!
Will
-
Luv em!
They look wonderful!
William
-
I jsut emailed my entry!!!!!!!!
-
Got my LW.net hat and I love it!!!!

-
It looks wonderful!!! He should love it!!!
William
-
I ordered a hat as soon as i got the email!!!!!!!
-
Those look great bro!!
Keep it up!
William
-
Sounds like a good plan. Like Rawhide said, it does make it easier to work with the edges when they are thinner!
-
Well, I know I've been at the keyboard too long. The first thing I noticed when I saw the pics was the hole punched before the "fringe" slits at the bottom of the piece. And I involuntarily nodded my head.Do you folks know why he punched holes before he cut the leather? Because the holes will prevent the leather from tearing, even as the piece is in action. Doubt me? Get out a piece of scrap and make a cut. You can tear it easier than you can if you punch a hole before you cut, and, thus, have a curved line at the top. This is probably the same rule of physics that makes Roman arches of stone last for centuries, and I don't know if the practice even has a name, but it is one of the hallmarks of a good leatherworker vs. a mediocre one.
Johanna
Yep! I learned that the hard way on the first piece of leatherwork I made....
You armour looks great bro!!!!!
-
I tryied his base address of http://www.akademideri.com and it isnt working at all. IT is listed on google but none of the links from there work.
I am assuming his site is down or gone.
However the work shown in the above pix is wonderful!!!
-
I've used all three and an Osbourne. The Osbourne is by far the best of the four (for those that like to use rotary punches). I have customers that liek all of them and some that don't liek any of them.
The 'pro' is a very good deal at the $29.99 sale price. It is durable and the tips are replaceable.
My first puch was the economy model for the obvious 'getting started cost' on a budget. It worked ok for THIN leathers. Anything bigger than 6 oz and you risk bending the handles of the punch if you squeeze too fast.
I got a few 'deluxe' models in Nov when I was heading to Camp to teach the leatherwork merit badge and they are ok, but only have two differences from the 'economy'. The tips are replaceable and they have the yellow handle grips. THE GRIPS SLIDE AROUND! After I got back from camp, I sliced the grips off and dipped each handle in the normal tool dip goo from the hardware store. They don't slide but liek the 'economy', it is only good for thin leather or for CRAFT GROUPS like the merit badge class.
We use the 'Pro' punch in the store for everything we do that is close to an edge and can reach. We replace the tips with the ASB tips and they last for several months, even with daily use.
If ya got the $29.99 to spend, the "pro" is a good buy. If ya got more to spend, then the Osbourne is a great tool too!!
-
They work kinda like a sewing machine does, but not automatic.
Basically you pull out a long section of your thread and it gets fed thru a hole and then you start going into the holes one by one and loop the thread on the needle around the long section you already pulled thru. Then pull the needle back thru and pull tight to snug the stitch up. Then go onto the next hole and repeat.
I know a FEW people that like them, but like I said before, I dont use the one I bought when I first started out...LOL. For what I sew, I can do better and faster by hand.
The one instance I can see where the handle would come in handy is if you have a very stiff, thick leather you are sewing thru and you need the handle to help push the needle thru. Usually you just make the hole bigger, but you never know...there may be some case where you cant make it bigger and the handle is needed.
-
Stupid Question What is gum tag?The only stupid question is the one not asked Sas... We are all here to learn from each other.
Gum Tragacanth was used in the 'old' days as a sealer over the entire surface of leather items. Today it is mainly used on the edges of leather items. It helps the slicking and burnishing process on the edges to give you a nice smooth look.
I use it on the backs of some of my projects to help with some of the loose fibers there too.
Hope this helps!!
-
Depending how hairy it is, you can sand it like you do wood. Use the same process, dampen it, start with a kinda rough grit sandpaper and work up to a smoother one.
If it is not real hairy, trim it with shears and then you can rub some gum tag onto it to help smooth it.
-
Your work is always Topnotch Tina!!
You inspire us all!
-
Welcome Raven!
Love you work bro!! Looks wonderful!
Keep the pictures coming!!
-
Those look great Dag!!!
I liek them better than the pair I made from vegtan. I am working on a pair from heavy brown upholstry hide. Hopefully they turn out as good as yours.
What kind of thread did you stich them with? Did you hand sew them?
-
I've found I can do a far stronger seam by hand with my needle and wax thread......

Wanted: Discontinued Tandy Bikini Pack
in Old/Sold
Posted · Report reply
Hey hidepounders!
I am looking for the discontinued Tandy Bikini pattern pack. I am willing to pack for the pack and postage!
Please PM me!
Calanneh