


MisterSmith
-
Posts
52 -
Joined
-
Last visited
Content Type
Profiles
Forums
Events
Blogs
Gallery
Posts posted by MisterSmith
-
-
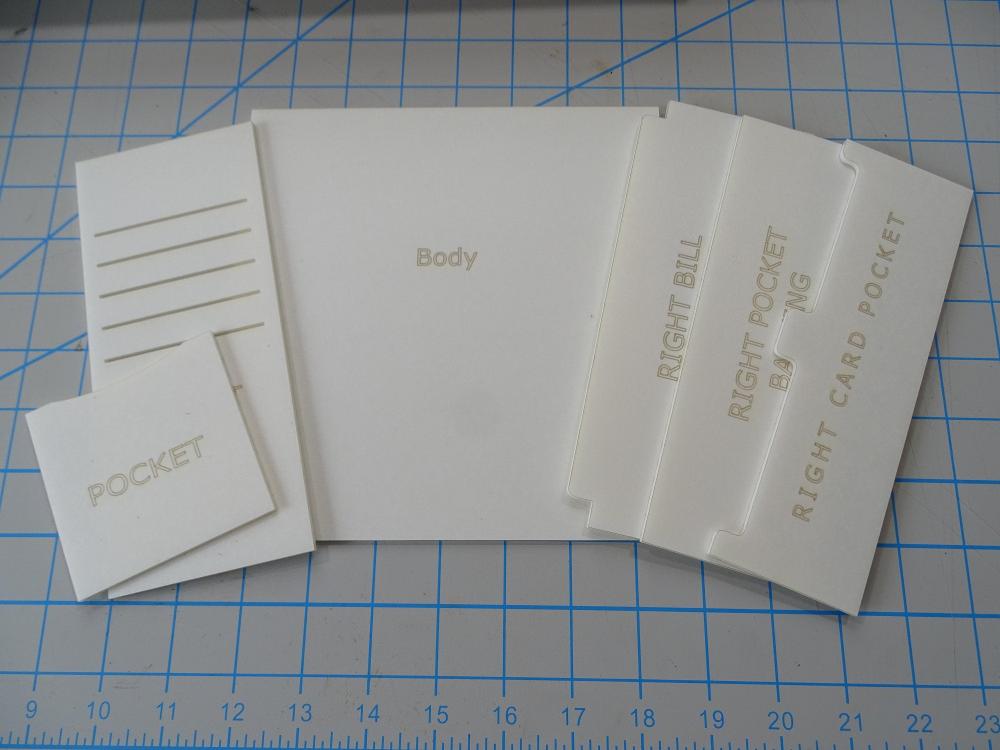
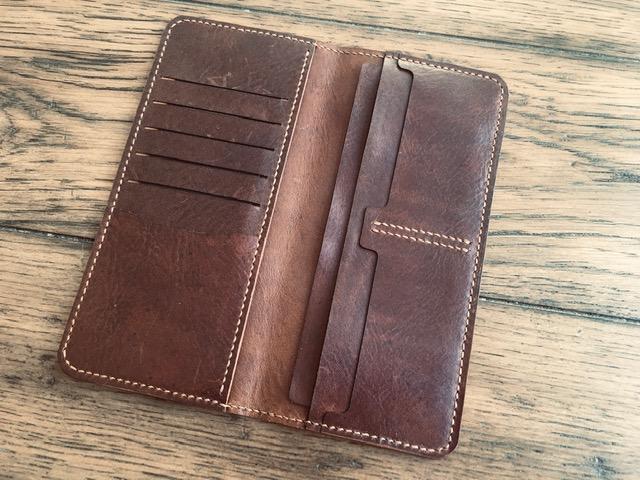
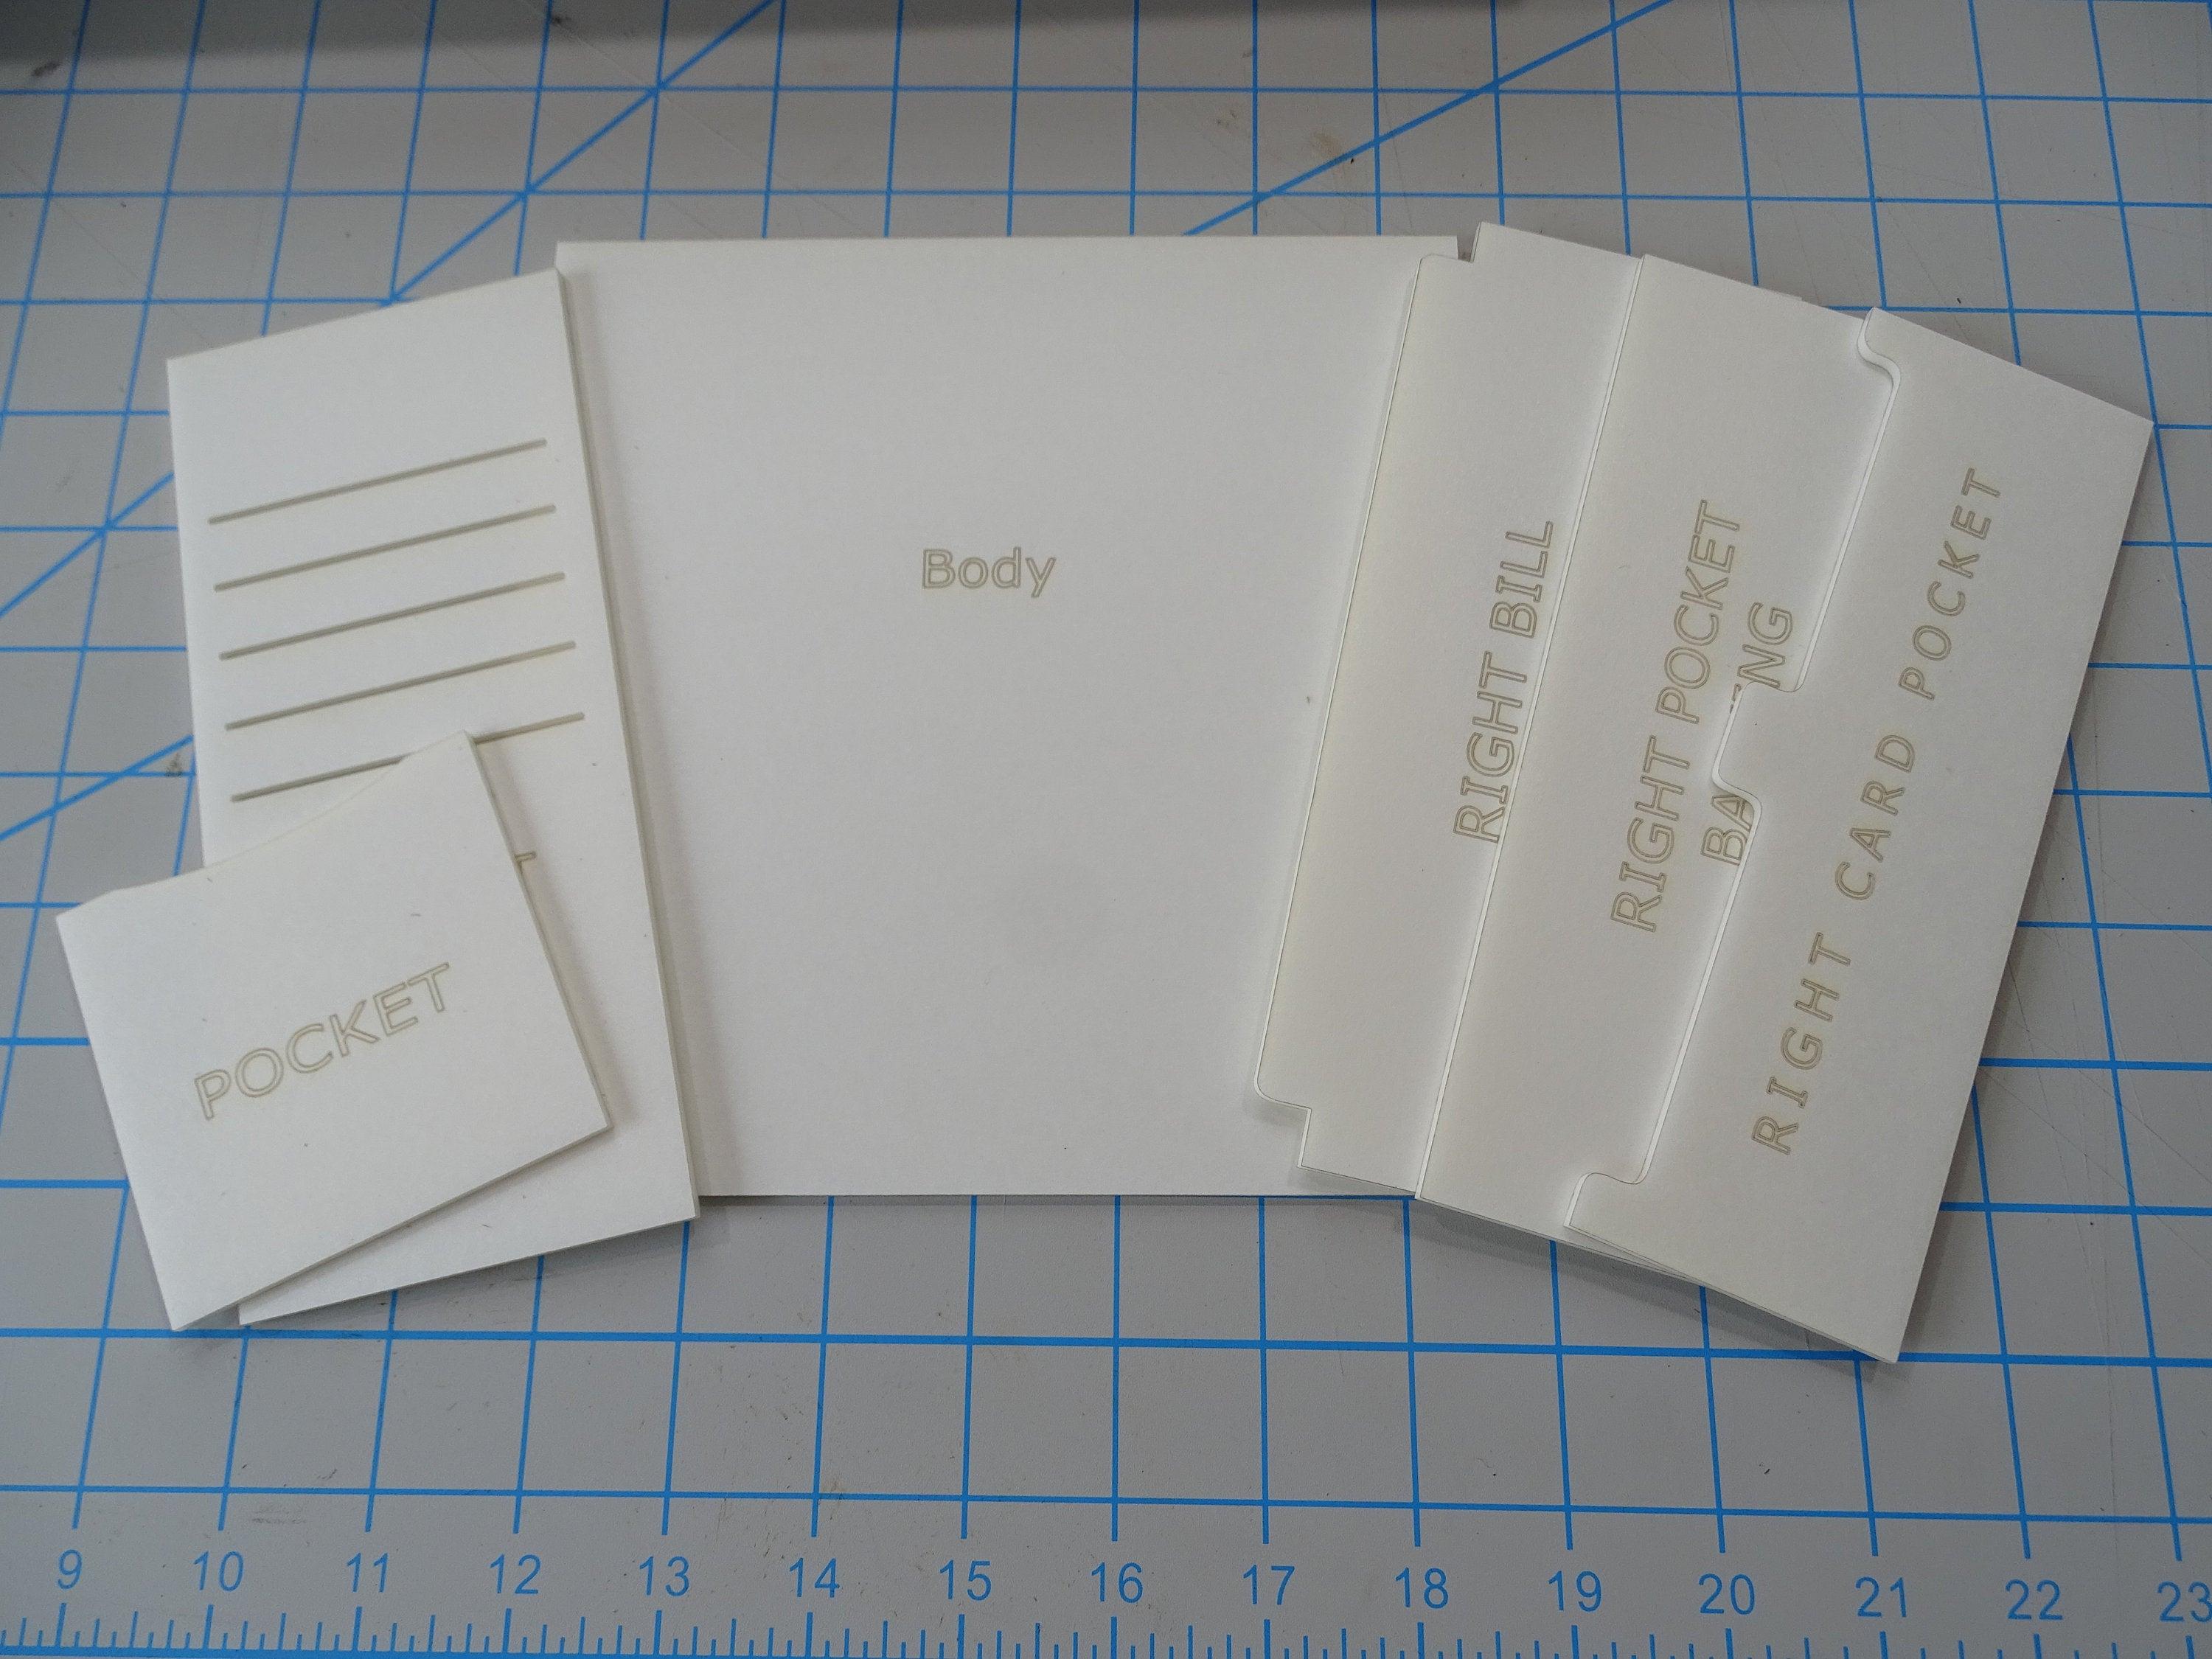
Brand new to my store page is an acrylic template for a beautiful long wallet pattern. The template comes complete with the 6 individual pieces pictured, and will help you produce a beautiful, yet functional long wallet. Each template piece has been laser etched describing its function to help simplify order of operations.
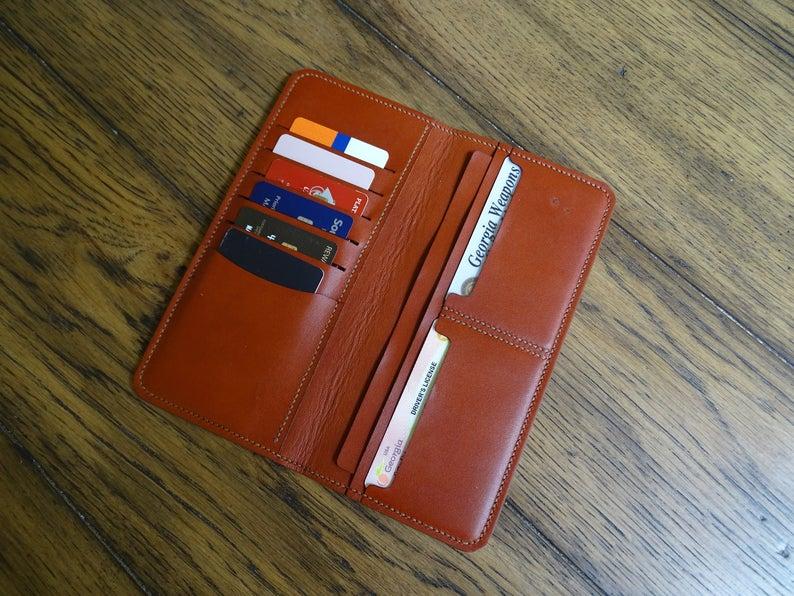
The template will help you produce a wallet that features:
A slim 7.5" x 3.5"design when folded
A left panel that features 5 hidden card slots, and one standard pocket
A right panel that includes a bill pocket, receipt pocket and two card pockets. Leatherworker.com users can get 15% off by using the promo coded “insta” at check out. Click the following link to be routed to my etsy page: Smithleatherco Etsy
Happy Leather Crafting,Mark
-
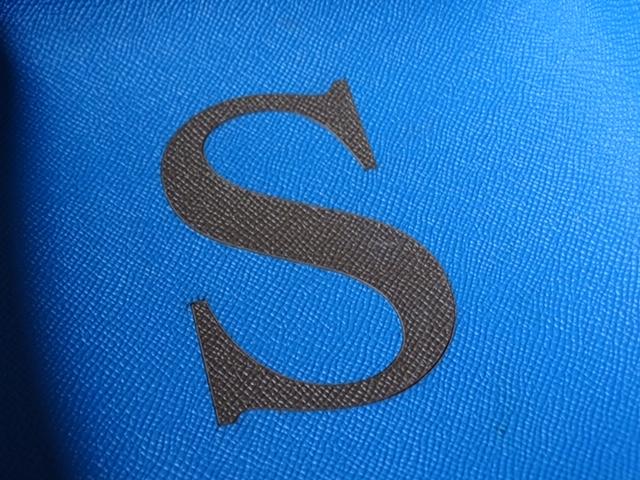
Cheers! Thanks for the comment. I’d love to tell you I have a deft enough hand to cut that precisely by hand, but I don’t. I used a Glowforge laser to cut the relief and the inlaid letter.
-
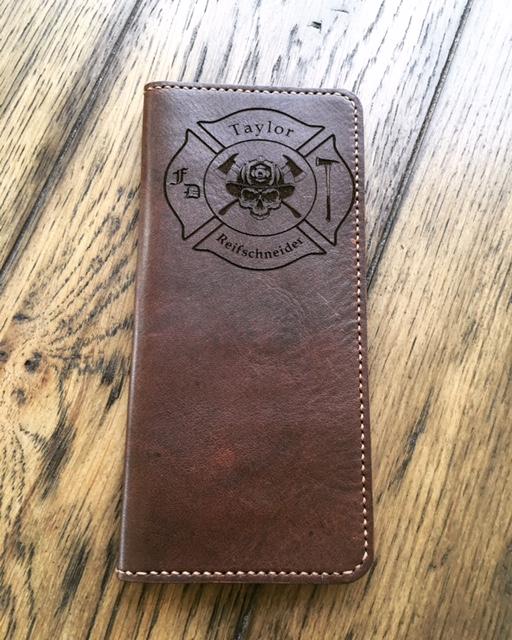
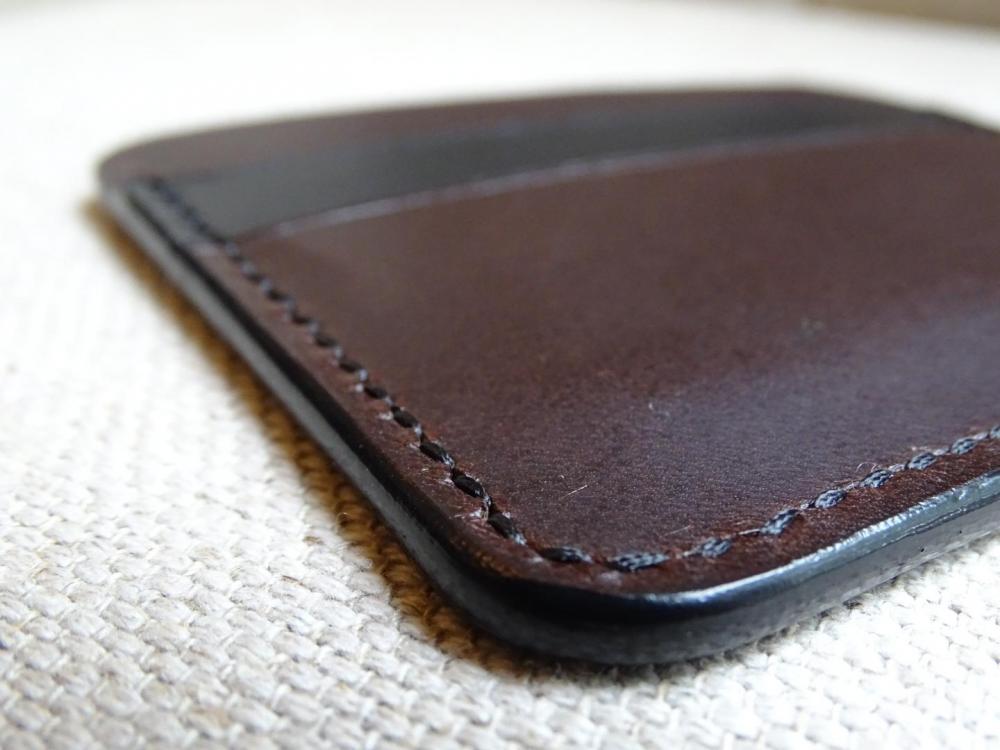
My Brother-in-Law has been toting around the same store bought Tony Lama rodeo wallet for the last several years. It's to a place where it needed replacing with something a little more personal...Buttero leather inside & out. 3oz exterior and 1.5oz interior pockets. Laser engraved cover.
-
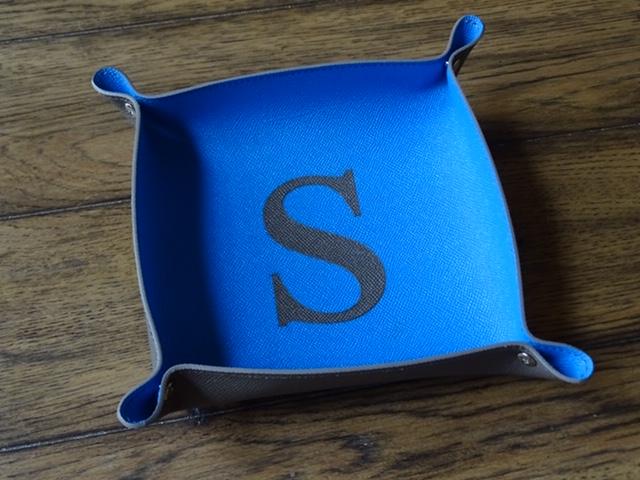
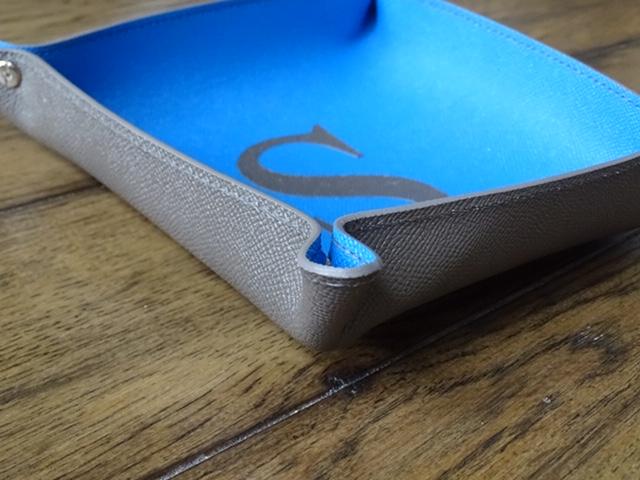
Desk valey made from Blue and Grey French calfskin. Handstitched boarder, painted edges and an inlaid letter in the center. Happy Leather crafting...
-
I use Uinter’s edge paint and primer from rmleathersupply.com. My process for veg tan is as follows:
1) sand and even up the edges w/ 150 grit sanding belt
2) bevel edges and apply 1 coat of Uinter’s primer and let dry for 20 min
3) apply 1st coat of edge paint and let dry for 20-30 min
4) buff knock down uneven spots with 500 grit sand paper (can be found @ Walmart or any auto parts store’s paint and detailing section)
5) apply second coat of edge paint
After this you can leave it as is or apply 80/20 beeswax/paraffin on the edges and burnish with a waxed canvas cloth.
Happy Leather crafting! Stick with it, the name of the game is trial and error so do what brings YOU the best results.
-
I recently picked up a TECHSew 2750, and its proved very versatile. It’s has sufficient attachment and options that it will satisfy a variety of projects
-
I am interested in snapping up your Regad M3000. Just to clarify it is 110v Model? Would you be willing to share a photo of the unit? Also I live in GA, and can coordinate shipping for you. Feel free to DM me or email me smithleatherco@gmail.com
Cheers,
Mark
-
I have a Glock 43 Blue Gun as well as Glock 43 with CT red-dot mold. $40 each or $70 for both I will cover the shipping cost. Paypal only! Please direct message me with your interest


-
@Joon1911 @ComputerDoctor I appreciate you checking out the post, and very valid feedback.
-
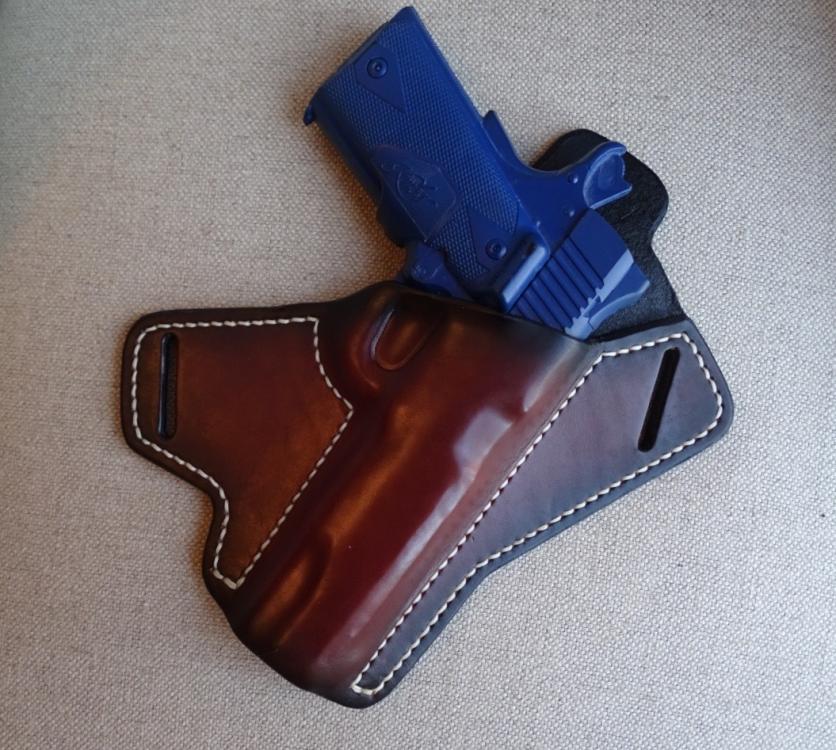
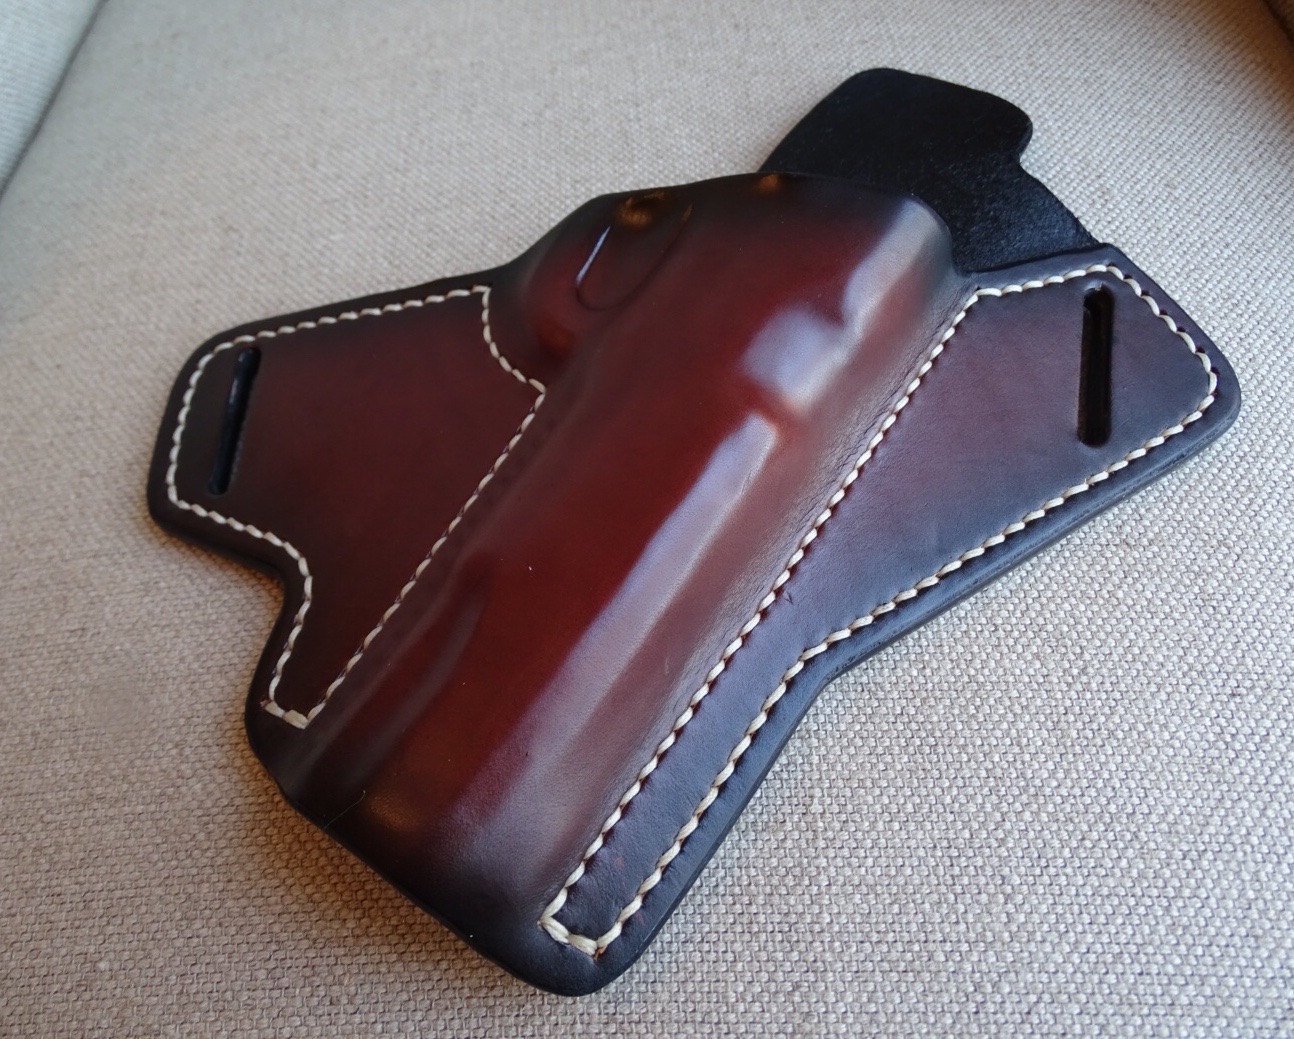
@YinTx the indentation isn’t tremendously deep. The lighting makes it look a little a further recessed than it is. Accidental discharge is something I’m fanatically paranoid about, and take great care to mold aroud the trigger guard.
@JLSleather it does stick out a bit from the barrel length. To get the angle of reach to the handle that far back was kinda the challenge, and that was the trade off that was made. More trial and error needs to be done to get this right.
I appreciate you folks checking it out.
-
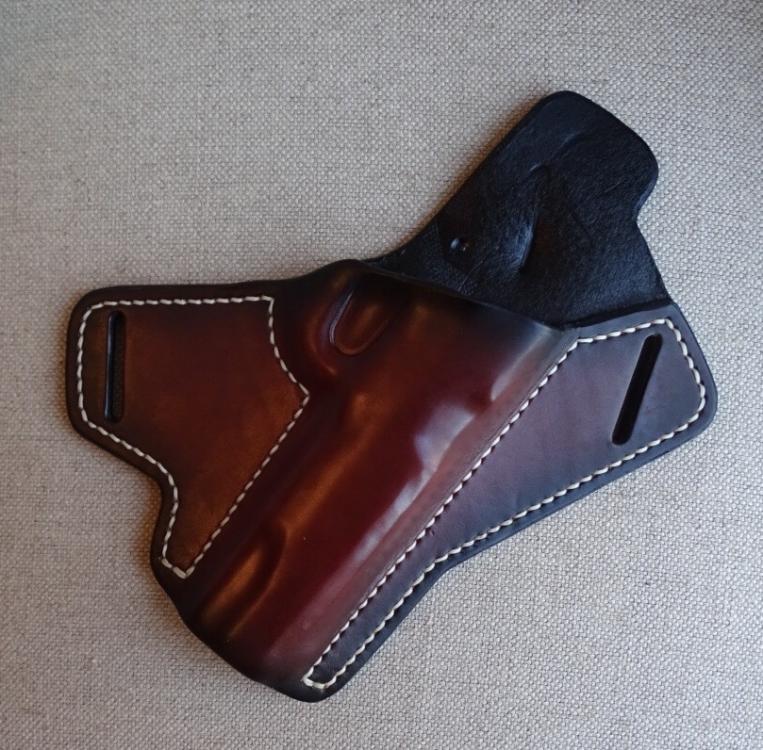
I wanted to create an atypical looking holster as far as pattern design that was inteded to be carried at the 4/5 o'clock position. I used 8oz Hermann-oak, and 1.2mm tiger thread for the stitching. The dye work was done with an air brush, and fiebiengs' mohogany & black. All comments, critiques and criticism welcome!
Happy Leather-crafting!

-
He does a rolled edge from the main body of the wallet that will cover the skiving and make uniform thickness throughout the piece.
-
Howdy there,
Overall the shape of your sheath design is appealing. Goat skin isn't really famous for its stamping quality, and it looks like you used relatively thin leather, which obviously wont afford a deep impression. You mentioned that the stamping started crisp, but wound up being faint suggests that your leather was too wet when you started tooling. Your leather almost needs to appear dry, yet cool and only slightly damp to the the touch. I would suggest using a 6/7 oz vegtan cowhide for your next sheath, and see how that suits you. There are really useful threads here that will point you in the right direction for stamping and tooling.
Leather work is all about experimentation, trial and error. Keep tinkering with different materials and techniques until you find what works best for you.
-
All blue guns have been spoken for. Thanks!
-
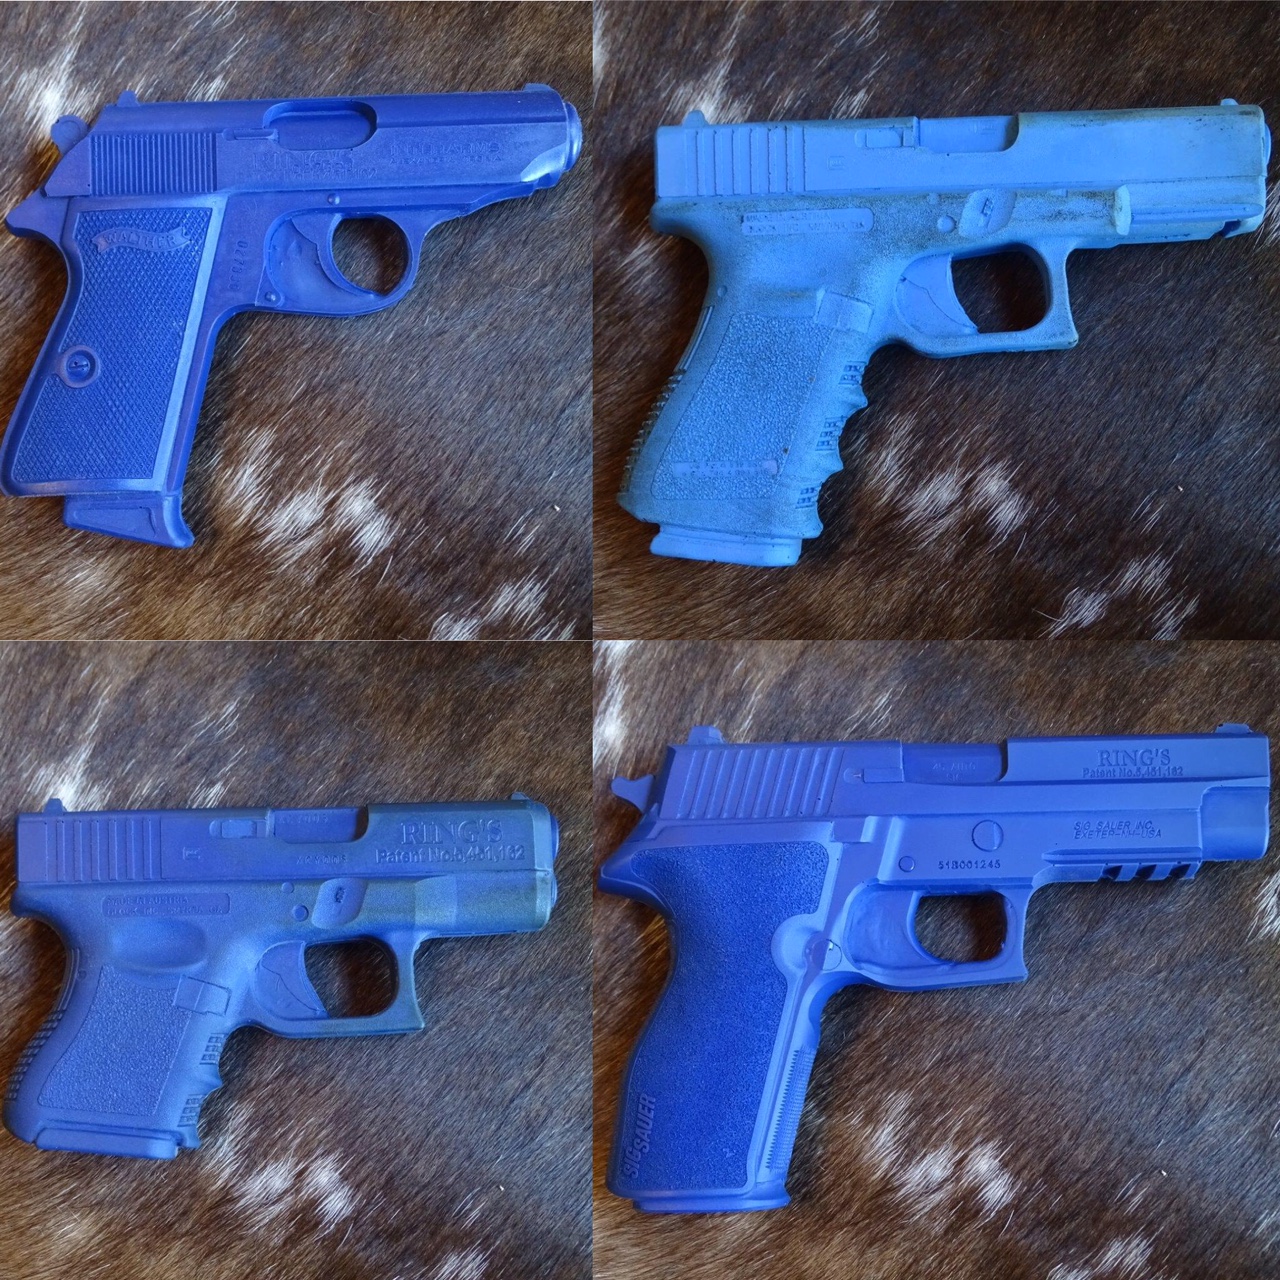
I have the following molds for sale. Please PM me for your interest; 1st come 1st serve. Only PayPal will be accepted, I will cover the shipping cost.
Sig P227 Nitron: $40.00
Glock 19: $40.00
Glock 26: $40.00
Walther PPK/S: $40.00
-Mark

-
Jo, thanks for he post! I'm in Athens, and would like to attend. When you have it scheduled please post what day it will be. Thanks!
-
@CaptQuirk I agree, nothing goes out the door that doesn't meet muster for use for myself or my family, however; there are some dummies out there. I guess do you feel you need to make a statement that "if you're a dummy please educate yourself first before buying/using firearms, and particularly the accessories I make for firearms."?
Fortunately, 99.9% of my customer interactions are great. Its that small percent that I look out for.
-
For all of you who retail your holsters, do any of you have a Firearms Safety Compliance Statement? (Here is DeSantis' http://www.desantisholster.com/safety-compliance)
Yes, I should (am) consulting legal counsel, and am not asking for legal advice on this board.
I'm more curious as to why or why not you do/don't have one. I'm leary of making any sort of legal claims, but feel that it's a responsibility to promote firearm safety and responsible use of my products.
Would love to hear some thoughts. Cheers!
-
@defrensdorff I'll hapilly take brick "D" or "C", just sent a DM. Thanks!
-
On 12/20/2016 at 2:35 PM, eransh10 said:
I get it now.
I think that she also goes with some sort of wooden block covered with cloth to remove the acrylics from the raised surface - than she is left with acrylic only in the cuts. I'm also guessing she dilutes the acrylic with water and that's why she can wipe it with cloth.
Your guess is correct. Acrylics are water soluble. YouTube search "Don Gonzales Saddlery". He has great tips on using acrylic and antique
-
Fresh Air mask in a well ventilated area when I'm sanding, same thing if i'm spraying resolene or dye.You can get a decent mask and replacement filters for a relative low price at the local hardware giant.
-
Dwight and the others had some great advice up there. if youre starting from scratch draw an outline of the pistol on some heavy posterboard, and sketch out your holster design to cut out and use as a template, better to waster cheap poster board than leather. if you're pensive about wet molding around your own, or someone else's firearm I recommend bluegunstore.com for molds. They've never done me wrong and have accurate, hard plastic molds that will stand up to forming leather around them.
-
I've always had the best luck with Barge cement. Its common with boot and shoe makes, and is typically available at local hardware stores, tandy, and springfieldleather.com
-
Redgold,
Since the pattern is already pre-fabricated with established stitch lines; you'll first want to start with burnishing your edges esecially the ones that will not be bonded to any other piece of leather.
Next I would "case" the leather that you'll be tooling. I'm assuming the classes at your Tandy store had you wet the leather, transfer your pattern and start tooling once you started to see some natural color re-appear. Thats is fine for small patterns, but once you start tooling larger projects you'll want your leather to maintain even saturation. I recommend this article from Rick Jorgenson (http://jorgensonleather.com/?p=199) I would also read the forum here, and look up some youtube videos.
After you've done your tooling and allowed your leather to dry, you may dye your leather. (In the future if you decide to wet form a piece of leather in a project I would save color application for the end)
Finally install your hardware, bond & stitch your pieces together, and then give all your finished edges a final burnishing. You can apply leather sheen or Acrylic Resolene to the project for a nice hi gloss finish.
The leather in the tandy kits are great for learning and practice, so manage that expectation of your final product. In working with leather, expect to make mistakes, lots of them. Chalk those up to learning, and use them to help refine a process that you feel works best; everyone have their own process.


Wee Coin Purse
in Purses, Wallets, Belts and Miscellaneous Pocket Items
Posted
In the words of Nigel; “...and we’re happy with that.”
Beautiful work, very refined.