


DocDaddy
-
Posts
22 -
Joined
-
Last visited
Content Type
Profiles
Forums
Events
Blogs
Gallery
Store
Everything posted by DocDaddy
-

Shield 9 pancake
DocDaddy replied to mikesherman's topic in Gun Holsters, Rifle Slings and Knife Sheathes
First off don’t be so hard on yourself. I would be willing to bet most people in your town wouldn’t be able to produce a belt let alone a molded pancake holster. Looks good. One tip I would give to help with the stitching is to lay a stitching groove and pull your stitches tight as you go along. Then come back and tap the stitches flat with a cobblers hammer or mallet. Good luck. -
latest project
DocDaddy replied to DocDaddy's topic in Gun Holsters, Rifle Slings and Knife Sheathes
The base is natural color. decal is removed after drying -
latest project
DocDaddy replied to DocDaddy's topic in Gun Holsters, Rifle Slings and Knife Sheathes
Slide Holster. Thank You. I use a vinyl cutting machine to create my design and then start with light coats of dye around it and use several coats around the decal. Once I am happy with it, I fade it in to the rest of the dye for the project -
Second attempt at a holster
DocDaddy replied to DocDaddy's topic in Gun Holsters, Rifle Slings and Knife Sheathes
Thank you all for the help. I knew getting involved in this forum would be good for honing my work. I am probably going to break down and buy one of the oblong punches on payday and invest in some barge and gum trag. -
Second attempt at a holster
DocDaddy replied to DocDaddy's topic in Gun Holsters, Rifle Slings and Knife Sheathes
This explains a ton. I am using Fiebings leathercraft cement but I am not hammering it out and I am not weighting it down either. Thank you for the tip! -
Second attempt at a holster
DocDaddy replied to DocDaddy's topic in Gun Holsters, Rifle Slings and Knife Sheathes
What size punch is this? -
Second attempt at a holster
DocDaddy replied to DocDaddy's topic in Gun Holsters, Rifle Slings and Knife Sheathes
It is really more of a seam instead of a gap. Thank you for the feedback. The skull was created with the use of a custom vinyl decal cut out of some scra vinyl I had laying around. My original decal had cutouts for the nose and a ring of stars around the crown of the skull hence the splatter. I plan on creating a skull without these cutouts if I decide to do another punisher skull in the future. I wanted a really low ride on this one. The belt cutouts are the bane of my existence. I have so much trouble punching through two levels of leather. I plan on switching to an avenger style on the next one.

-
Second attempt at a holster
DocDaddy posted a topic in Gun Holsters, Rifle Slings and Knife Sheathes
I really like how this one turned out except for some splatter to the skull which I am actually leaving alone. What can I do to keep from getting a gap around the edge? I sand the edges down prior to burnishing but there always seems to still be a gap. Thanks.


-
nice! Thank You
-
Let me know what ya think? Still have to finish out the edges and mould it.

-
Welcome from southern Ohio
-
Welcome from southern Ohio
-
a freshmade watch strap
DocDaddy replied to raditya's topic in Purses, Wallets, Belts and Miscellaneous Pocket Items
How to you make the groove for the watch pin? -
That is some amazing work. Love the monkey!
-
my knife sheath
DocDaddy replied to henrys103's topic in Gun Holsters, Rifle Slings and Knife Sheathes
Looks great! -
First Project
DocDaddy replied to DocDaddy's topic in Purses, Wallets, Belts and Miscellaneous Pocket Items
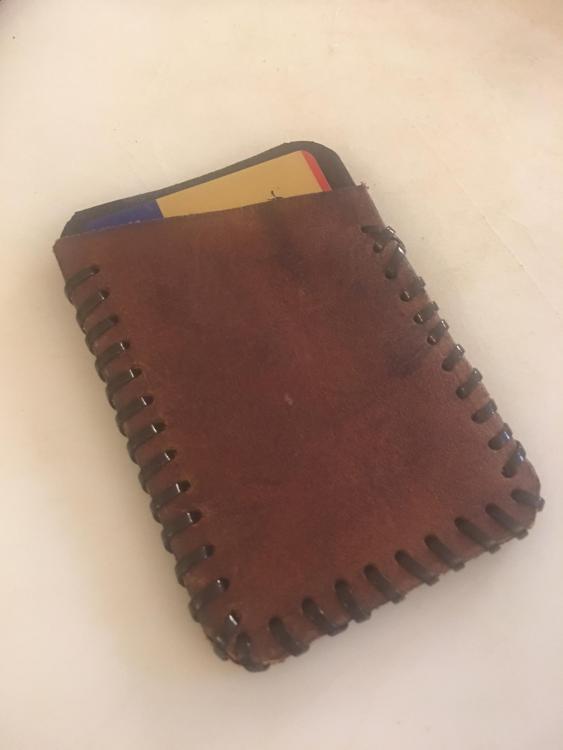
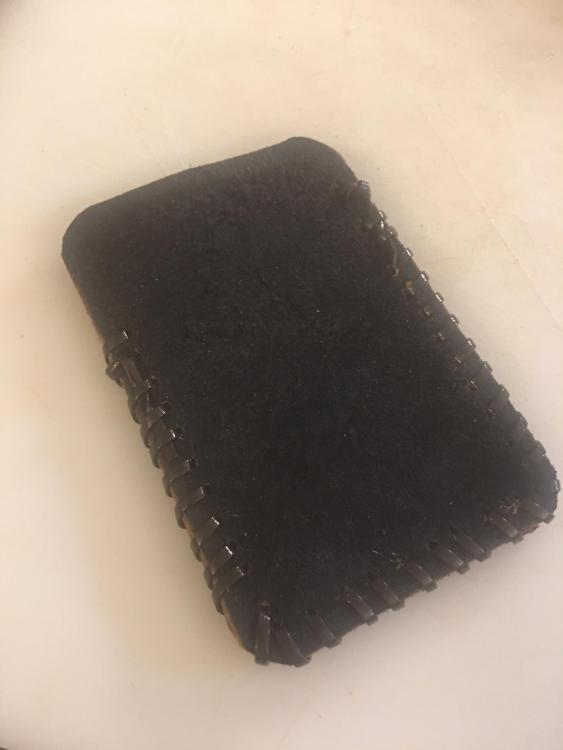
It is a walnut color that I grabbed at Hobby Lobby. I enjoy being a minimalist and like to carry only my ID, insurance card, and debit card so this little wallet is perfect. Was wanting to line it with material from an old cotton tshirt but couldn't figure out how to glue it in. What glue works best for leatherworking? -
First Project
DocDaddy replied to DocDaddy's topic in Purses, Wallets, Belts and Miscellaneous Pocket Items
Thank you I will check it out. I had some trouble cutting out the corners evenly -
Ok ladies and gents, this is my first project. Please critique but please keep in mind that it is my first project and I am on a limited budget (this was completed with scraps, a hole punch, a razor knife, and some dye). Thank you in advance.
-
Thank You. I need to get my hands on the circle template he uses.
-
I have checked out the topics. Looking to do more holster sheaths and wallets than anything. Not really much tooling as I like the slick look. And on a limited budget. For now Thank you for the reply.
-
Two fresh off the bench
DocDaddy replied to CaptQuirk's topic in Gun Holsters, Rifle Slings and Knife Sheathes
like the basket weaving!! -
Hello everyone. Just wanted to introduce myself. I have just recently picked up leatherworking. Looking to build my tools and improve my work. If anyone has tips on what tools and items are absolute essentials for starting out, I would appreciate it. Thanks, Larry

