


JJN
-
Content Count
347 -
Joined
-
Last visited
Posts posted by JJN
-
-
36 minutes ago, Sheilajeanne said:Did they cast those machines using the lost wax method?
It looks like sand casting to me. Wooden patterns are used to make the impressions in the sand. You can see them knocking the sand out of the castings after they are cooled.
I don't think there is anything that can rival what Singer had back then. They shipped in pig iron and timbers and shipped out finished machines. They made the castings, forged internal parts, made all their own machine screws and they even made the needles. They applied the jappaned finish, made the gold leaf decals, milled the lumber to make the finished cabinets and the crates to ship them in. All in one factory. Truly amazing. I would love to read the history of how that factory was made and how long it took.
-
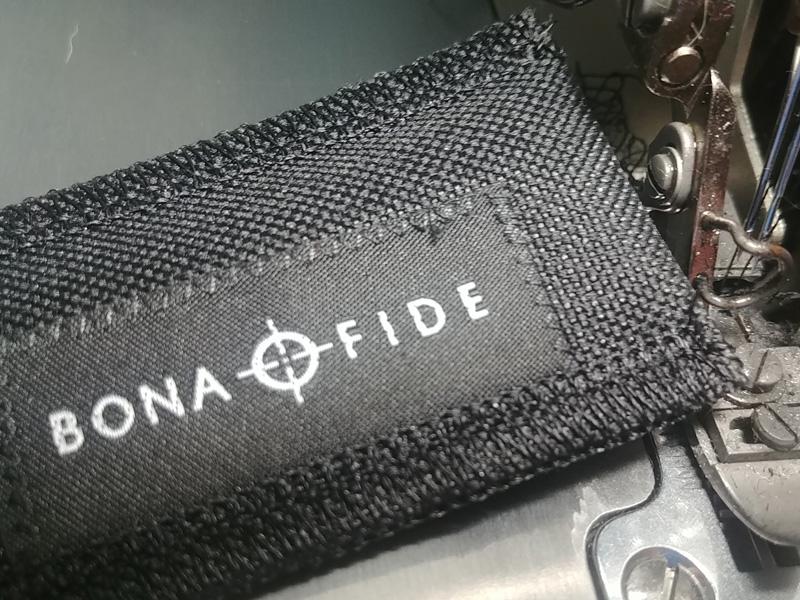
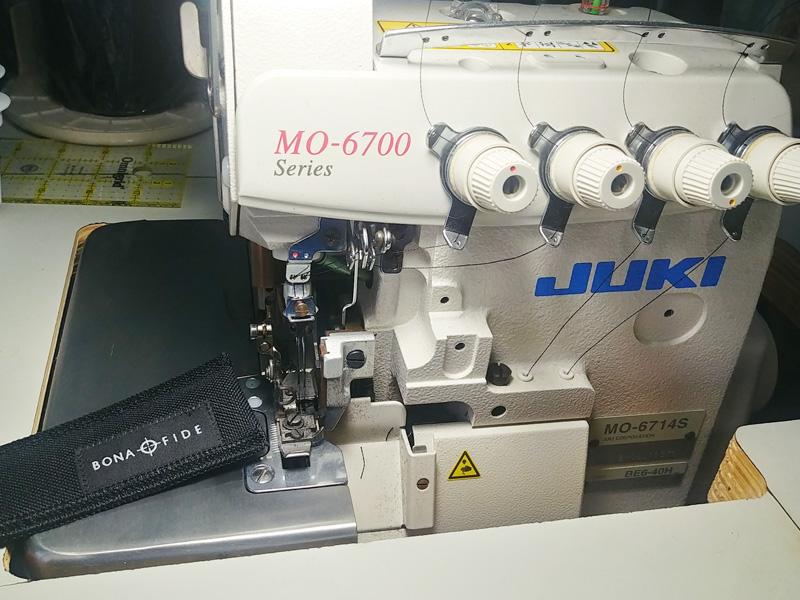
I am no expert but I have a little experience to offer. Last year I was acquiring some machines and picked up a Juki MO-6714s that still had the factory sew-off fabric under the foot. The owner never turned the machine on since new. The problem was it was stored badly and had surface rust on some critical areas. I got it cheap, $600. I spent some time removing some parts and de-rusting them. I bought a new upper and lower looper and finger guide. It ended up being a perfect new machine.
My purpose was to finish the edges of some pen pouches that I didn't want to add binding to. I felt the standard serger thread was too thin for my application. Usually this is around 40 weight but kind of fuzzy. I bought a half dozen spools of t-46 bonded nylon thread and played around with the tensions and it sews like a charm. My application is putting an overlock stitch on 4 layers of fabric. It is a 10oz. polyester 600D that has a pcv backing. It is pretty thick stuff and it works without any problem. That machine is smooth a silk to run too. It is still using a clutch motor and it is pretty easy to control. I am using 4 threads with 2 needles for a 4mm wide overlock stitch.
Model: Juki MO-6714S-BE6-40H
-
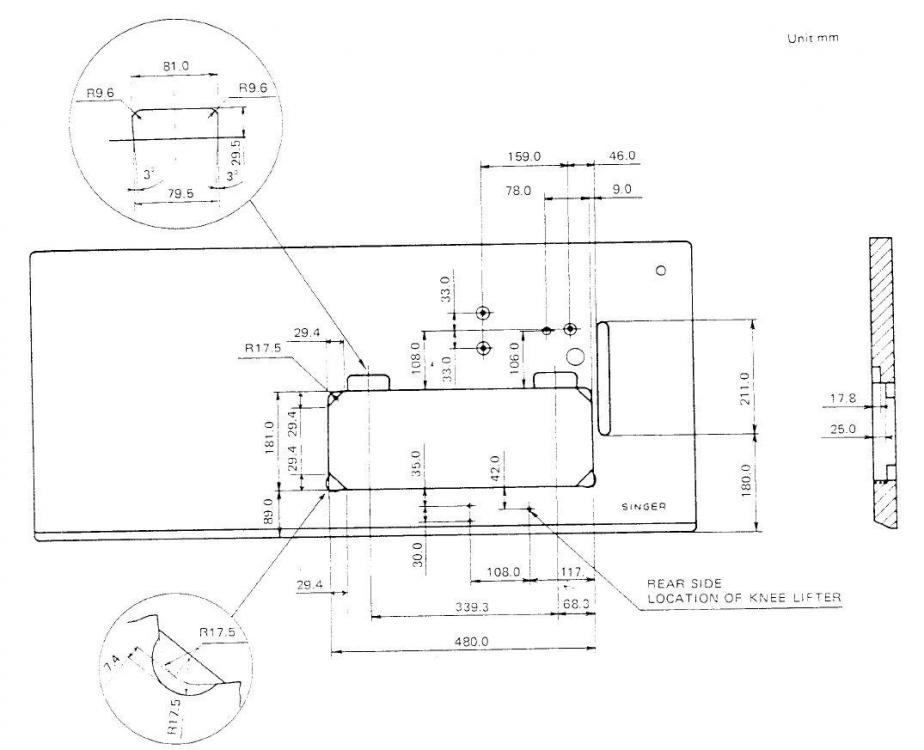
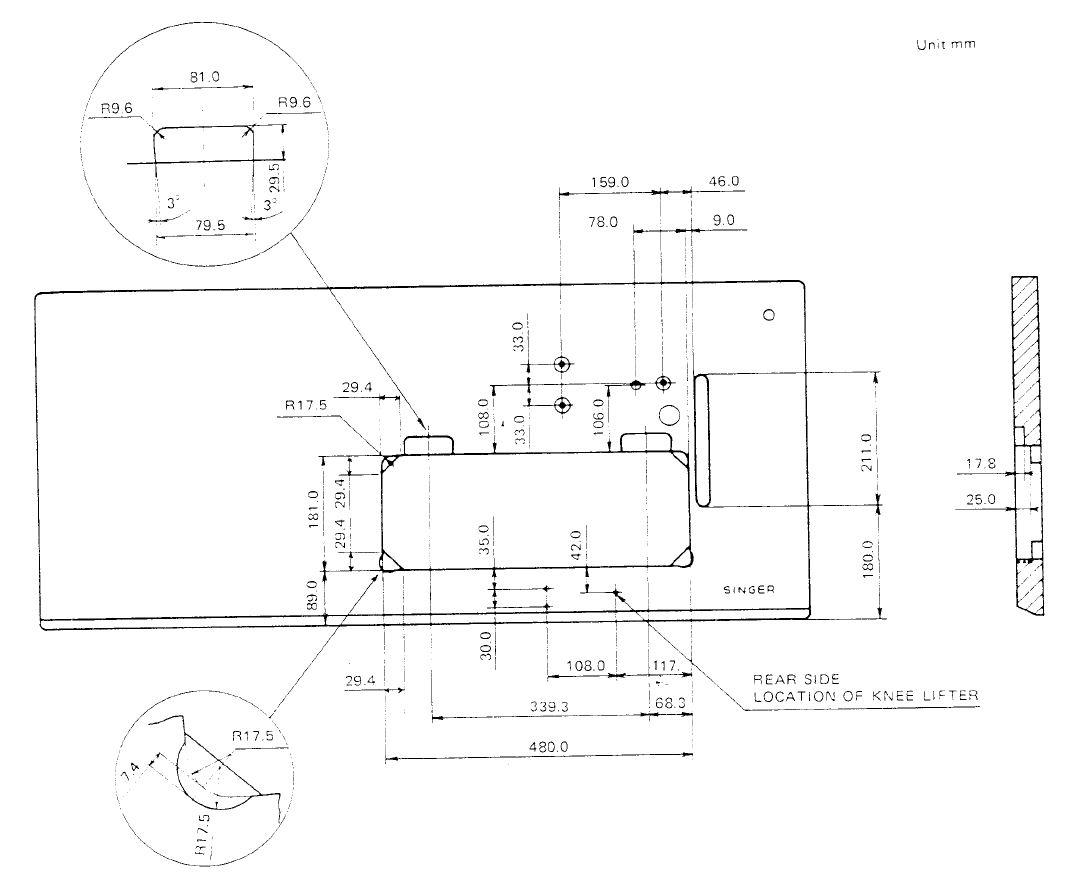
You might need to add some braces to the table legs to make the table more stable when in use. I am guessing the table top is 3/4" thick? Add a piece of 3/4" plywood to the bottom. Don't cut out the corners on the plywood so the machine can rest on it. Here is a link to a post on here with dimensions for the cutout.
https://leatherworker.net/forum/topic/73515-table-top-template-for-singer-211-class/
-
Gary, You do know the balance wheel has to be in the right position to change the bobbin on a 206rb. I started with a Juki 1541s that doesn't seem to care about that but when I got a Consew, it had me struggling until I figured it out.
-
The ad says the table and motor is available for $100 more. I imagine the foot pedal, knee lift and maybe bobbin winder is on the table. I would definitely get that with the head.
I have seen better deals though. I just picked up a really nice and clean Juki 562 (similar machine with reverse) in running/sewing condition for $200. I just needed to get a new thread guide pin and upper thread guide. I'll also put a servo motor on it. I had to drive 150 miles to get it but it was well worth the drive. I would keep looking.
-
Dan, my first machine, which is still my favorite 'go to' machine is a Juki DNU-1541S that I bought new from Keystone Sewing. Greg is a member here at LW and very helpful. The price is still the same on his website as it was when I bought mine, $1649 including free shipping. It is a beautiful machine that is made in Japan and is working perfectly.
-
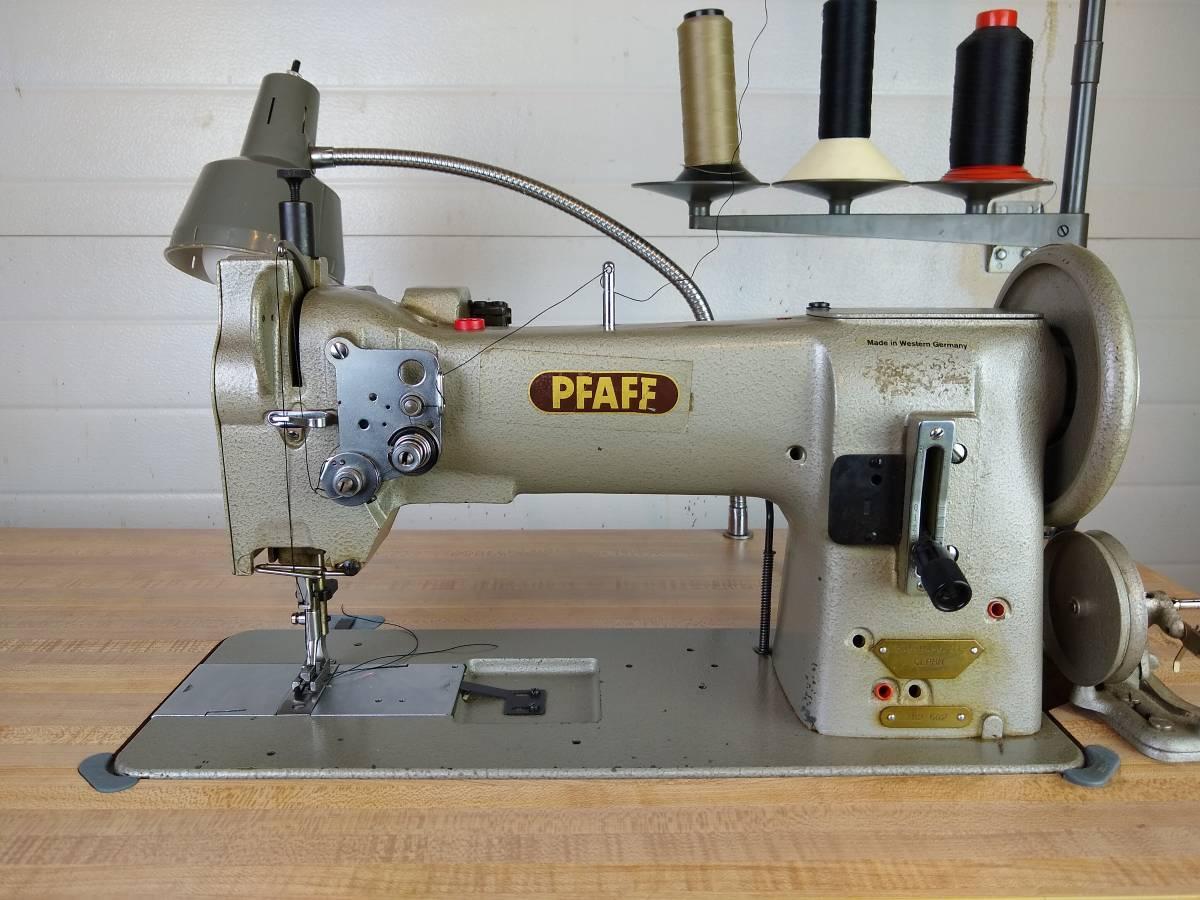
Your profile says you are in Camas. Is that Camas, Washington? If so, here is a very nice German made, Pfaff 545 H4 for $1050.
https://portland.craigslist.org/clk/art/d/camas-pfaff-545-h4-high-lift-walking/6920372171.html

-
There are many posts on this forum discussing the Chinese Patcher machines. Use the main search on the top of the page and search "chinese patcher" with the quote marks included and you will have pages of posts, some with videos.
-
I bought four 50mm pulleys on ebay that were shipped from China. The total was $9.28 for all four including shipping. I didn't expect much, but they were decent quality and very usable. The problem was they were too tight on the motor shaft like you are describing with yours. The hole was cast on these pulleys, not finished with a drill. We chucked the pulleys in a lathe and ran a boring bar through them to clean them up. They work perfect now. I think a drill on a drill press would work good too. Measure your motor shaft with a caliper and get a drill bit to match.
-
I think people that are not familiar with the 201k might assume by the appearance that this is a horizontal axis hook that is located on the right side of the needle. That is why it looks like the needle is in backwards to some of us. This machine is a vertical axis hook and it is located on the left side of the needle.
From the photo it looks like the needle may be slightly off with the scarf aiming a little to the rear, but it might just be the way the photo looks.
-
I really like the idea. I wanted to give it some time to think about what story or stories I want to share. I always learn from other people's experiences. Thank you for suggesting this.
-
Does it have needle position capability? It sounds like the NPS system is enabled and it is trying to get a position signal from the sensor. If the sensor is not connected it will give up after 2 revolutions.
-
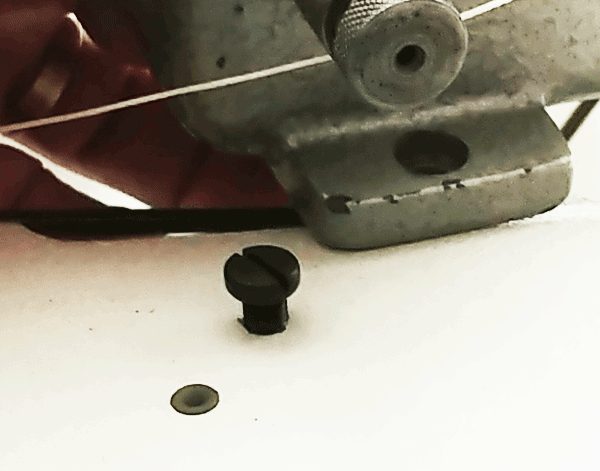
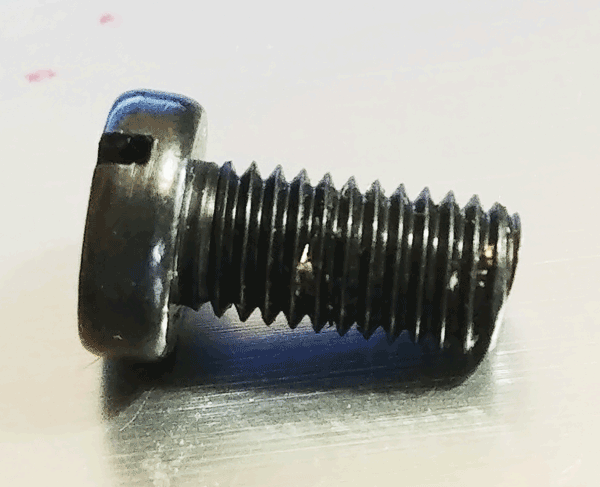
I was by the shop after brunch with the family so I picked up the pot with the screw/bolt.
It measures .232" in diameter and 10 threads measure .357" +/-.
It is a 15/64" x 28tpi x 12mm machine screw. Don't ask me why sewing machine screws use inches for the diameter and pitch and millimeters for the length, but they do. You need to order it from a juki parts dealer. part no SS-7151210-SP
I looked at the parts manual and it confirms my measurements.

-
I can measure mine on Tuesday if someone else doesn't provide it sooner.
-
It is called a Face Plate.
-
The second press I found was on FB marketplace for $20. It is a C&C Metal Products press and was set up with dies for putting protective metal corners on book covers and came with about 2800 brass plated metal corners. This press was made to use dies with 3/8" shanks so all it needed was some clean up and oiling.
Now with this second press I can install both the snap cap/sockets or post/studs without changing dies.


-
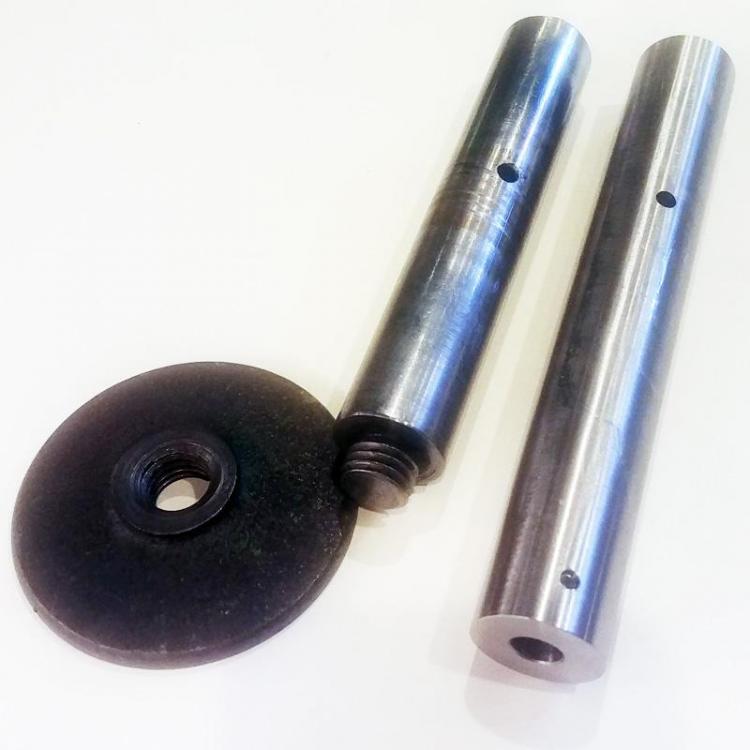
Here is the original pin and the new one.
-
I needed to set up a couple of snap presses for a job I am working on. I decided to use Dot Fasteners Durable Snaps for my snaps because they are mil-spec, berry amendment compliant and have a variety of post heights available to accommodate different thicknesses of material. I am installing the caps/sockets on straps that have a .040" plastic stiffener between two layers of .050" webbing. I looked at Stimpson, Osborne and a few other brands and did not see a variety of post lengths.
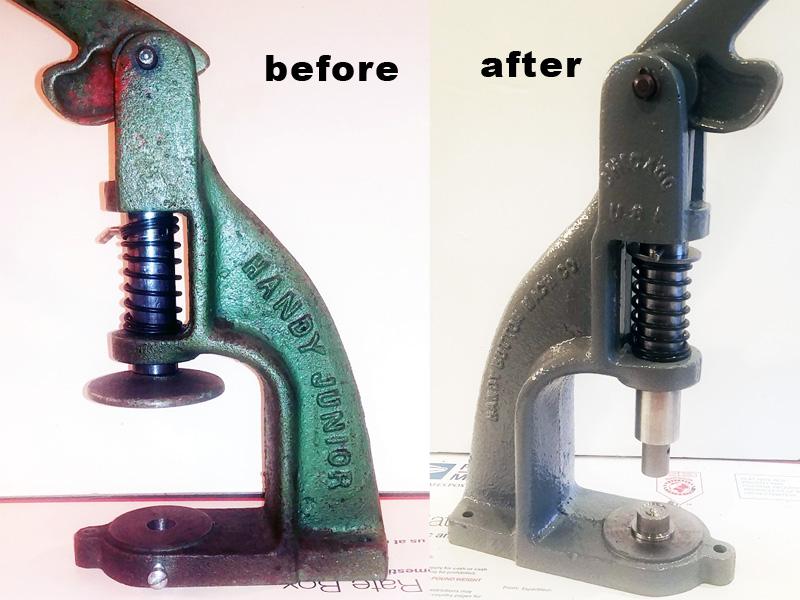
New presses range from $200 for an Osborne to $300 for a Dot Fastener and $370 for a Master Tools Little Wonder. So I looked around and found an old Handy Junior button press on CraigsList for $30. The plunger pin was too short and it had a threaded end. The cast hole on the bottom was too big and unfinished. The Dot snap dies have a 3/8" shank on both the upper and lower dies. I am set up in my friends machine shop and he offered to make a new plunger pin and an insert for the bottom. With a little clean up and some fresh paint I have an awesome press. I am glad I have a US made cast iron press instead of an import.
The Handy Junior looks like it is the same casting as the Osborne W-1 Hand Press.


-
Yes, mine is in line with the motor mounting bolts. About 190mm from the right edge of the machine head.
I saw a drawing a while ago that had it at 182mm from the right edge.
-
Get the lift mounted to the table first. It is a bit of trial and error until you find the sweet spot. If the bent rod is too short, it slips past the lifter. Too long and it locks up.
-
Here is a video that show where the knee lift mounts. The link should start at 19:14 where the lift is installed
.
-
Try with some fabric or leather. The friction of the fabric against the thread and needle makes the loop in the thread that the hook catches.
-
Here is a Puritan triple stitch doing uppers. Red Wing video.
-
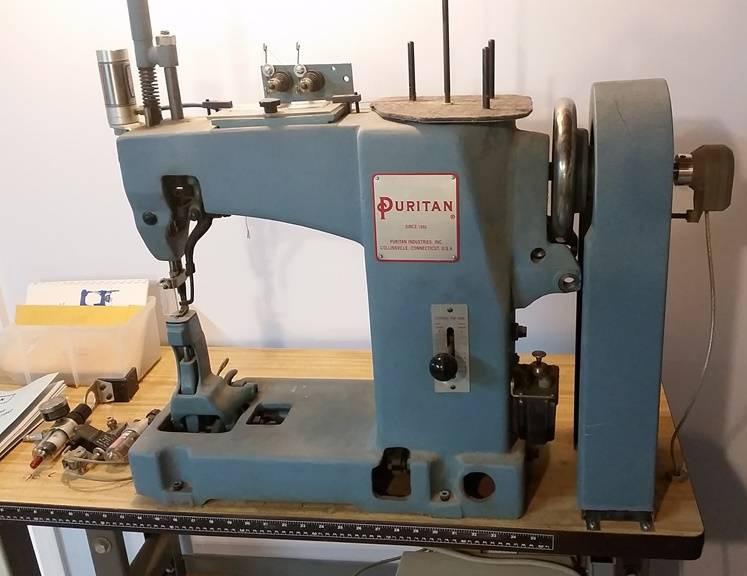
I'm adding another photo here for future reference.

Stepping back and restarting conservative - Singer 15-91
in Leather Sewing Machines
Posted · Report reply
The sand has ingredients added that allow it to hold its shape. The formed sand is delicate at that stage and must be handled carefully. A sand casting of the inside of the arm is made separately and placed in the outer arm sand form so the arm will be hollow. After it is cast with iron the sand crumbles and falls out.