


CdK
-
Posts
118 -
Joined
-
Last visited
3 Followers


CdK's Achievements
Member (2/4)
-
Yeah, no makers mark but there are marks on the flats of the end as well as where the shank enters the handle that have faint hammer forge marks that indicates some manufacturing capability. The working end appears to be hardened steel, tested with a file, and the hook inside appears to be machined to a half-round groove. There are so many mystery tools today that often defies our understanding.
-
Good morning, I acquired this tool in an estate lot a few years ago, it was a mixed lot and I was primarily after the many old hole punches so gave it no thought as I did not know what it was. It looked a little rough and maybe hand made but this morning I cleaned it up and realized it was probably manufactured as there are a number of features that did not indicate one-off or hobby made. (Some hobby made tools can be awesome TBH) Google image search calls it a tack puller or staple puller. What have I got and how can I use it?
.jpg.ea91b12ae19c7b13a533aff14871bfed.jpg)
.jpg.4992a302338efaa761433ba5b333b6c2.jpg)
.jpg.abc7d86cb9ea564759300043301f9306.jpg)
-
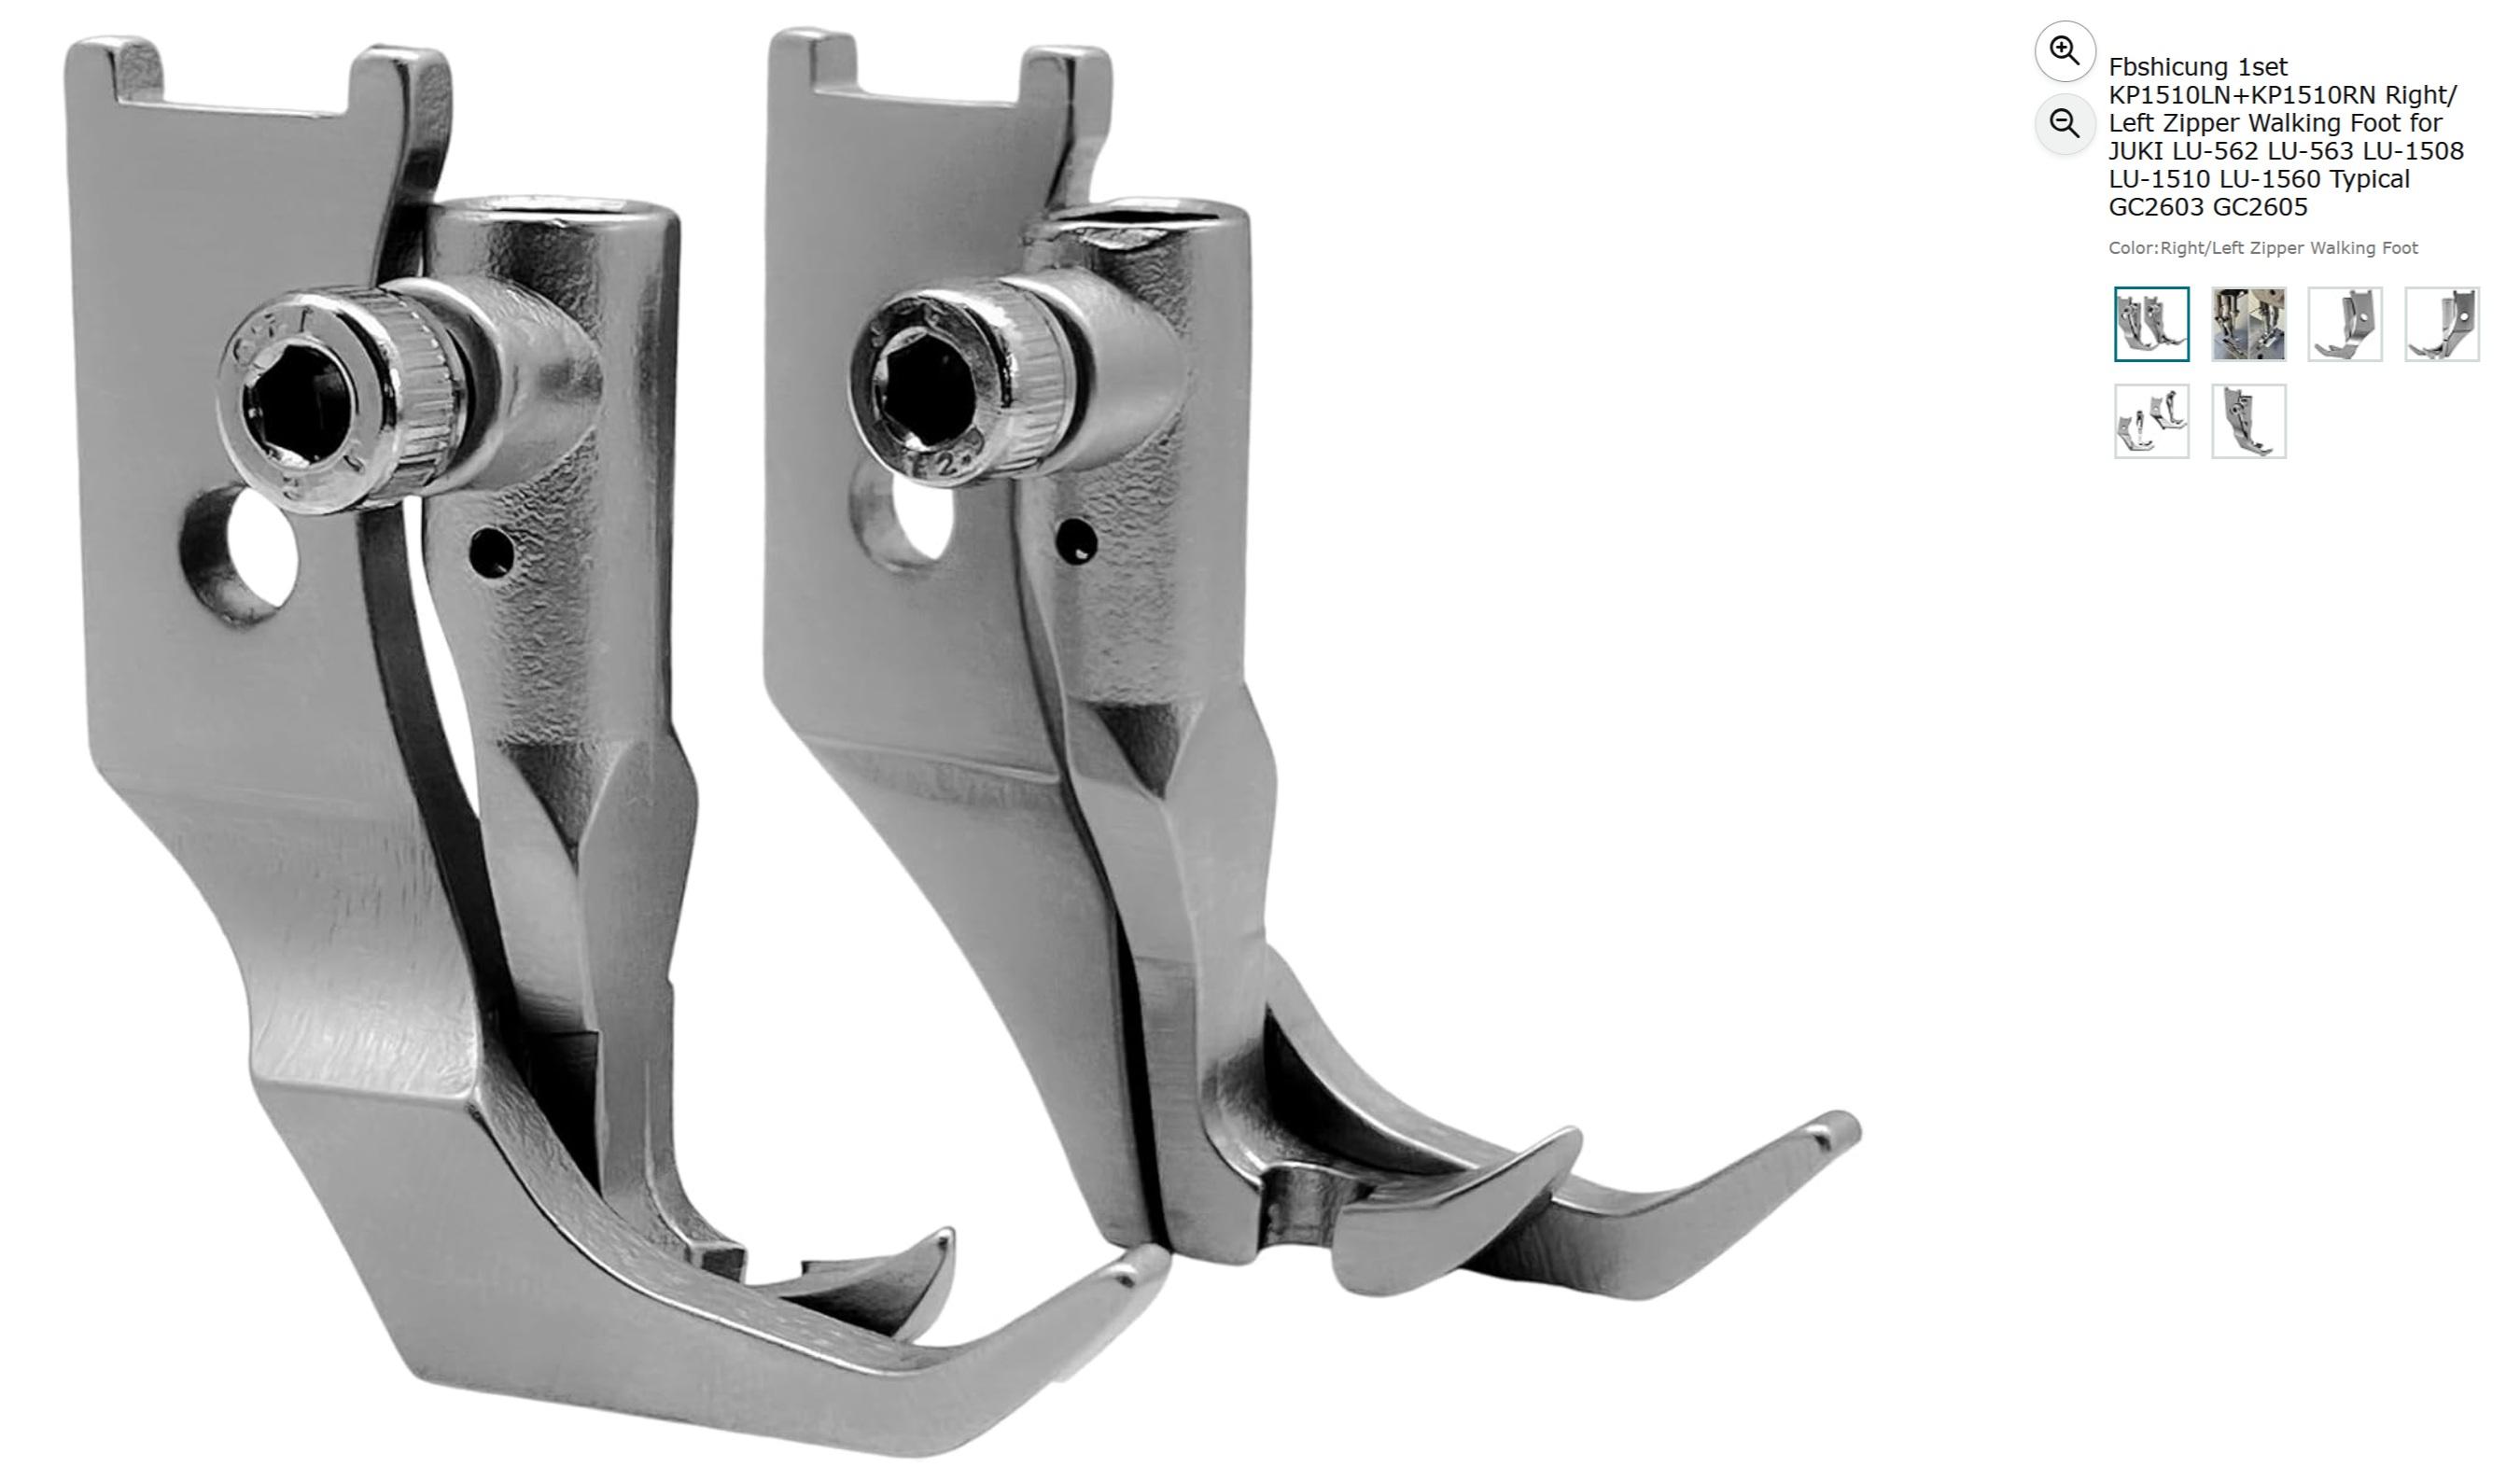
@MikeG I use these narrow zipper feet to sew close to molded pieces when I make briefcase molded handles using my 1341 clone. These may fit the LU-563 but I'm unfamiliar with it. The H&E narrow foot set is nice and works well with the narrow feed dog & plate for the 441 machines when doing holsters.
-
You can use a VFD (variable frequency drive) to convert single phase to 3 phase.
-
 I received the 3 sets I ordered today. The L & R and needle feet fit fine but there is a difference in design and finish between the L & R but should work as intended. The "both" foot needed a touch with a Dremel stone to open up the width of the fork by the screw hole to allow the screw to pass through the hole, about 0.1mm. I've had this with some other feet sets in the past so no surprise.
 -
Sometimes things work... 🙁 Don't dilute Resolene with isopropyl alcohol for airbrush work, it curds up. Use water.
-
Similar to how I do it. I machined an arbor for the 60mm blades which I spin in a lathe and sharpen using a post grinder. I use a very fine grit stone which is followed up with a leather strop. I have about 20 blades and I sharpen a batch when about 1/2 of them need sharpening. Yeah, I know these blades are not pricey but my Dutch genetics won't allow me to waste money.
-
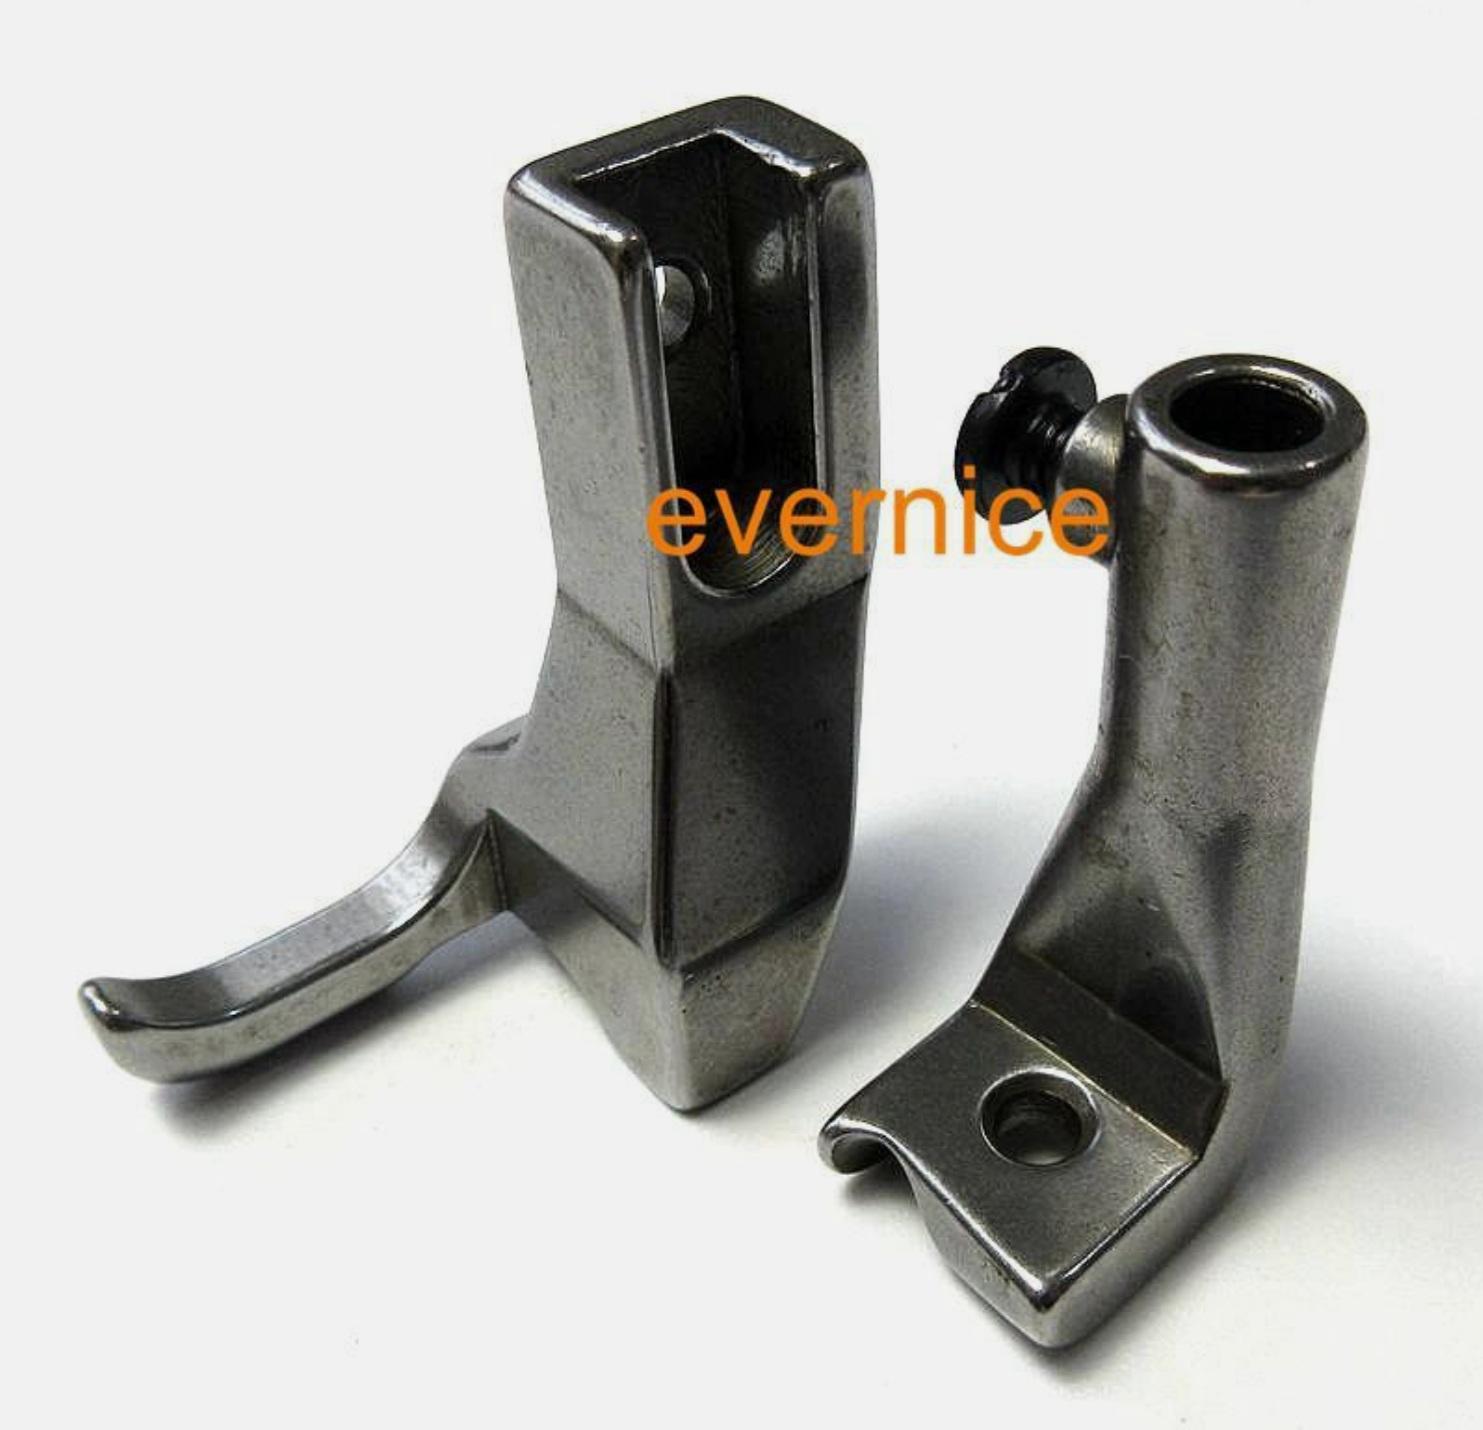
@Constabulary Variations like what you found seems to be somewhat common with some items I got from the orient in the past. Also the lack of good finish on parts, such as presser feet for the 801 bell skiver, have been a minor irritation but not uncommon even from touted & expensive US manufacturers/resellers. I'm fortunate that I have the tools and skills to finish or modify items to get them to work properly. BTW, the items I ordered are now in country and should arrive in about a week.
-
I know this is an old thread but I noticed someone was visiting this thread so here is what I found earlier this year on evilbay in Jan 2025. They are for 1/4" piping. This set is not a plug and play set as I needed to adjust the height of the bars to which they mount as the length of this set is shorter than the "standard" 441 feet set. They do work when the machine is adjusted but I have as of yet have had no need for these.
-
My order is on the way. I preferred to get complete sets, that's the way I roll, as I have needed to modify/finish pieces in the past.

-
Can someone please explain what the use case is for the "8B high car" presser foot is? I have a 441 and a set of left, right, both as shown but don't understand what is special about them.
-
Agreed, the last line is too true, it took a while for the eureka moment where it came together. I’ll add to this, the presser feet that came with my 801 were unfinished and took smoothing and buffing to work well without damaging the finish. Also, there are specialized feet that have their niche, such as roller feet and some that create a groove that allows easy folded edges. Similarly to sewing machines the 801’s can benefit from appropriate presser feet.
-
Cobblers often use a heater prior to placing the pieces together, this activates the contact adhesive to create a good bond. I use a heat gun to activate the dried contact adhesive when laminating vegtan for belts and holsters, similar to what TomE does. The edges are easier to finish as there is less of a visible line where the laminate comes together. YMMV
-
On screw top glue containers it is useful to smear a light coat of Vaseline on the threads, this prevents needing to use a tool to unscrew.
-
Yes, many things going on at the same time. I remember my learning curve and finally getting the balance of needle, thread and settings right was very satisfactory. This all takes time to build experience and confidence, like when learning the guitar, don't rush and try to force things.