
KTWolf
-
Posts
9 -
Joined
-
Last visited
Content Type
Profiles
Forums
Events
Blogs
Gallery
Everything posted by KTWolf
-
Hey, Kolton, I came to the forum to see what people have done with beaver tail leather, because I've just started working on my own beaver tail tanning and have to think up what to do with it. I know it's over a year after you asked your question, but I think I've figured out the answer, so thought I'd share: Two things to realize; first, it's better to think of the beaver tail scales like you would fur or fish-hide, than like regular leather. You don't want to thin down the skin backing of a fur until you reach the roots of the hairs. Likewise, while it seems like thinning the inside of the tail down until that blubbery stuff is gone would be the right way to get at the "leather," it leaves you with the thinnest membrane of dermis and almost all scale-epidermis, very brittle and stiff, prone to curl like fish-scales. The blubbery interior of the tail is odd stuff; it's an elastic collagen matrix filled with oil (solidifies at cool temperatures to seem like fat) and that's what makes it work so well as a paddle, conserving some of the energy from each stroke to drive the next stroke. That collagen matrix is the same stuff that makes up all leather, and the trick is to NOT focus on thinning it down, not at first; instead, focus on getting the oil out. Soak in degreaser, scrub, rinse; and then rather than trying to thin it, use a scraper more like a squeegee to pull the oil out. Some of the collagen matrix will come off with the oil; the collagen that doesn't scrape off with the oil is what actually counts as leather. As you get it more and more degreased, you'll start to feel the difference and probably see it, too. The not-leather is more crumbly and sort of yellow, and can continue feeling slimy-oily when the true leather does not. When it comes to the tail ends / edges, unless you're taxidermying, it's best to not worry about losing the very tip. Skinning it into two paddles is probably going to remain my preferred way of getting the most functional leather. The cut hide wants to tear along the edge like a zipper anyway. By the time you split it evenly, the end will thin down to that weak, stiff part. If you get a particularly fat beaver, it might be easier to get the end to split neatly in two, because that collagen layer will be thicker and easier to cut accurately; but there won't be any more collagen than if you caught a thin-tailed beaver. Trying to keep the tip intact is only worth bothering with if you care more about appearance than strength. If that is the case, one solution is to bond the scale-only end area to a thin leather liner, to prevent it from breaking as you work with the whole piece. Even if you want something that ends up shaped like beaver tail, you can always just let go of the last half-inch, round it off and no one will know the difference. As for how it is to work with, it's delightful to handle so far, but I haven't gotten to the point of making something yet--I can't wait to figure that part out!
-
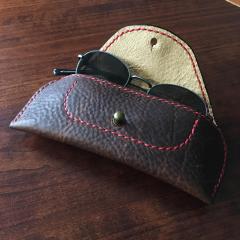 Did you design this, or use an existing pattern? I'm tanning beaver tail skin right now and thinking of making my parents some glasses cases with beaver tail exterior, lined on one side with muskrat or mole fur (does a great job of dusting / cleaning the glasses as they slide in and out).
 -
I love the way you put together that darker leather one--it matches my footwear, for sure! Thanks for sharing!
-
So what you mean is that you recreated the originals, but with more desired materials? Or that you took apart the existing and swapped out the retro-materials for new hair-on materials instead?
-
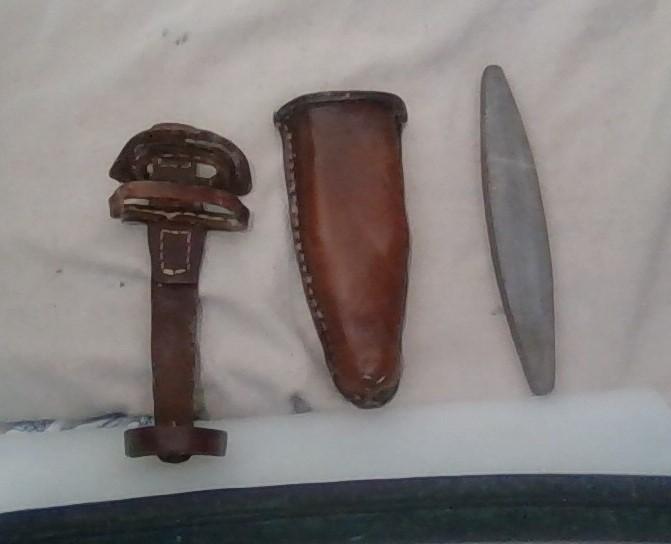
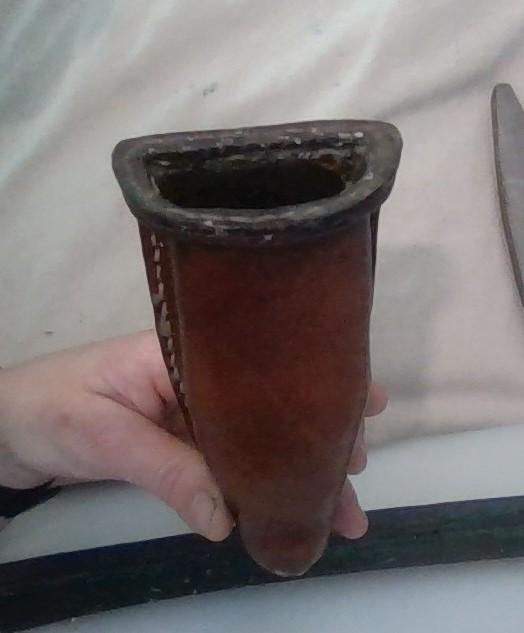
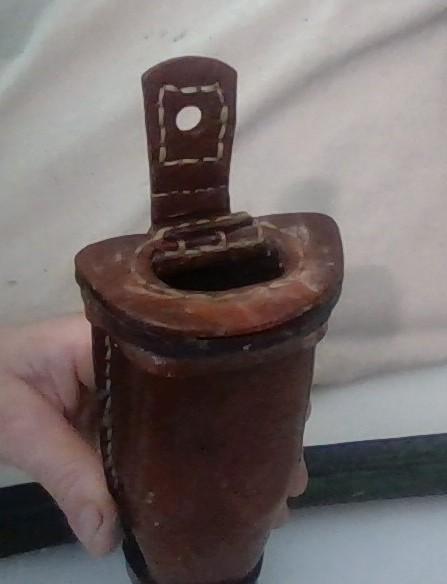
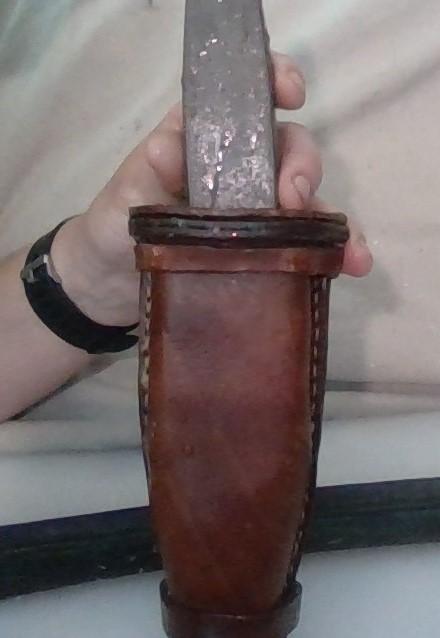
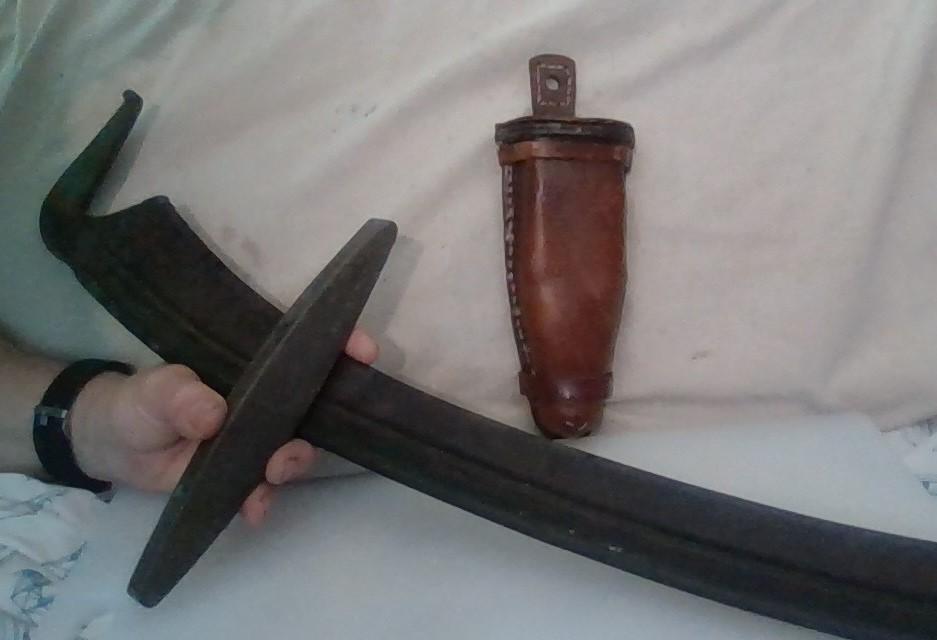
Hurray, I finished making a water stone holder! I've been busy fixing up a scythe from the 1950's. Scythes are sharpened regularly throughout use, so it is standard to carry a sharpening stone in a holster that contains water, keeping the stone wet and also removing grit from the stone as it's used. I looked at all the stone-holders that were available for sale online, and though they aren't that expensive, I wanted to try my hand at making one from leather. I came on this forum--thank you for being!--and found out what "boiled leather" means and what temperatures work best. I visited the Skillcult YouTube channel to review using pine pitch to waterproof a liquid-containing vessel made of leather. I designed this thing as I went along, which means a lot of the stitches end up looking kind of Frankenstein; done is better than perfect. First step was to wrap the stone twice around with cloth; put a soda-pop bottle over that; and heat-shrink the plastic to the shape of the cloth-wrapped stone. This became the "form". Then filled the bottle-plastic form with wet sand, put veg-tan leather piece into hot water until it began to tighten a tiny bit, and wrapped it around the form. (Photo quality sucks. I have a camera somewhere, but this was all taken by my computer's camera.) Here's the finished product containing the stone: Piece by piece photos: Two-part holder and stone The "holster" is also the lid to keep water from coming out. Made more sense to be able to dismantle into two parts for periodic re-waterproofing. Water holder Back in March, I spent a week collecting pine sap and resin and cooking it out into a tin, so I could use it for waterproofing and glue. This was the first time I used it to waterproof leather, in the same way that it was once used to make the English "blackjack" beer mugs out of boiled leather. All the rest of the leather is waxed for maximum waterproofing; but the inside of this was coated with pine resin, then coated again with a mixture of pine resin and beeswax. Attaching the holster-and-lid Here, half-way pulled up, not in position yet The lid has a double-layer of rings fitted to the opening of the water-holder to form a reasonably tight seal, leaving just enough room for the stone to fit through the top easily. A belt-loop would necessarily spill the water whenever I bent over. Instead, I decided it should be tied on through this hole, with the ability to hang freely when I'm not standing straight up. Holds water with minimal spillage, yay! Here's my older scythe blade, awaiting sharpening, and the stone that will hone it during use. I've used it on three occasions, and it works in the field, YAY! Again, thanks to this forum for the resource of knowledge that helped in this project.


.thumb.JPG.79fc903a4b079d68d5b0dd5521c88f6a.JPG)
-
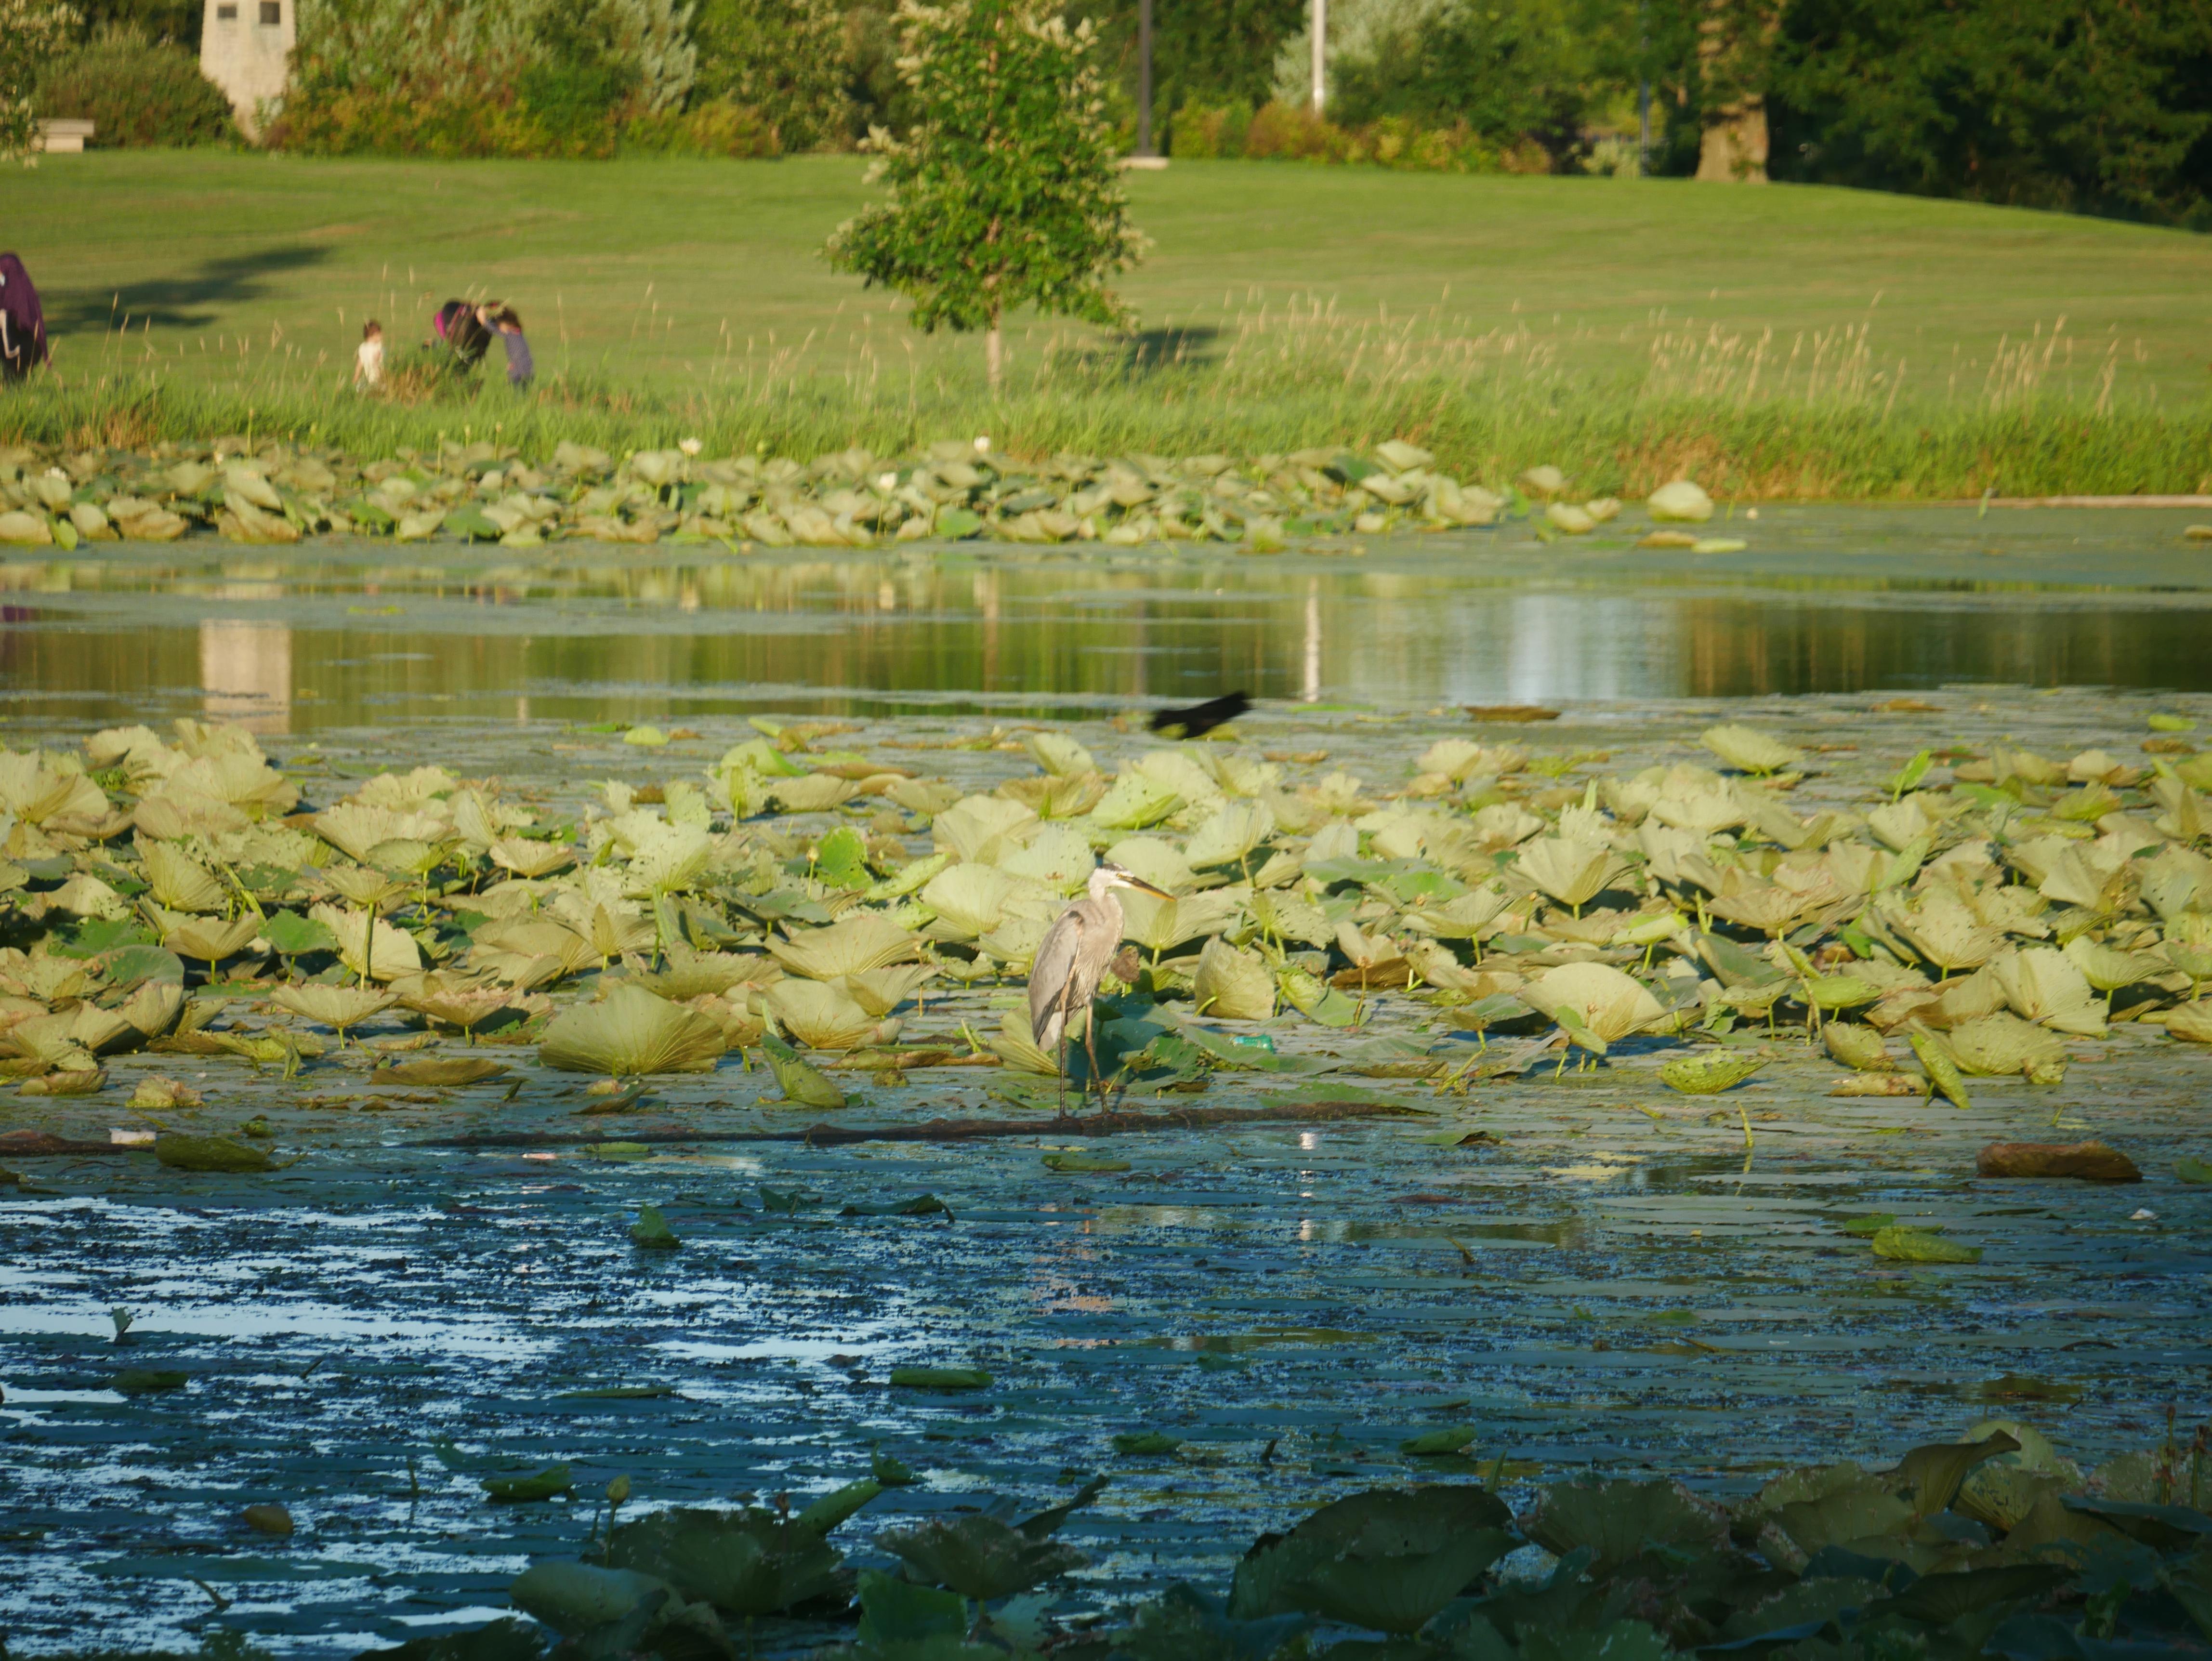
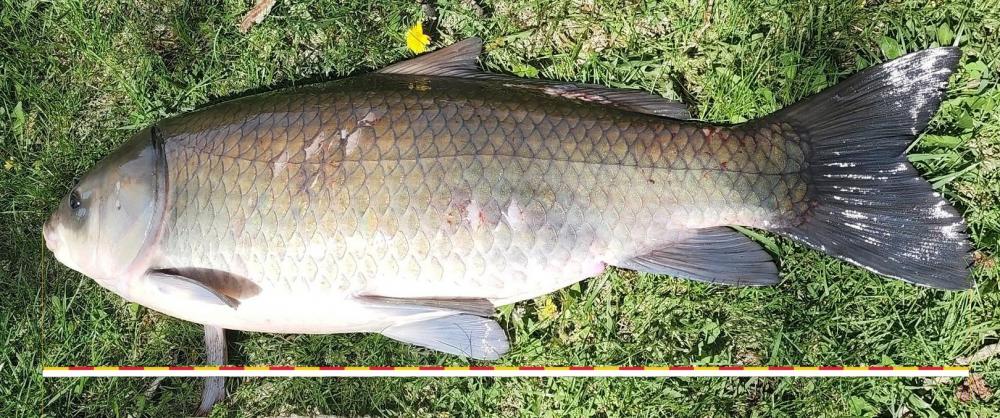
Thanks, @crazytailorlady, @Samalan, and @battlemunky. @chuck123wapati, Yesterday we went out bowfishing, and my archer friend shot four great big carp in just over an hour. One of them was 38" long and close to 40 pounds! Two more were about 35 pounds each, the fourth was just under 30#. After trading with a Hmong family for their fish's hide, I have 5 fish-hides cleaned and soaking in degreaser. Let the fish-hide tanning begin. Also, how am I going to eat 2 gallons of white fish meat? What great days these are!
-
Ha! I resemble that remark, Jonas! After I finished re-handling my axe head, reshaping the handle to fit my hands, and then made a nice leather blade-guard for it, I just kept picking it up and fiddling with it, happy that it turned out just the way I'd hoped. At any rate, @Mulesaw what a beautiful creation! Thanks for sharing your pictures, especially all the functional details. I appreciate the link to that book, too.
-
Thanks for the welcome, gents! Chuck, tanning a carp or a salmon is a different beast, to be sure. The nicest thing is how easy they are to skin. Since the meat isn't as important as the hide, I skin them as soon as they're dead, before gutting. Just cut along the edge of the skull, peel up a bit, and start pushing my fingers along underneath the skin. Almost no defleshing needed. I've only gone two rounds with tanning fish hides at this point, so I'm still working out the ideal chemistry. The key difference from a mammal hide is in the degreasing. I used standard degreasers, and it never quite got the fish smell out. After degreasing, last year I started with an alum tan, washed thoroughly, then finished it using my own odd formulation of Murphy's Oil Soap and WD-40. It made a pretty good result, flexible to a greater degree than my first attempt, and workable for making the quiver. The First Nations people of the Pacific Northwest supposedly used lart to degrease salmon hides, so this year I'm going to try out an ammonia soak; however, that can also disintegrate the hides if done incorrectly. I also have a new additive I'll be trying out, lecithin, the chemical in brains that makes brain-tanning so great. I'll be using sunflower-lecithin soaked in ethanol, then combined with vegetable oil, to finish and soften the skins. I'm still working out the kinks in chemistry, so here's hoping the third round of trial and error hits the mark. Wish me luck--my friend and I will start hunting carp this weekend, her with her bow and me with a net. If I get 10 carp I'll have plenty of skins to play with, and I can make some spiffy fishing hats.
-
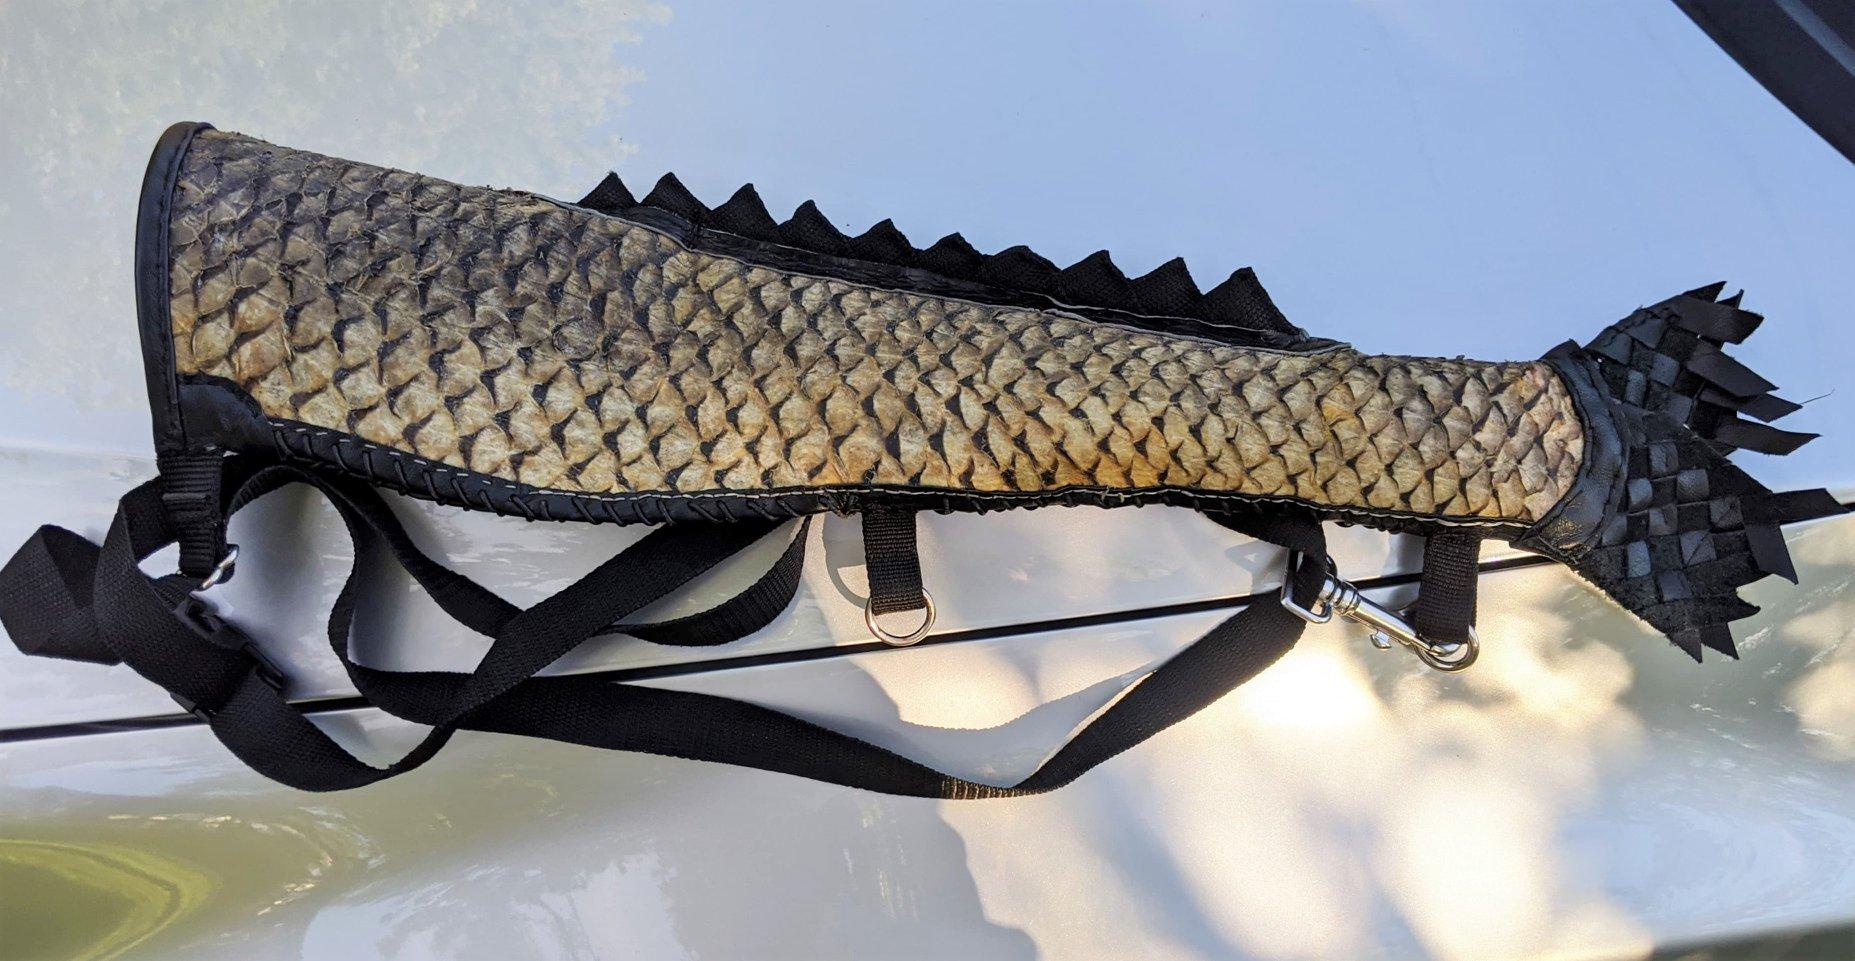
Hello, Folks. Glad to join the forum, I'm looking forward to seeing the techniques, projects, and equipment of leather crafters more experienced than me. I've been teaching myself to tan leather and furs for several years now, and I seem to be getting the chemistry and processes dialed in at last. I've made decent, wearable furs from raccoon, muskrat, chipmunk, and deer. I've made leather from the hides of squirrel, carp*, and opposum, and the more typical deer hide into buckskin. Each of these animals' hides have such unique, fascinating properties. When it comes to using the leather, my main focus is on making tool sheaths, blade-guards, and belt holsters. Recently made blade-guards for my axe and scythe. Currently I repair my own shoes, but at some point I want to learn how to make them from the ground up--or rather, from the upper down. *This photo is of a quiver I made for my bowfishing friend, from the skin of a carp she shot for me.

.JPG.ae1d2922fc16e6ecf66577225b700e87.JPG)