


AlZilla
-
Posts
927 -
Joined
-
Last visited
Content Type
Profiles
Forums
Events
Blogs
Gallery
Posts posted by AlZilla
-
-
7 minutes ago, kgg said:
Maybe new members should have to post a couple of times before asking a question like on some other forums I'm on.
Some follow up would be nice just to see how it actually worked out. But in the end if someone asks about XYZ sewing machine for a particular use and gets good advice, then it's here for the next person who comes along wondering the same thing. This place is pretty much Encyclopedia Britannica for leather sewing machines.
-
6 minutes ago, Mulesaw said:
only for the OP to never visit the site again
You never know if the person is visiting w/o logging in. It always does seem like they should at least acknowledge the responses.
But, that's the world we live in now, I guess. Get off my lawn, too.
")
-
22 hours ago, Constabulary said:
"common" singer hook as for 153w and so forth
It does appear to have been used in a few different machines, lucky for me.
I think this machine is the ancestor of the W&W D12, except the couple of pictures I can find of the D12 show a single bobbin serving both needles. This is by no means definitive, just me searching the net.
-
2 hours ago, CowboyBob said:
The manual for this machine is very close to yours.
Thanks for taking the time to send this along. It's quite close, a good clear copy and has an Adjusters section, which I don't have.
Very helpful!
-
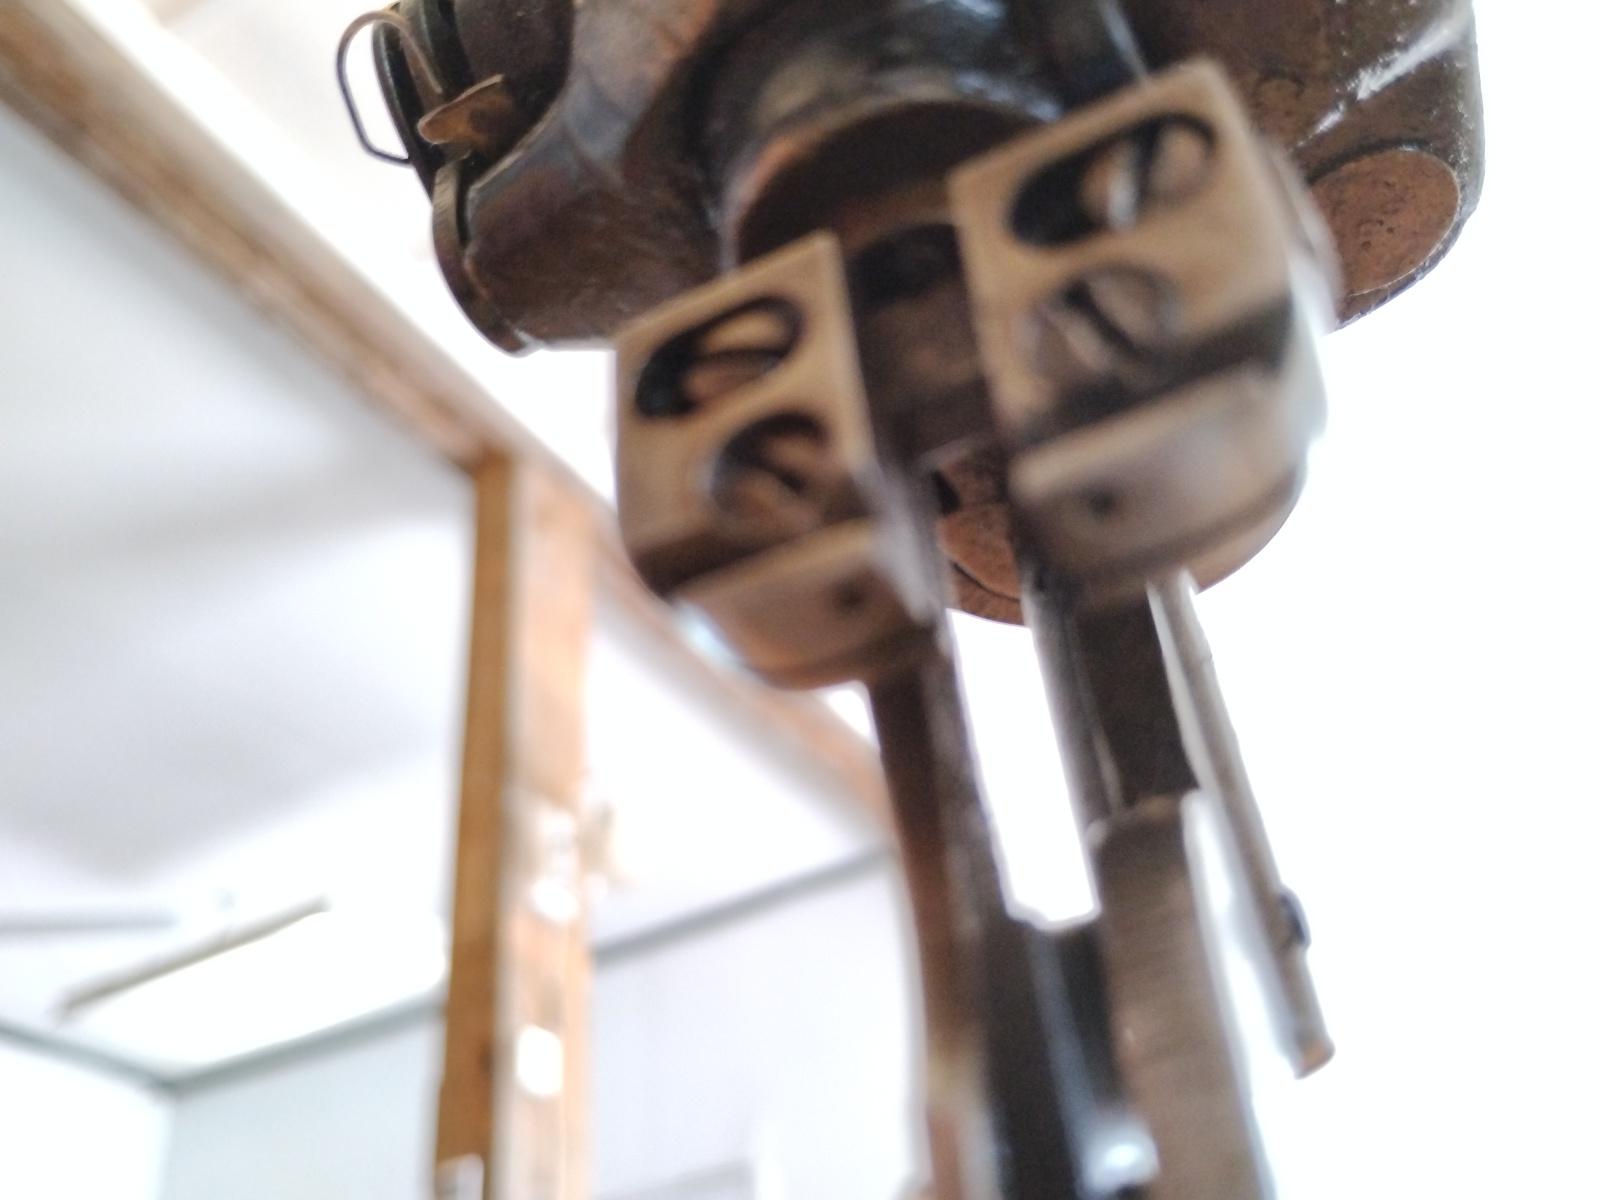
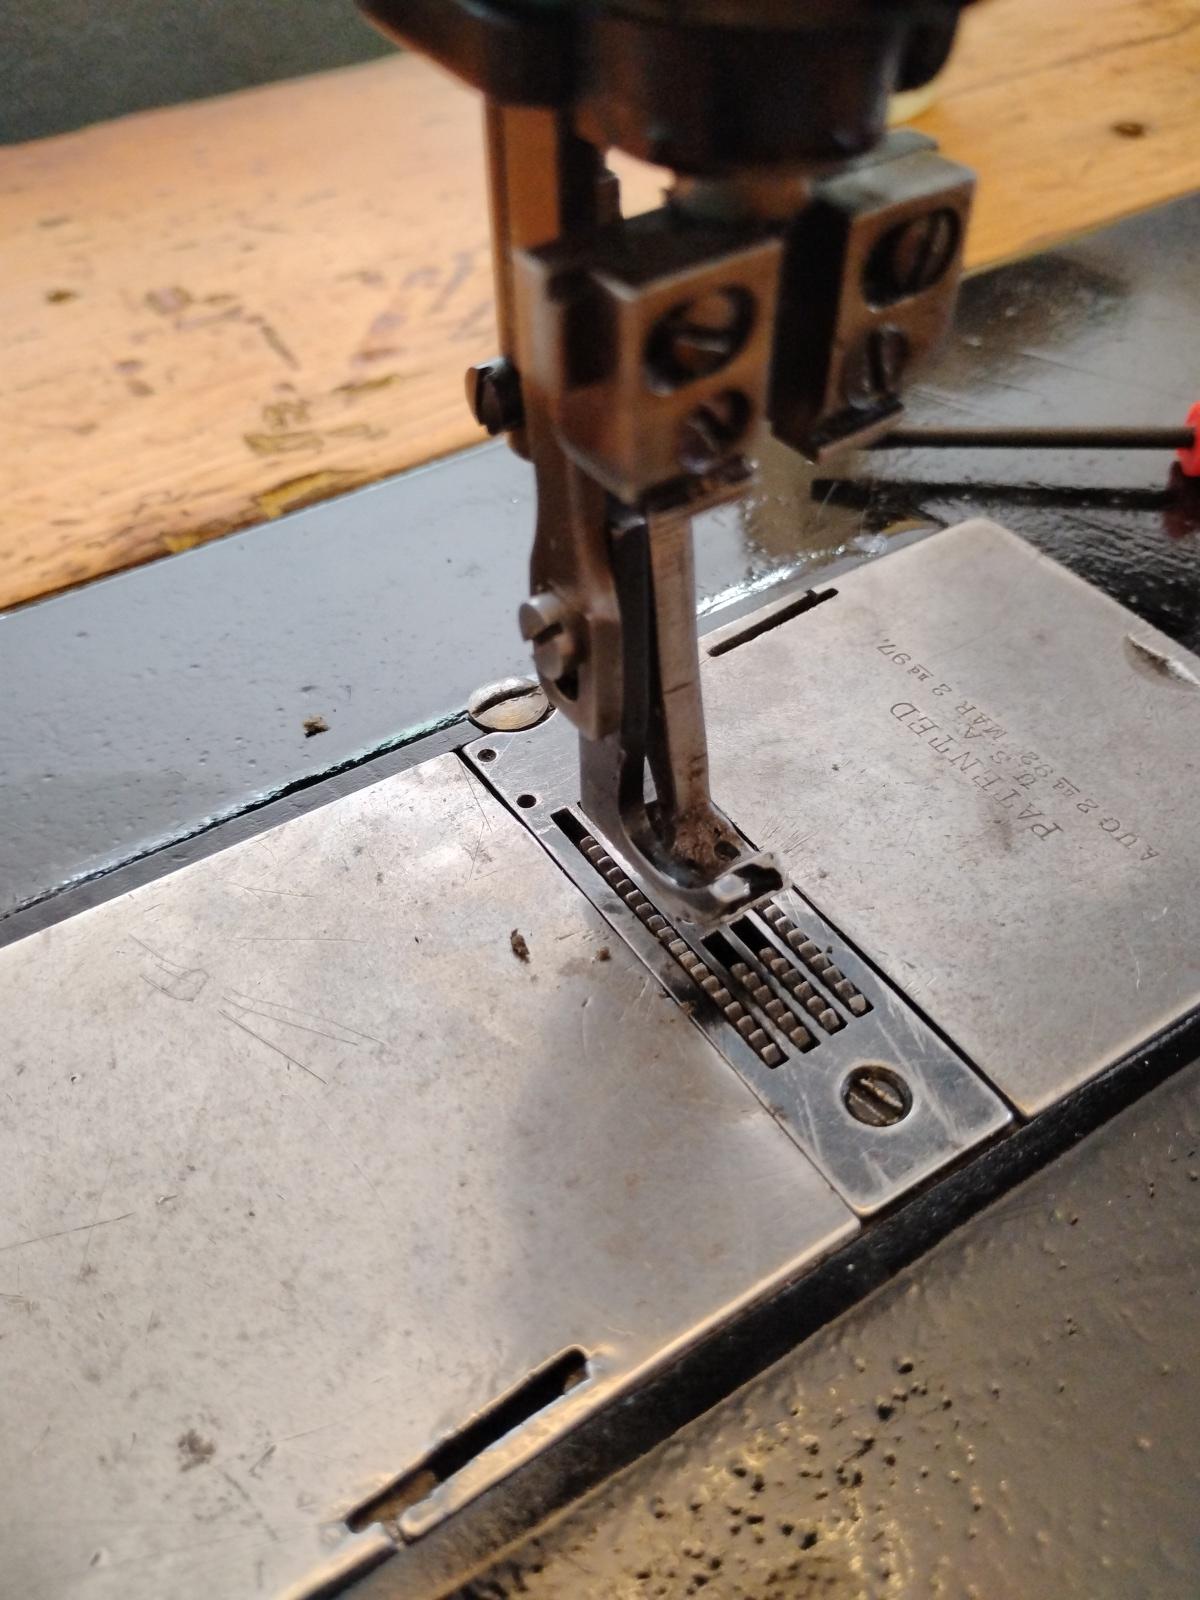
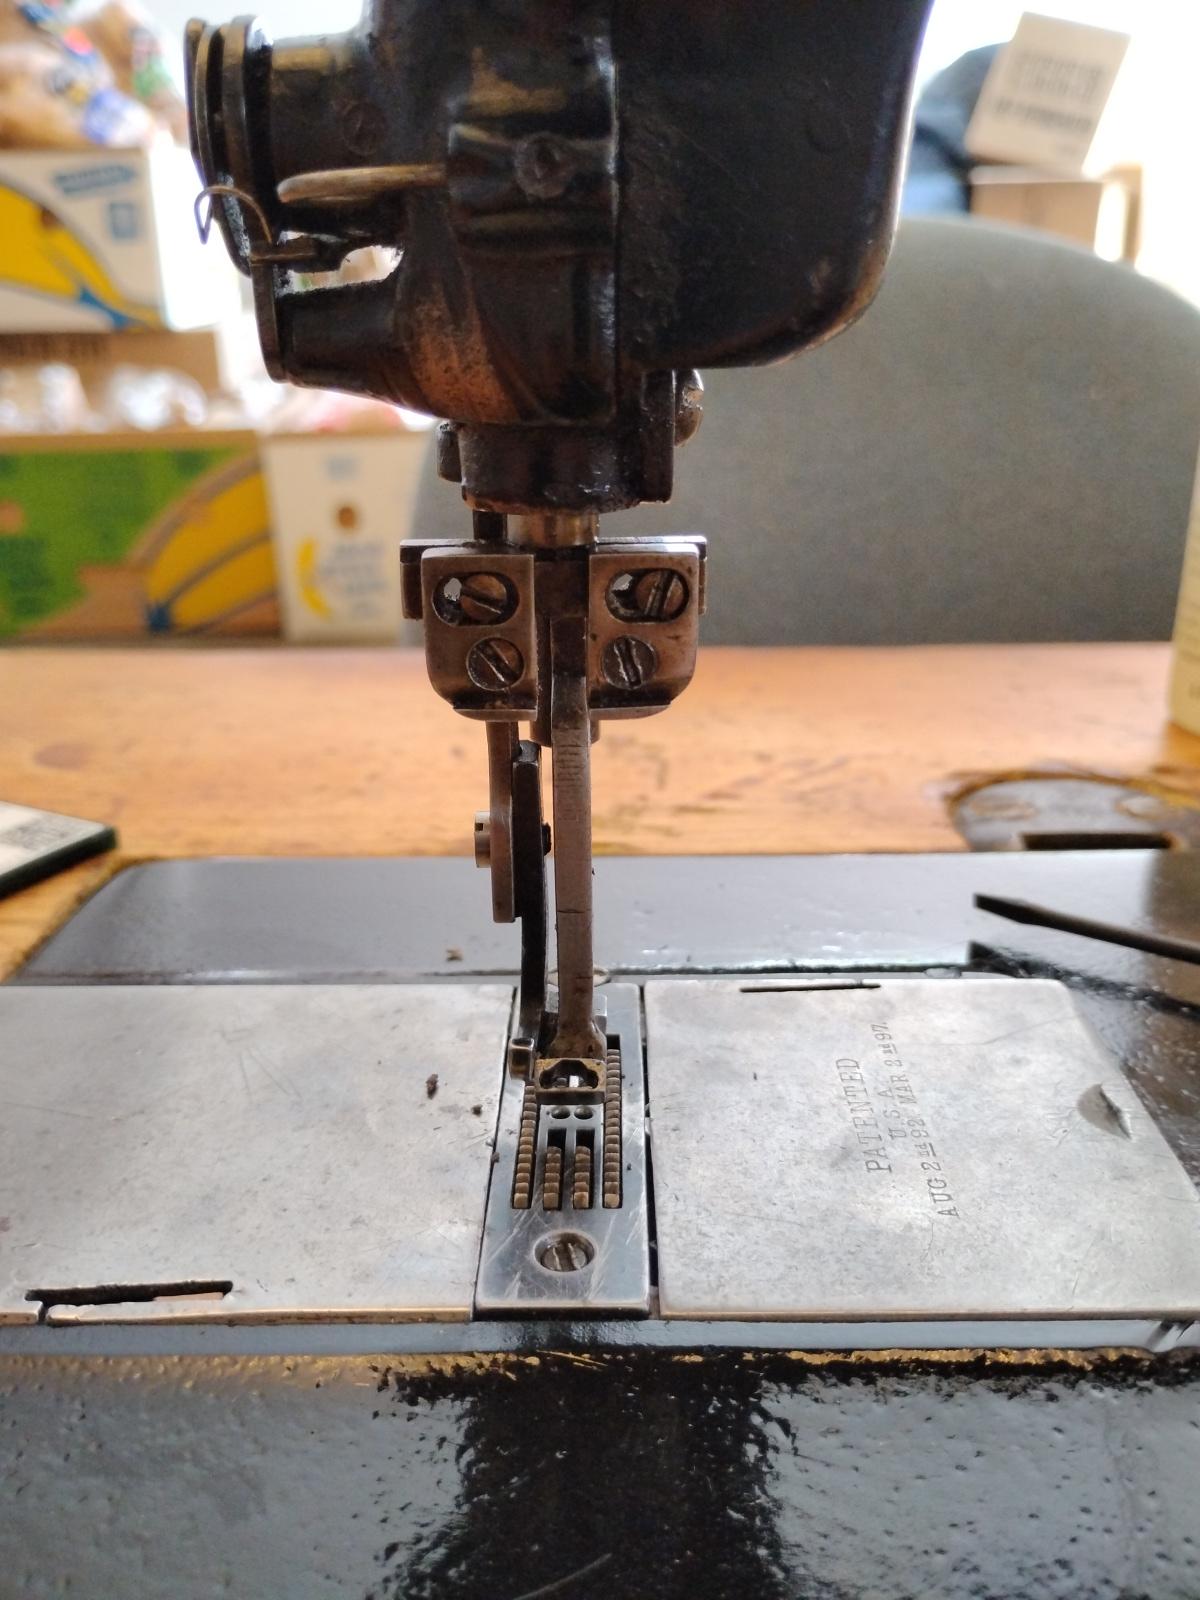
Here's what the needle and foot area look like.
-
23 minutes ago, friquant said:
Is this to drive the machine or to lift the presser foot?
I thought you were going to use the kick drum lever to tell a separate servo to raise the presser foot.No, I guess I was unclear. OP needs to pull the chain for his foot lift. I'm suggesting he could engineer a pedal similar to what I'm doing to pull down the lever to control the servo motor on my project.
-
2 minutes ago, friquant said:
Ooooohhh...
Can you post links to the servo you're using for this?Just a nothing special bog standard servo from ebay:
https://www.ebay.com/itm/356814829633
It says it's 750 watts but I bet when it gets here it's 550.
It's got a 2 to 6 speed reducer already.
-
On 7/2/2025 at 11:54 PM, Constabulary said:
looks as if it had an edge trimming device? There is a bar with a blade, right?
I think you're seeing the jump foot. I'll get some better pics of the needle area.
I got a close enough manual here: https://www.universalsewing.com/parts-lists/singer . I got one for a 21W that has what I need. I had forgotten about that page. Sadly, all the downloads are randomly named so need to be "Save As"ed.
I think I'm going to need parts for the left hook assembly but it looks like there are plenty on ebay for the 21W that should fit.
It looks like in order to change the spacing of the needles (Gauge) it's going to require a presser foot and needle plate for each width! The good news of that is that very tight spacing between the needles and holes should contribute to a nice stitch.
It's waiting for it's servo motor ... patiently.
-
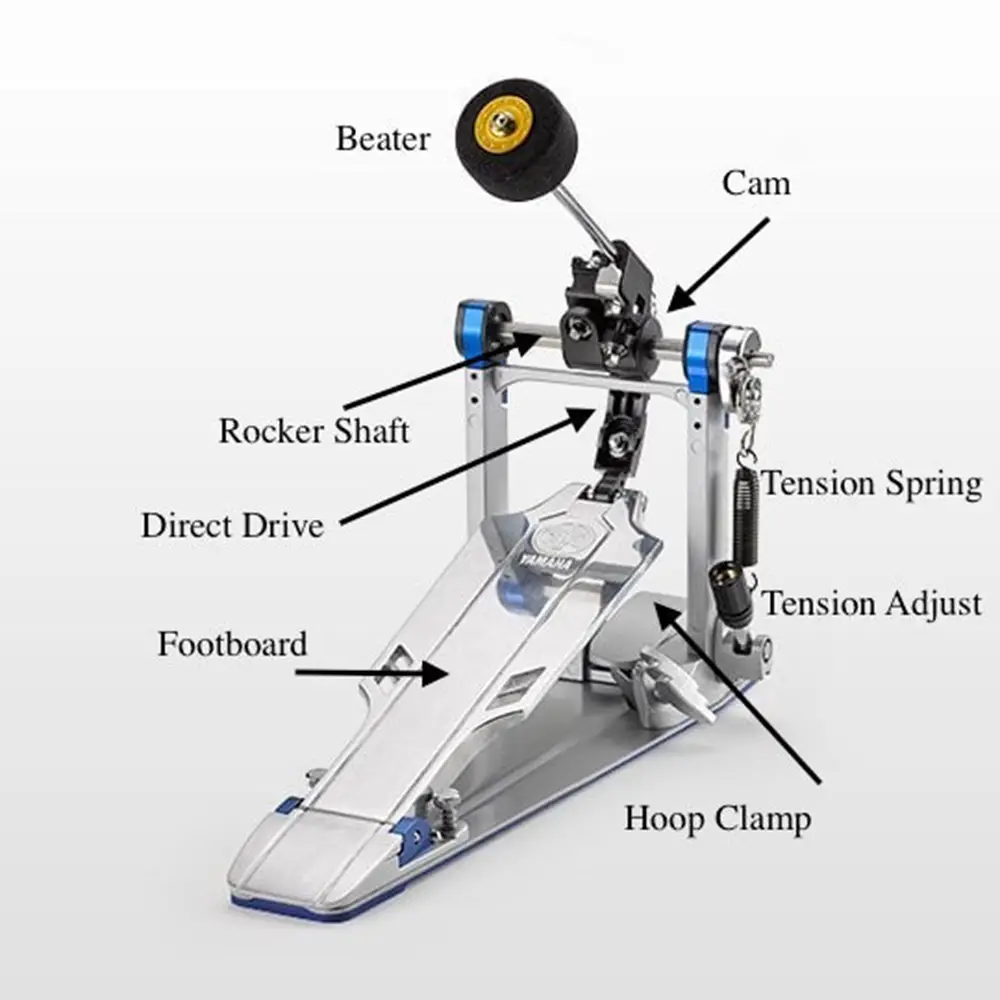
Unless you're going to sit at that machine, I think a knee lift is out. I have a broken bass drum pedal I'm in the process of adapting to operate the servo motor on a sewing machine. The "beater" is broken off, so I'm just going to attach the pedal frame to the table legs and attach the servo motor arm to the pedal.
Maybe this pic will inspire something.
Edit: I just saw your stirrup idea. That might work, too, if you could keep it from swinging all over the place. Maybe a chain guide of some kind down low, limiting it's swing. Great idea.
-
Looks like a reverse lever half way up on the right hand side, to me. US shipping is listed a $123.
Your tag for @RockyAussie didn't work right. Start with the "@" followed by the users name and select them from the drop down. I'll be interested in his thoughts, too.
-
1 hour ago, TakashiOkada said:
it says in the video that it can use size #14 to #24 needles, some other places say the smallest needle it can use is #18. I often use size #12 for very thin straps or watch bands and leather accessories with my father's old seiko TF-5. will this machine be able to handle such material/needle?
It's really hard to tell what the specifications are. I'd lay that responsibility off on your dealer, since you have one. I saw someplace that it could handle thread size 20/3 ... whatever in the world that is! It should specify a range.
-
Well, here it is on Alibaba. I've never bought anything big from them:
And here's a video that shows a clutch motor, Most will want a servo:
-
19 minutes ago, Johanna said:
The adult forum "Oh No, Don't Stop!" is now password protected so that it doesn't show on activity streams and new posts etc.
If you want in there, type "adult" sans quotes. I hope this solves the issue.
Easy peasy. Nice work.
-
When the Girl Scouts happen by to get some ideas for their next project, we don't need them blundering in to posts like the one in question. Just because worse is available elsewhere, doesn't mean they need a dose of it here while looking for key chain patterns.
Even if that forum didn't appear in the All Activity or New Post streams, a person would then have to go looking for it. Maybe an "opt in" the first time a user accessed it. Verifying a users age is highly impractical for most cases.
-
I'd agree that neither of those machines seems ideal. Several members here have purchased machines from overseas (to their country). I wonder if that would be an option for you? I've never imported anything large and expensive, so I don't know.
-
I believe @Johanna can make that forum invisible to you.
-
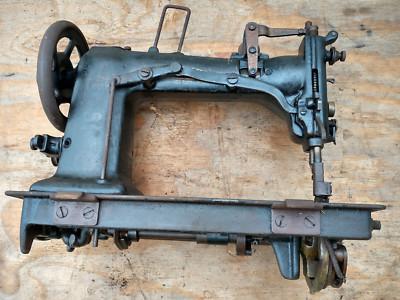
How's that for a longshot? The machine is actually a Singer 22W156, made by Singer after they bought W&W. Anyway, here's a pic. Might have to fabricate something.
-
Since I'm over working on it ...
.jpg.7fbdef73a700bb80fe54d31144cf259d.jpg)
.jpg.4f15546b0fbb60398408c33d20f819d7.jpg)
The last patent date is 1897 and I do think it's a W&W holdover.
-
I'm rehabbing a 22W156. I could use a manual, if someone has one.
Don't need a parts list, I have several of them.
-
1 hour ago, fredk said:
Its not completely fixed
BossLady stopped the flood and I think the bulk of the spam messages are gone. Many hundreds of them!
Feel free to report anything you see so we can smite them down.
-
Moved this to the Marketplace. Please see the rules listed here: https://leatherworker.net/forum/forum/71-items-for-sale/ and add the required info for the Boss (Pic, Price, Shipping Info, Location). The odds and ends will need to be listed in the appropriate catagory.
Thanks
-
19 minutes ago, friquant said:
But it is quite clunky-sounding in reverse with long stitches.
Here is a video that shows where it's still hanging up. 😢
It doesn't seem to be hanging up, really. Just a bit noisy. It's a "clone" of the Juki but with longer stitch lengths, if I recall correctly. Obviously it's not an exact clone, if it has longer stitch lengths. I wonder what they modified to get the longer lengths and if the noise is the price you pay for it?
Really, how often are you going to reverse stitch at maximum stitch length? And probably only 2 or 3 stitches just to backtack.
-
Hey, @Gem Gypsy, let's split this out into a new topic. It's a great question.
-
Welcome aboard. The following thread will give you the information you need to ask good questions. For starters, when you say "holsters", you need a walking foot industrial with compound (unison) feed capable of sewing V277 and up.
You can go to this page, look on the right hand side, and everything from CB2500 down to Cowboy Outlaw would work, just as a starting point:
https://tolindsewmach.com/cowboy.html
Since you said "not breaking the bank", once you have an idea of what you're going to want, start watching the used sewing machine listings. Along with the rest of us ...
")
Rehabbing My Singer 22W156
in Leather Sewing Machines
Posted
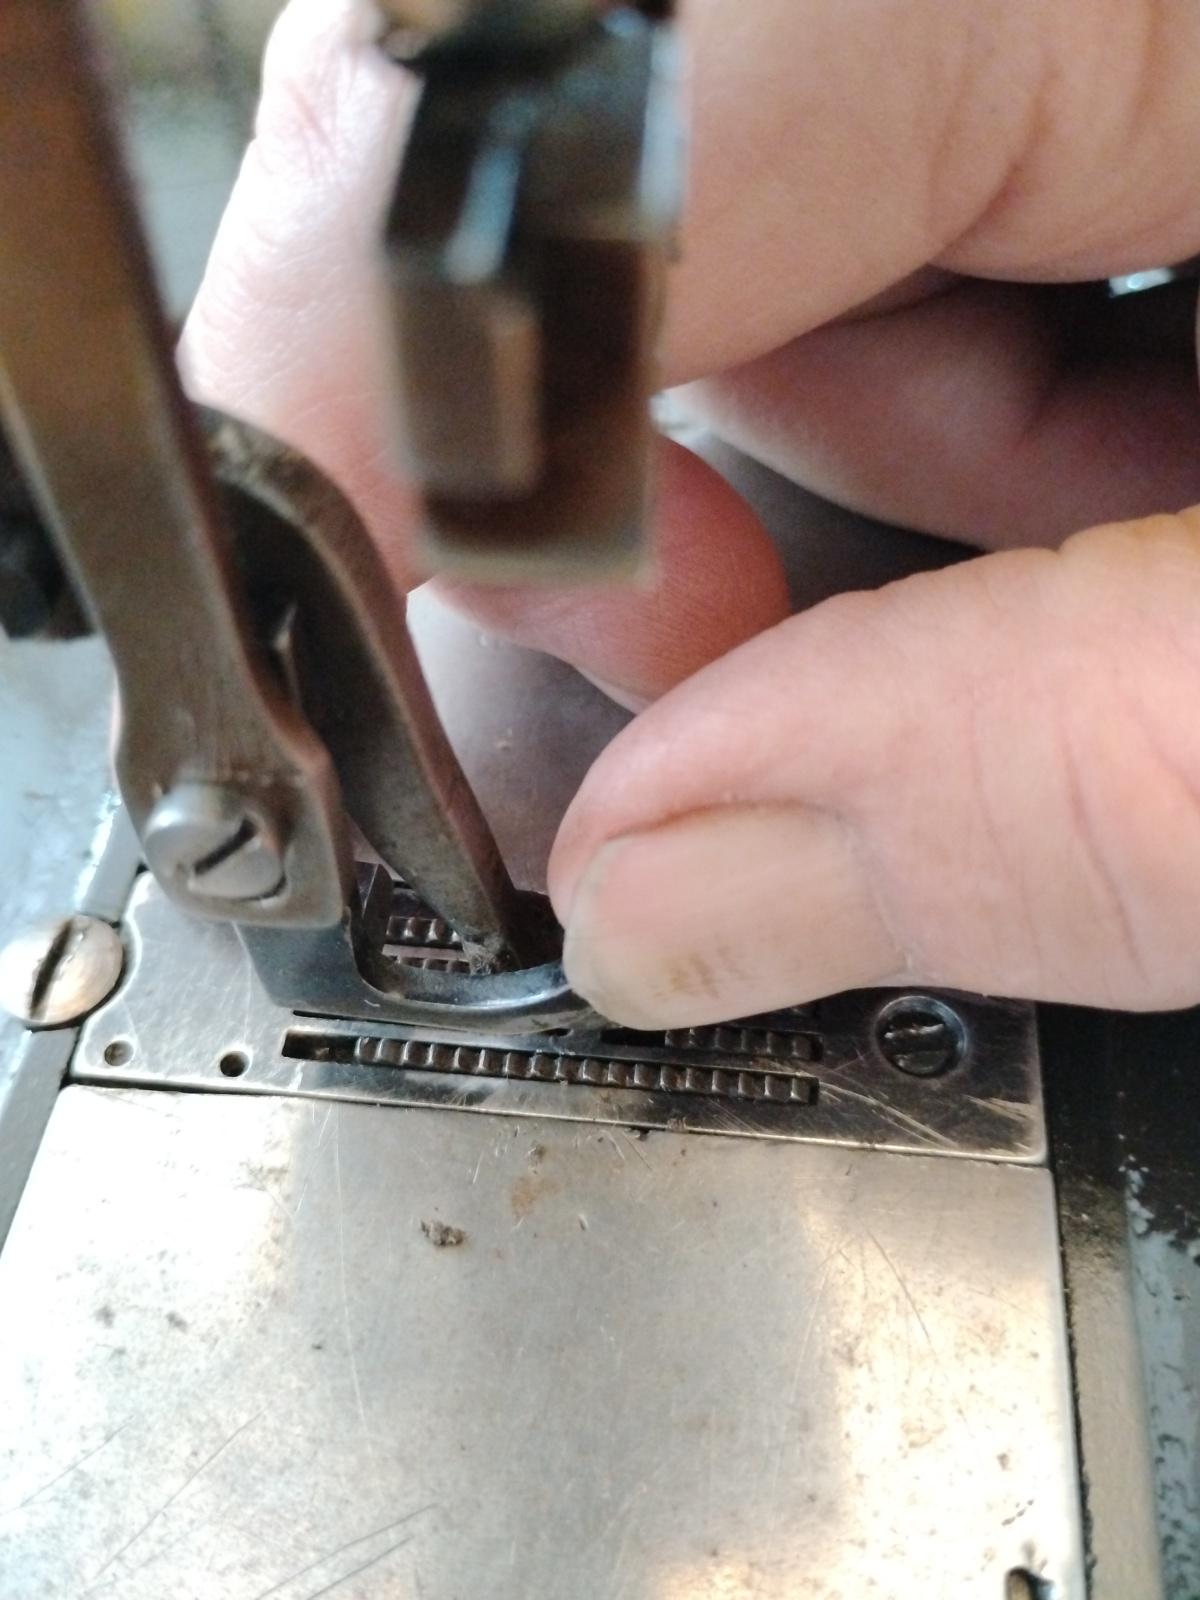
Looks like someone moved the hook saddle over, trying to disengage the left hook. You can see the extra gap between the needle plate and bobbin case. That lets the tab on the bobbin case hang up on the stops under the needle plate. Might be an easy fix.
Whoever had it before was sewing single needle. Another tinker while I await the motor ...