


KillDevilBill
-
Posts
61 -
Joined
-
Last visited
Content Type
Profiles
Forums
Events
Blogs
Gallery
Store
Everything posted by KillDevilBill
-
I'm liking this! Nicely done!
-
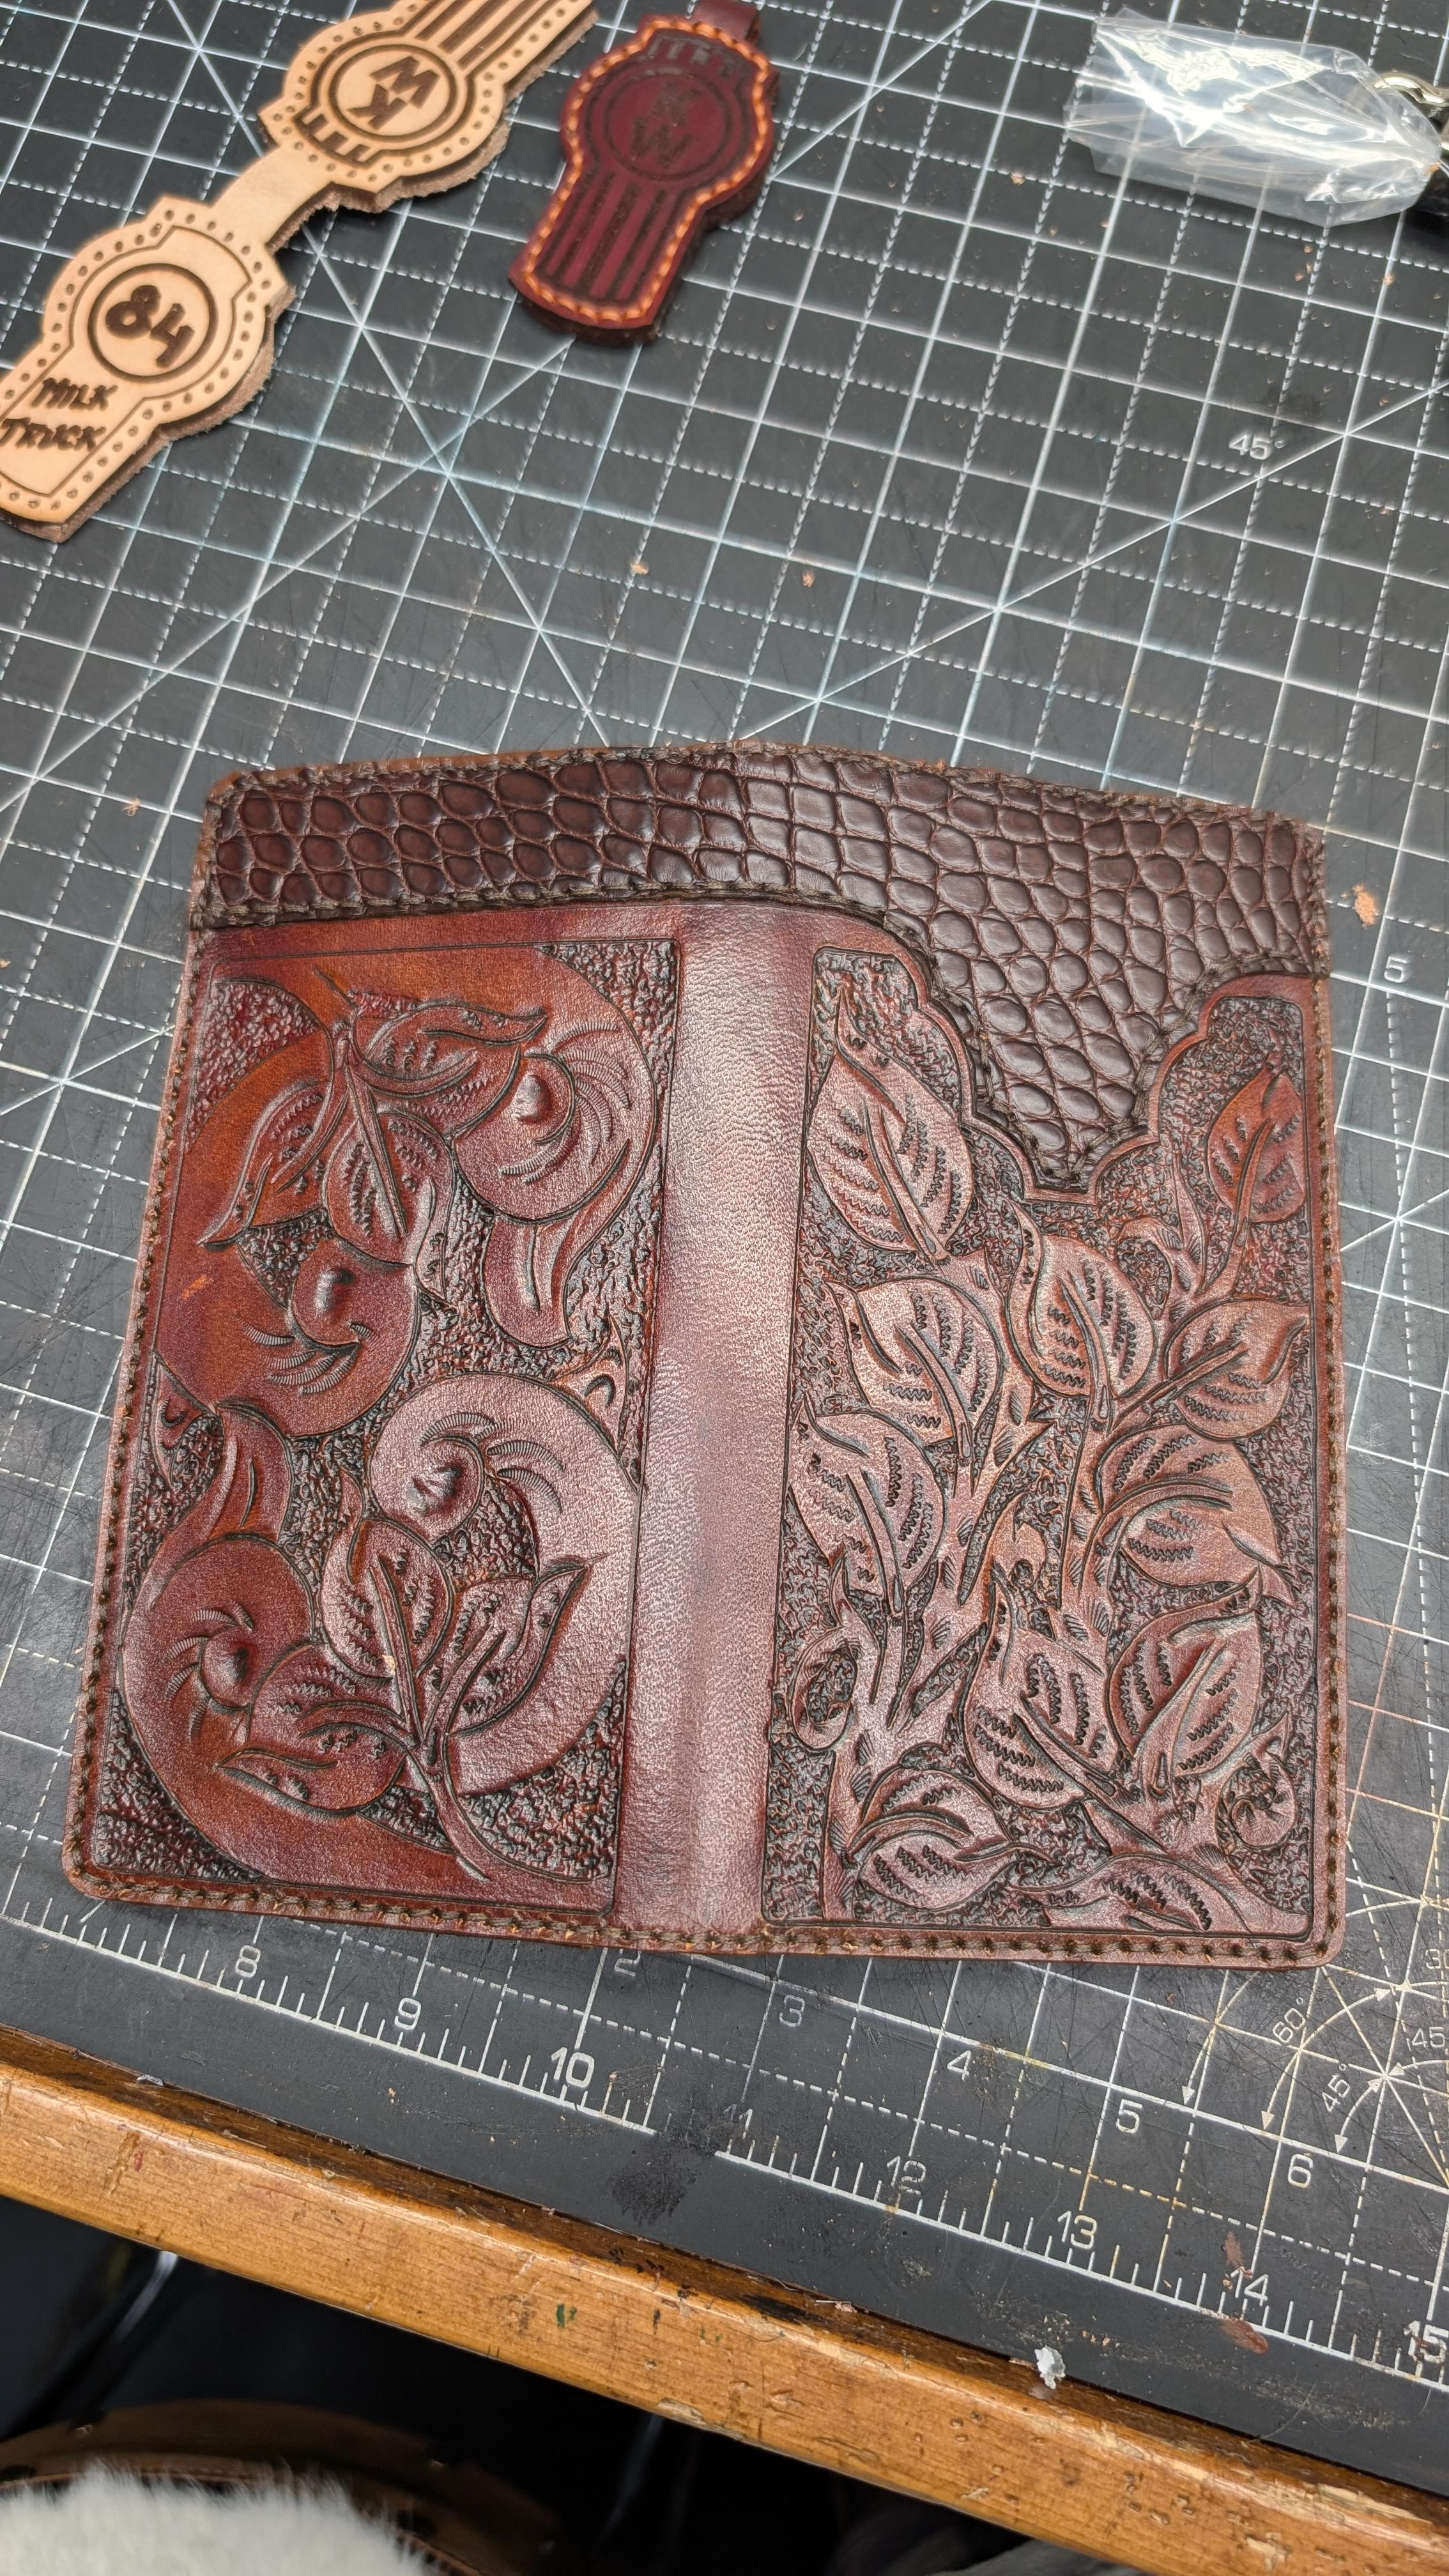
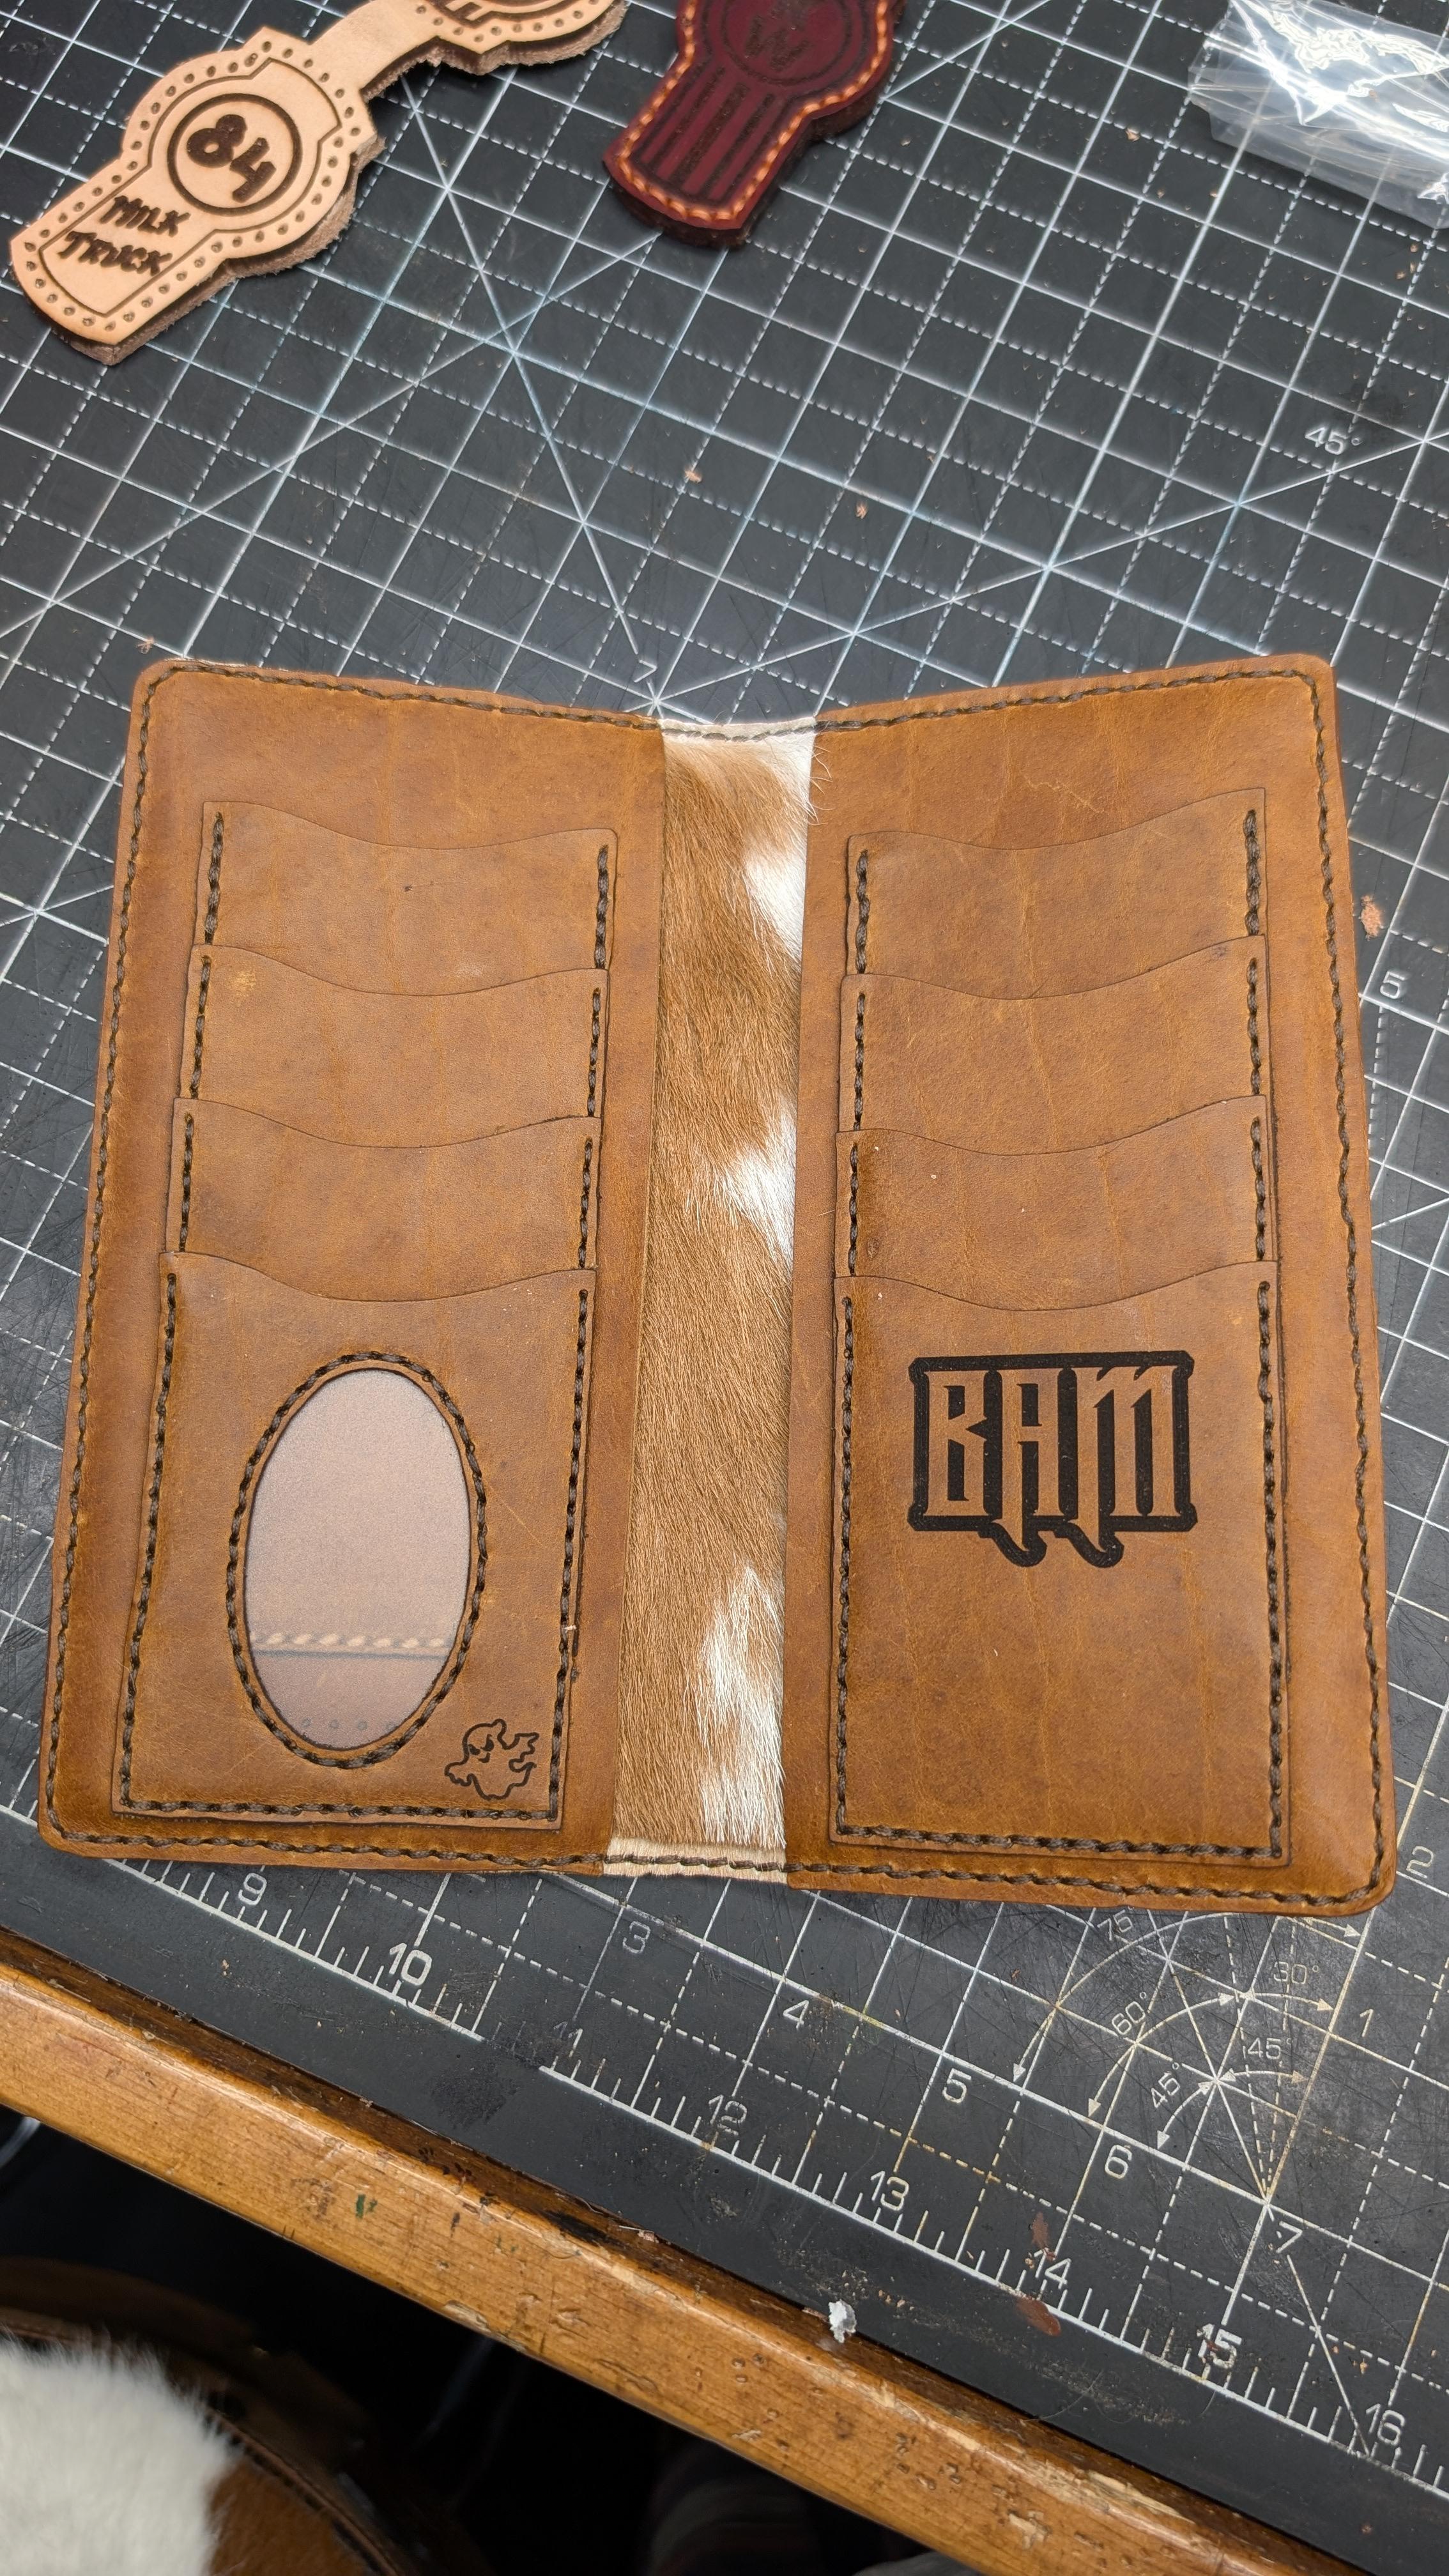
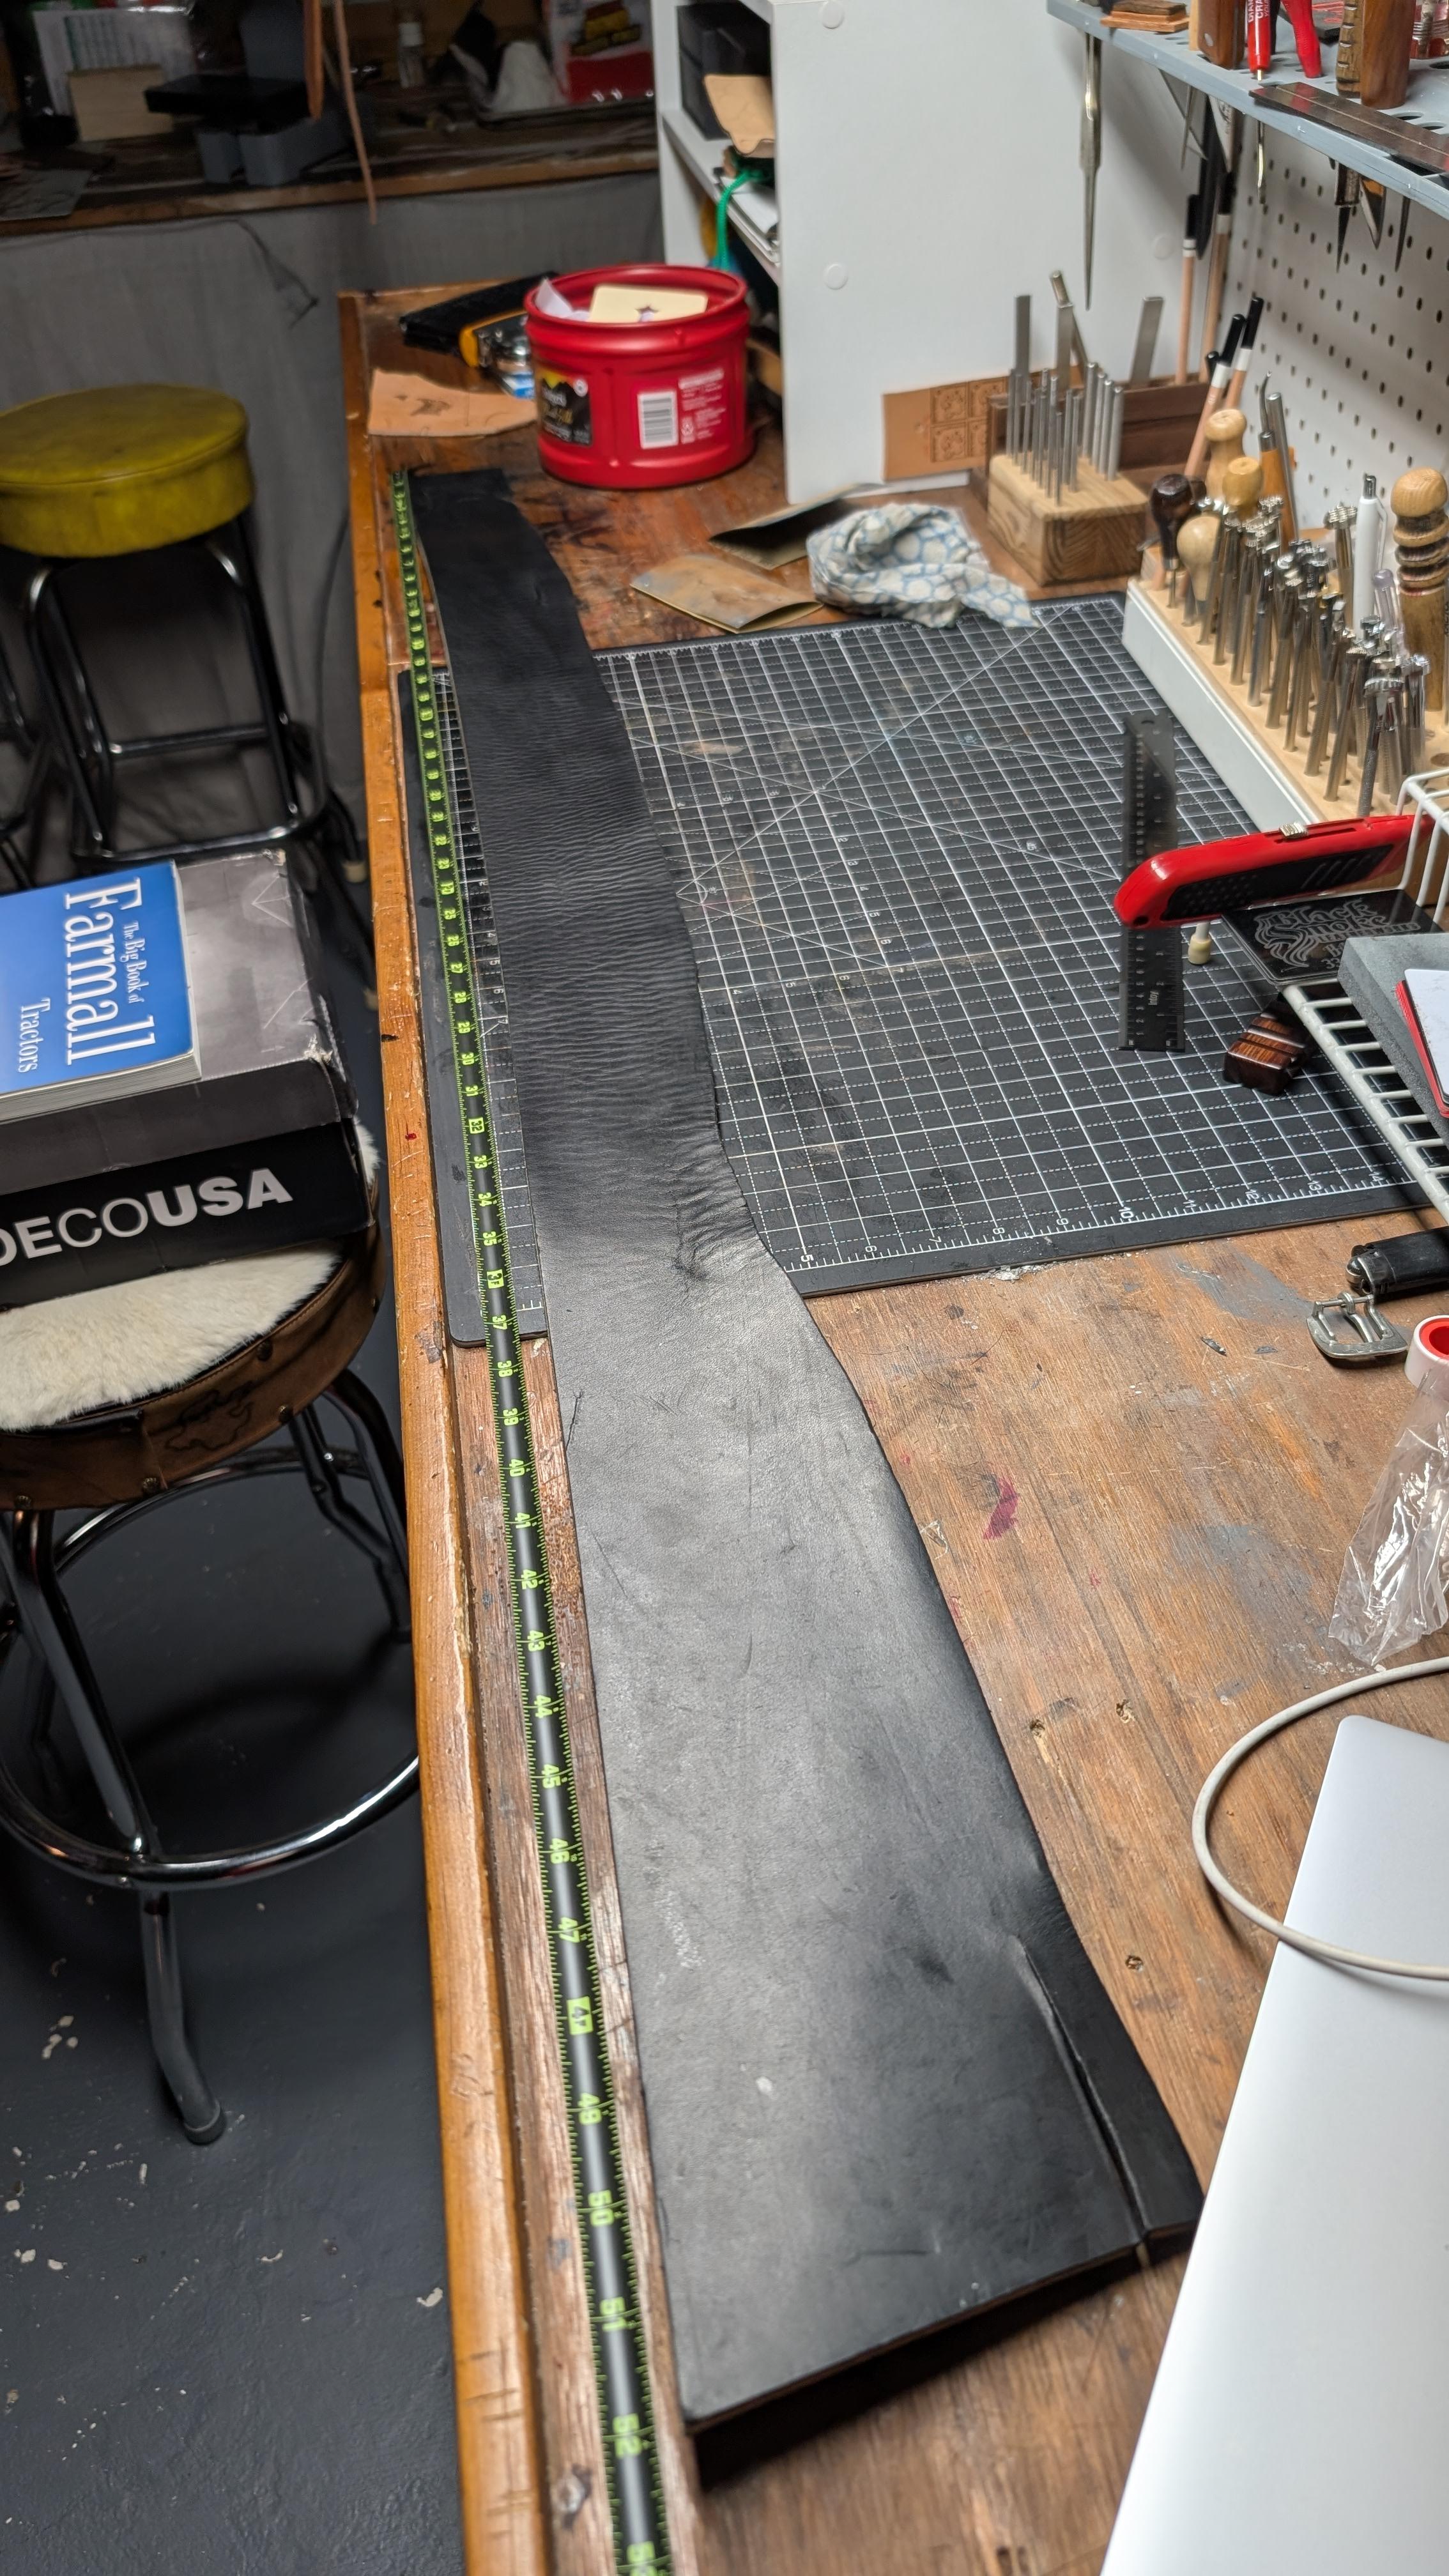
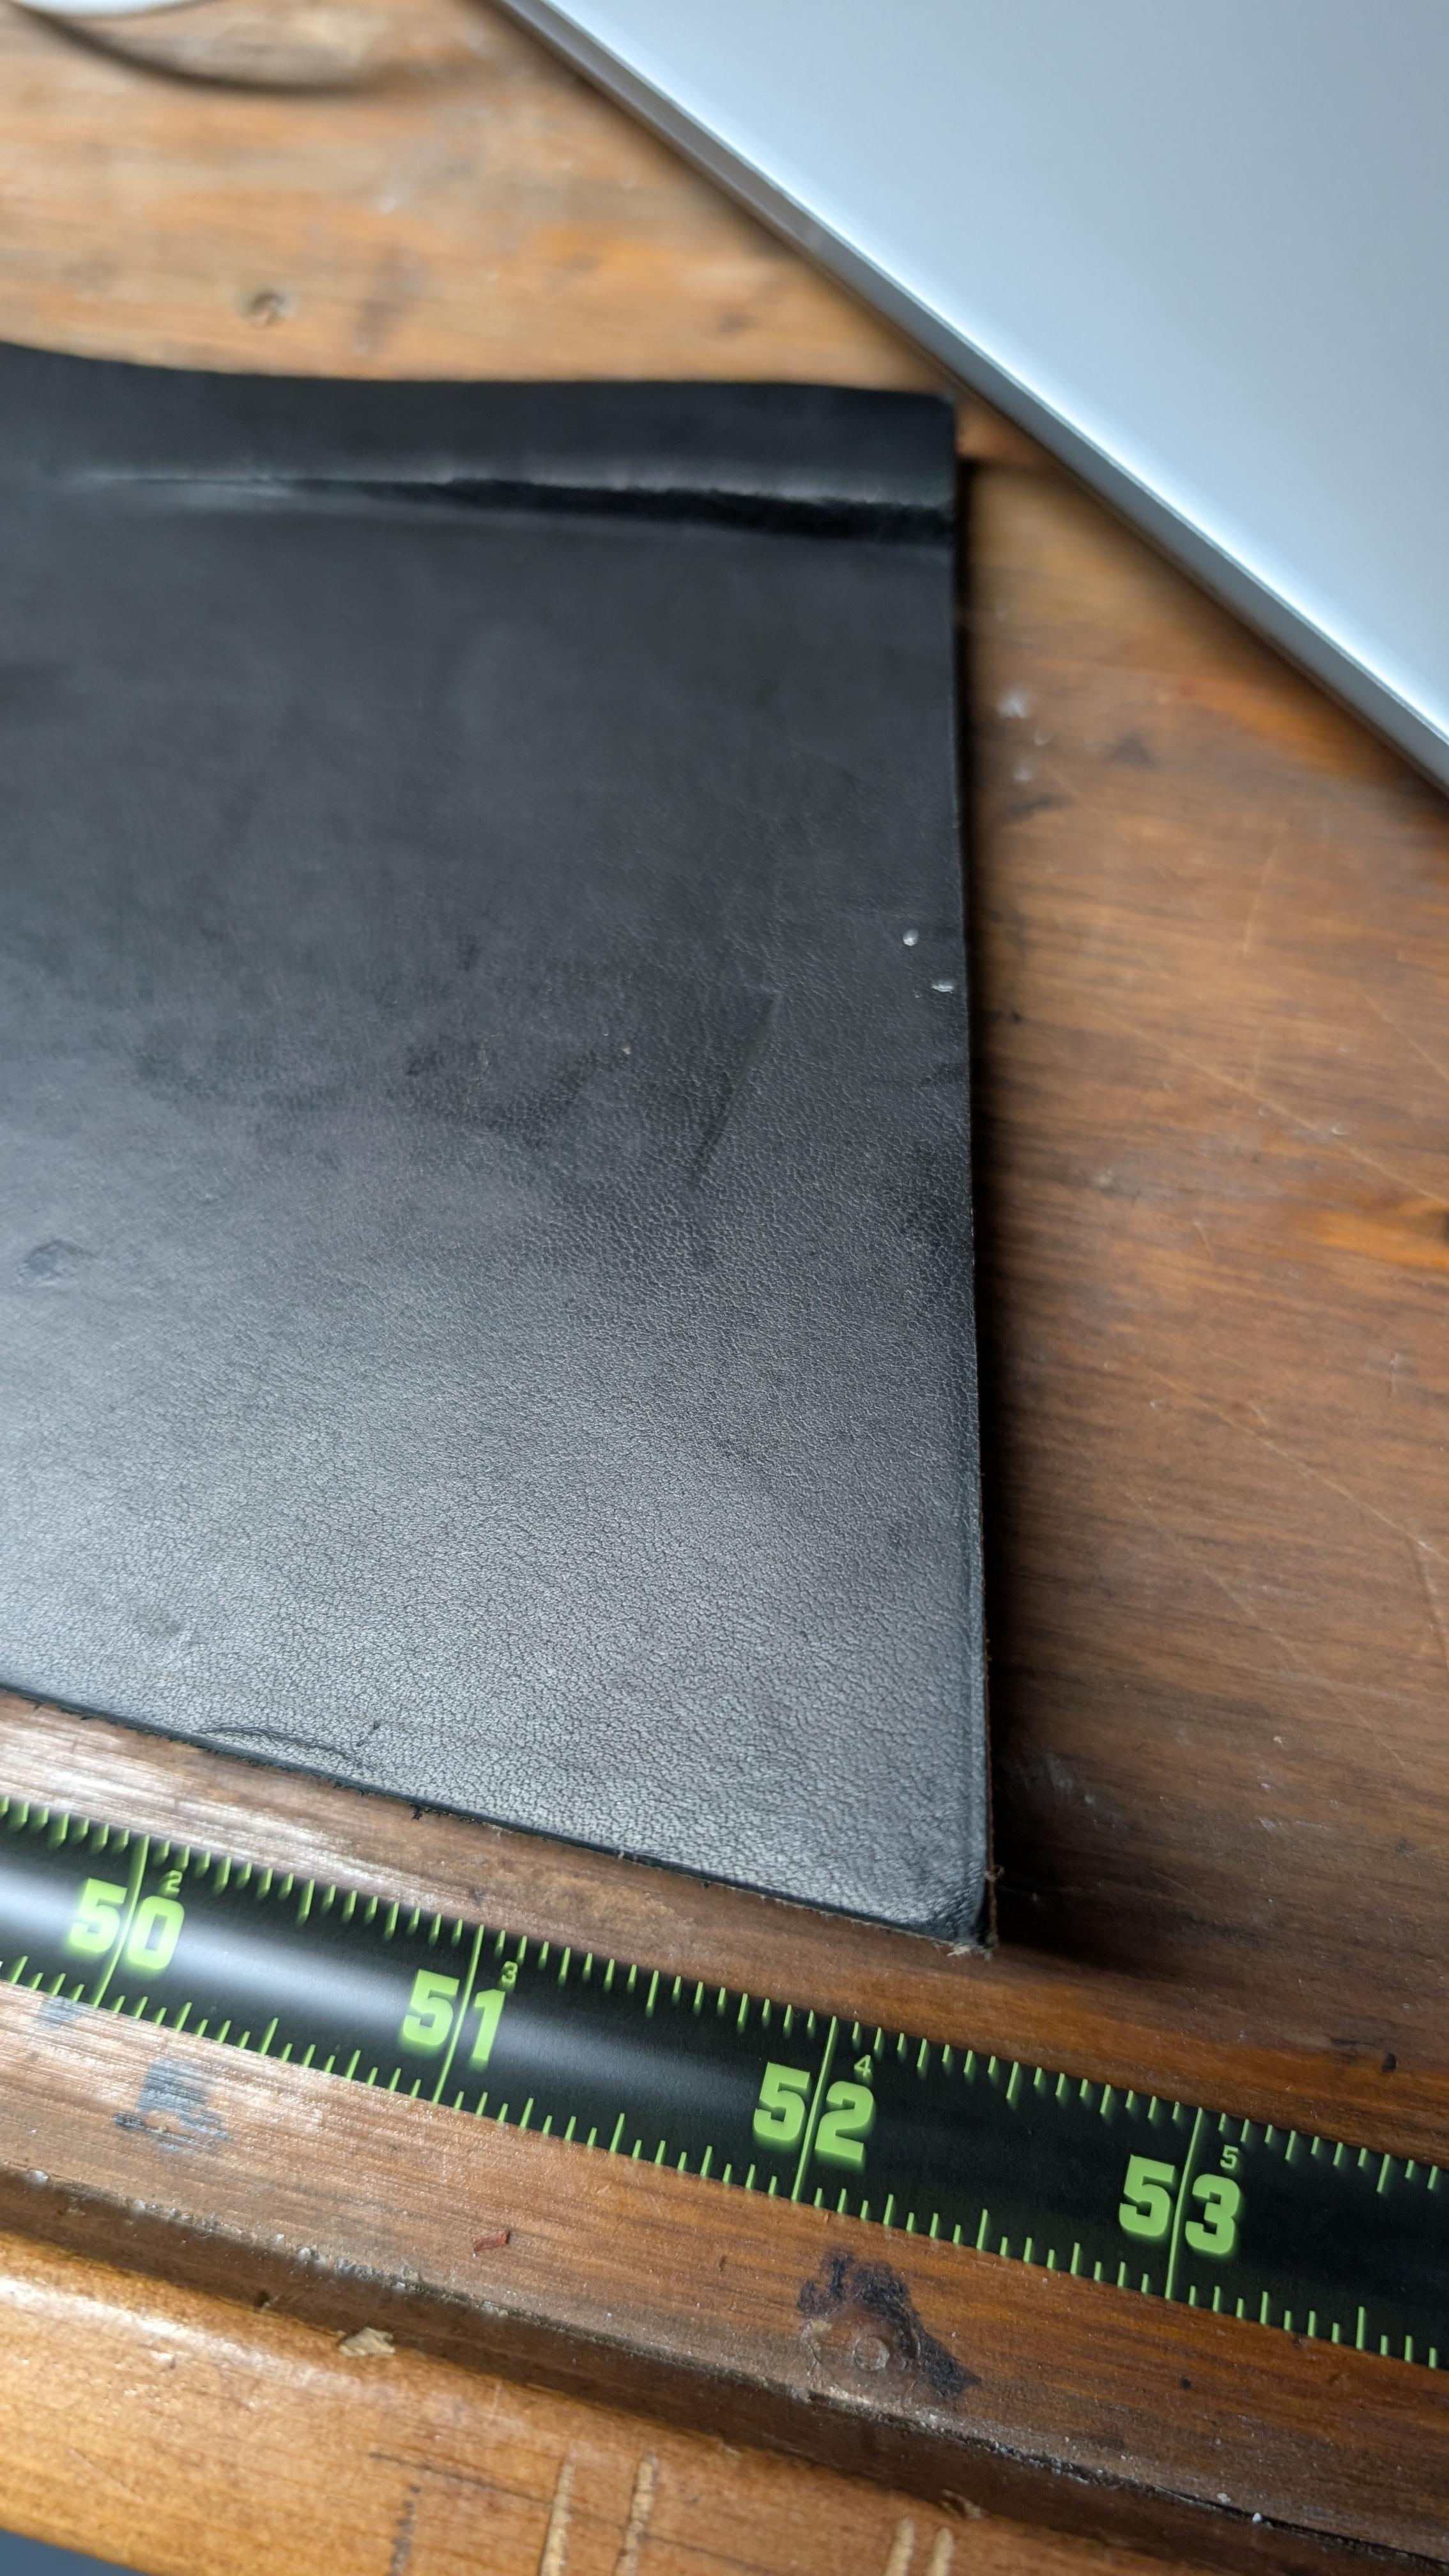
Latest project, long wallet. Hybrid version of my Billy Bada$$ wallet. My customer tweaked Billy to his own liking. Haven't named this one yet! Lmao Outside is 4/5oz tooled vegtan, dyed English Tan with Bismark antique. Chocolate alligator. First time I've used gator, won't be the last. Inside is 2/3oz Bison dyed Peanut. Lined with hair on calf skin. It absolutely pained me to use edge paint. Bison and calf skin were not cooperating with burnishing. I could have gotten the inside stitch line quite a bit better. Let me know what you think!
-
Angelus makes a product similar to Tokonole and a fuzz cheaper. I've used it with great results. The best product I've found for edges is time.
-
Holster for a Heritage .22
KillDevilBill replied to BlackDragon's topic in Gun Holsters, Rifle Slings and Knife Sheathes
I use welts on trigger side of my holsters and the whole way around my knife sheaths. Plenty of reasons for this, the main one being my brain doesn't like taco sheaths. As far as stitching THICK welts goes? Oh boy. Like eating an elephant. One bite at a time. Very time consuming but a look like no other if you get it right. And I really like this holster! Nicely done! -
Sa-weet!!! Thanks everyone!
-
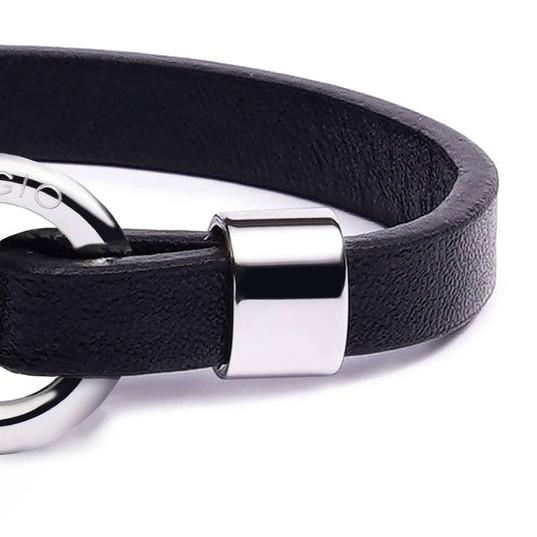
I tried the usual, no idea what it's called to search for it.
-
Working on a new project, and I ran into the ole "what's this thing called" hurdle. Leather is going to be 1/2" wide, thickness to be determined on hardware if/when I can find this. Thanks in advance!
-
Yeah, that was pretty dumb of me! If I found my exact truck in a junkyard, we wouldn't be having this conversation. Lmao 🤣
-
Dummy gun
KillDevilBill replied to KillDevilBill's topic in Gun Holsters, Rifle Slings and Knife Sheathes
This is the one I bought https://www.ebay.com/itm/396977964819 I haven't started on the holster yet, so I can't say how it does wet forming, but just looking it's really well made. No "flash" or seams to contend with. Ready to use as is for our purpose. When I need another dummy gun I'll definitely look up this brand. -
I like how you're thinking, but I'm not gonna find my work truck in a scrapyard. I should have specified it's a semi.
-
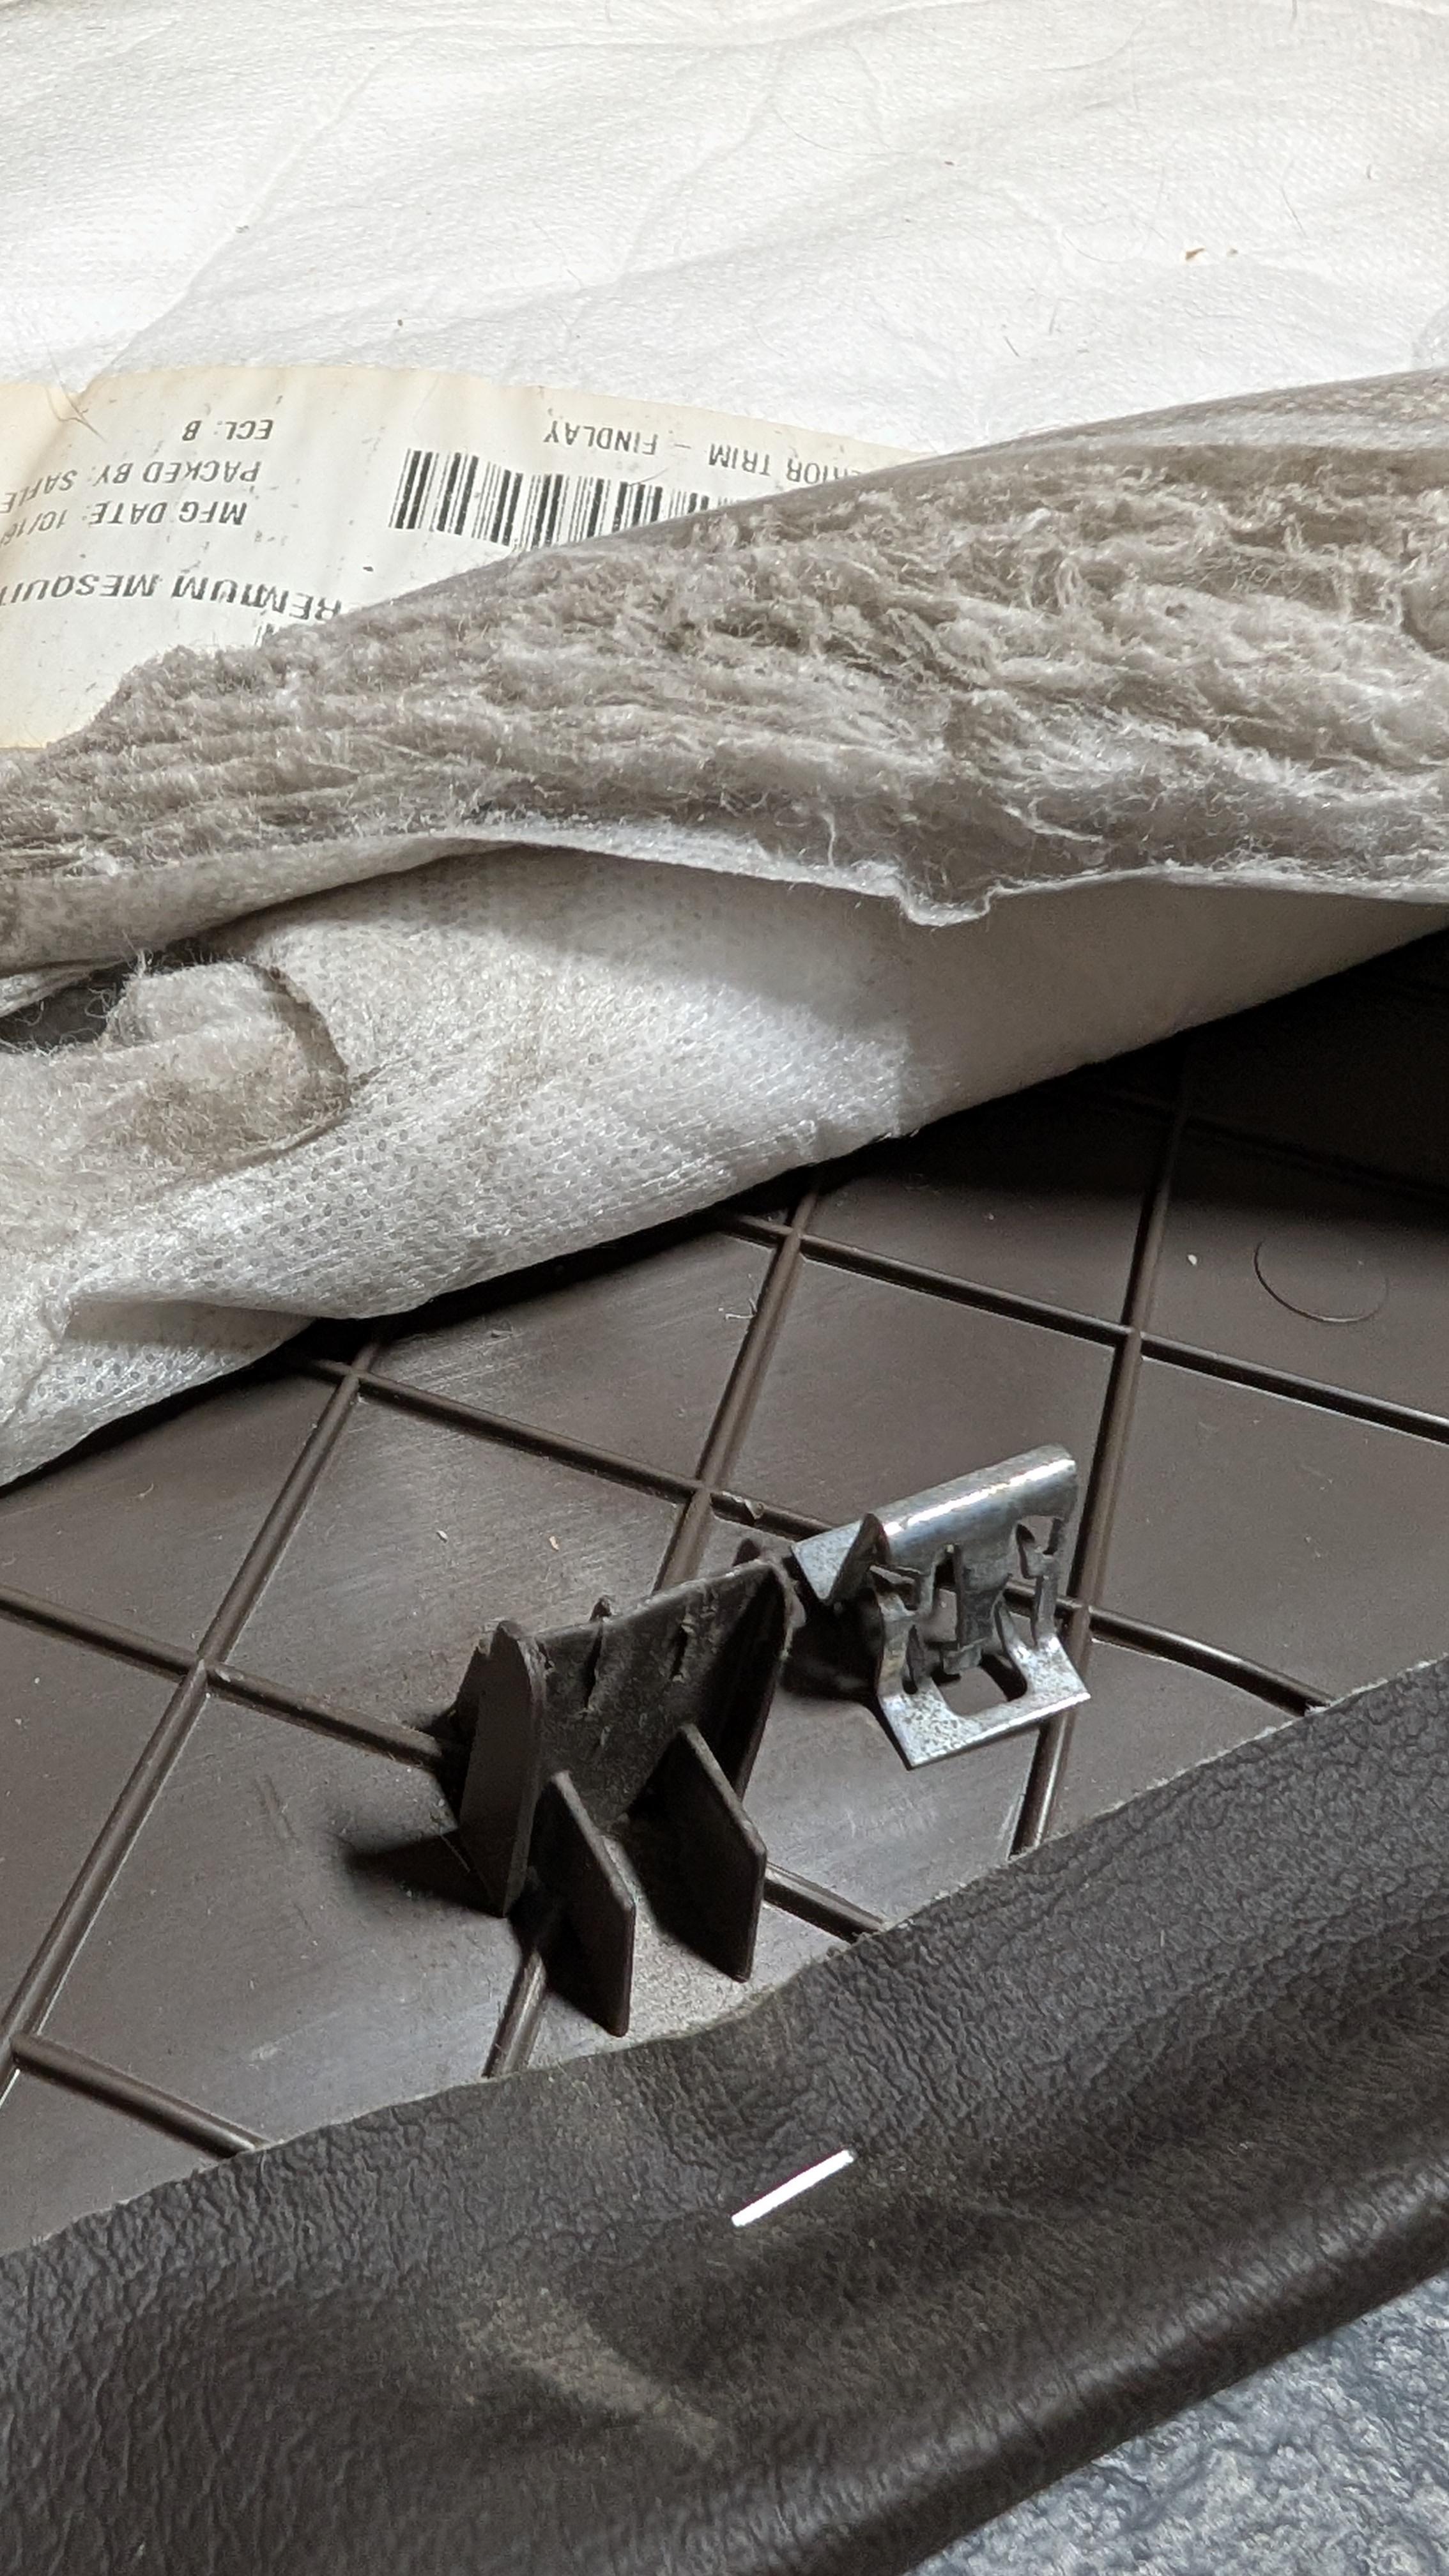
Area is dry, except when I leave the door open in the rain. Lol How would I mount the clips to the MDF? Here's a better pic: Metal clip removed for pic purposes.
-
So I decided to reupholster the door panels in my work truck. I'm new to upholstery, but I *think* I have that part figured out. I have an idea that I need help with. Here's the panel: My idea is to build complete new panels, and keep the factory ones intact. No particular reason, but it is a company owned truck even though it's assigned to me. I do have permission from the owner for this project. The factory panels are conveniently 0.75" thick, so I can make them from MDF, particle board whatever I decide. Suggestions on this are welcome also. My main concern is mounting the new panels. I do not want any visible mounting through my brand new black cypress leather. The factory panels mount to a flat aluminum sheet on the door using these clips: For the life of me, I cannot come up with a mounting process. I know my question doesn't directly pertain to leather itself, but I'm hoping someone is more familiar with upholstery tricks than I am. The new panels are going to be black cypress on top and bottom, the middle section will be black/white hair on cow. Haven't decided on red or black piping yet. Truck itself is red. Any suggestions? Ideas? Scrap the whole project? Thanks in advance!


-
I have to agree with you. Small spacing looks too busy.
-
Yep. I normally don't laser cut, but I don't have a 1.25" hole punch. Honestly it was never intended to be finished.
-
Thanks for the laugh!!! Were you experimenting with stitch spacing? A couple of them look too close together, but it may just be the pic. Wing divider will help you keep the stitch lines nice and straight. I'm an "edge dork" so I'll always have something to criticize there, even on my own edges. I think these look good though! I'd put one in my pocket!
-
Wasn't sure where to put this... Just wanted to see if this could be done. It can. I seriously doubt Knuckle Sammich will work for its intended purpose, but I wouldn't want to be on the receiving end to find out. It's a wall hanger in my shop and a conversation piece.


-
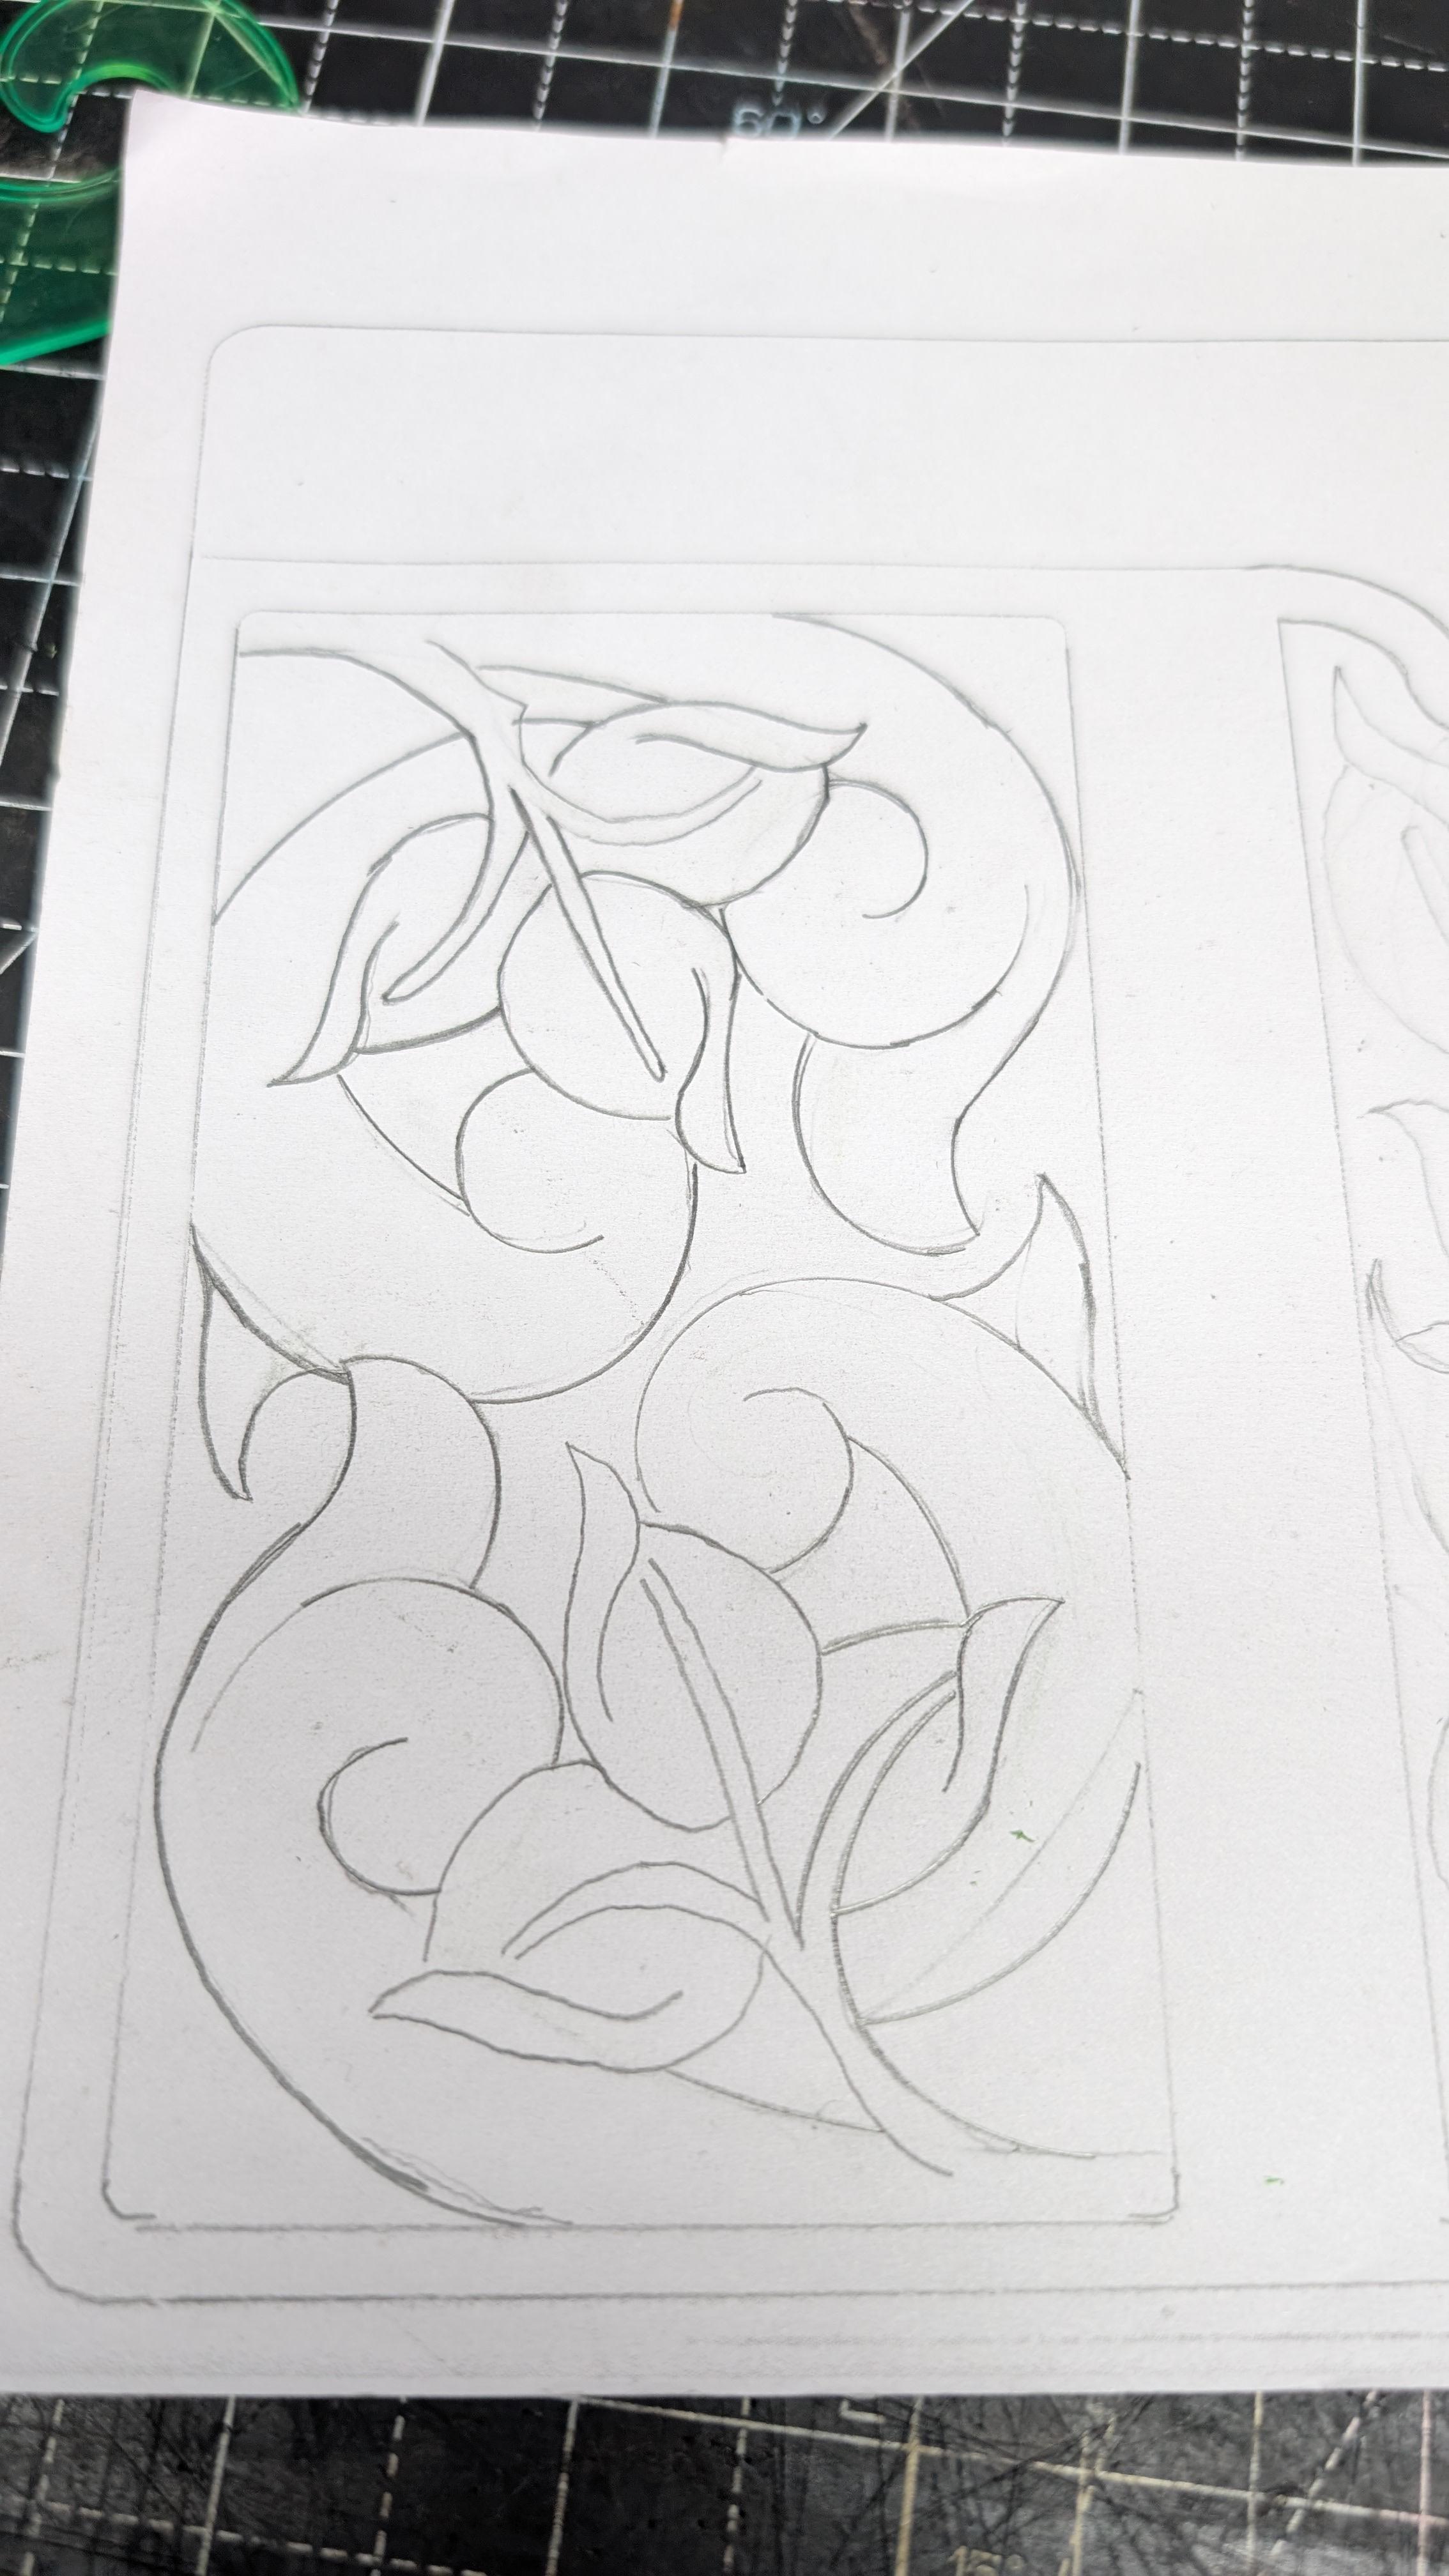
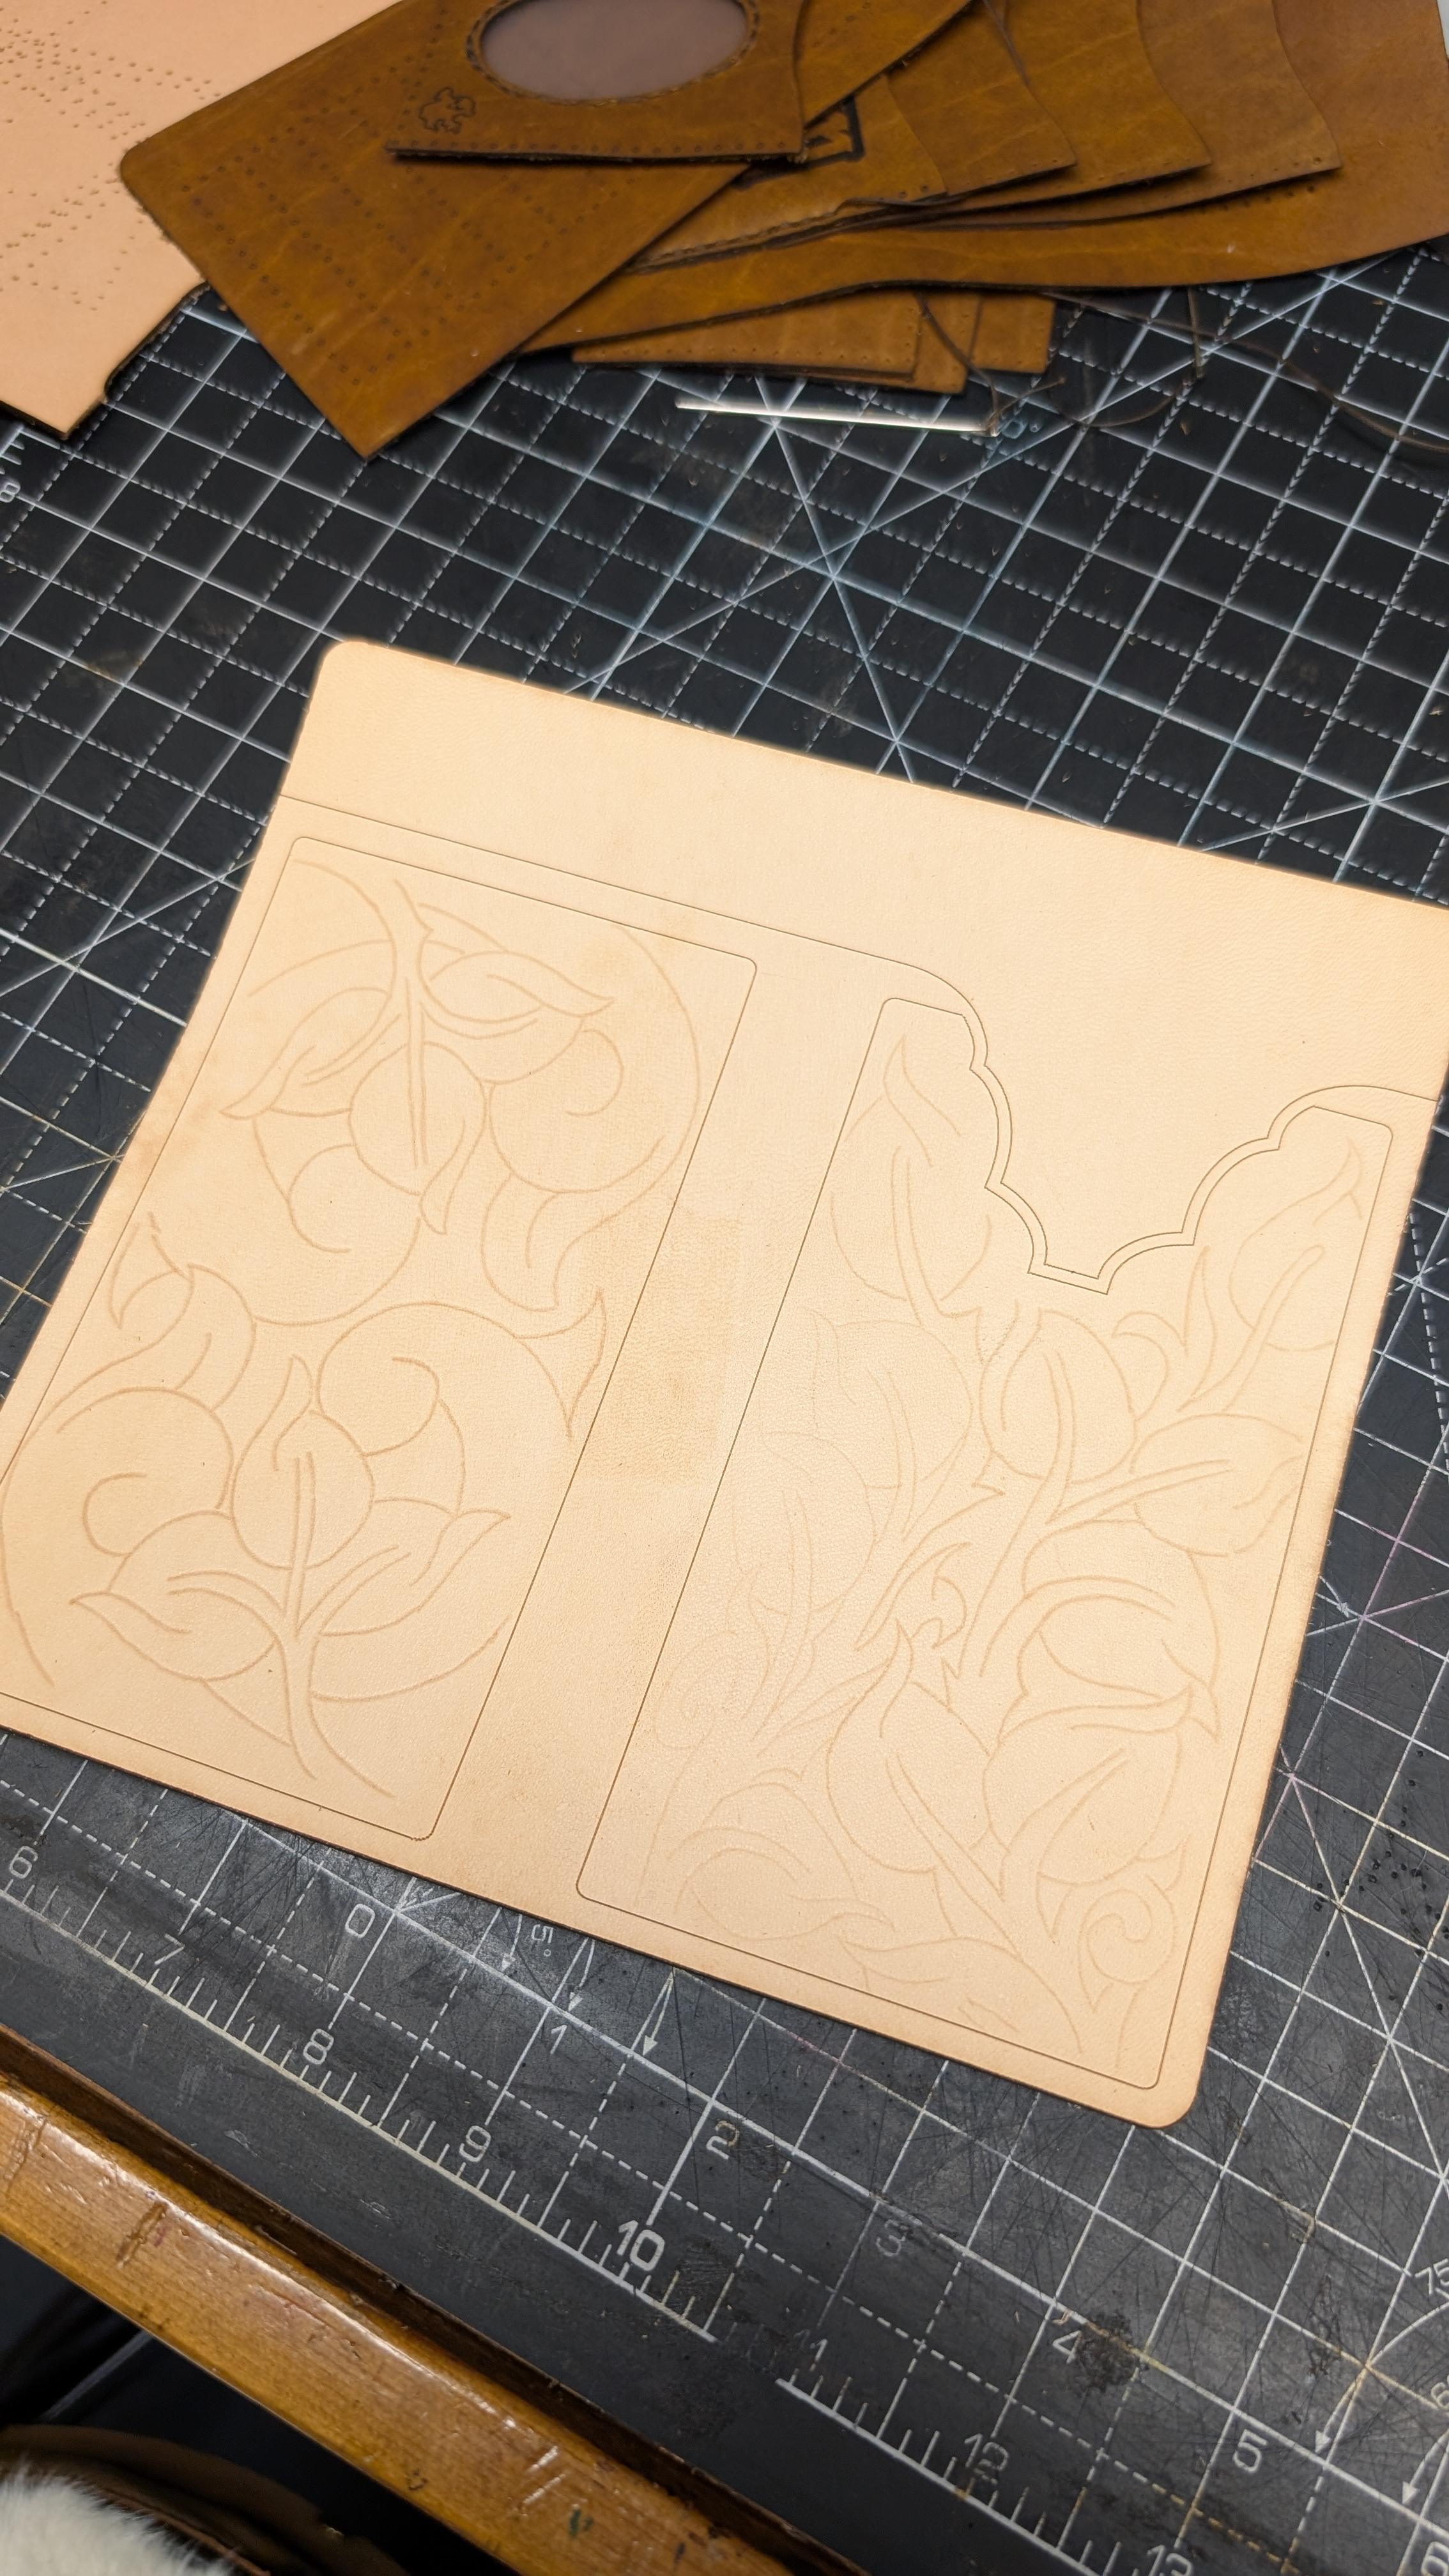
Wallet in progress
KillDevilBill replied to KillDevilBill's topic in Purses, Wallets, Belts and Miscellaneous Pocket Items
2/3 oz "peanut" Bison inside, 4/5 oz veg outside. Fancy edge at the top will be "chocolate" gator -
Nothing special, just felt like sharing my latest project. Wallet for a friend Tried to make a $ without making a $

-
This is CLEAN. Nice design also. Nicely done!
-
Would this help you out? Heavy duty harness leather. Might even say it's "beefy"! Lol
-
I might have something that'll work. I'll look and post pics when I get home.
-
He's a heavy equipment mechanic. They don't mind a scratch on the fender of a crane. Lol I will definitely keep this in mind! Didn't know there was such a a thing!
-
So this is a common thing?! Lmao 🤣
-
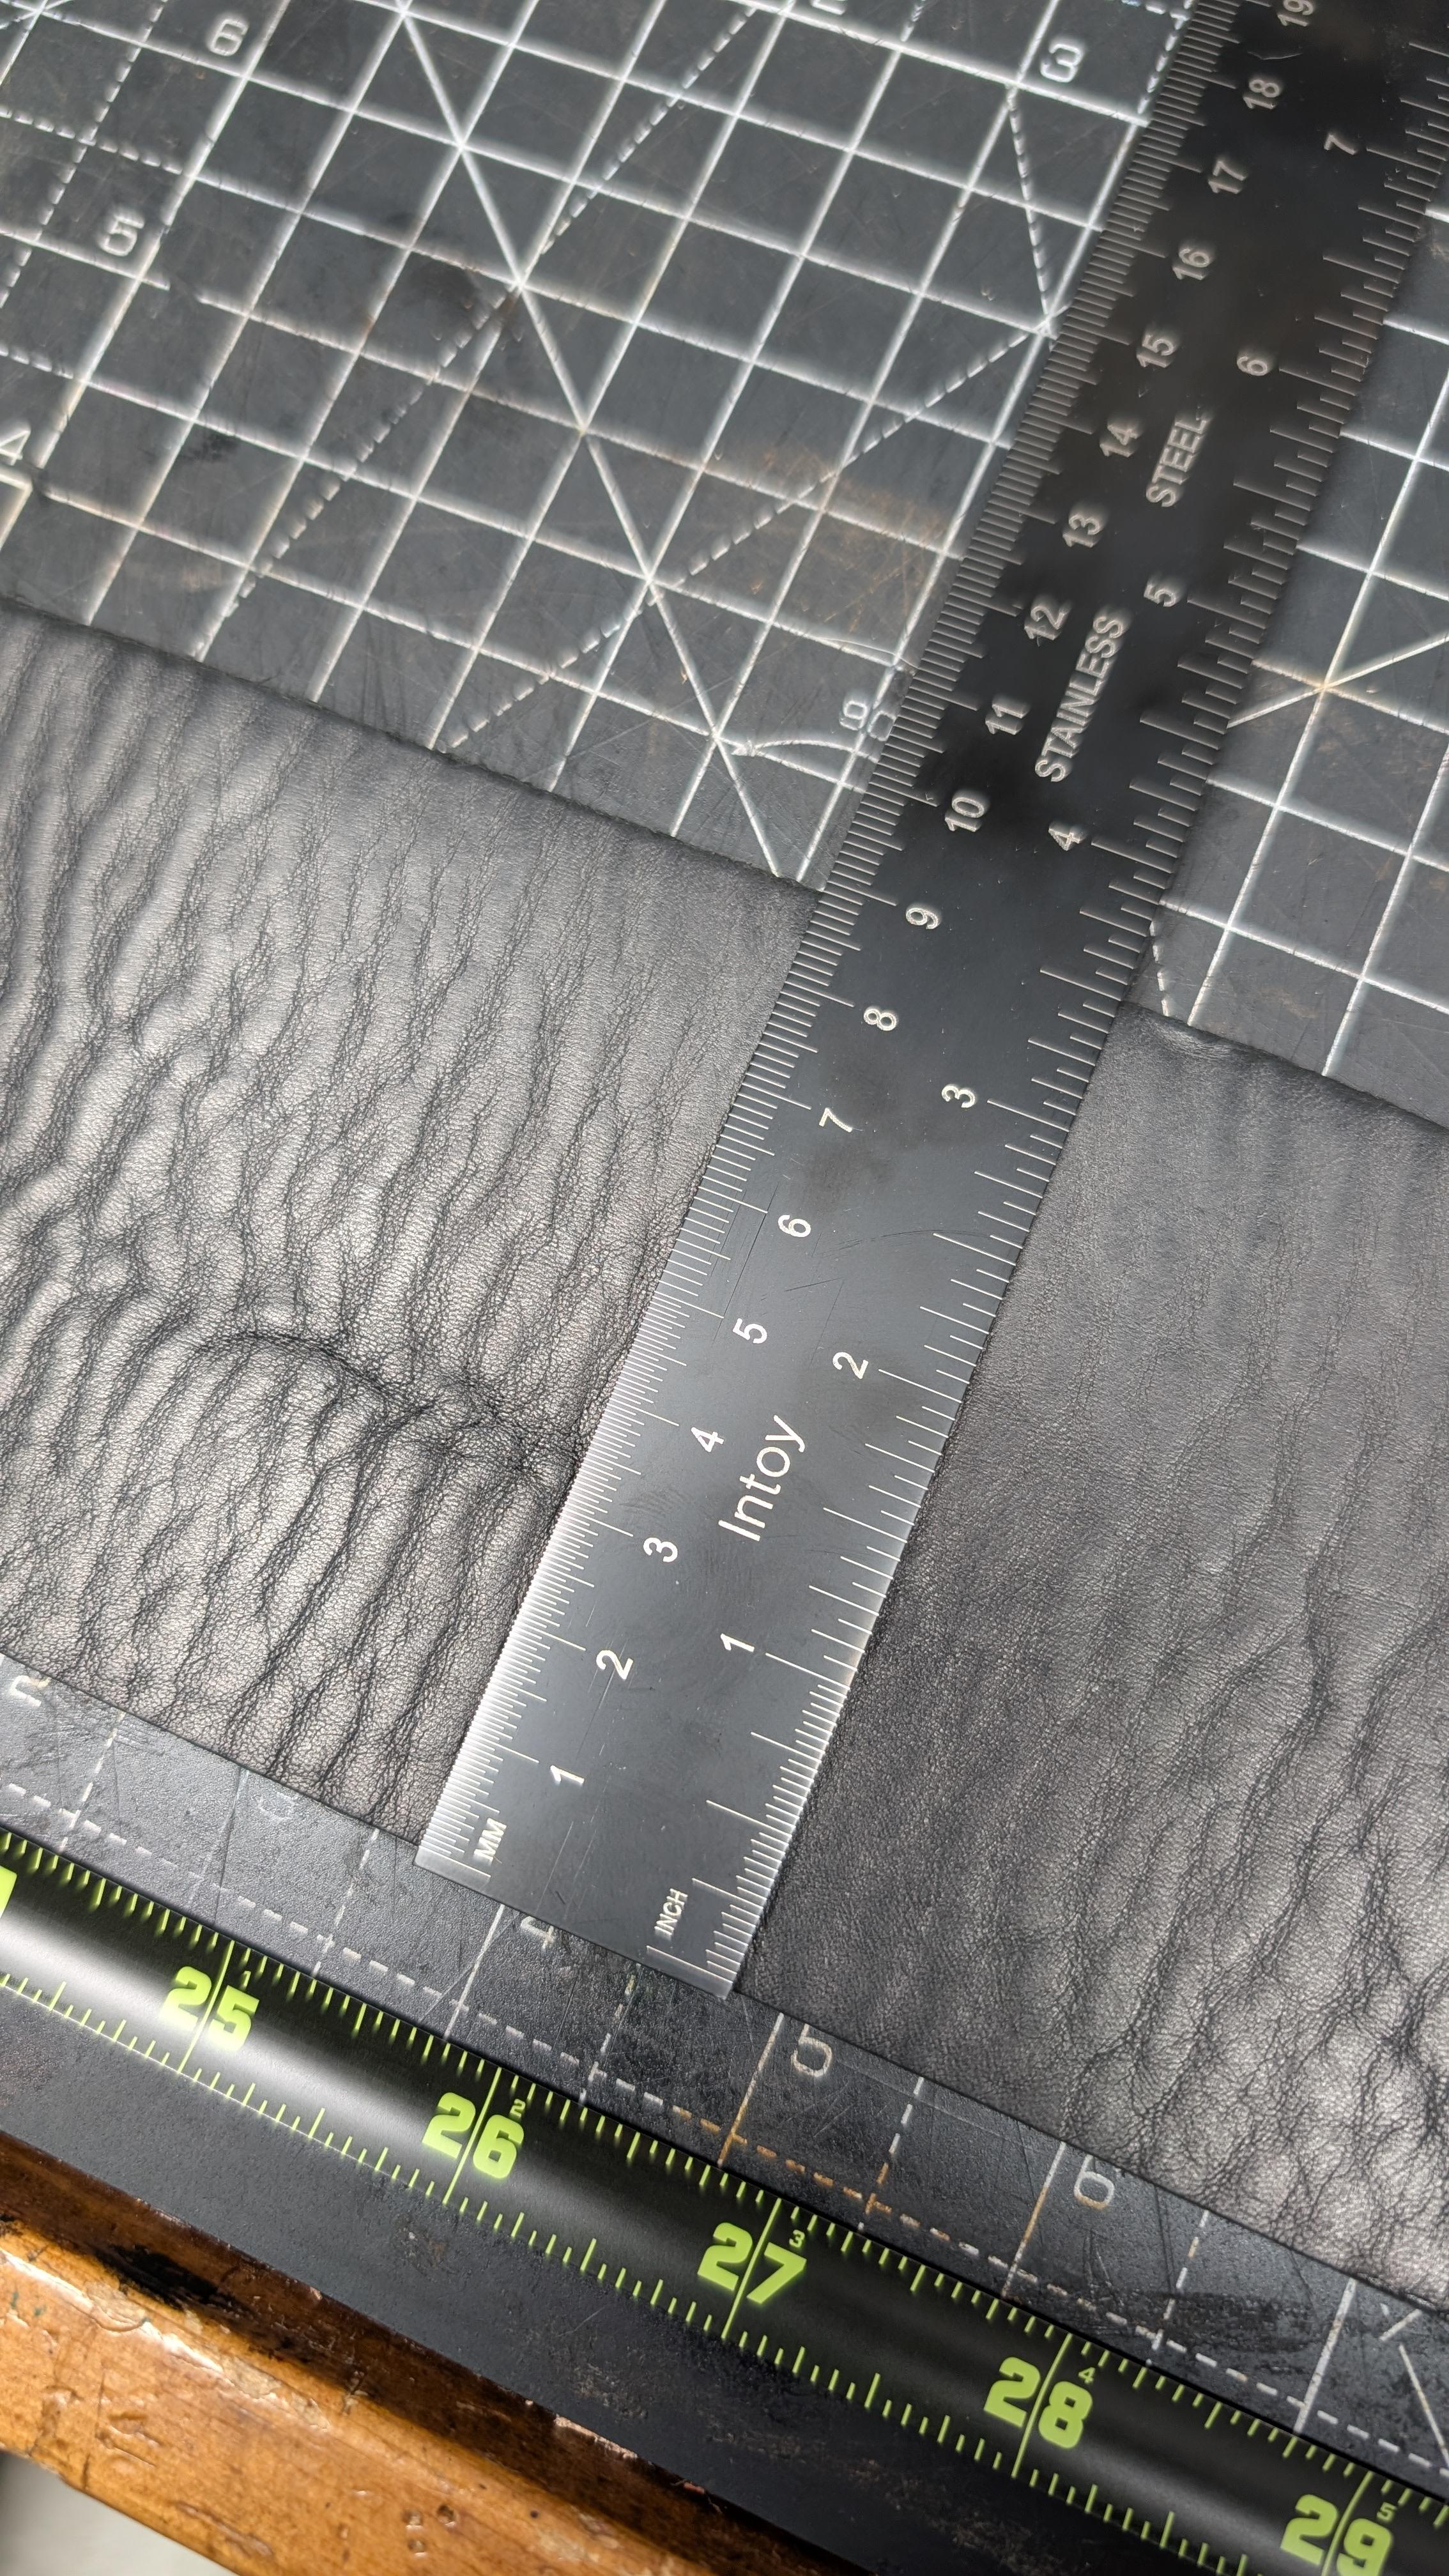
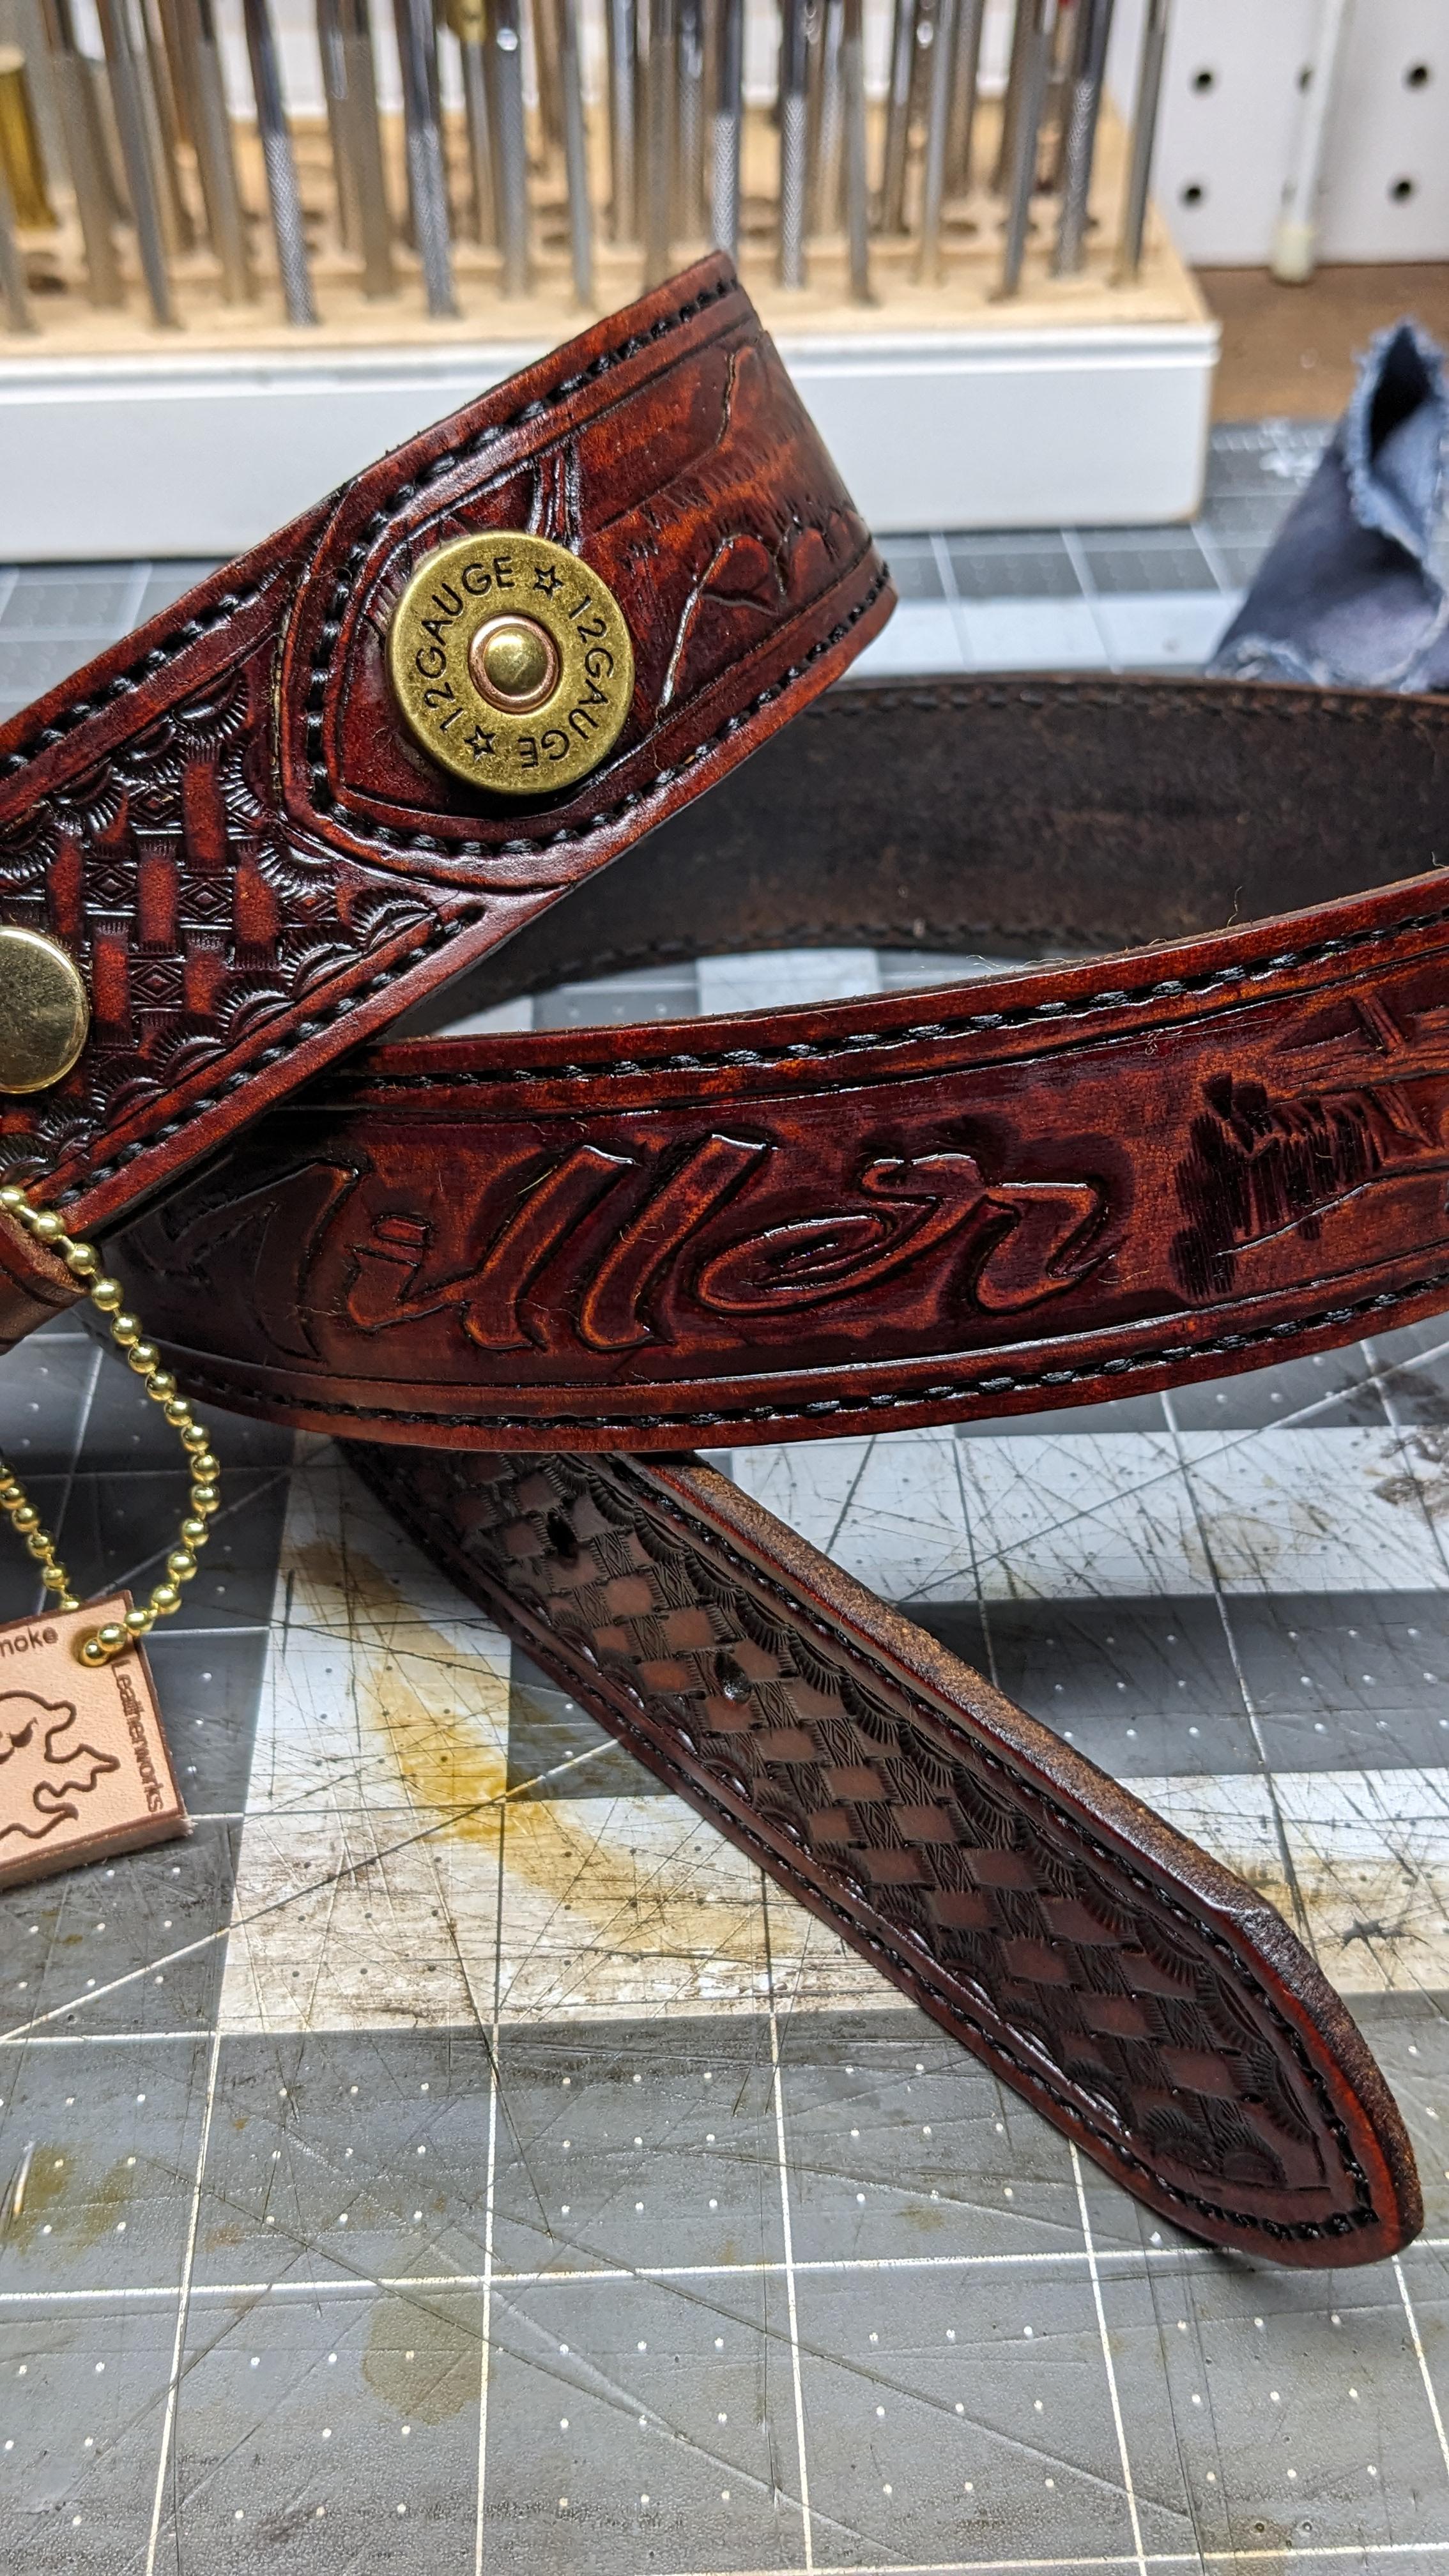
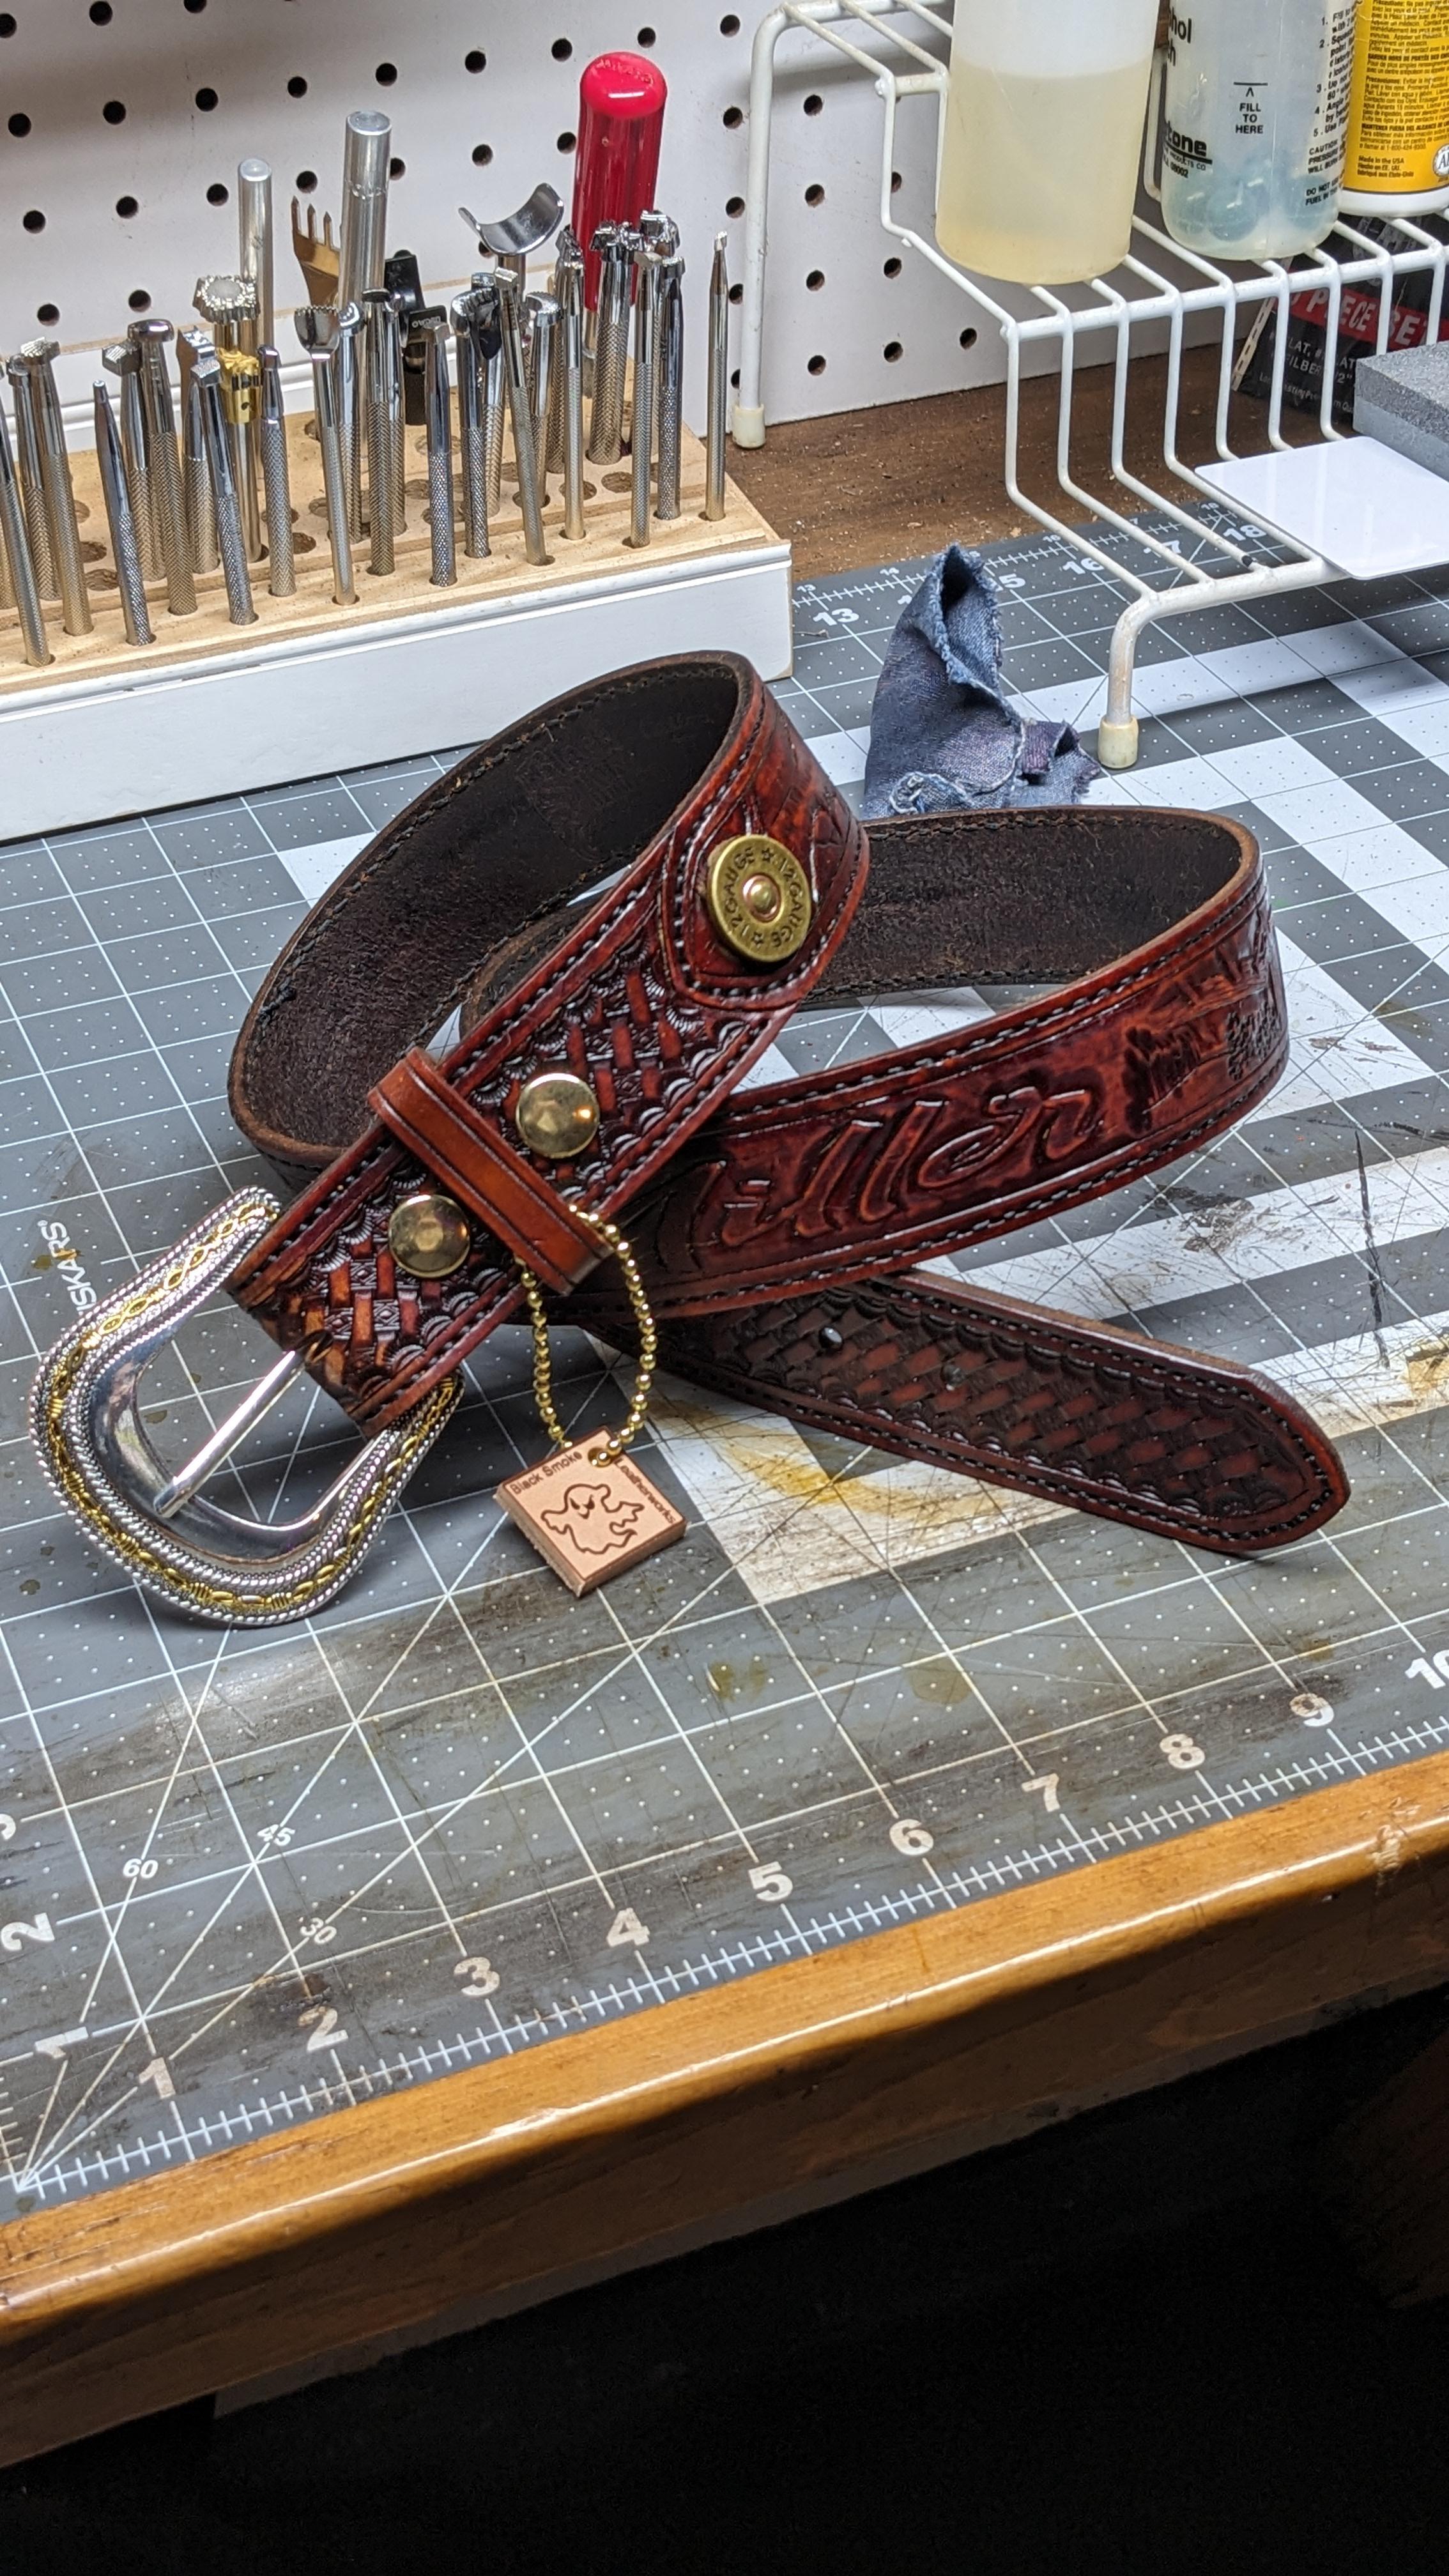
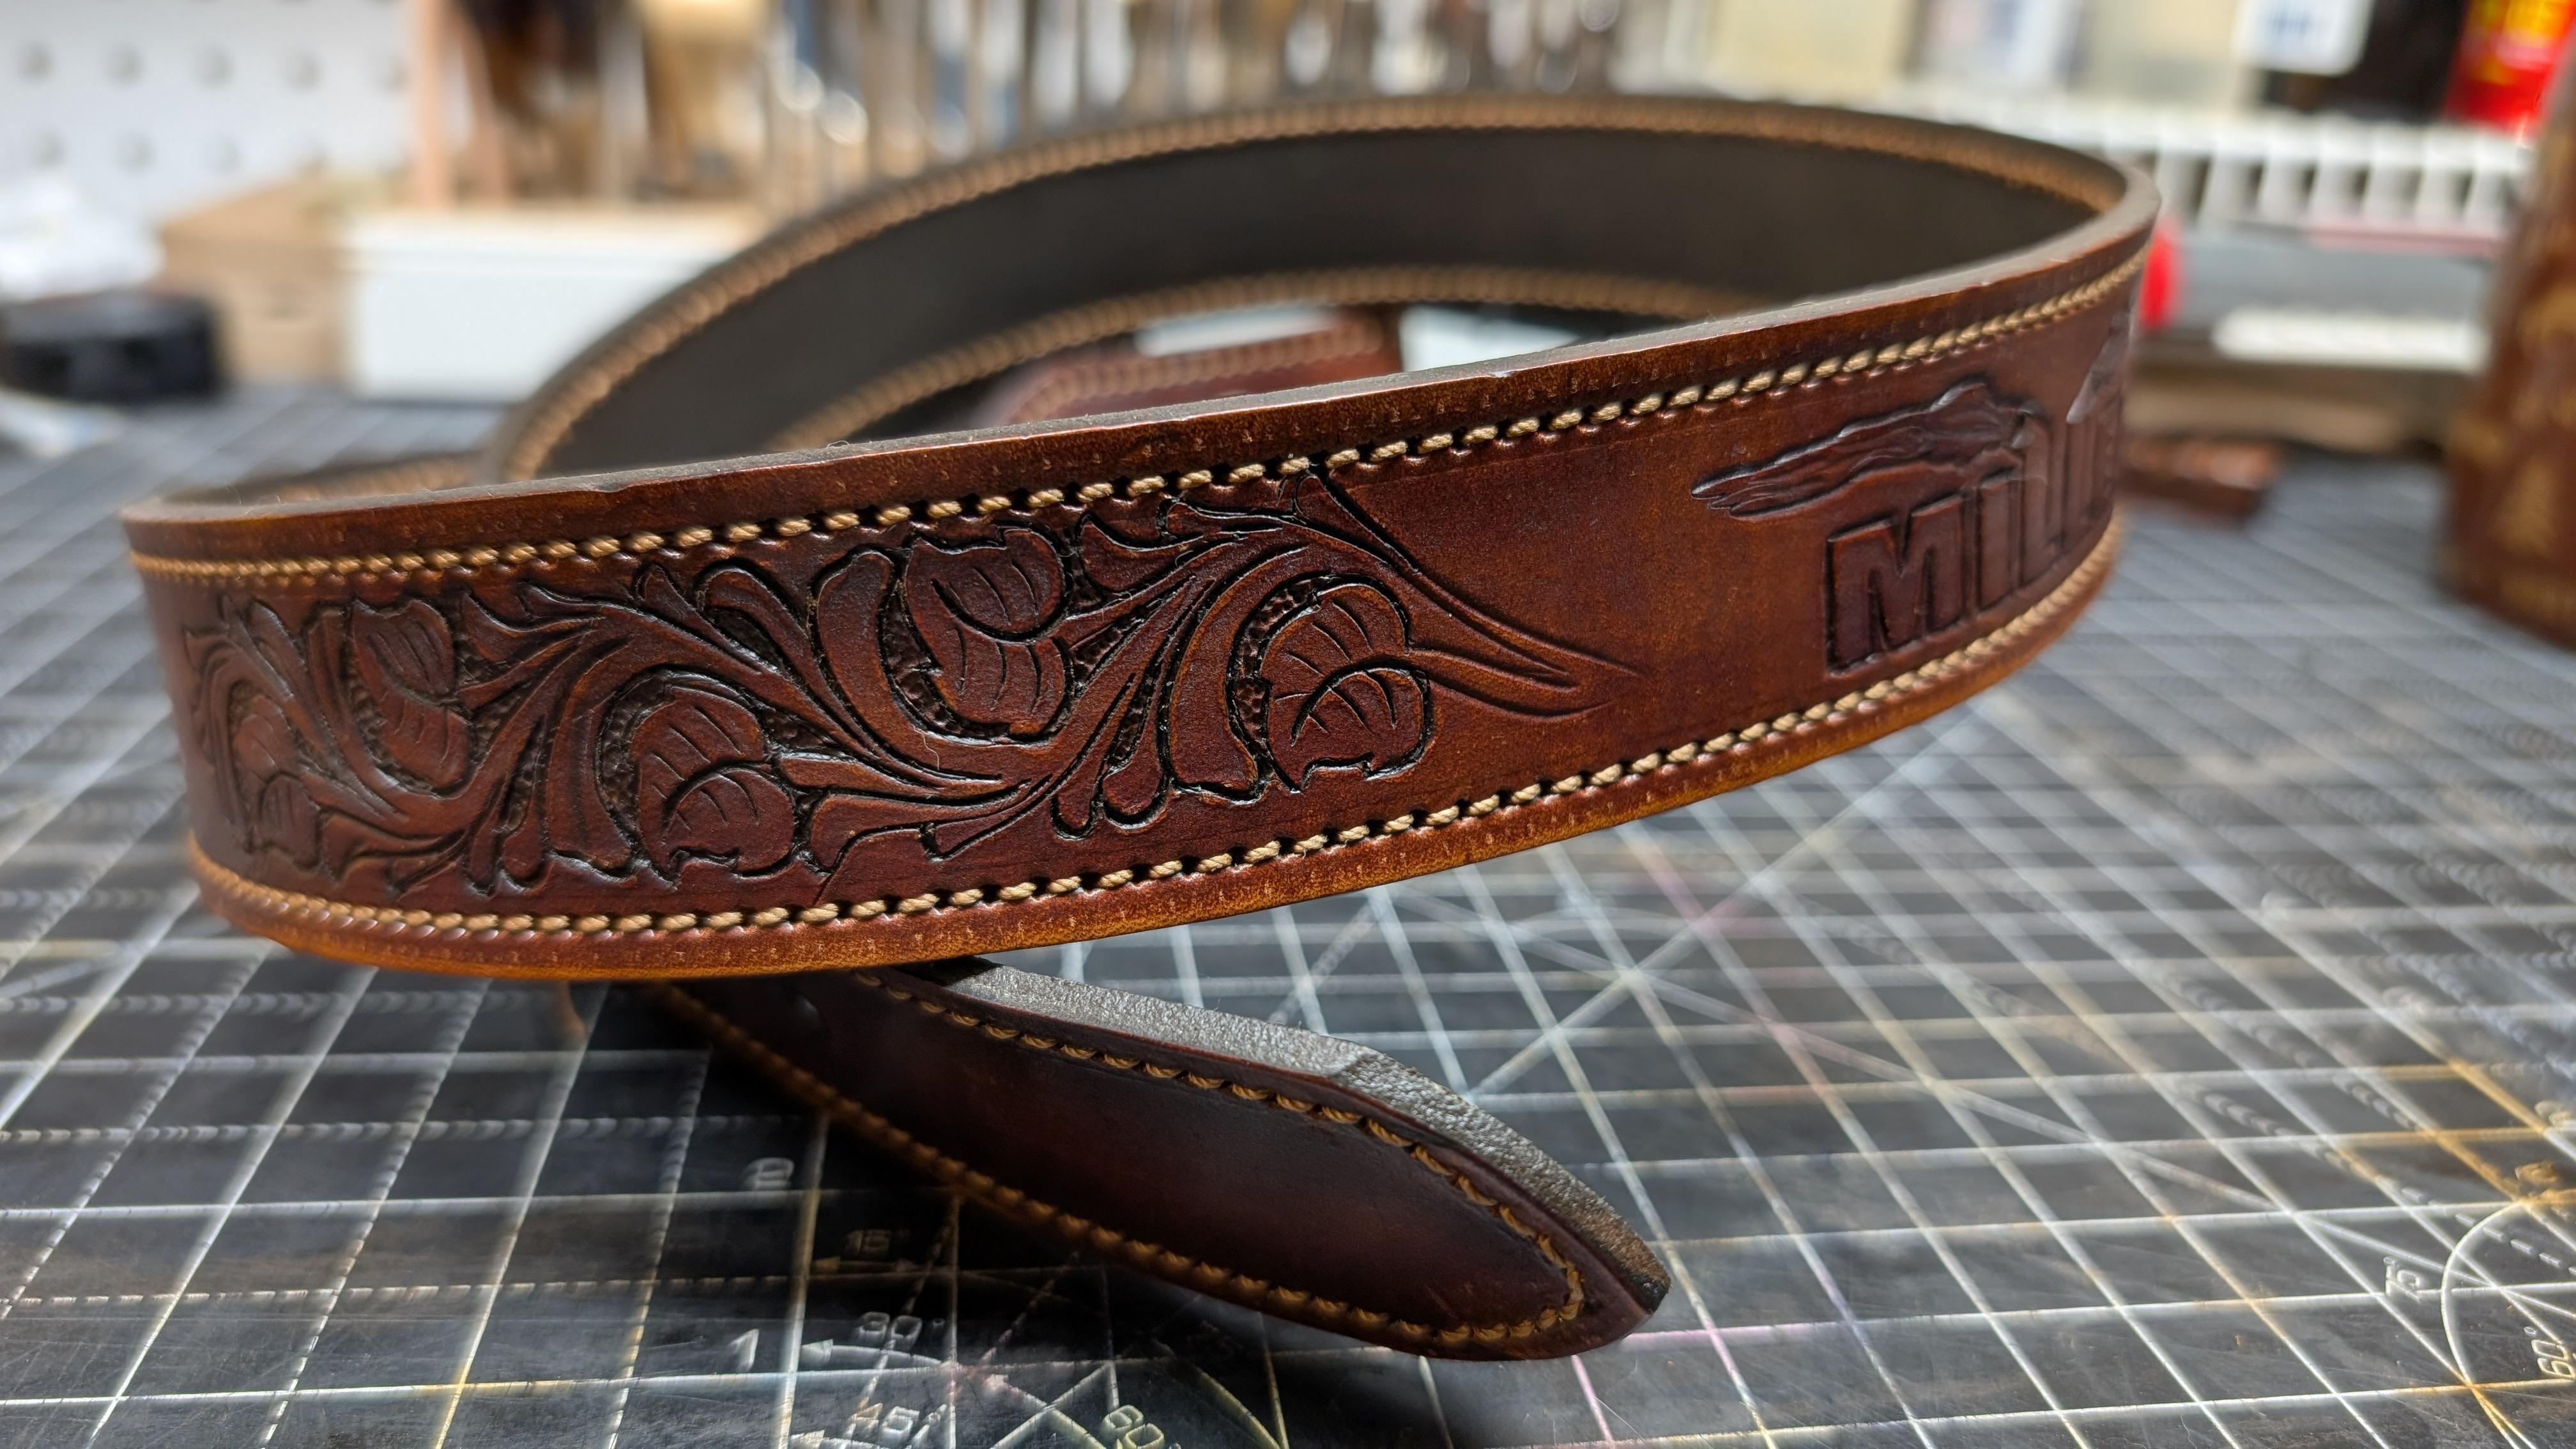
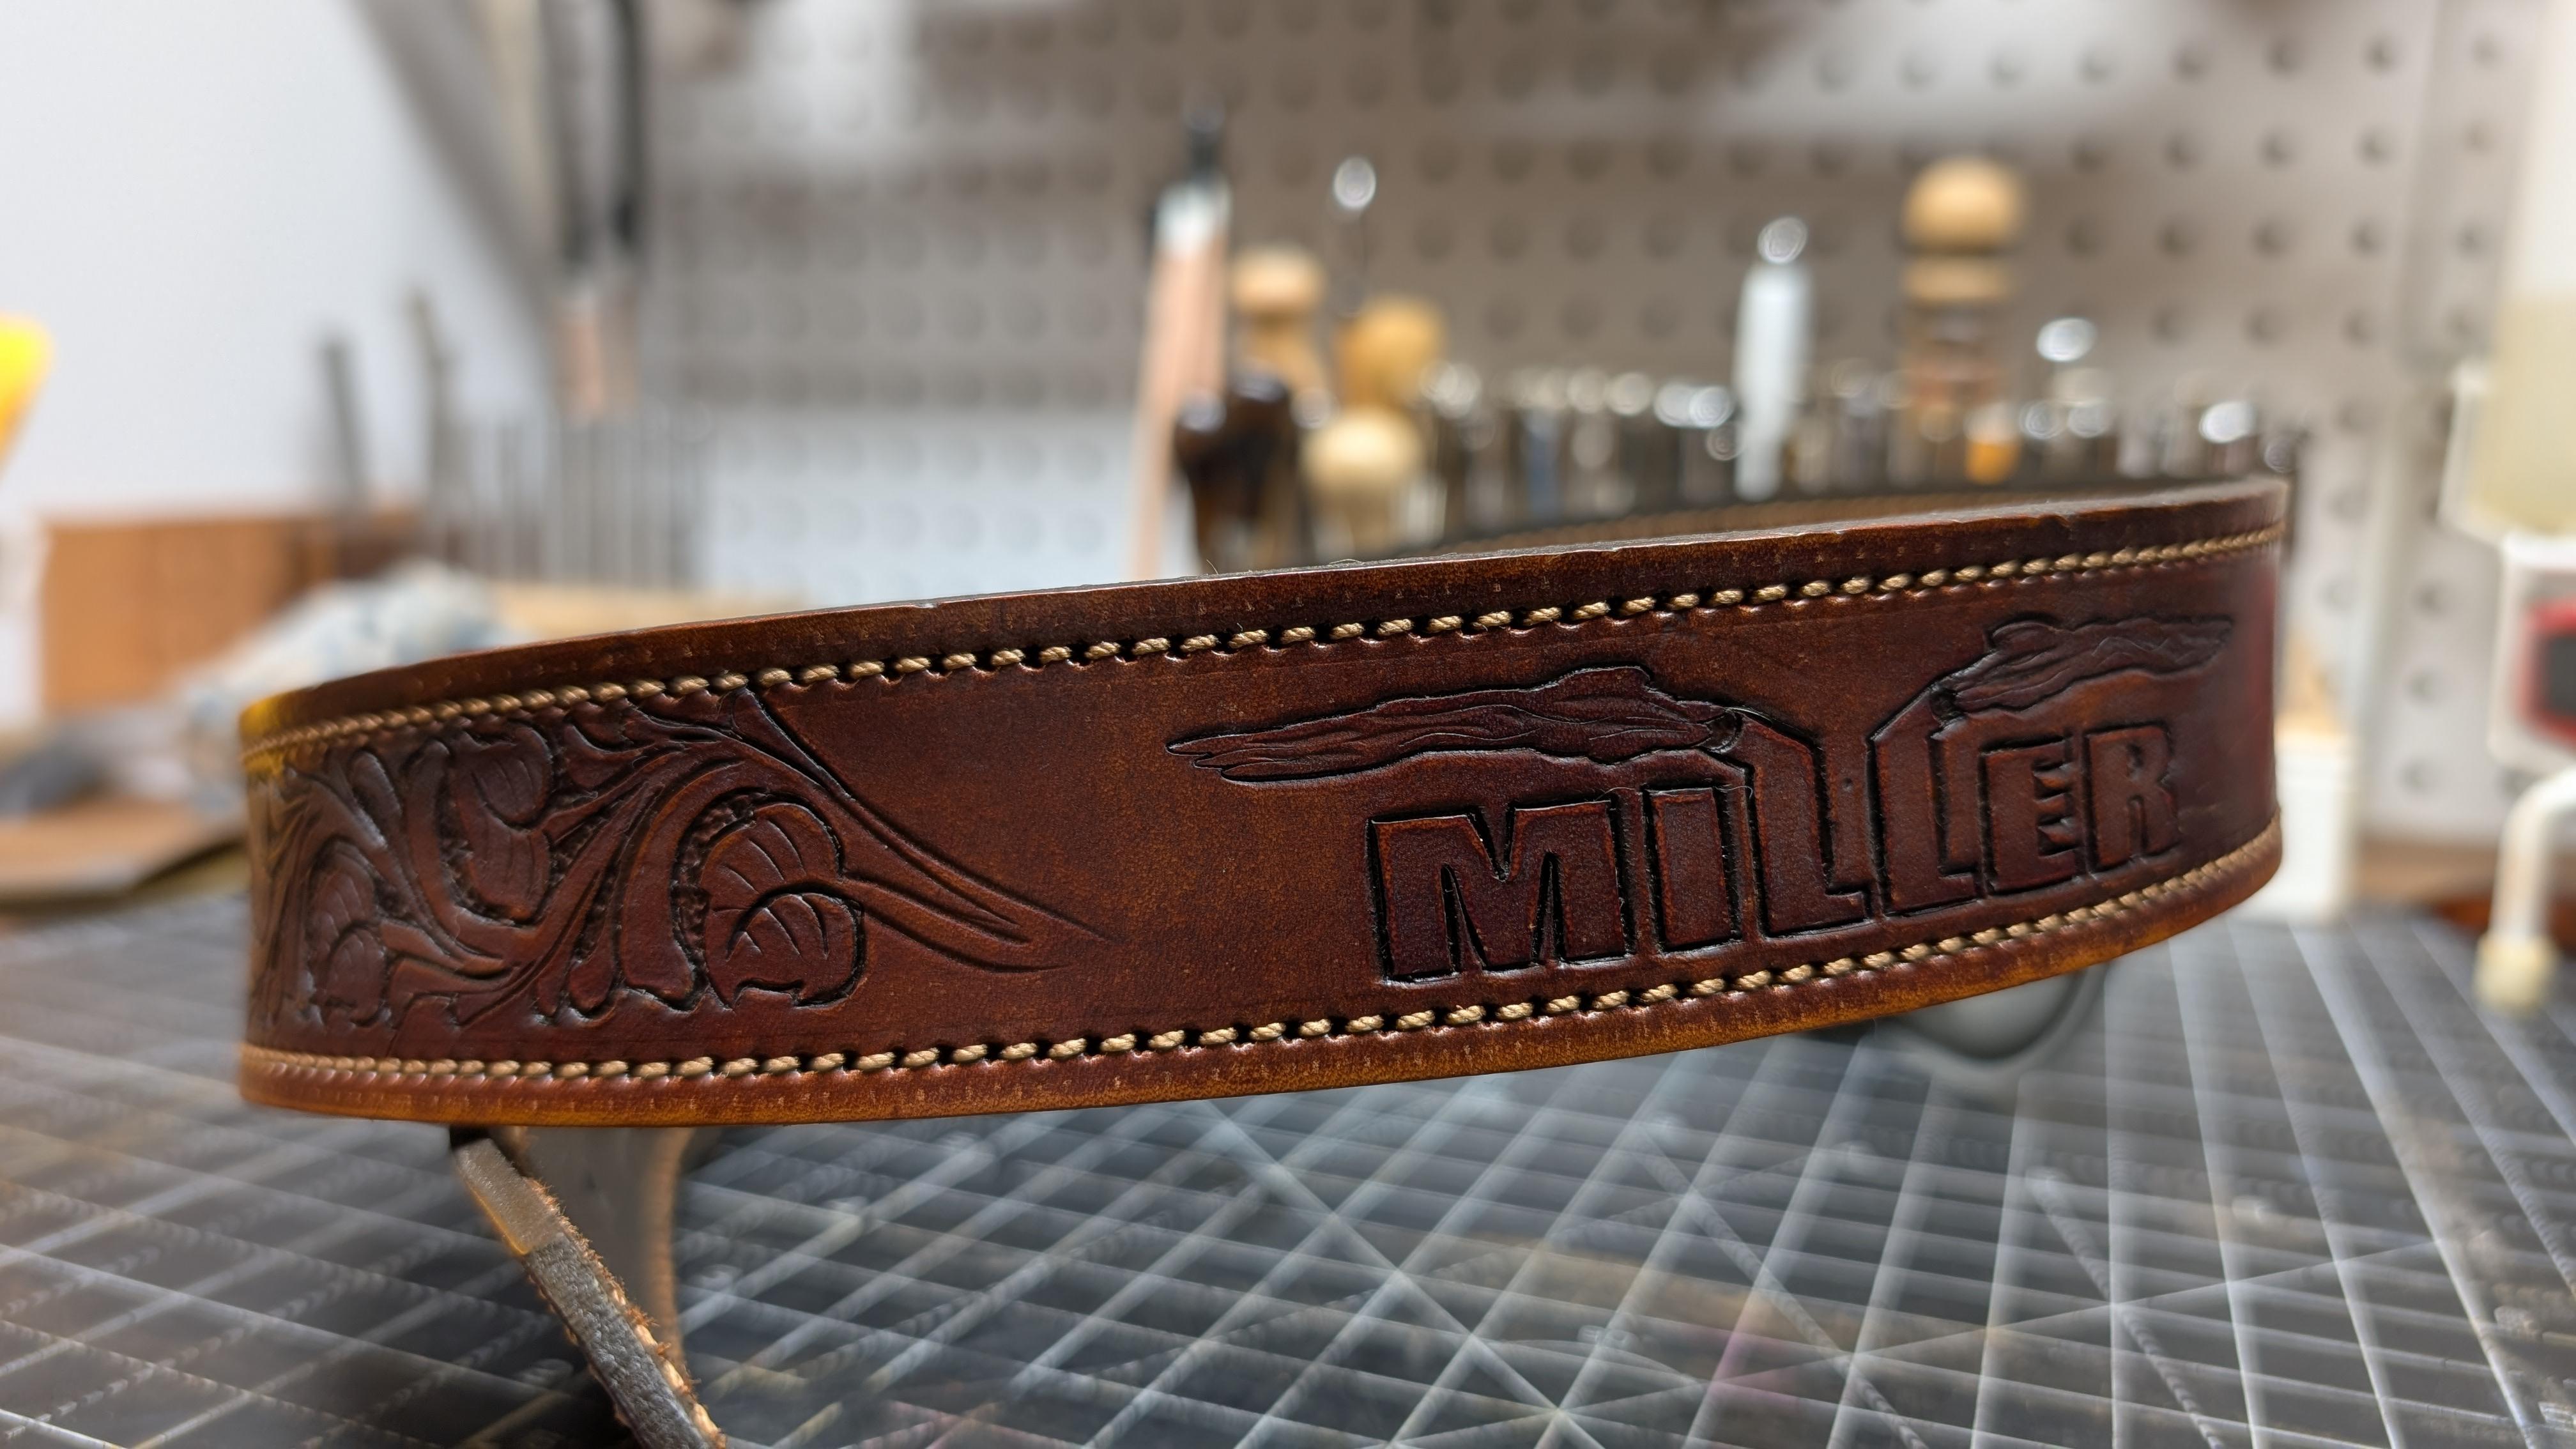
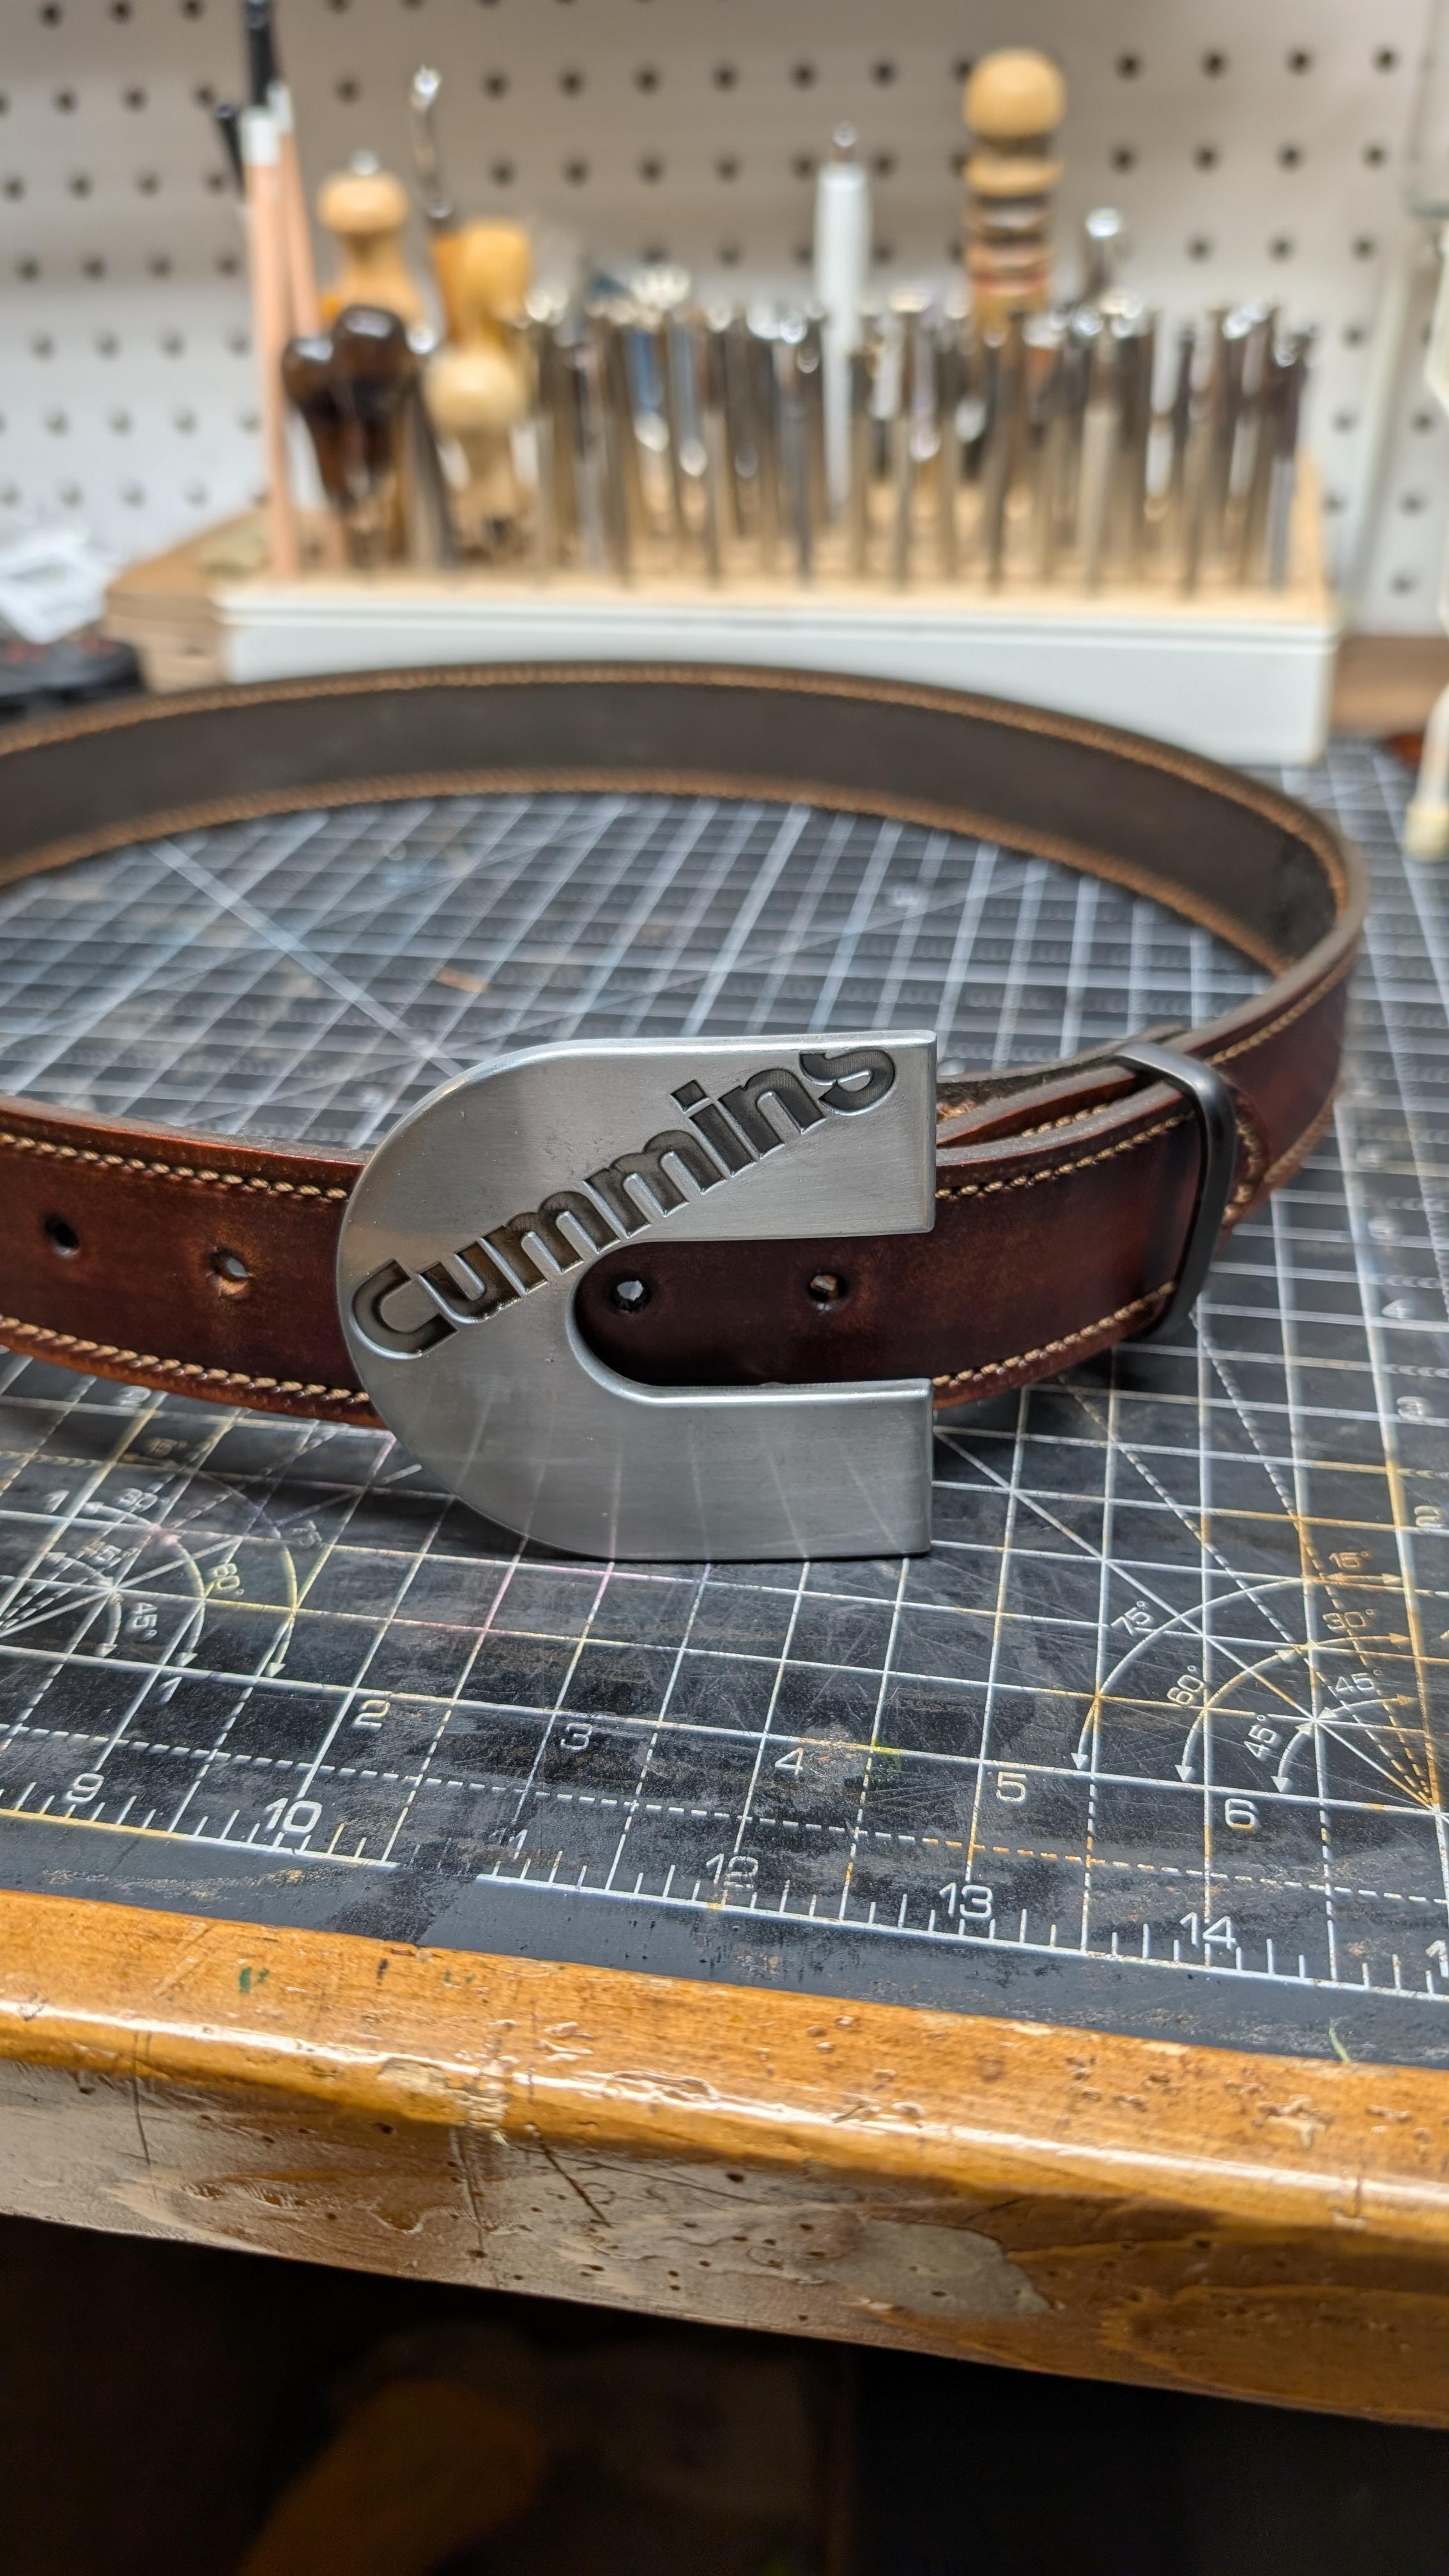
One of my first projects was a new belt for our mechanic at work. He asked me to make him a new work belt when I first got into this hobby. He's also an avid hunter, so I came up with this. He absolutely loved it but the "problem" is he won't wear it to work because he claims it's too fancy. It became his hunting/Sunday dress belt. Fast forward over a year, Miller still needs a new work belt, and we both forgot all about it. I guess that old worn out one wasn't so worn out! As a surprise, I just finished up a "less fancy" belt for him to wear to work. I tried a new dye technique I read about, make a new belt look old.
-
Dummy gun
KillDevilBill replied to KillDevilBill's topic in Gun Holsters, Rifle Slings and Knife Sheathes
Thanks Dwight! I've become pay-a-zon dependant and forgot about eBay. I just ordered one. 👍🏿