

All Activity
- Today
-

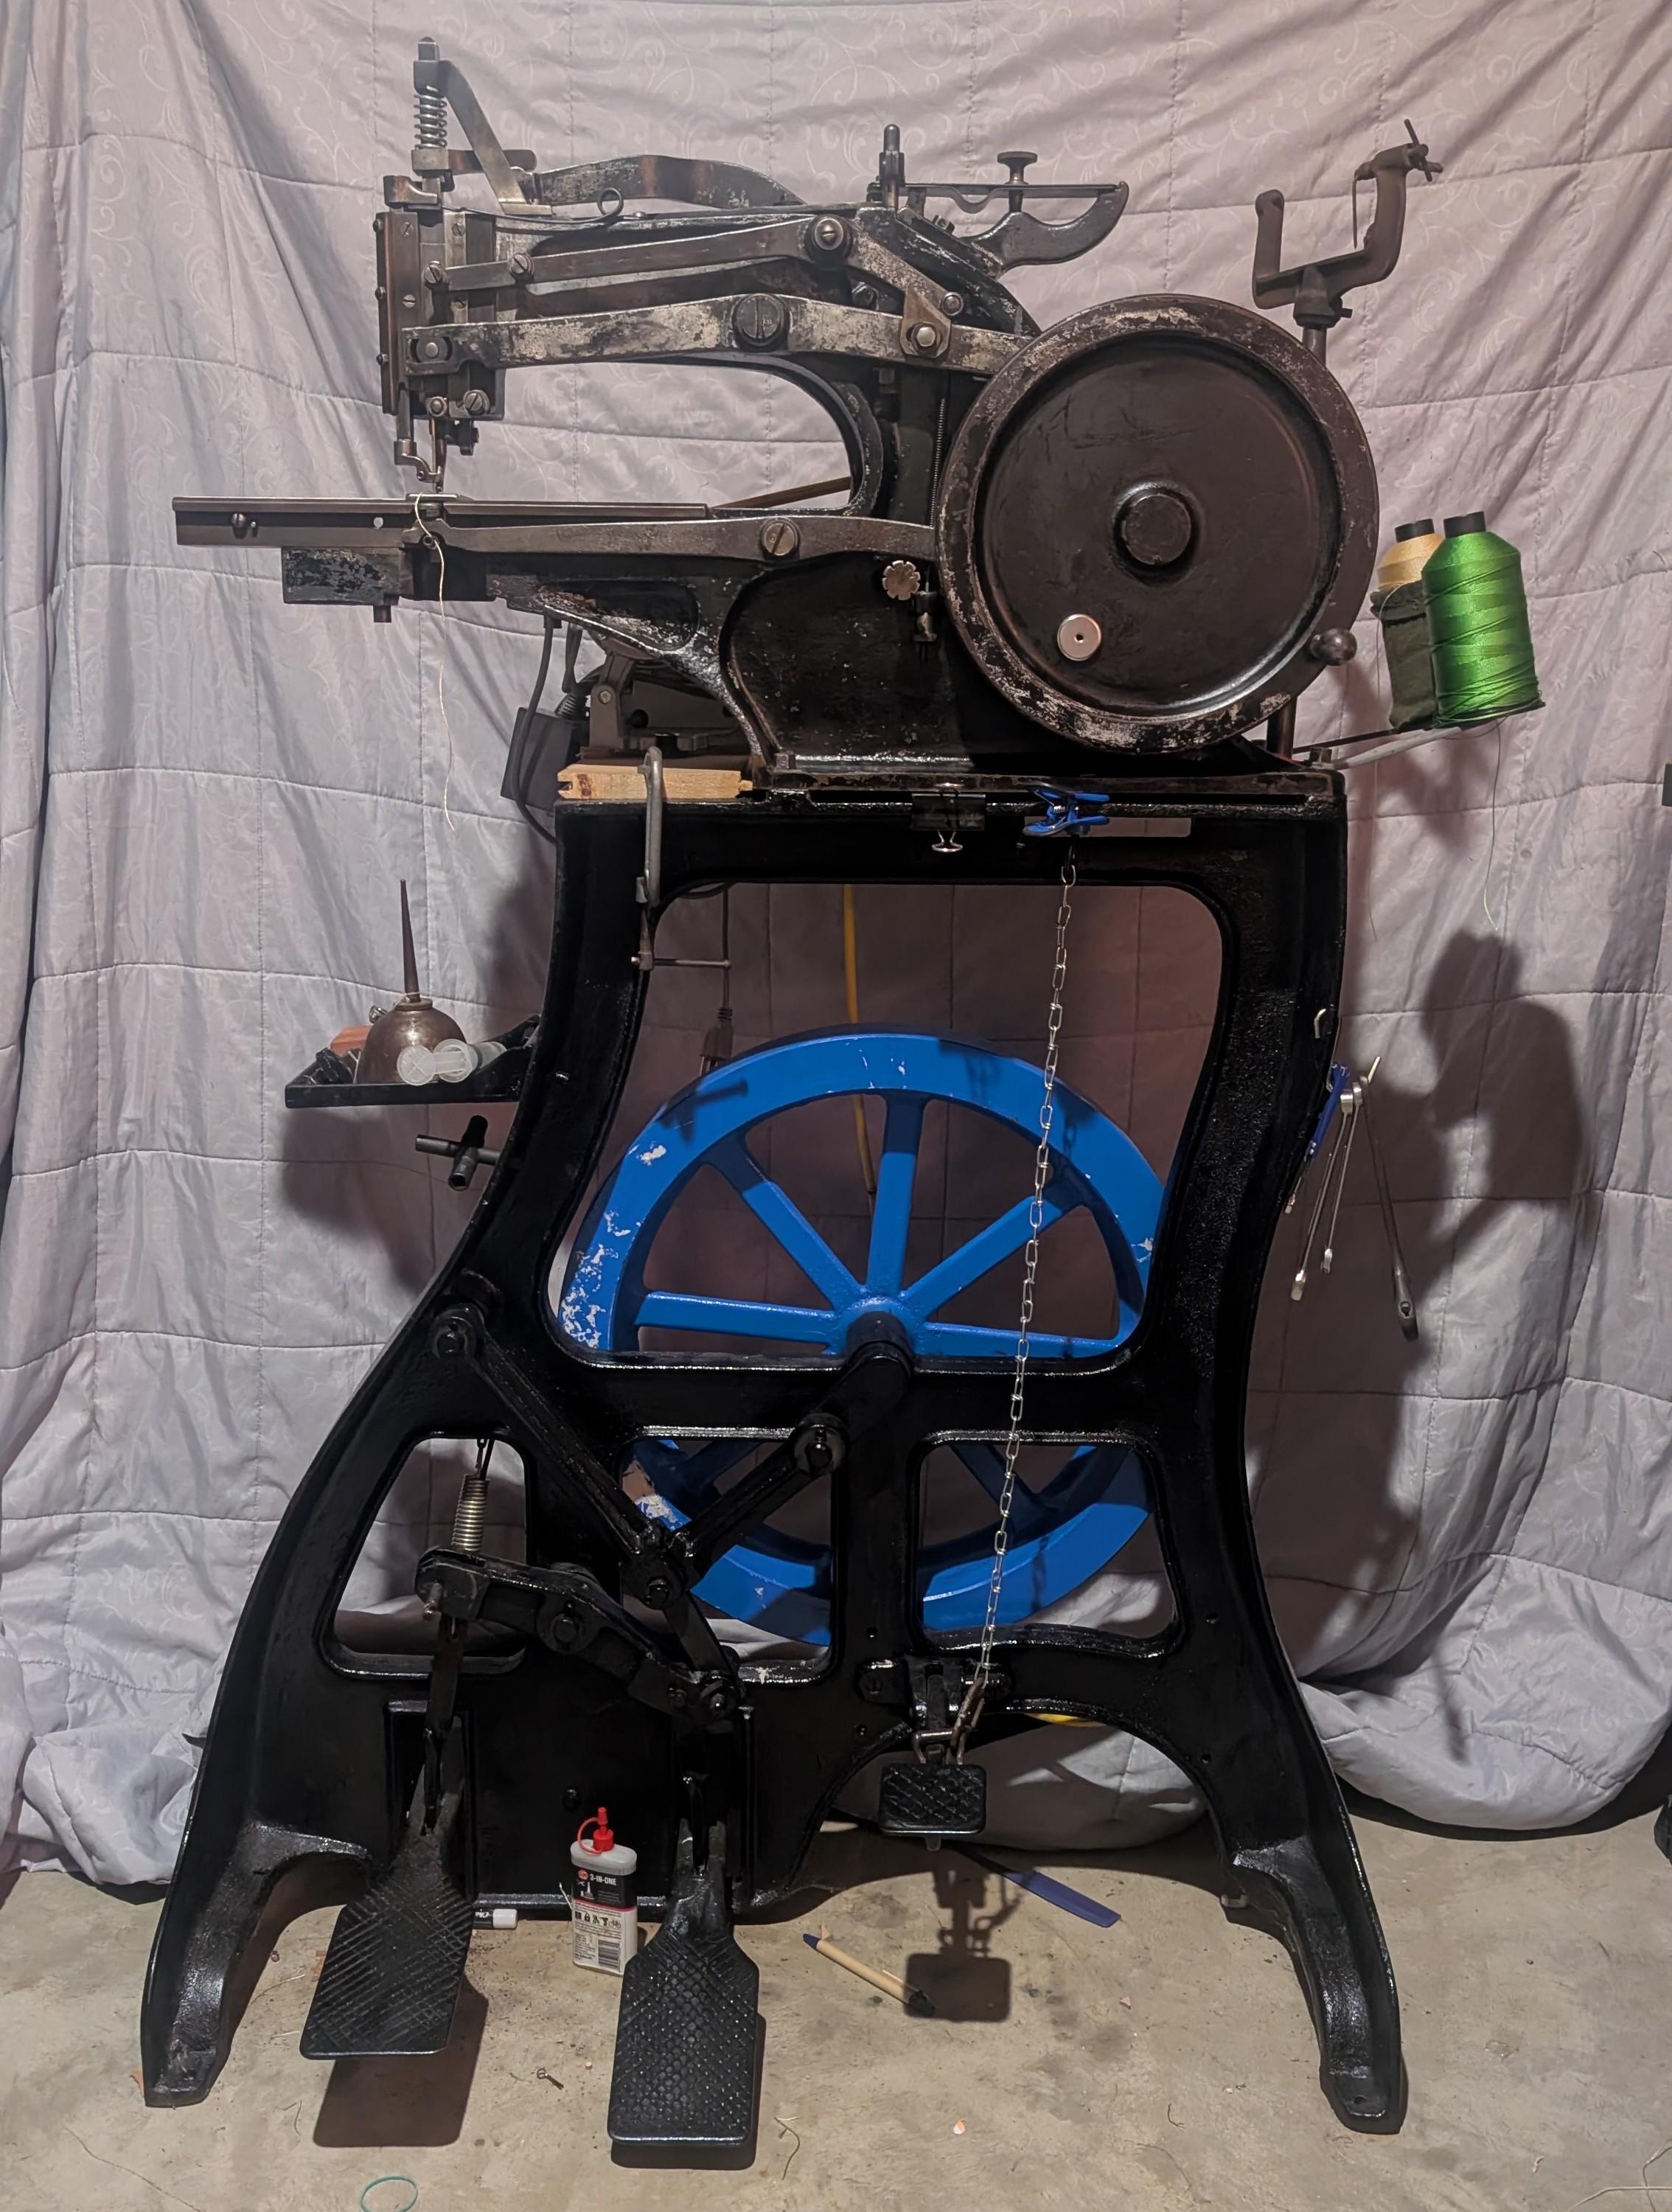
Finally a good purchase...I think!
stitchgearhead replied to stitchgearhead's topic in Leather Sewing Machines
Yeah, sorry about that. I forgot to mention that the right-most pile of stuff was unrelated - it just happened to be there when I offloaded the car! DF -
Hi, I’m thinking about trying my hand at building an 1860-1870s style saddle. I’ve seen some great discussions on this forum about building 19th century reproduction saddles, but most of them are pretty old, with a lot of links that don’t work anymore, so I figured I’d start a new one. I’m still in the initial planning stage, so I haven’t even figured out which specific saddle I’ll be basing mine on. I’m thinking it will be half-seat and Sam Stagg rigged. I’ve requested the book “Saddles” via interlibrary loan, and am hopping it will provide some inspiration. Any other advice for finding examples of old saddles that I can use for planning mine? Who are the current saddle tree makers that are making historically accurate trees? I am aware that a 100% historical tree will probably not fit a modern horse. I guess what I’m looking for is a tree with a historical style fork and cantle, with bars to fit a modern horse. Thanks for any advice.
-

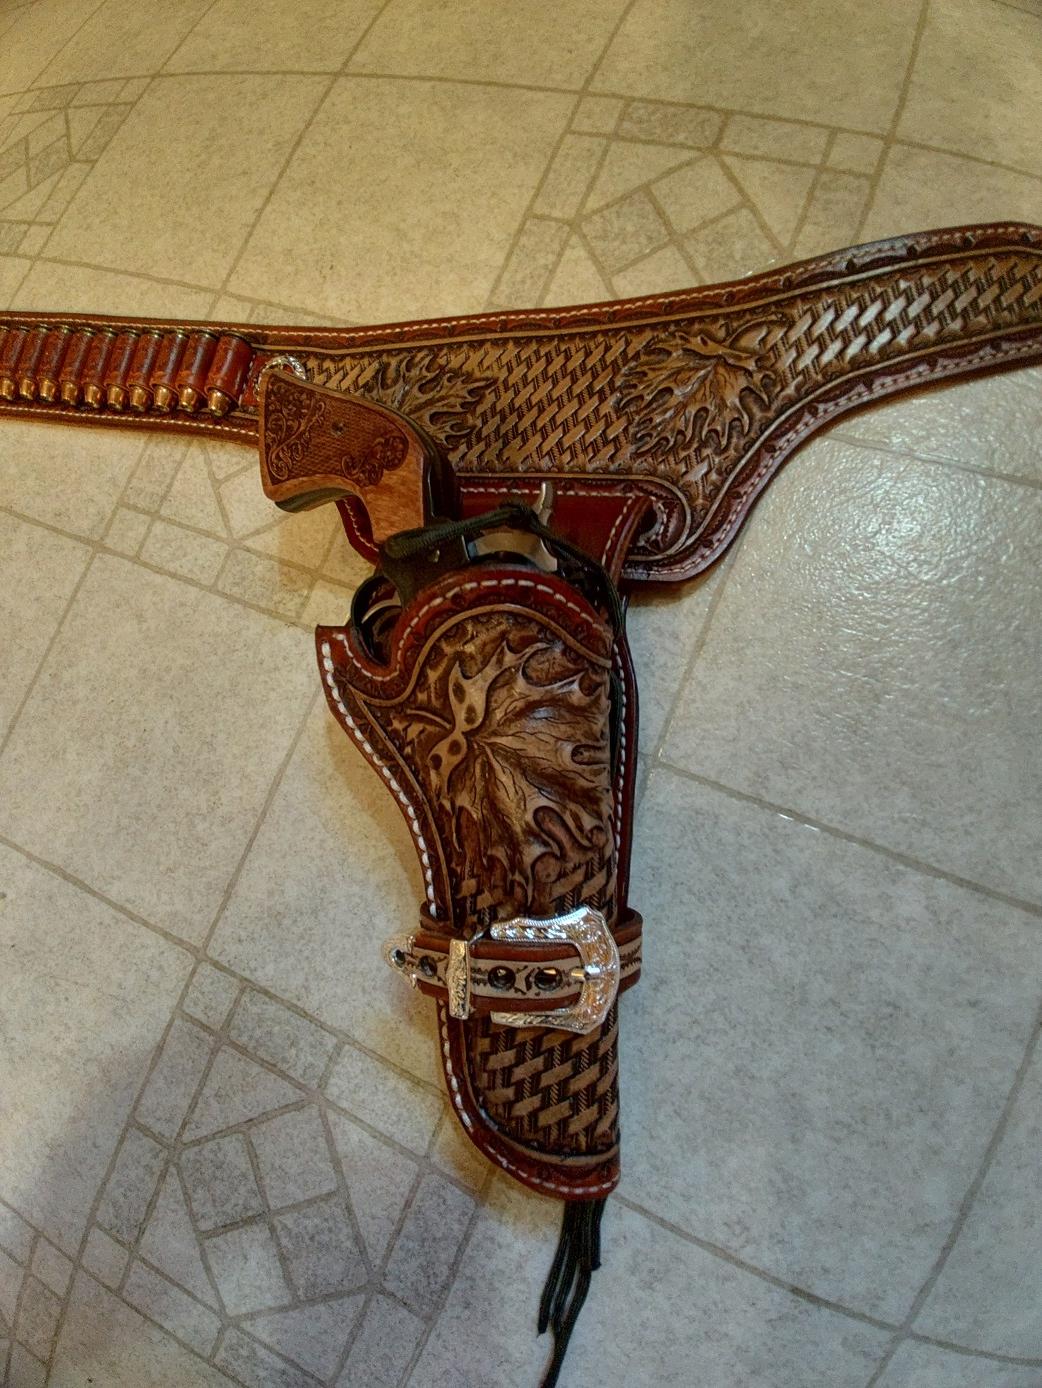
New pistol, new holster
Thadrick replied to Thadrick's topic in Gun Holsters, Rifle Slings and Knife Sheathes

-
Well, I've run into one problem, although it's not the machine's fault - I can't find anywhere local to buy the steel rule that the dies are made from. So far all my searches lead to the US or Alibaba, and they have minimum sale requirements of usually 100 metres! Why do things have to be so hard.....
-
Messing with old steels is always going to be a bit hit or miss but fortunately most blades for leatherwork are on the small size so as Chuck said a MAP torch should usually be ok. I have a Bullfinch gas torch and it gets almost as hot as a MAP so is fine for small blades. A good starting point is a red-orange heat and then quench. Sometimes quenching in water, rather than oil, can give a harder steel but the danger is the shock from a water quench can warp or crack thin steel - happened to me on my last experiment. And yes, the older saw blades are often better quality steel, although I bought a really cheap Chinese panel saw that couldn't cut a straight line but the steel appears to be plain carbon steel and it makes quite good little blades, so it turned out to be good for something after all.
-
There are a number of people on this forum that, when they speak about sewing machines, you listen like they're E. F. Hutton. Congrats on learning even more about your sewing machine.
- Yesterday
-
Uwe, thank you thank you thank you!!! I have a Dison 335 A, a clone of the Pfaff 335 and I have been searching the internet for about a week now how to set the walking foot correctly. I finally understood it from your video and the setting is done! Thank you again and greetings from the Czech Republic ❤️
-
Thank you Dkman
-
Looks good, might seem expensive initially but in the long run it will be worth it. Old firearms, like old sewing machines, are notorious for having oddball screwheads! My WWGreener shotgun has slots so thin that I still haven't found a driver bit that fits!!
-
Lots written on here about "what oil to use" but the simplest way is to get some Lillywhite sewing machine oil.
-
Yeah, shelves might work. I'm looking at what I've got in there that could be stored in that space. It has to be good for something.......
-
 CWC joined the community
 -
Nice Landis 1 sewing machine. Asking $1250 or best offer. Works great and needs nothing. Comes with needle sizes 180,200,230,250,280.. I will ship on buyer's dime or you can pickup in Western Wisconsin. This will sew through leather up to 7/8" thickness.
-
 Windowsyl joined the community
 -
If you are ever if Florida look us up. We owe you dinner. 😄
-
Thank you so much. What should we use to lubricate it?
-
Country Bob my friend. It took 4 hands and a lot of force but it went IN!
-
Yes,when it kicks out it will hit there until it gets re-engaged.It's not going in the groove because your not pushing the handwheel backwards with enough force WHILE holding the button down.Since you don't want to do what I'm telling you you can get a wide screwdriver put on the lower part of the left pin & top of the right pin give it a twist (clockwise)& it'll pop back in the groove.
-
Thank you KGG I will try that.
-
Personally I would remove the cotter pin on the catch arm pivot point, the catch arm that catches the side of shaft and see what going on. Maybe the hole in the larger piece at that point has worn the pin or the hole in the larger piece has been enlarged. What do you have to lose? kgg
-
Thanks, Bob for all your help I did engage the shaft, but unfortunately, it did not move or change the position of the piece of metal that’s supposed to go into the slot see picture above even after moving the wheel towards me and or away from me
-
Like I said b4,push the button & while holding it down push the handwheel backwards & it'll snap back in.
-
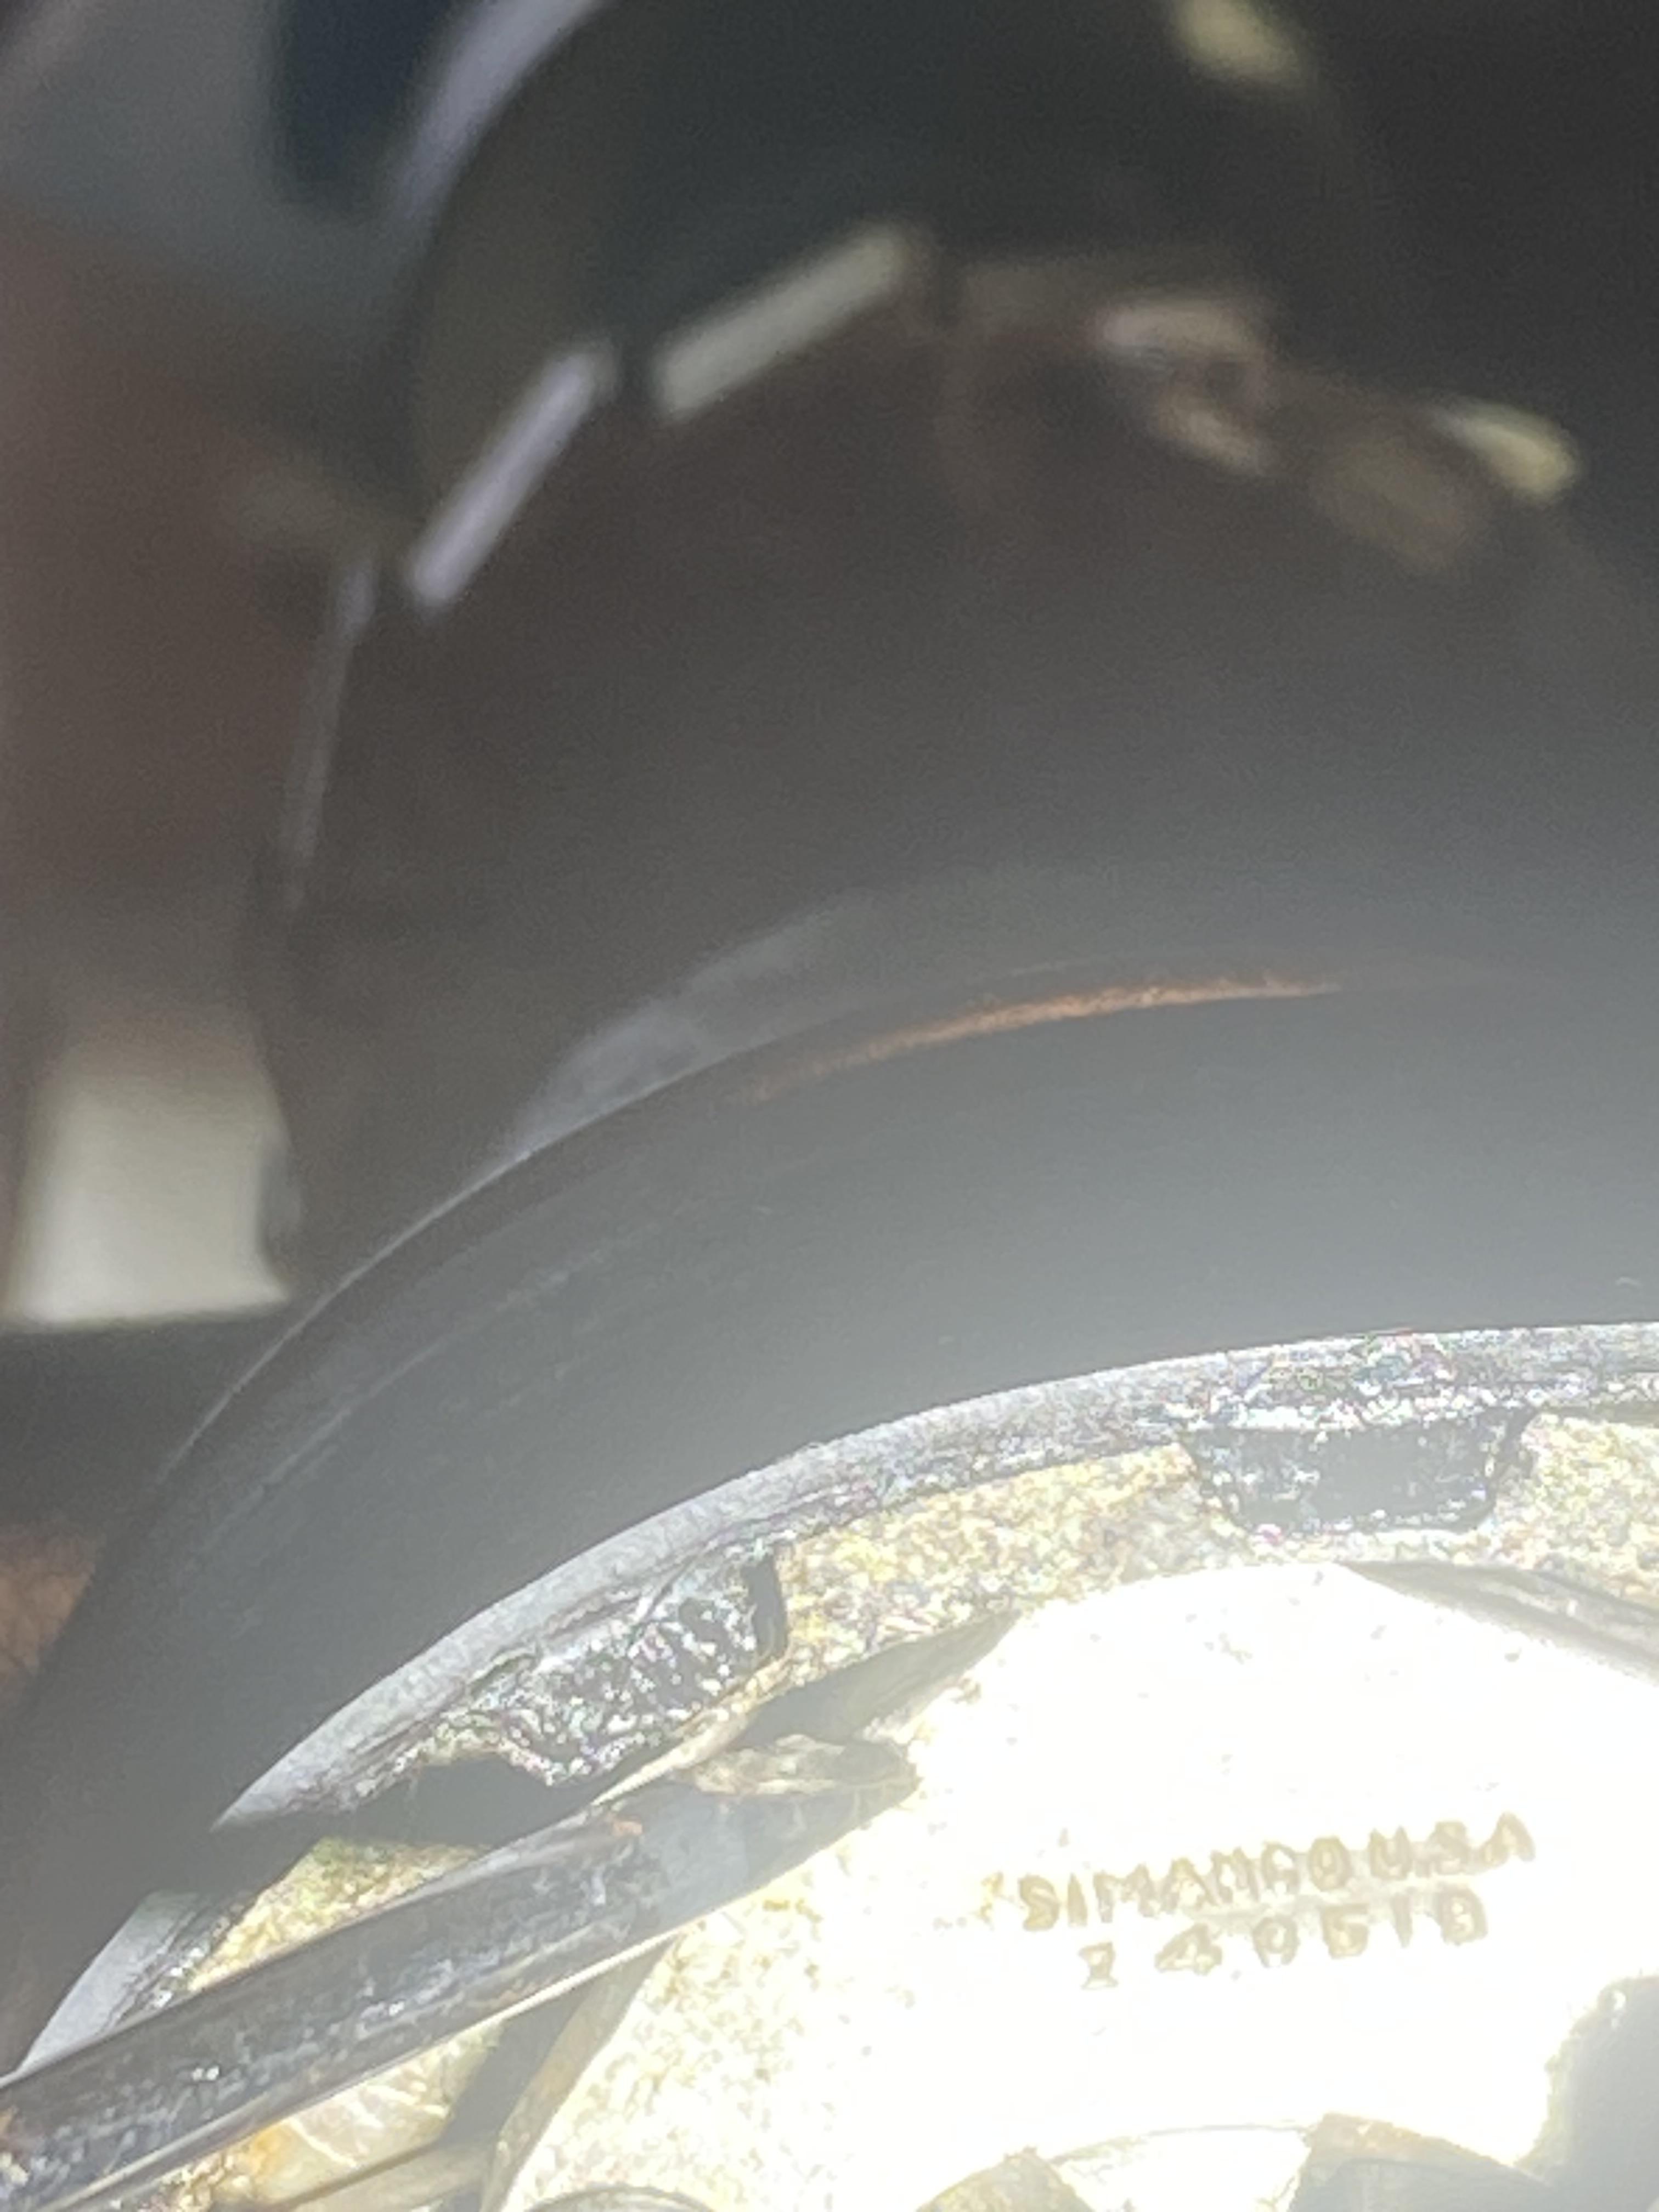
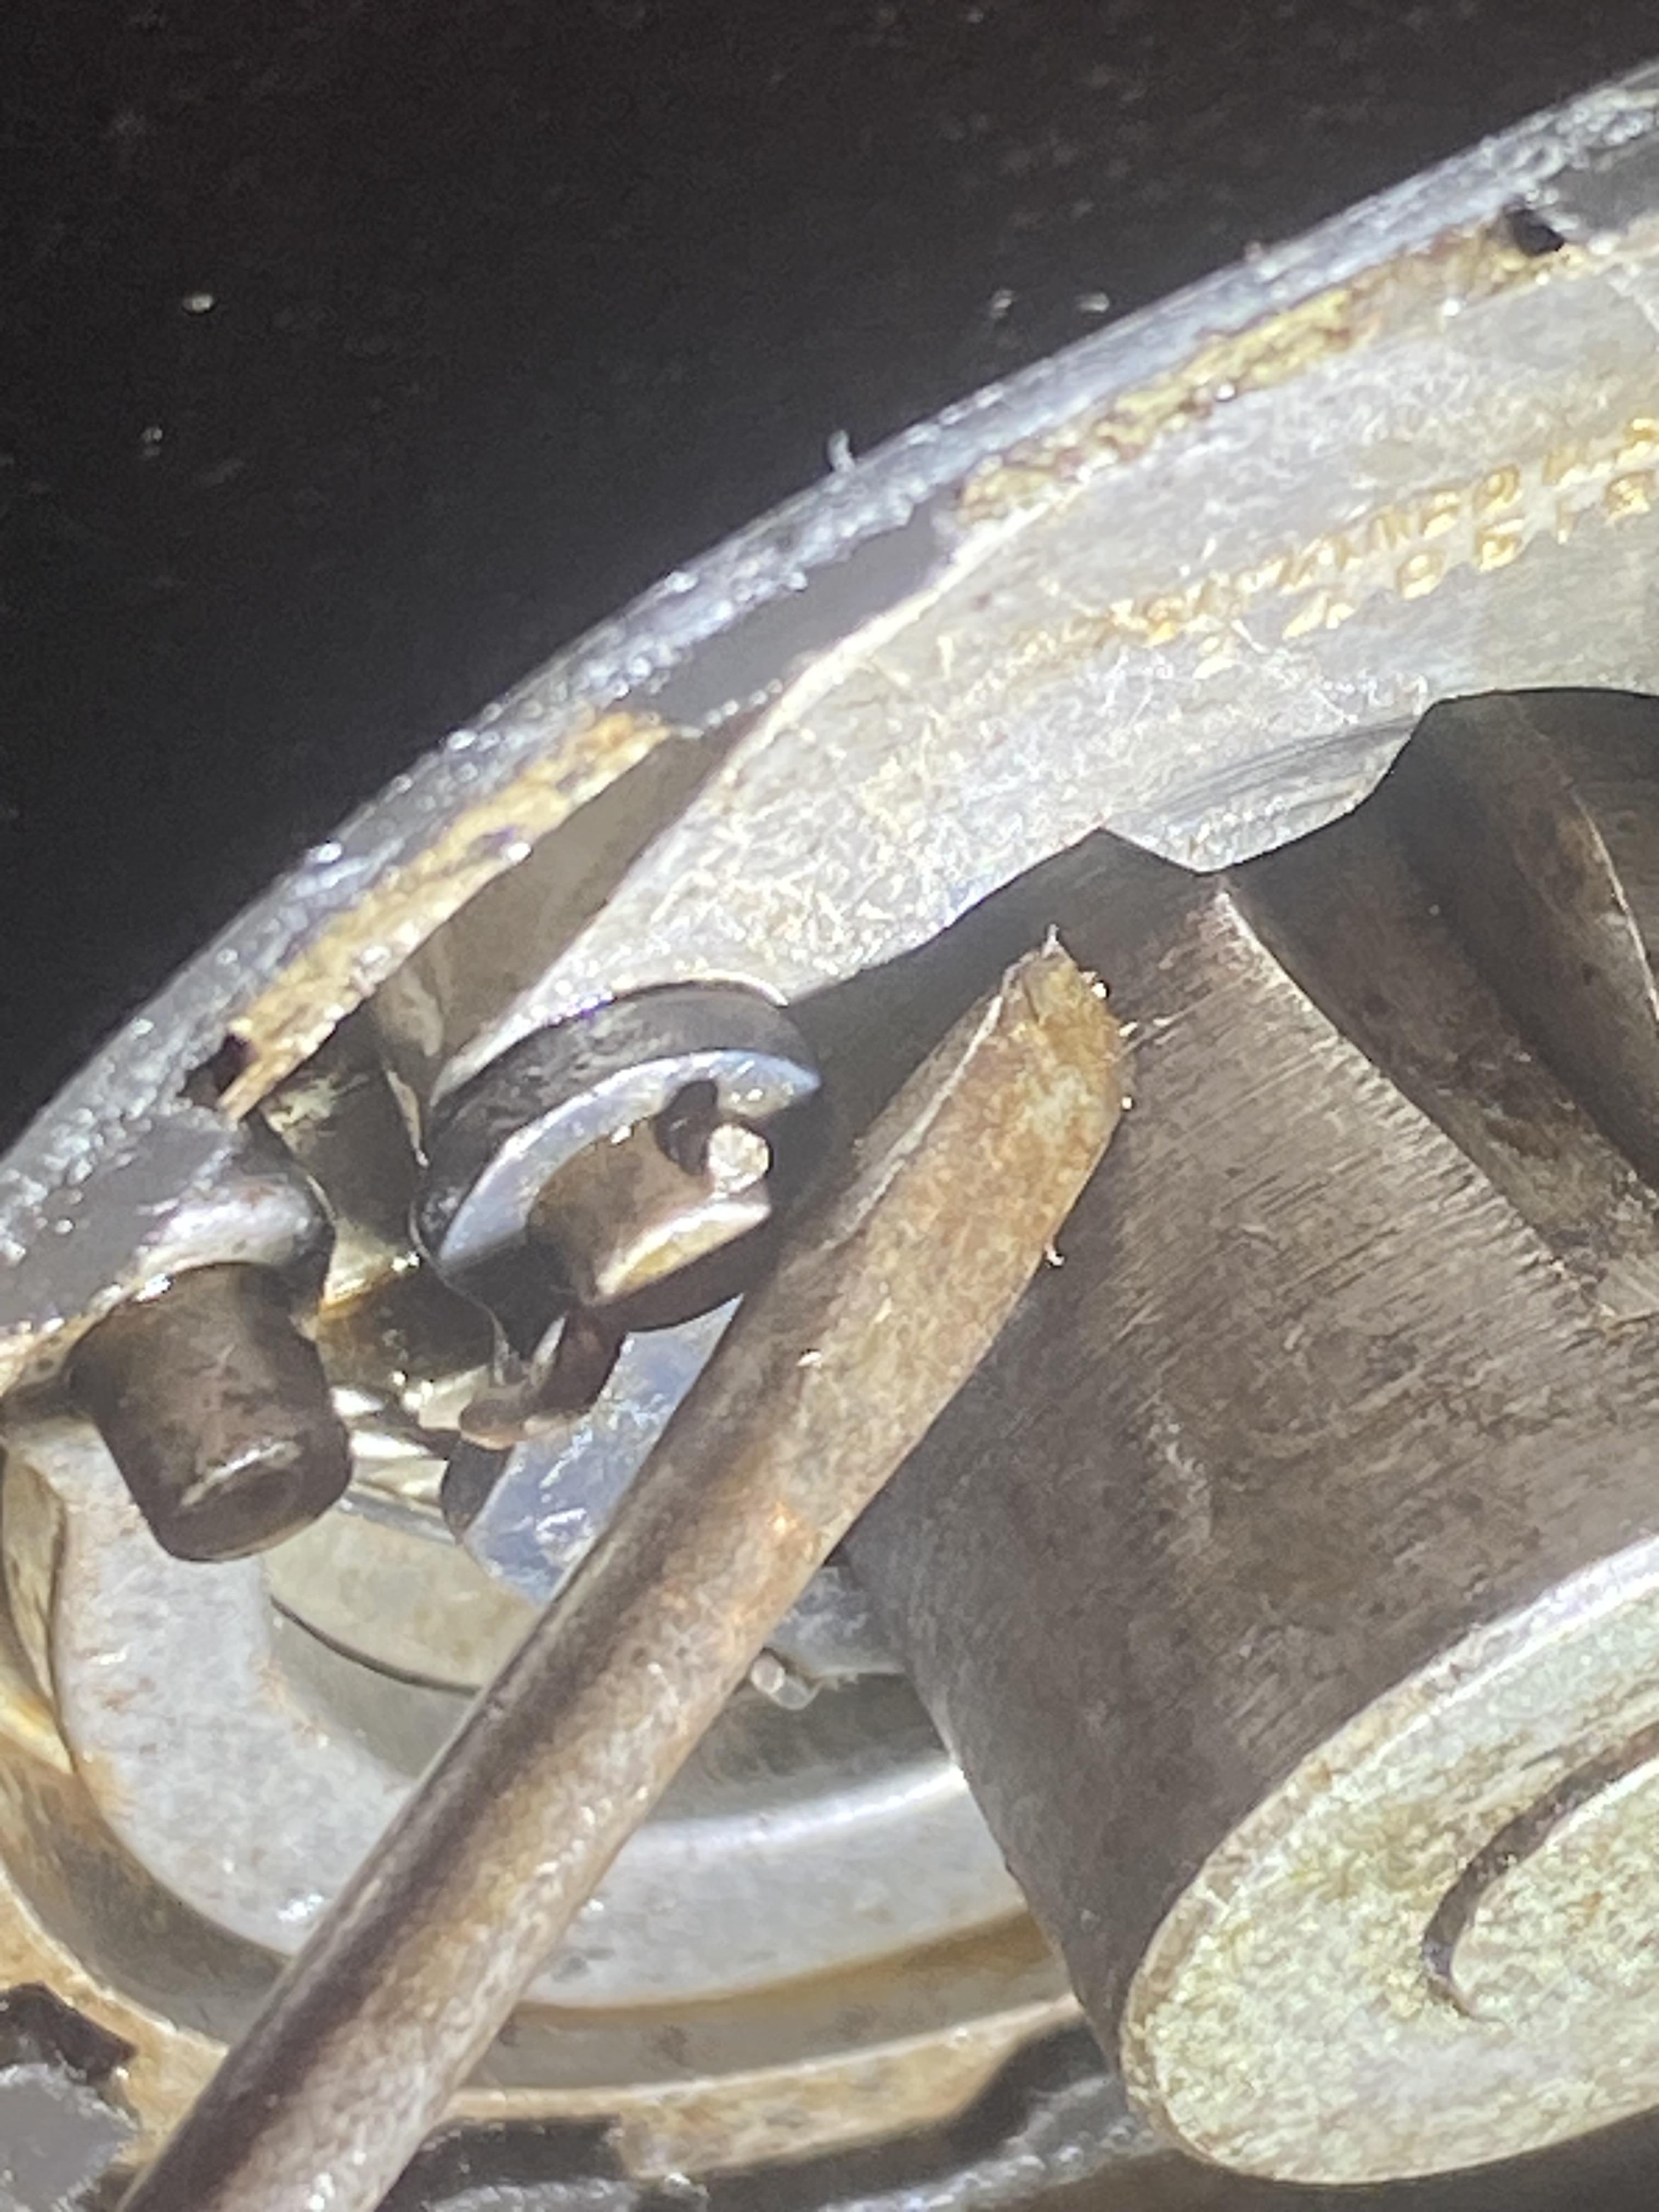
Photo 2 I believe that there should be a space between the outer wall and the plate but correct me if I am wrong. It seems stuck up there.
-
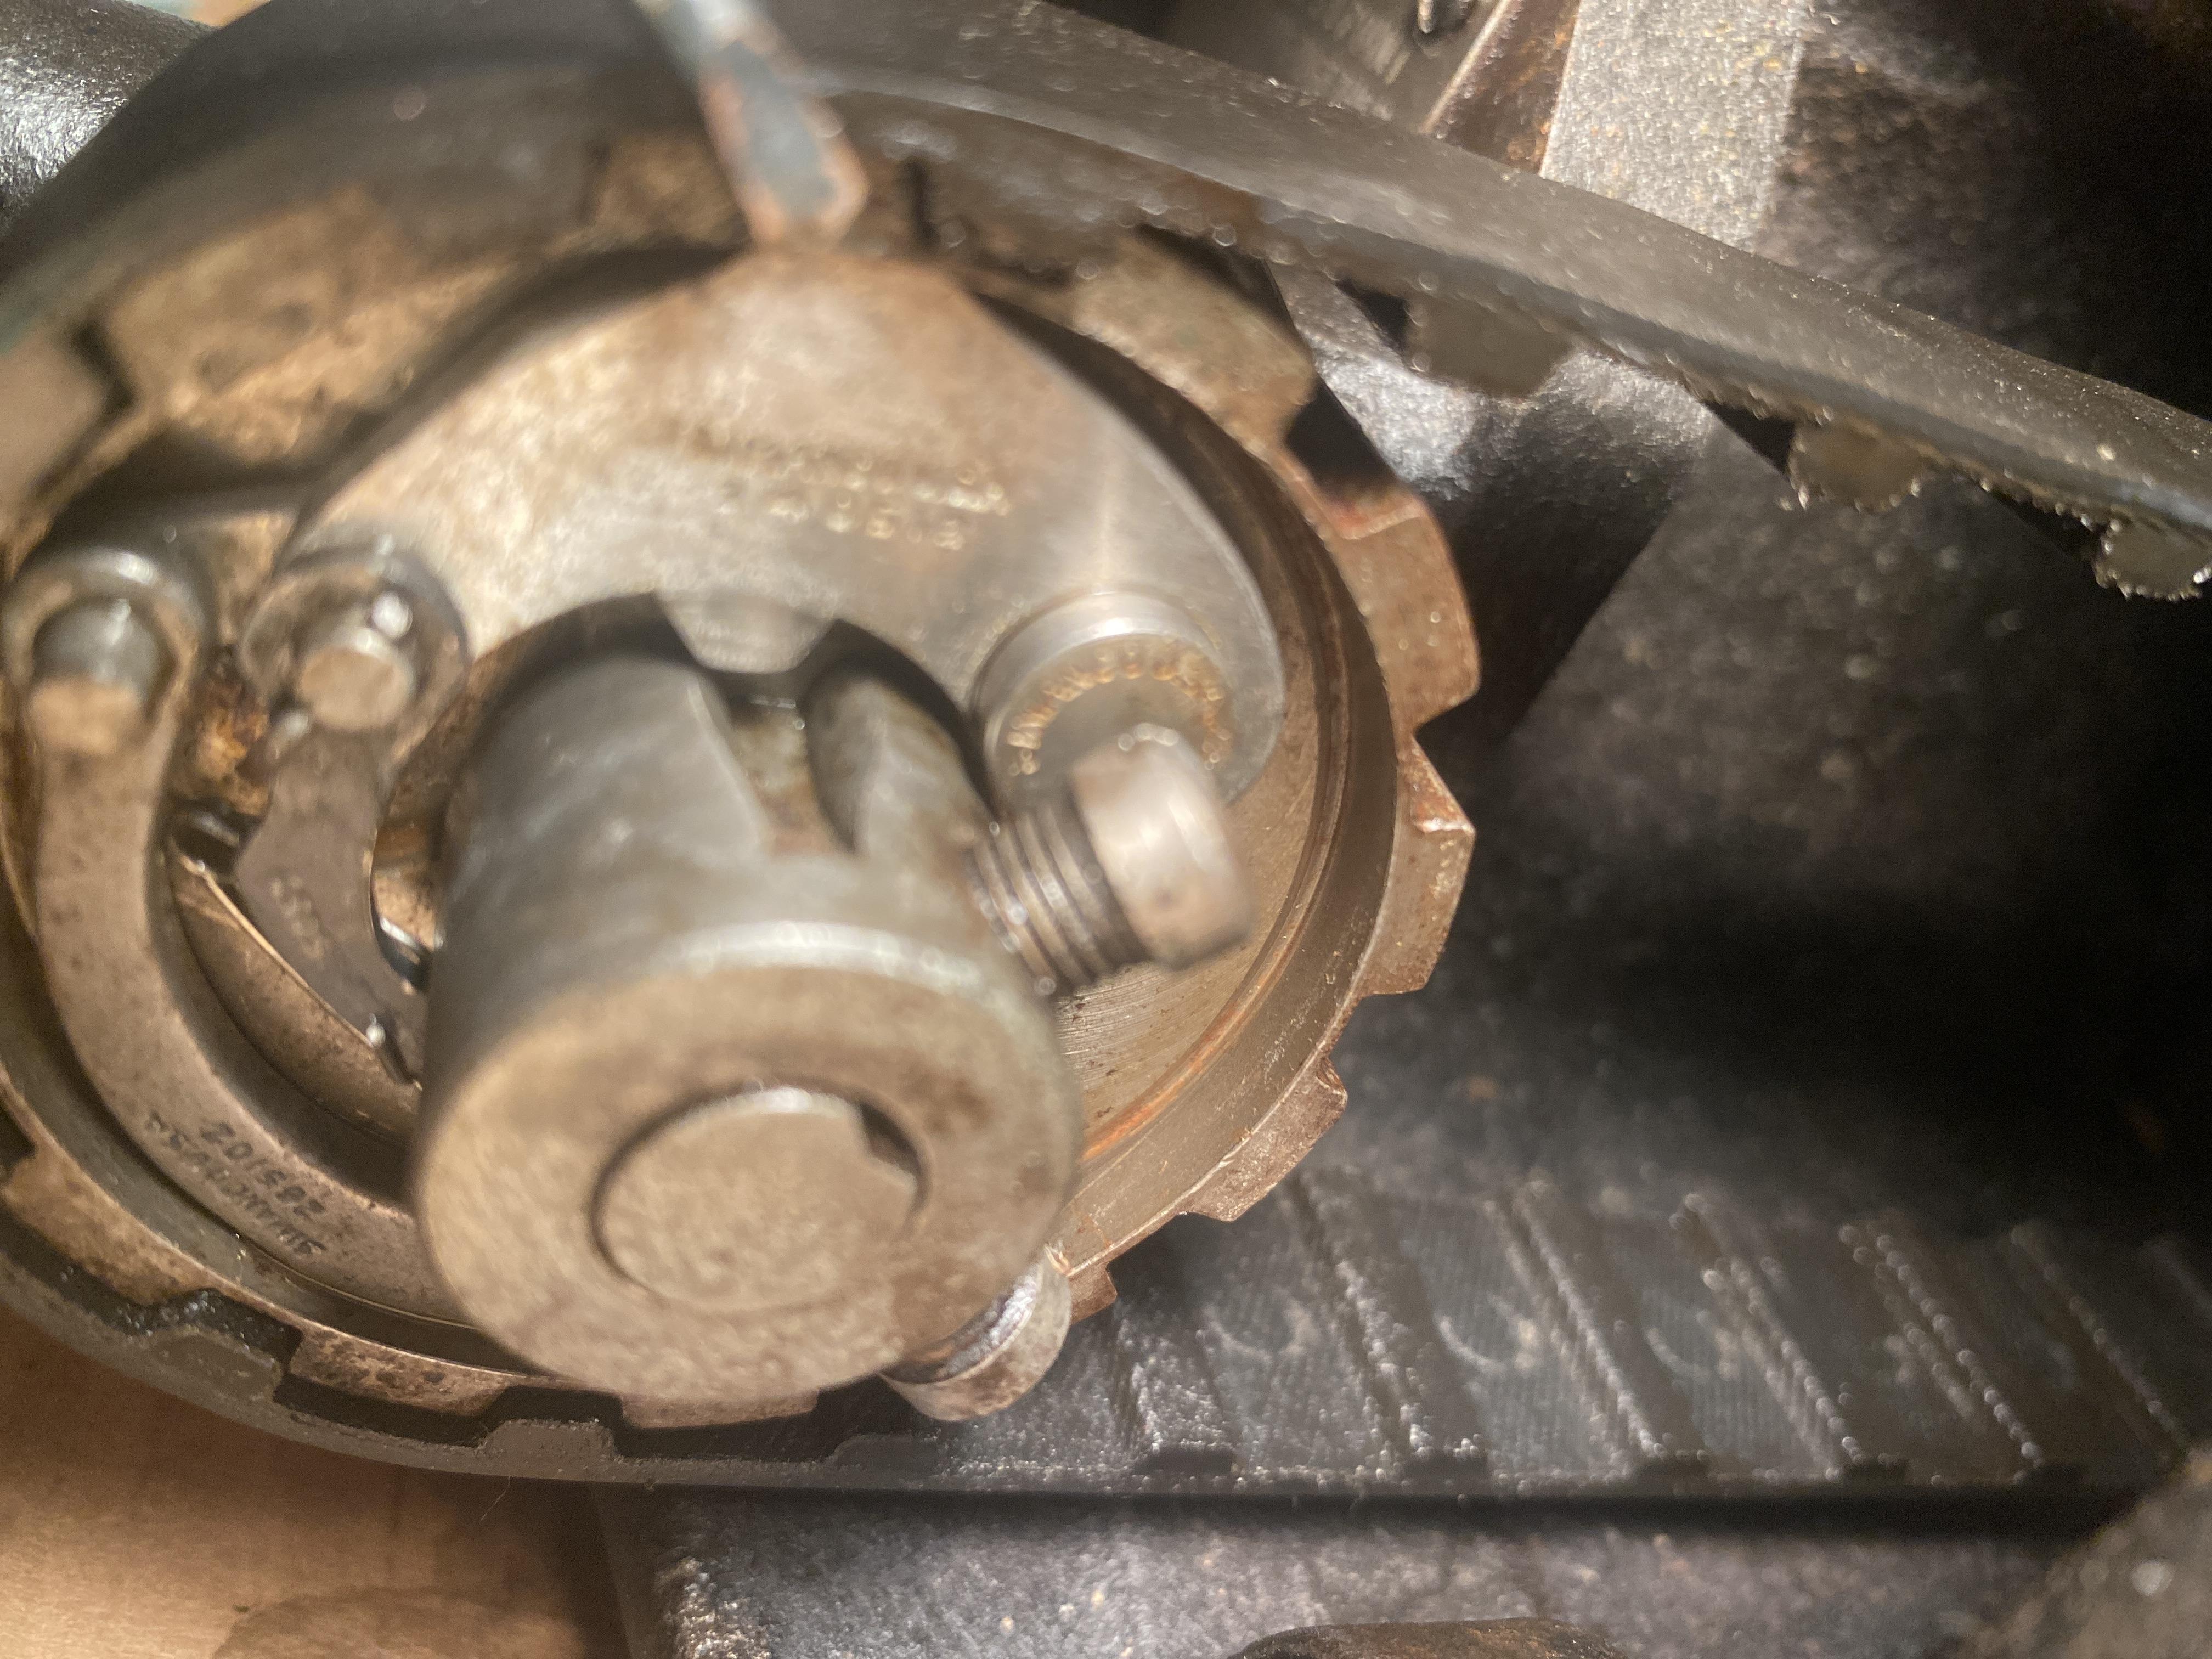
Photo 1 …..pointing to slot….its not lining up.
-
We pushed button. It is in gear. Shaft is moving perfectly but we still have the problem in the video. The little piece ( don’t know what it is called) is not going into the slot the way it is suppose to. It is just on the edge of it.
-
-
Thank you cowboy Bob and kgg. We did engage the button. That was the first thing the repair guy did. Fixed the button and engaged it. Then he went to clutch area and that is when everything stopped. He fixed and tweaked everything else but did not feel comfortable taking apart clutch. We have been oiling for two days. Here is where we are at. Thank you for any help.


