


friquant
-
Posts
523 -
Joined
-
Last visited
Content Type
Profiles
Forums
Events
Blogs
Gallery
Store
Everything posted by friquant
-
 For information on motor types, you may enjoy reading: Option A: Digital Servo Motor Option B: Universal Motor with Triac Speed Control
 -
Yes whoever invented the layback sewing machine deserves a prize 🦄
-
I have since acquired a machine that uses 7x3 needles. 7x3 seems to be the round point equivalent of 7x4 and 794. These are about 68mm long in total, 60mm from butt to top of eye. Worth reading is Wiz' blog on dumbing down a cowboy 4500, which also uses 7x3 needles.
-
Did you get this machine up and rolling? Would love to see some videos 🎥
-
Did you get your machine running? I'm not familiar with the 291. If a machine has a safety clutch, it will likely be built into the timing cog underneath the machine. Follow the timing belt from the main shaft down to the horizontal timing shaft. The cog on the horizontal timing shaft---if it has levers and pawls on the right side of it, your machine has a safety clutch. Here's a video by Uwe that shows safety clutches: https://www.youtube.com/watch?v=N-MClgDKnq4
-
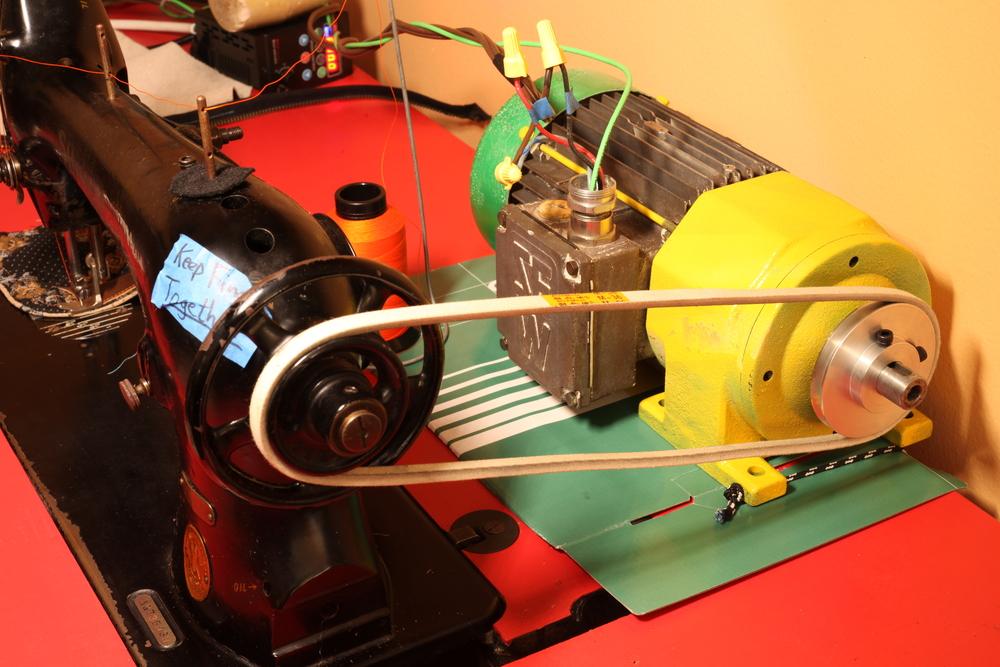
I like this method a lot. Yesterday I made the mistake of bringing the Singer 144 all the way down to ground level, and then later had to figure out how to get it back to table level. (I did it in two stages, with wooden trough made to fit the 144. First hop onto a chair with the trough, both hands on the trough. Second hop from chair to the table, left arm through the machine like a purse. Well maybe not as high as a purse, but at least up to my elbow. When I get to the table and it's time to lower the machine, there's a bending-over sort of motion required to get the machine a few inches out laterally from me and into the cutout. This lateral motion is hard, and I aspire to invent some wooden accessory so I can set down on wood, then skooch it over and lower one half at a time. But not there yet. You know the other thing that's a pain in the butt...good paint. I'm avoiding marring the orange paint on the table, and that avoiding gets expensive. I'm thinking "Who I could drag over here for a two-person lift?" The neighbor on one side used to be quite strong. For now I made a label out of blue tape that says "Two person Lift" to remind me to lay off it by myself. I also bought a chain hoist with straps, rated for 500 pounds. I even introduced the chain hoist to my girlfriend, but haven't admitted yet that I actually want to ceiling mount it in her living room. 🤩 Now that I've thought through it, the two hardest parts of the transfer are A. Getting from ground level to table level, and B. Leaning forward four inches to hit the slot. I can work around "A" by never putting it on the ground again...just transfer it to a workbench. And if I ever need to move a heavy machine from ground level to table level, then I gotta make friends with the neighbor...which would be good for me anyway. 🤷♀️ I'll start looking for another table. If not for in the house, then at least I could set up one machine in the cellar. (I would call it a basement, but that would be generous) 🤣 Luckily, I'm full up on motors. They are the easiest thing to tuck away so nobody can tell me I have too many of them.
-
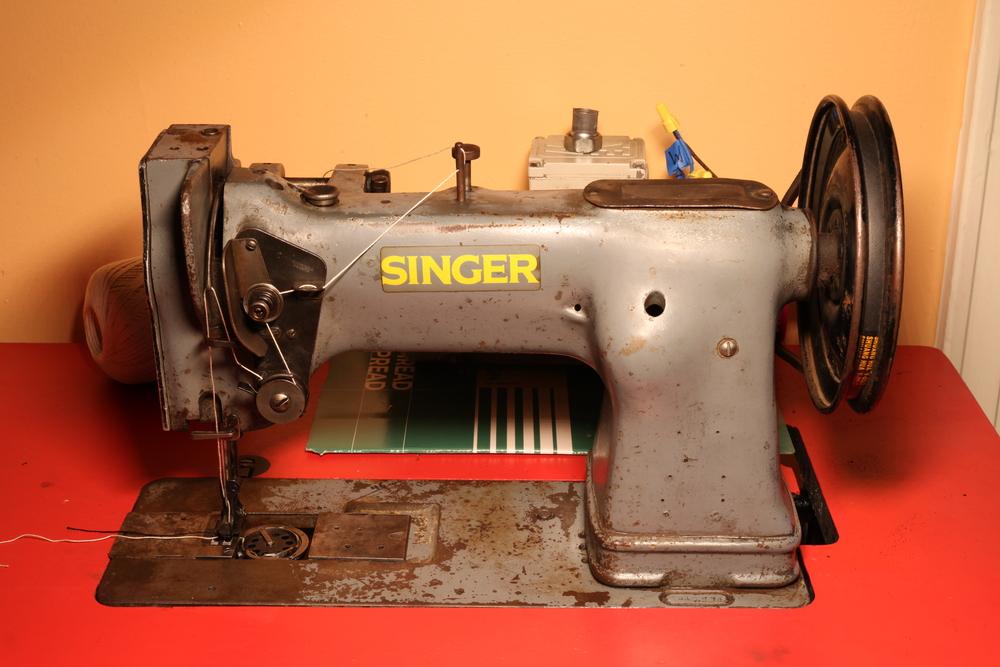
How do you swap machine heads in and out of a table without hurting yourself? I have a Singer 31-15 that came with a table, which we painted orange. I also have a Singer 144W103. Eventually I discovered that the 144 fits into the same table slot, it just rides lower in the water. So I removed the sheet metal drip pan / knee protector and started using the 144 in the orange table. Now I want to switch back to the 31-15 for a different project. But lifting that damn machine... Singer 31-15, machine head weighs 20kg (44 pounds) Singer 144W103, machine head weighs 38kg (84 pounds)
-
Singer 16-188 timing vs take up spring issue
friquant replied to peterstarch's topic in Leather Sewing Machines
That's great! As timing adjustments go, setting the needle bar height is the easiest. So if you do end up swapping to other needles... The most convenient way to set the needle bar height is to put a black mark on the needle in the middle of the scarf. Then adjust the needle bar height so the hook crosses at the black mark. -
Singer 16-188 timing vs take up spring issue
friquant replied to peterstarch's topic in Leather Sewing Machines
You are correct, scarf goes on the hook side. The long (longitudinal?) groove is on the other side. (Wishing for better names here haha) I'm not familiar with the check spring on that model. But in general, there are two or three adjustments that can be made on the thread check spring. (I expect neither of them will have as profound an effect as getting your needle bar height correct.) Here are the two adjustments that I understand about check springs: Adjust the preload. This is usually done by loosening a screw that is down lower on the body so that the whole check spring cylinder can rotate freely. Then you put a screwdriver in the big slot on the front in between the threads of the thumb nut...use the screwdriver to gently rotate the whole check spring cylinder left (for less preload) or right (for more preload). Adjust the amount of travel. Typically there is a secondary lever in a banana-shaped slide with a screw holding it in place. Loosen the screw, slide the adjuster, tighten the screw. I'm not familiar with yours in particular, so I can't say for sure which screws do what on your model. But a little experimentation (and looking for additional screws under the mechanism) may unlock the mystery for you. -
Singer 16-188 timing vs take up spring issue
friquant replied to peterstarch's topic in Leather Sewing Machines
Welcome to the forum! At bottom dead center, the eye of the needle must be below the point of the hook. Do you have a manual for setting the needle bar height? Hard to tell from the photo, but make sure the long groove in the needle is pointing left The thread check spring has a lot more motion than it probably needs. Generally it only needs to maintain tension until the needle hits the goods. -
Flat bed attachment for my Consew 287-RB
friquant replied to AmyRF's topic in Leather Sewing Machines
Is your machine the same as this 287-RB-2? https://consew.com/products/consew-model-287rb-2 The RB-2 looks a lot like a Juki 341. If it's a 341 clone, then flatbed attachments for any of the 341 clones may fit. Some folks on the forum have made their own. -
Frozen Stitch Length on Singer 144W103
friquant replied to friquant's topic in Leather Sewing Machines
A few hours sitting with a few drops of diesel made a difference! I'm gonna throw away my penetrating oil 😜 I've got 2.5 turns each way now. How many turns should I expect when it's fully loosened up? -
Frozen Stitch Length on Singer 144W103
friquant replied to friquant's topic in Leather Sewing Machines
That's the approach I've been taking, along with some gentle taps with the hammer. I'm going to try some diesel therapy today. How much is a new stitch length cam? I've never had a main shaft out...is that straightforward to do? -
Frozen Stitch Length on Singer 144W103
friquant replied to friquant's topic in Leather Sewing Machines
I've been making stitches with the lock screw removed. And after every 50 stitches or so I see if I can move the adjuster. It does seem to move a little. But has not let go like I would prefer. Saw your comment about heat, so I tried some heat on the adjuster with one of those butane torches sold for kitchen use. I didn't get it all that hot, though. Still about the same. -
Frozen Stitch Length on Singer 144W103
friquant replied to friquant's topic in Leather Sewing Machines
That sounds good! I'll do that as soon as I get the set screws sorted...both set screws (both the one that goes in the main-shaft-groove and the one that does not) have one ear broken off. Planning to cut a groove in the top of each set screws to make them serviceable again and put them back in for now. Tempting...we just got the machine back to smelling good again after its initial bath in P'Blaster. 👃 I guess we could relegate it to the porch for a few days.. -
Frozen Stitch Length on Singer 144W103
friquant replied to friquant's topic in Leather Sewing Machines
Here is the relevant section of the manual. I assume that turning the adjustment screw clockwise is meant to bring the ex-center closer to the center of the shaft.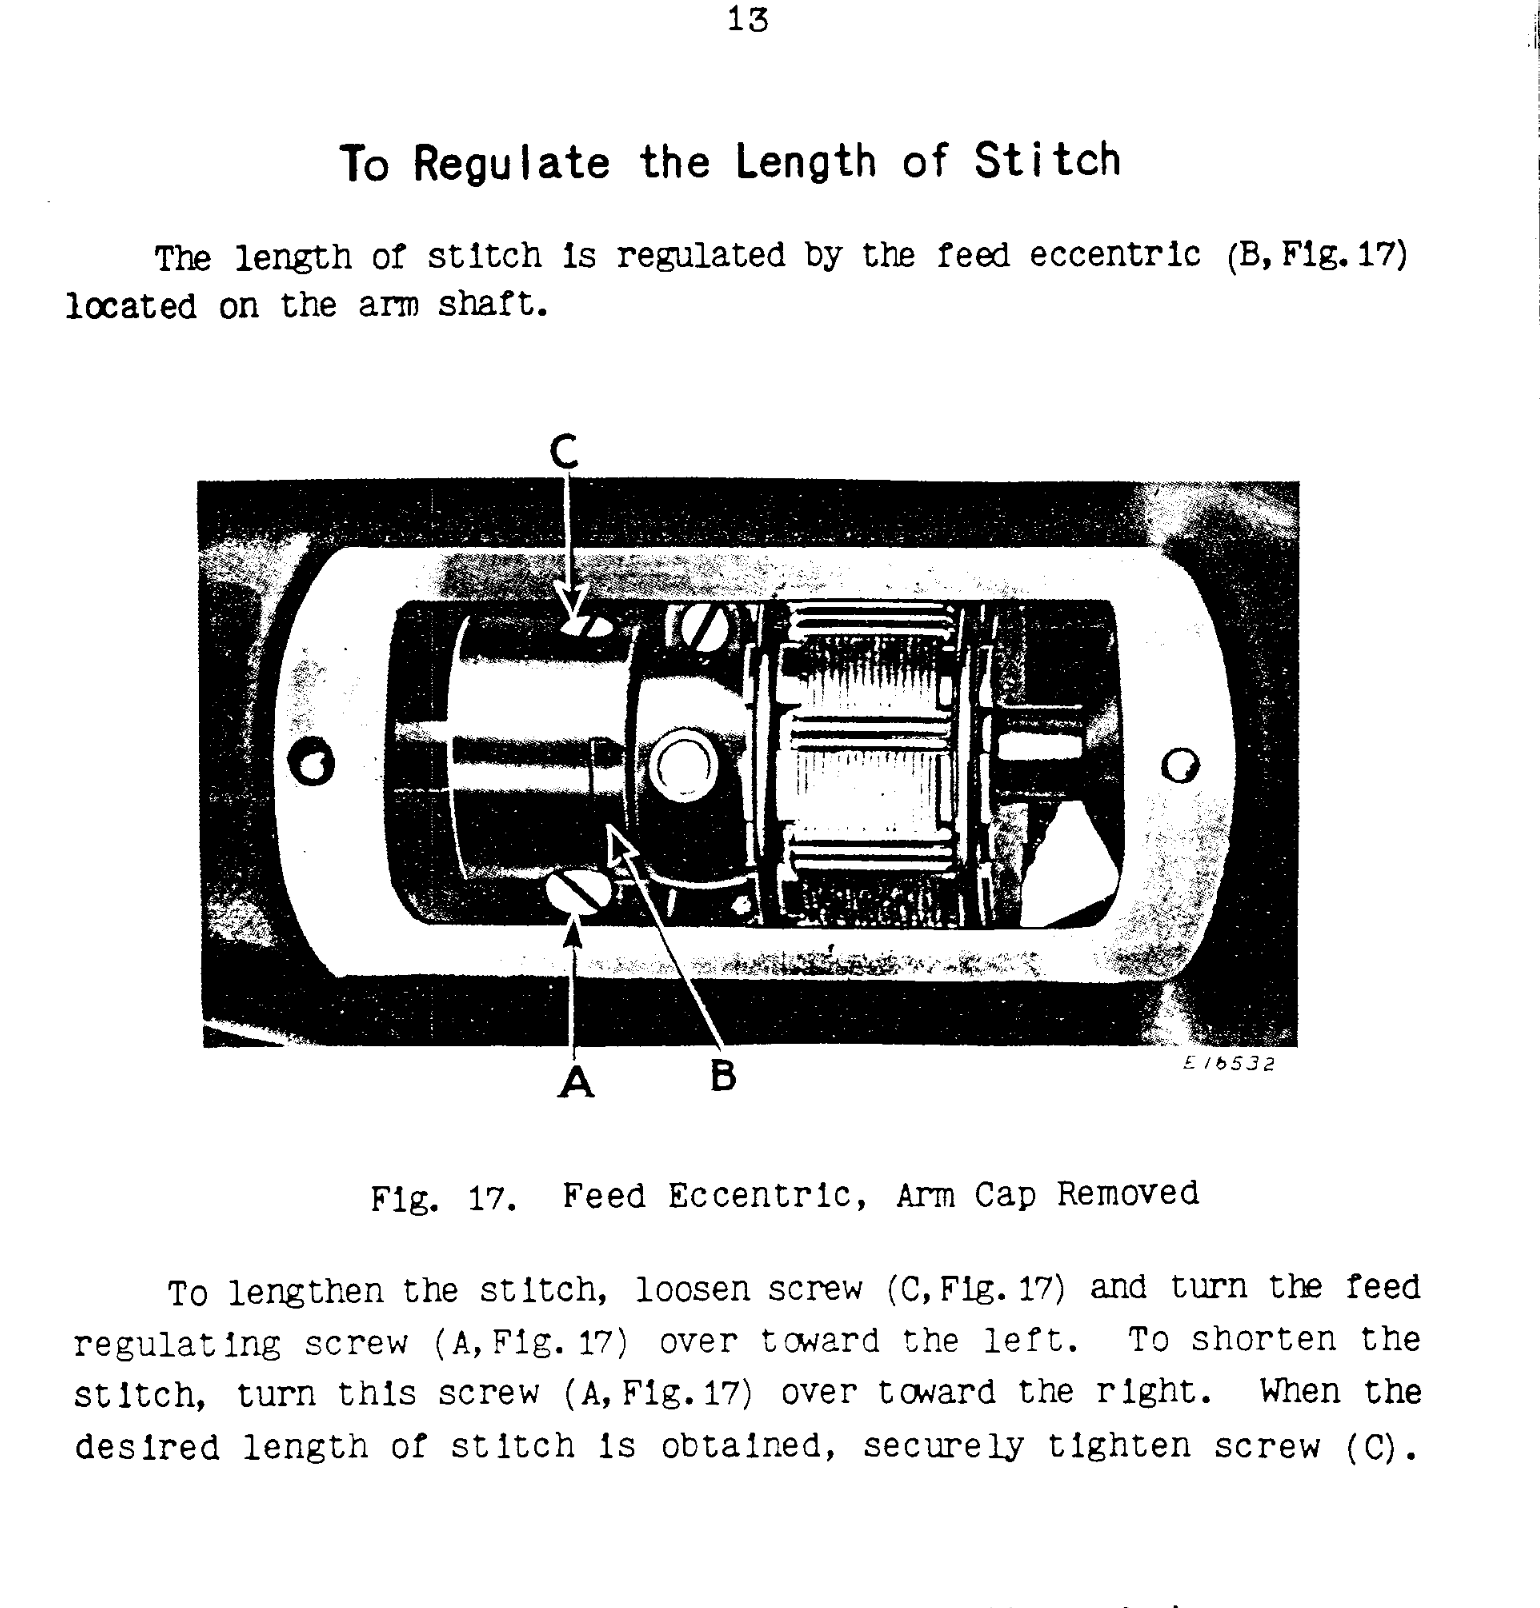
-
I assume you removed the hook. When you drop the hook back in, make sure it also drops into the hole of that little piece that moves the bobbin latch opener. If you miss that part, the hook (and bobbin) will be about 1/8" too high, and the screw won't tighten reliably because the hook isn't down where it's supposed to be. It's important not to run under power till you get this sorted. A check for this would be to turn the machine over (gently) by hand and see if the latch opener moves. If the latch opener does not move, then the hook probably isn't down inside that piece. I don't remember exactly what mine looked like that had this problem. This machine Uwe demonstrates on looks more or less foolproof, but I've had a different machine that was quite fiddly to get all the pieces to align so the hook would drop in all the way: https://www.youtube.com/watch?v=CfkGrz3OugA&t=277
-
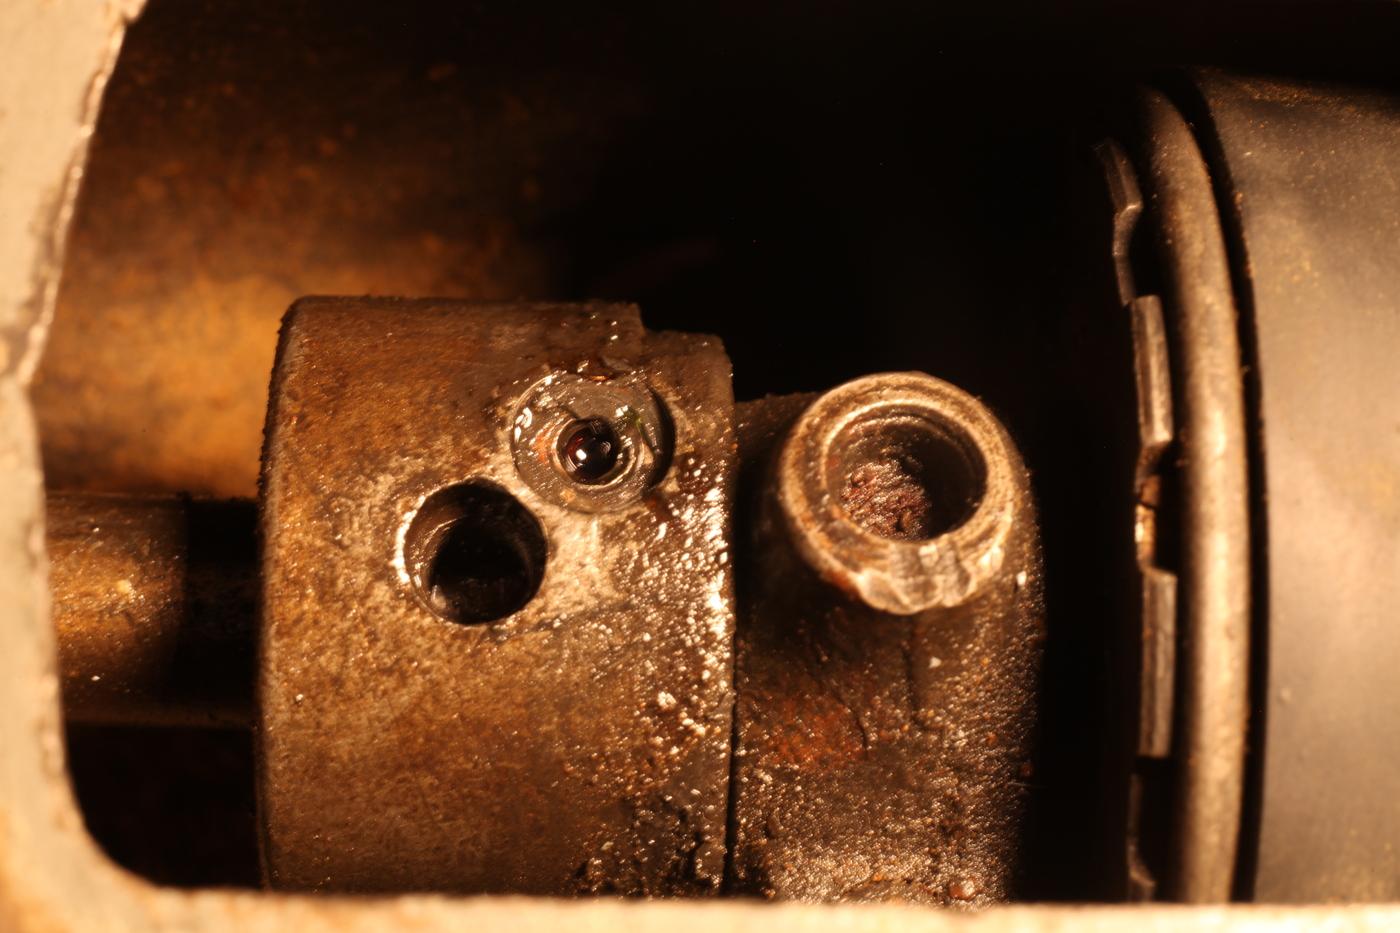
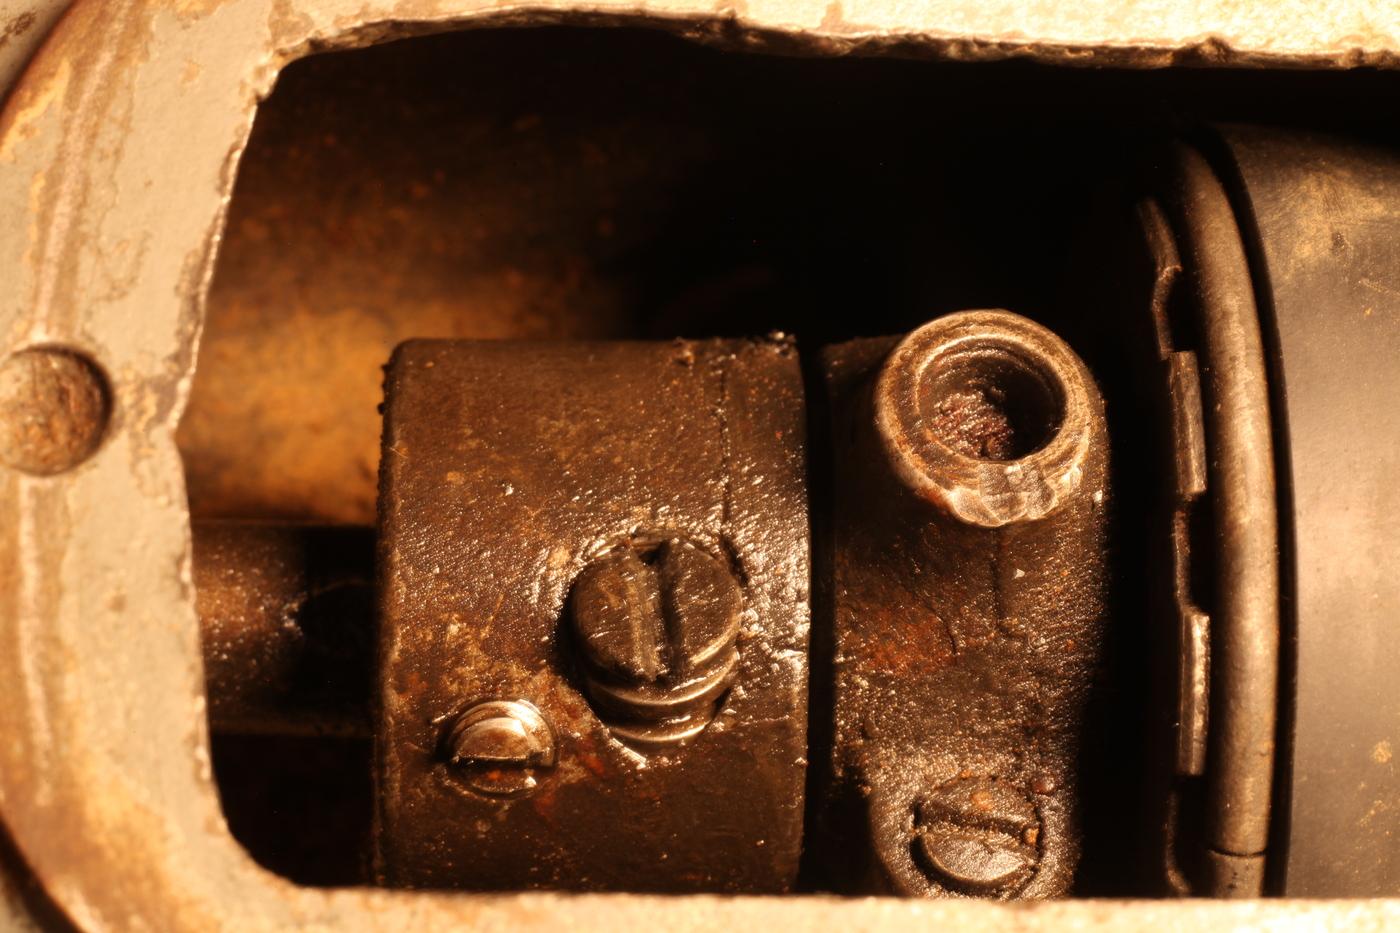
How to get this stitch length mechanism freed up? In this first photo of the main shaft, we have the timing cog on the right, the feed shaft cap in the middle, and the stitch length mechanism on the left. The large hole in the middle of the stitch length mechanism is for a set screw which I have removed. The smaller hole (upper right) of the stitch length mechanism is where I have removed the lock screw. so that the adjustment can actually be made. Then I rotate the handwheel some, and now we see a different set screw (lower left, already loosened) and the big adjustment screw next to it. The adjustment screw can move about 200 degrees from left to right before it binds. I've soaked the adjustment screw and the hole where the lock screw goes with marvel mystery oil, and even squirted some between the adjustment mechanism and the feed shaft cap. I've tapped on the adjustment screw with a hammer (using a metal screwdriver as a go-between). I've tapped the feed shaft with a hammer. Still nothing budging. Is there anything else I should try (or shouldn't try) to get this to move?
-
How about some photos? We love photos 🤩
-
That makes sense. I guess I'll call it the "Apparently Singer 144 Winger" or "Singer 144 Without-the-family-tree"
-
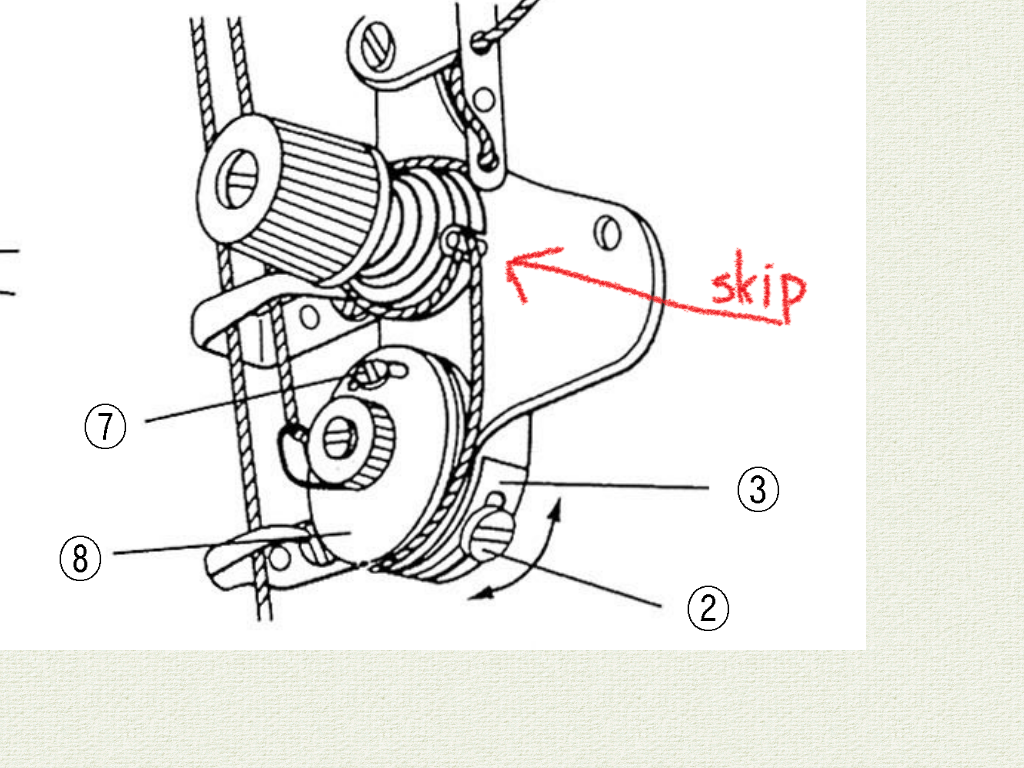
Make sure you're going counterclockwise around the thread tensioner. (one of the drawings in the manual makes it look like you go clockwise) One thing that the manual does not show but that is actually important is that the thread needs to go between the tension discs, not around them. The other thing I would change is I would skip going around the post (see attached photo with arrow) that prevents the tension discs from spinning. (Unless you're looking for ways to increase the maximum amount of tension you can get.) If you'd like to send a photo showing how you've got yours threaded, we can let you know if it looks right. The components are quite similar across LOTS of machines. Also, is it making good stitches?
-
I have a different machine, but there are lots of similarities between the digital servos that are currently available. The one I have is here: https://leatherworker.net/forum/topic/125788-stitchman-servo-motor-the-missing-manual/
-
You may have a broken or disconnected wire going from the pedal box to the controller. The most likely location is at the connector where the pedal plugs into the controller. Check the continuity (using a multimeter) between the three wires that come out of the pedal box. (On my digital servo, there's about 1.2 mega ohms between any two of the three.) If unable to test continuity, at least visually inspect the individual wires from the pedal to the control box. Where the individual wires go into the connector on the back of the control box, make sure all the wires are connected. That is, none broken. Take the cover off the pedal box and make sure nothing is amiss inside. (Magnet still connected to moving arm) My $.02
-
Alternate take: safety-clutch-adjust-animated.mp4
-
The safety clutch on my Singer 144W was tripping too easily, so I decided to investigate. Here's a video showing how to adjust the preload. safety-clutch-adjust-calm.mp4