John D
-
Posts
23 -
Joined
-
Last visited
Content Type
Profiles
Forums
Events
Blogs
Gallery
Everything posted by John D
-
Pfaff 545 bobbin case opener jams the catch hook
John D replied to John D's topic in Leather Sewing Machines
-
Pfaff 545 bobbin case opener jams the catch hook
John D replied to John D's topic in Leather Sewing Machines
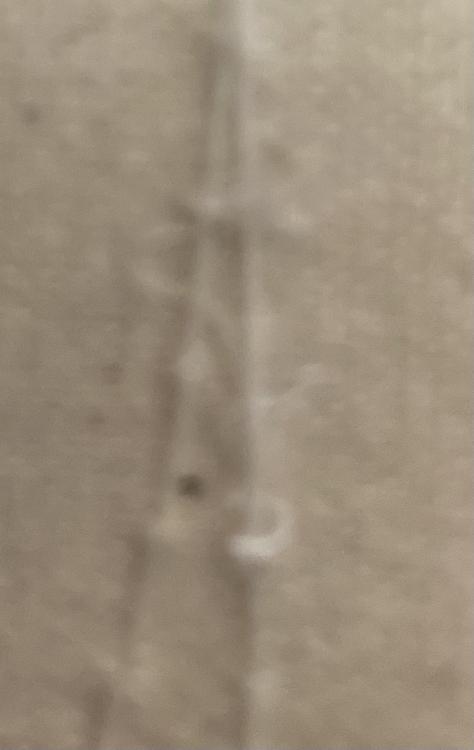
Vielen Danke! Je vous remercie! Thank you so very much everyone! Works! Now to reset the upper and lower thread tensions! Thank you so very much! In case it wasn't clear, the entire catch loop assembly would not budge. As if it was fused together. The root cause was a few things (I think): 1 - 20cm (8") piece of thread wrapped around the bobbin bed post that goes through the hook bed 2 - a crapton of soot build up around the thread, the bobbin bed post, and pretty much everywhere underneath 3 - wrong sized needle (it "worked" but it would create a sloppy loop that would result in jams) 4 - wrong position for the bobbin case opener NOTE: I may have some of the parts names wrong. Doing my best from memory and horrible lack of a user's manual. :( With the photos and descriptions I decided that just because I could not see the jammed threads, didn't mean they weren't there. The bobbin bed would NOT come out of the loop catch hook assembly. I tried everything and finally had to unwedge it with a carefully placed flathead screwdriver. PING! and I had parts all over my work station. I inspected them very carefully to make sure nothing was malformed and there were not tool marks, especially screw drivers used as levers. Everything was in excellent condition but covered in a black grit that at first I though was from parts rubbing and creating steel/iron dust. But nothing had wear marks. Unscrewed the hook loop catch bed and found a small piece of thread inside. Pulled off the hook loop assembly and voila! Single piece of black thread wrapped tightly around the post of the bobbin bed. And even more gritty black powder. But it smelled like ash. (What the heck!) Cleaned everything carefully. Another visual inspection. Verified pieces fit as expected and worked without friction and reset the hook and bobbin case opener gap. Discovered the needle was too short by about 15mm. Replaced it. Caught the thread on the first pass! Curious about the soot and grimed asked the previous owner and they said "Oh I use a lighter to burn out the threads! It is why I only purchase metal machines!" Ran some canvas and leather through the machine for a quick 'check' and it looks like all I need to do is iron out the tensions to get it to work again! Seriously once again, thank you everyone for the assist! -
Pfaff 545 bobbin case opener jams the catch hook
John D replied to John D's topic in Leather Sewing Machines
Thank you DanishMan and LindanHotAir. Loosened the bobbin case opener and was able to reset the gap a week but. But the action is still frozen in place. is it possible to have thread or fabric jammed up below the bobbin bed? I see in my notes that I pulled a small 5cm by 10cm (1” by 2”) piece of cotton fabric out when I removed the plates on the bed. Will disassemble later today and check before taking in to the shop. -
Pfaff 545 bobbin case opener jams the catch hook
John D replied to John D's topic in Leather Sewing Machines
This was my thinking too. Thought how? I can't seem to find a manual or video, even looking for Pfaff 145 and the Juki 67 (I think it is). I'm usually able to internet search my way to learning and am totally stumped. Thanks in advance! -
Pfaff 545 bobbin case opener jams the catch hook
John D replied to John D's topic in Leather Sewing Machines
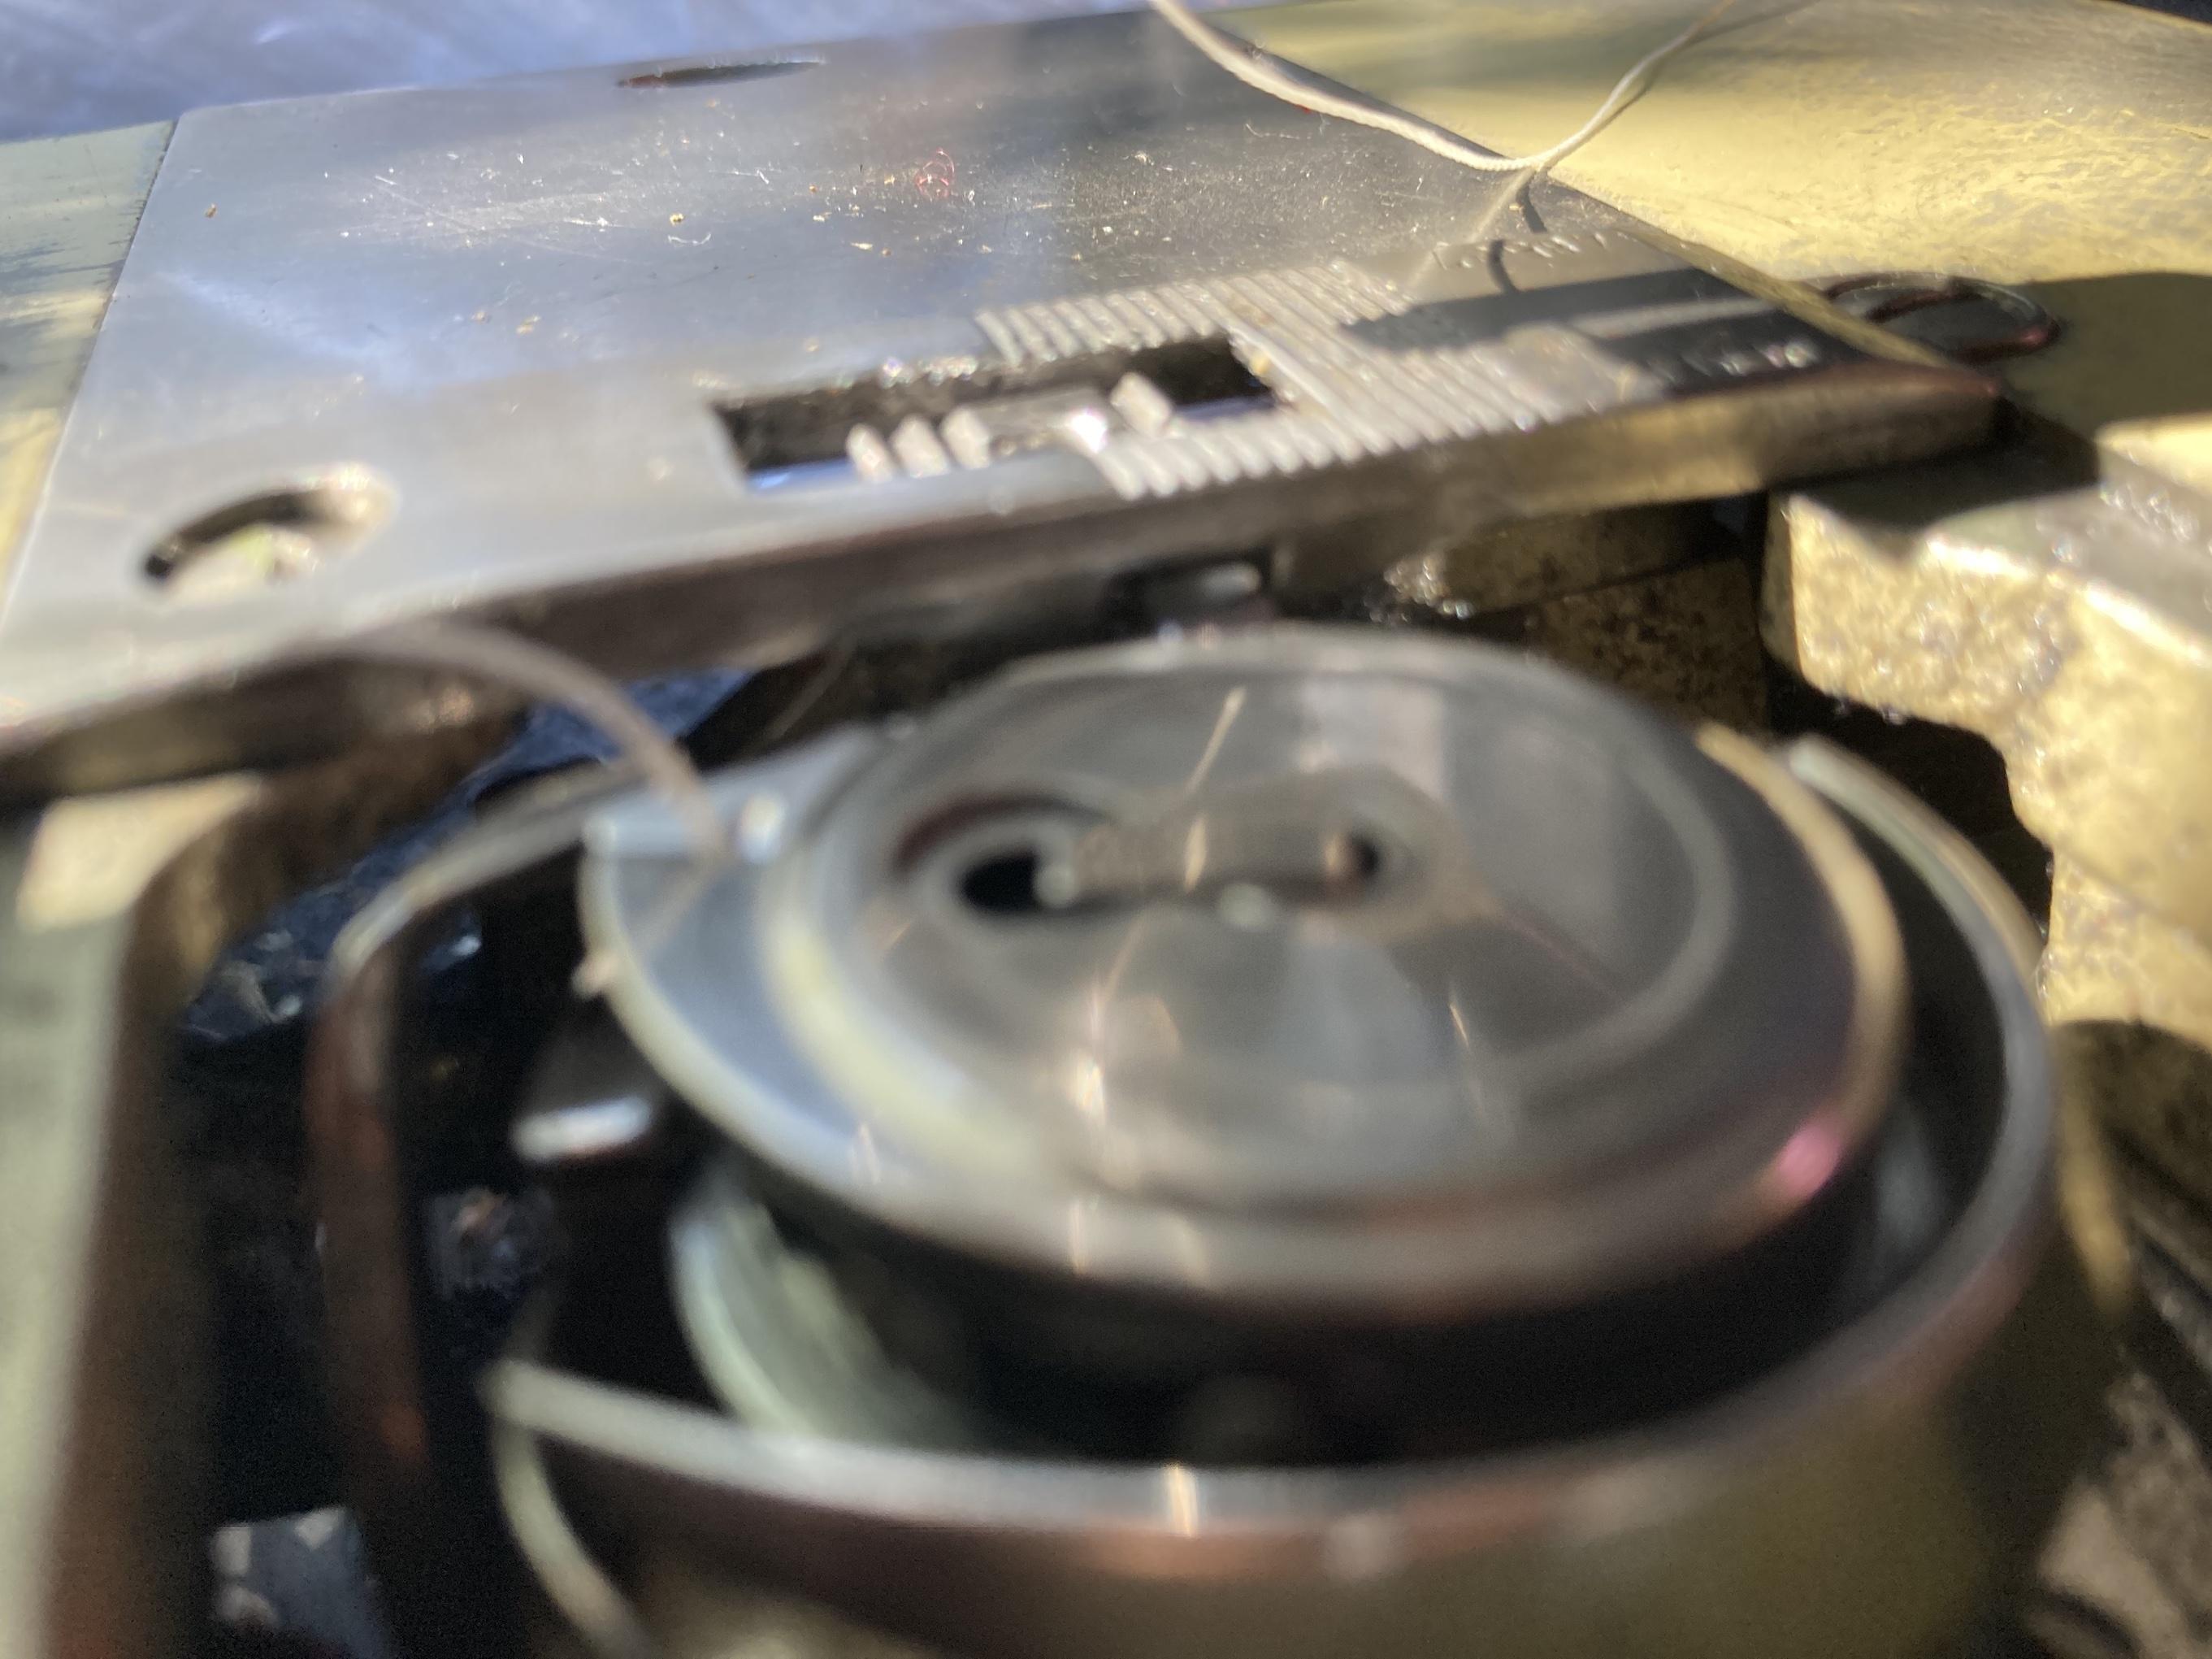
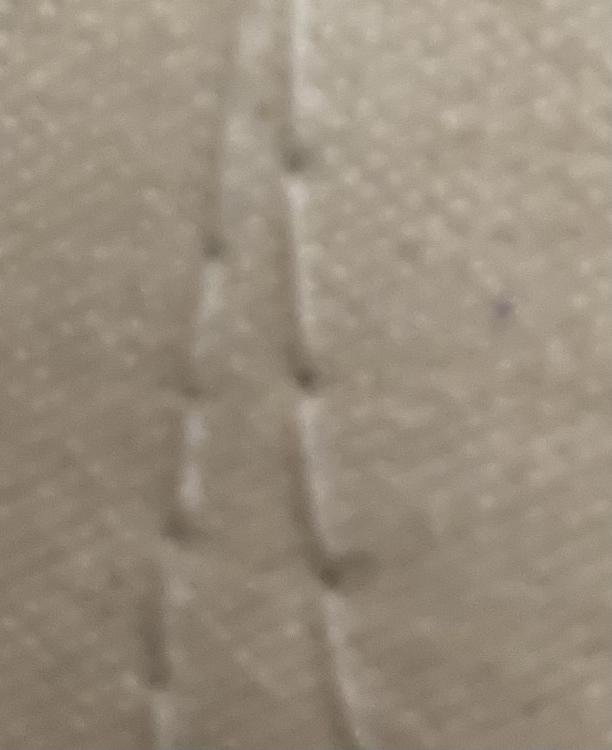
Thank and yes, never run without the needle plate. I took it off as the action is EXACTLY the same whether in place or not. Here is an image of the tab #4 lining up in the gap in the needle plate. I will post a video in a few minute of the same action with the needle plate in place.
-
Pfaff 545 bobbin case opener jams the catch hook
John D replied to John D's topic in Leather Sewing Machines
Video attached. The “clacking” sound you hear is when the two pieces touch. As far as I can tell the noise os from their striking each other. And the entire movement stops cold. If I engage the safety clutch I can move the needle up and down, but the bobbin case stops in the same place. IMG_8389.MOV -
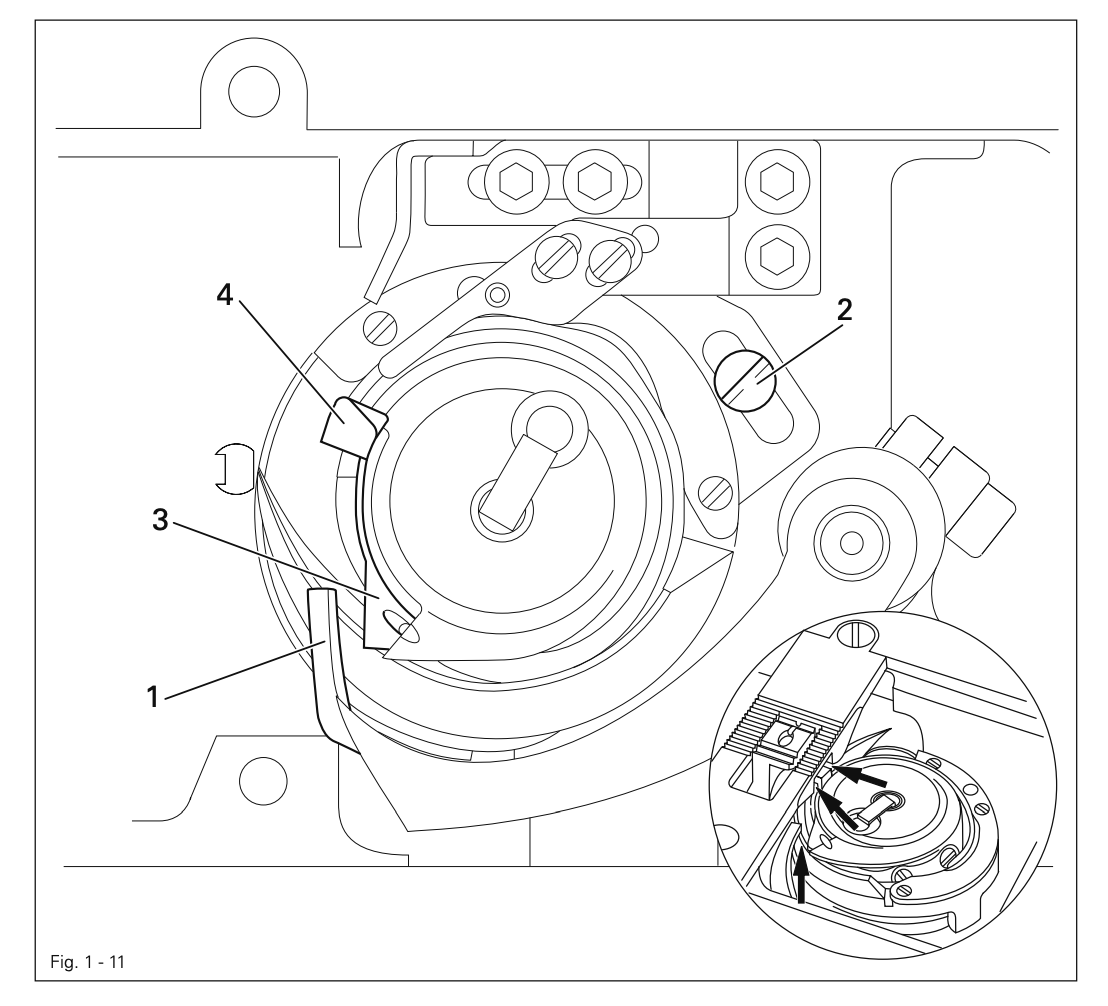
The following diagram is for a Pfaff 1245 but I'm using it to illustrate my issue with a Pfaff 545. When rotating the wheel movement stops as the part labeled #1 in the diagram jams with part #3. This freezes the movement of the bobbin carriage and the loop catch hook stops moving. When comparing to on-line videos I "think" parts #1 and # should just barely slide beside each other to let the movement continue. I have a post machine and part #1 actually lifts above part #3 to let the loop catch hook continue on its way. For the life of me I cannot figure out what needs to be adjusted. Is it a timing issue and I need to slip the gears in the gear box? do I need to adjust the bobbin bed? Normally I would take this to the shop and fork over the big bucks. But I'm in the middle of sewing canvas and with a deadline . . . The Pfaff is brand new to me and is better suited for the work I'm doing as the flat bed is better than the post bed on my other machine. Anyhoo - any thoughts on what's going on? I would prefer to not wait a week if it can be helped. Thanks! John I'

-
Fire Dancer Leather Bracers
John D replied to ElVaqueroMuerto's topic in Collars, Cuffs, Leashes and Leads
Just found this while looking at cowboy cuff topics. Amazing! Simultaneously makes me want to hang up my leather working permanently and try to experiment more. Astounding! Thank you for sharing. -
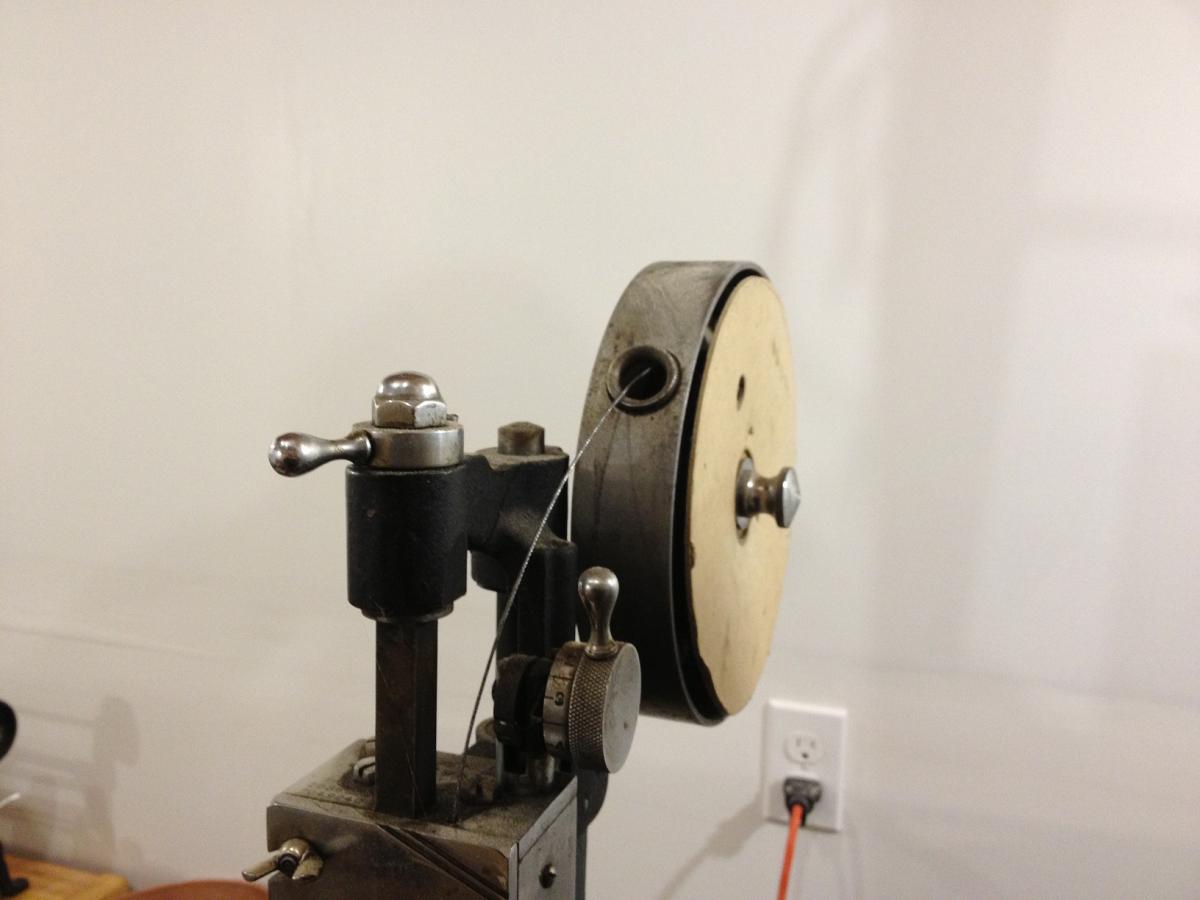
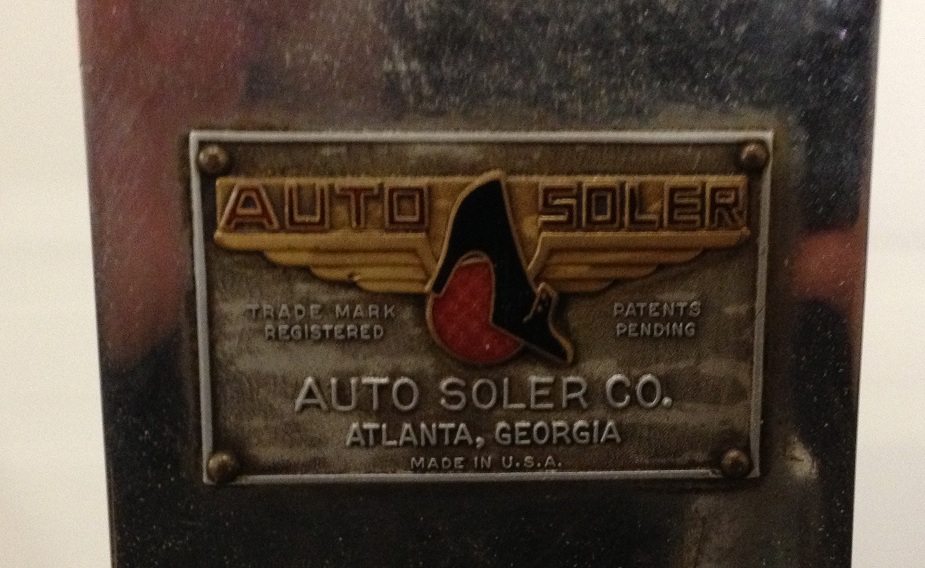
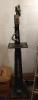
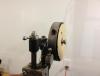
As part of buying out a business I inherited a couple of different machines that don't fit my business model. I have here below an Auto Soler used to attach uppers and soles together on boots, shoes, and other items. It is located in the Greater Seattle Area and is ready for immediate pick-up, or delivery (nominal fees) within 2 hours of Seattle. Otherwise you will need to work with me to make arrangements to have it shipped. Unit is just over 5' 10" tall and about 12" square at the base and weight an estimated 200 lbs. (I can move it pretty easily by myself by walking it across the shop floor). I am asking $900 for it, but feel free to make an offer. Not pictured and to be posted soon: * Continental 8 boot nailer * Landis 12 E (yes and E model) All of these machines are in working condition and am finishing up maintenance of the 12E. If interested in any of these machines please drop an email. Images are too large at the moment so working on resizing them. Will post them soon.

-
Ok I recently purchased an Adler 30-70 and in the manual it has the following information regarding needles and thread: <quote> Needle System: 332 LLG and No.: 110 - 200 Thread (silk substitute): SE 10-24 </quote> So far I am translating this as: 332 system but make sure you get the larger longer needles for the 30-70 and opposed to the 30-10 or 30-50 patcher. The "No." (I read #) is the diameter of the needle in mm (110mm to 200mm). Here is a link to a chart I found on-line http://www.universalsewing.com/tek9.asp?pg=needles_other). According to the chart the 110mm to 200mm for the 332 style needles translates as follow: 110 -> 2 120 -> 3 125 -> n/a 130 -> 4 140 -> 5 150 -> n/a 160 -> 6 170 -> n/a 180 -> 7 190 -> n/a 200 -> 8 What in sam hill does that mean? Lastly how does one translte SE-120 to appropriate thread? In one forum I see use 69 thread for the adler 30-70 and 69 only, and in another use 138, and in another use 138 for the head, but only 69 for the bobbin. And finally can anyone confirm whether 332 LLG is the same as 332LL? Thanks and if I have managed to post this in the wrong location, please let me know. John I found the following chart that seems to help a little bit, but the details are still immensely fuzzy in my mind.
-
I am looking for a mini-to-micro shoe finisher. What I need is a bench-top or desktop shoe finisher with: * naumkeag * emory wheels * cutter I don't need the HVAC components, variable speeds, and a lot of other bells and whistles the $5k+ units cost. I basically need a a small box with four wheels in it, and the space to collect dust. I can retro fit a collection port and connect it to my HVAC at home. I just finished 10 pairs of shoes using a shop smith belt sander and disks on the brench press configuration. Got the job done but as I start to grow I would like something more convenient. Any ideas or pointers much appreciated.
-
I have recently finished rebuilding a heavily used Econosew 138e6b post machine and have put it through two pairs of shoes. Now I want to swap the thread from basic black to a matching color for the custom shoes I am making. My challenge is that I don't have a spair bobbin and 20 minutes on google.com is finding a lot of plastic prewound G bobbins. What I want is small collection of "G" style bobbins. But I am struggling to find a supplier. Any pointers would be appreciated I am starting to run behind on my order and this is my first "full price" customer so I hate to start trading patience by slashing prices. Thanks in advance, John
-
Looks like this might be the guy! http://www.raderblade.com/ Quick Google search and I also was able to cross reference Chef Niloc's comments on another thread.
-
Answered my own question. There is a drip catch under the primary driving gear underneath the post and this is used to lubricate the drive/timing mechanism into the post where the bobbin is housed. The drip pan is to catch oil flying off the moving parts under the table as the oil works its way through the parts by gravity. I believe I found one on-line that was originally for the Juki PHL-981 which appears to be the model which the Econosew is either based, copied, or perhaps just rebranded. To finish out the last of my orders ahead of schedule I have shaped a temporary pan out of plastic card board and duct taped it to the table. Back to finishing slippers!
-
I recently came into possession of an Econosew 138 E6B with motor and all the "parts", just no table. I have purchased, assembled, and installed the machine on a table, and have everything ship shape to speak. Ready to stitch! I have just one hang-up involving the drip pan. I am trying to determine if the drip pan lined with a sponge to lubricate the shaft under the "table" is all I need. In most commercial and household machines the drip pan fills the entire table cut out.[1] I have test lubricated the machine and hand turned the parts and all of the oil appears to end up in the pan sooner or later. So do I need another drip pan to cover the entire cut out for lubrication? Or is it just a good ideas so as to keep dust, dirt, and body parts out of the moving parts of the machine? Hoping someone is able to help as I don't want to watch my efforts go up in smoke in the clash of grinding gears! If you need pictures I can upload some later this evening PST. Thanks in advance, John [fledgling shoe and handbag maker] Seattle Area [1] - the drip pan in some of these models appears to be a reservoir used by the pump to lubricate the machine, or as a feeder to a collection point where the machine oil can be re-used a few times, or to keep the shaft fully or partially submerged in oil to keep it properly lubricated.
-
Like many on the board, I too am interested if you decide to part with this.
-
Fantastic, I have a mark but it takes me about 10 minutes to hand carve on each project. I am going to give this a whirl over the weekend.
-
Is there a best way to split chrome tan leather? I am experimenting with shoe making and I have a source of leather that comes in 4 oz chrome sides. I want to split that down to 1 or 1.5 oz for the outside of the shoes. The colors I am finding in the thinner skins is just not what I want for the finished product. Is there a good way to split or thin chrome tan? I was thinking just use a splitter like an Osborne #84 style as the pulling should not deform the leather grains that much. Hoping this question makes sense. John
-
Quick question and I hope this is the right place. I just saw that Tandy Leather Factory has a die press for around 200. Anyone happen to know if the dies are unique to the Tandy press or whether the dies have standard shafts diameters? Seems to me it is safe to assume that Tandy wants to make the product most appealing by following a standard, but before jumping in I figured it was safer to ask or confirm. Thanks in advance, John
-
In Need Of Advice On Hardening Scales
John D replied to insanityprelude's topic in Historical Reenactment
The advice I would offer on "hardening" your scales all depends on what you want to accomplish with the finished product. If you want to simulate metal go with the water hardened methods outlined above and pull them out just as the edges turn color. You will end up with very firm--and as already noted--very brittle scales. If you push the water temperature much beyond 180 you will end up with lots of deformity and have very hard, very brittle, and mostly useless leather on your hands. Yes that is the voice of experience. Wax is certainly an option. I do not recommend it personally as there is little evidence that wax was used for more than water proofing in historic contexts. Yes, it certainly can be used to harden leather, not arguing that. But wax hardened leather has a tendency to lose shape and soften in hot weather. That is also the voice of experience. And yes, it is also possible to play with formulaes of wax, and ratios of wax with other things to overcome that. Here is how I harden my leather today and I use all these methods depending on the end result I am looking for: 1: heat water to ~172 to 178 degrees. Soak leather until it stops emitting bubbles, pull it out, and shape it. Let it air dry 2: warm water (hottest you can get out of the tap), and mix in uncolored and unflavored gelitin, soak leather until it stop emitting bubbles, pull it out, and shape it. Let it air dry. With #2 you can also do much the same thing with: * rabbit fur glue (from memory and not precisely what it is called) which is basically a variation of the gelitin "glue" above * wood glue and water (search internet for recipes) * "craft white glue" (search internet for recipes) NOTE: by recipe I mean ratios of glue to water. Option #3: * room temperature to slightly warmer water * soak leather until all bubbles are done emitting from the leather * put the leather in or on a former * place in a fruit rack and with very controlled temperatures and lots of checking, ensure that it dries as rapidly as possible without cooking above the burning temperature of the leather IMPORTANT NOTE: I do not use an oven (gas or electric) as they tend to be over warm. Much more than ~182 degree F and you risk burning the flesh and ruining your hard work. Mind you I am not all that patient, I want methods that I can setup, walk away, forget about it over several hours, and then come back and not have completely ruined work. Your mileage will vary. Each of the above methods has slightly different results. I find I like the wood glue results a little better for what I am looking to make. It is a mostly period form, and if you used water proof/resistant glue the end result will handle heat, humidity, and even rain well. IMPERATIVE NOTATION: Leather once dried out will over time become brittle. You will want to either seal the leather to prevent loss of moisture, or, you will want to oil the leather as suggested to give it "food" for long life. After oiling to feed your leather, you will want to coat it with wax or some other sealant to keep moisture from working its way into the leather. If you end up with lots of water damage often times pieces can be remolded, but not always. It is my hope that by end of February I will have completed an experiment with the above methods and offer some mildly scientific observations about what each method does to the leather, and what the resulting product looks like. Beyond all else, start with any of the advice I have read so far (not mine mind you) and they will all work. Take time to experiment and learn. Oh, and be willing to share your findings moving forward. Best regards, John -
Guess that was a newbie mistake on my part. I have heard and seen and participated in conversations where folks just look lost until you use skiver to mean splitter. You are 100% correct. I could use recommendations/clarifications on splitters that work for Chrome. I found reference to Chase style as highly recommended but those seem to be about like unicorns. Rumored but never actually seen. (I am on West Coast where some things just never quite make it here.) Thanks again
-
I am working on some uppers for shoes and have chrome tan leather that I want to use but it is somewhere around 3 to 4 oz thickness. I want to skive this down to 1 to 1.5 oz thickness. A bell knife skiver looks to be pretty doggone pricey (around $1400 with shipping at best) and I tend to prefer manual devices. I found the Schärf skiver for benches, but it seems to only support knife widths of ~2". I also found an article saying a Chase style skiver/splitter works well for chrome tanned leather. Are there other options? I would love a 6" to 10" skiver blade that I can use on chrome tanned leather, but not seeing any options readily available. (Band skivers I suppose would work but I cannot imagine how expensive they are.) To put some context on my ask, I am a fledgling shoe maker and looking to invest in manually powered tools (wherever possible) as I am more likely to be able to fix/fabricate on my own. Thanks for the time and attention, and hoping this question is not too stoopid. John
-
PM sent. Do you get out to Seattle WA. (joke!)