Toddo
Members-
Posts
106 -
Joined
-
Last visited
Toddo's Achievements

Member (2/4)
-
That would be easier and way faster than grinding the screw heads down like i did.
-
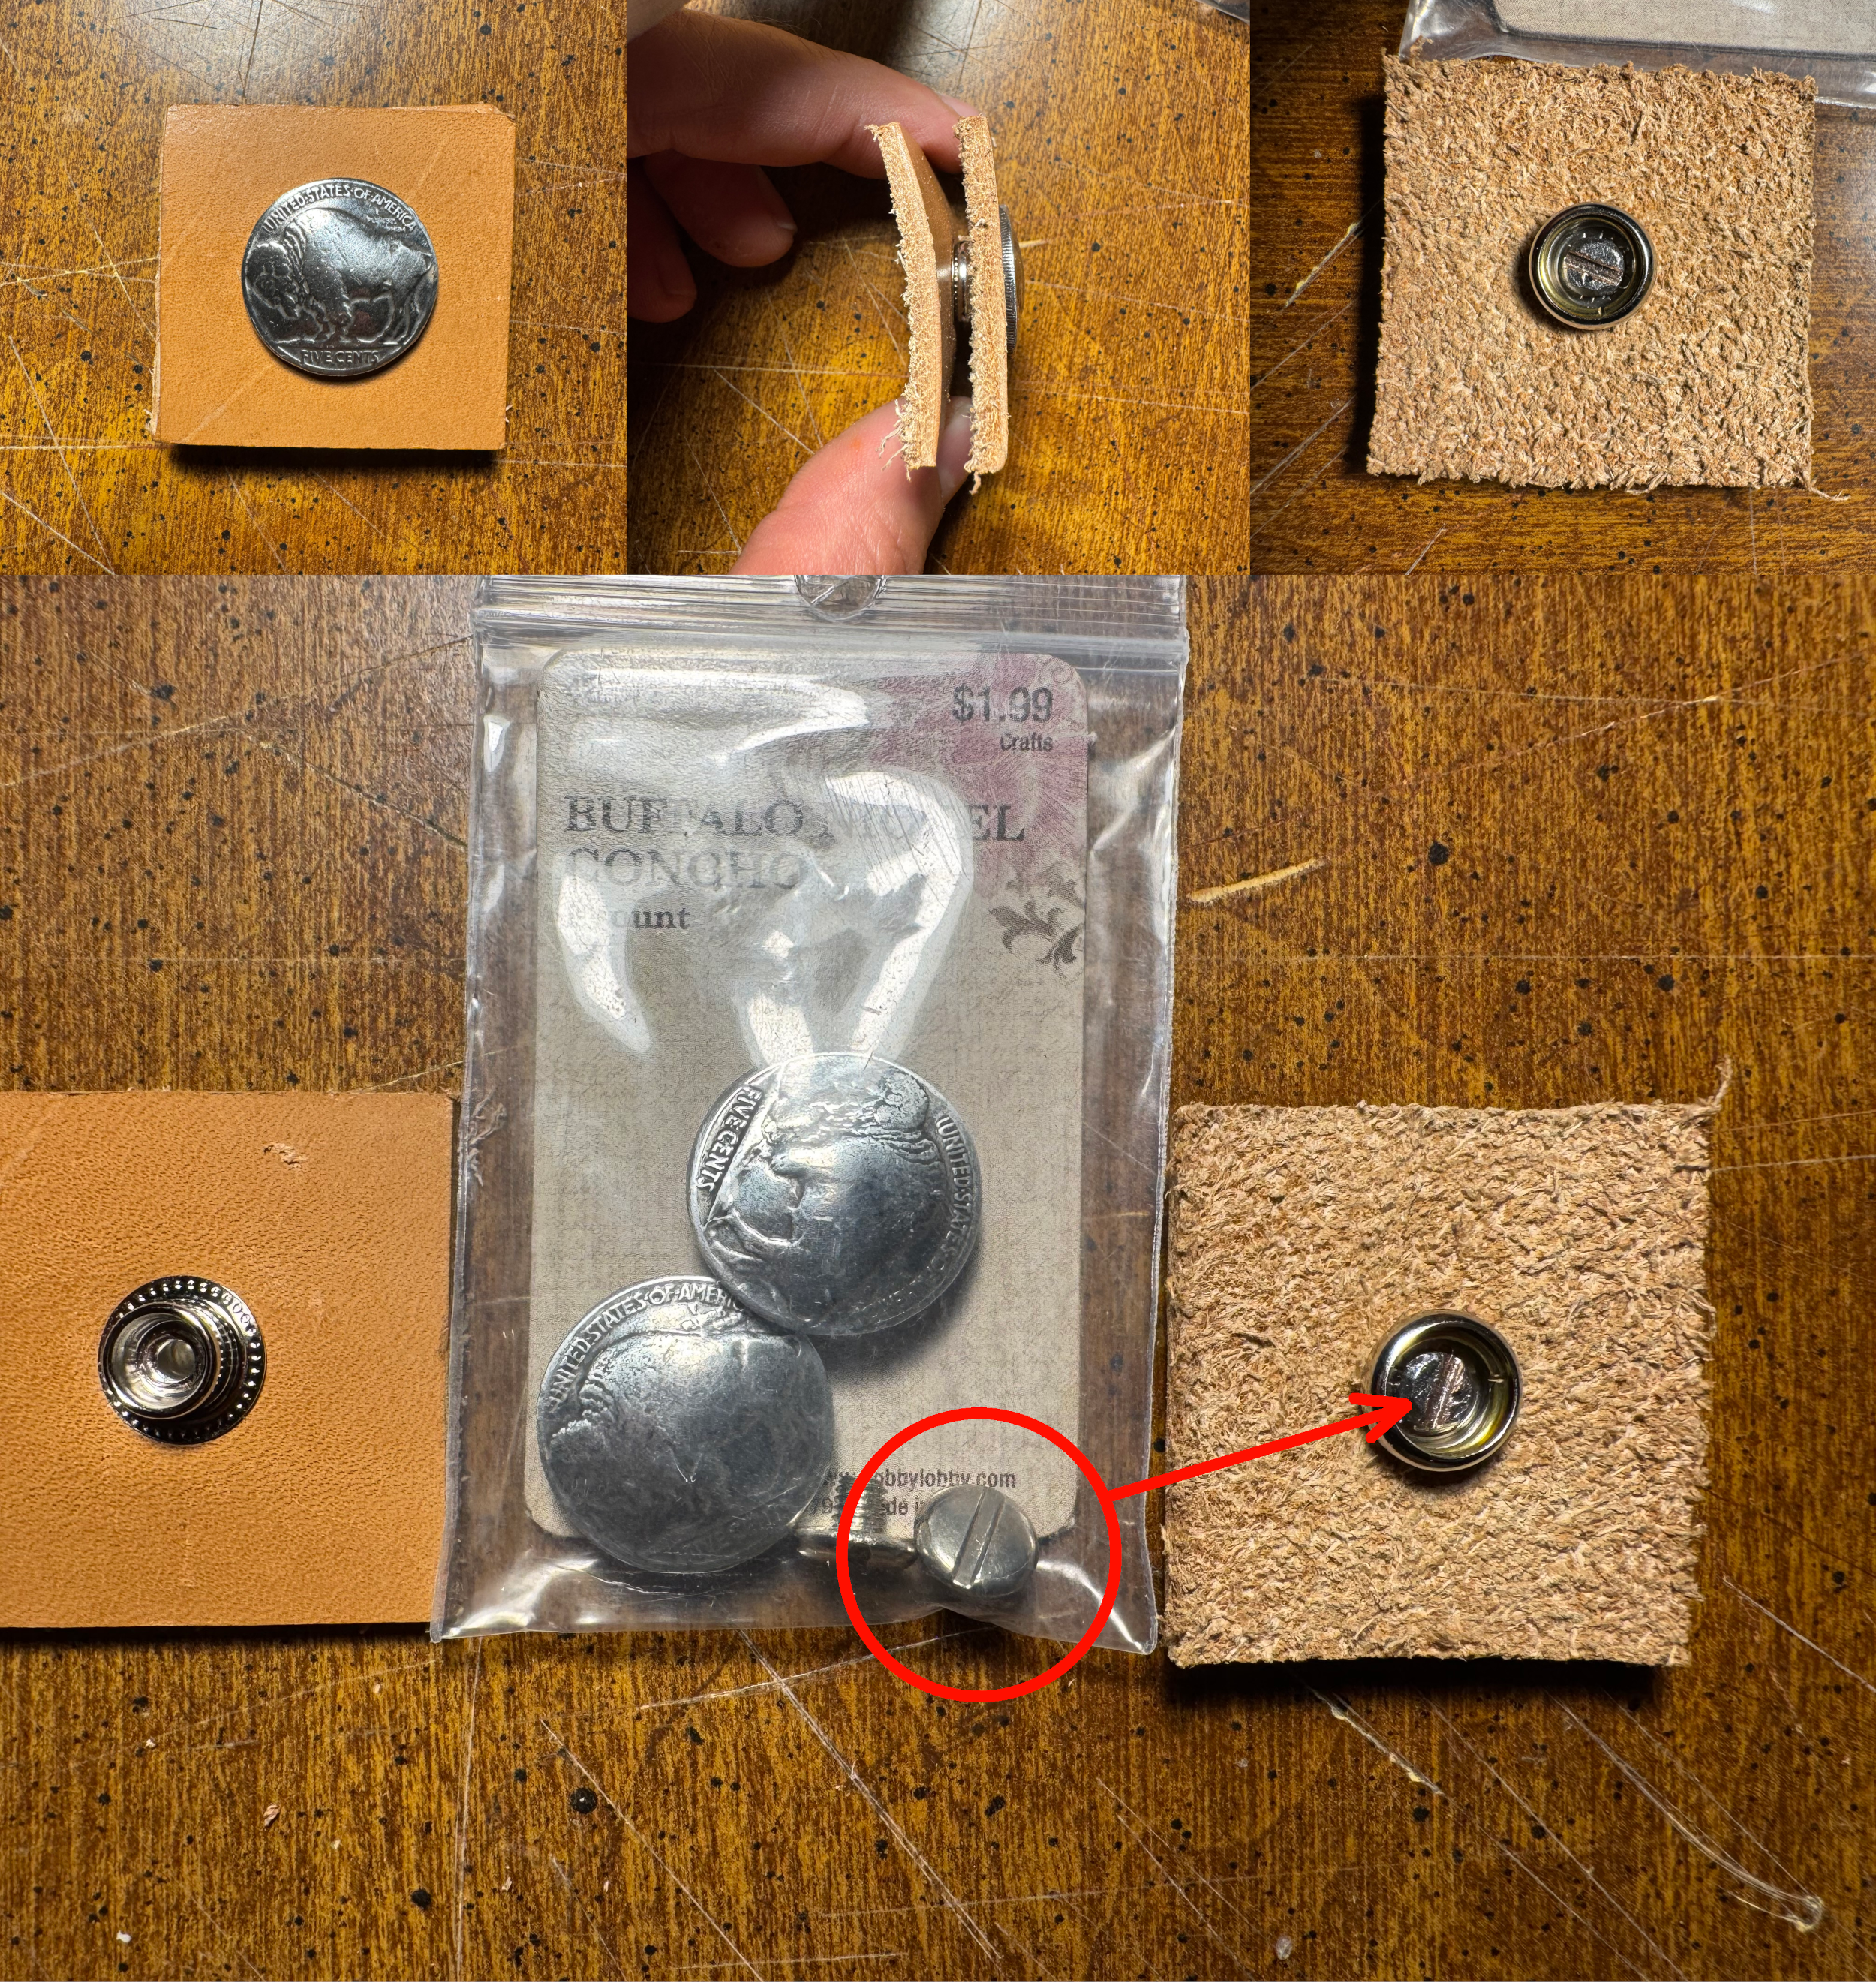
So I finally got the Tandy concho-to-snap adapters in the mail. The screws that came in the set were a coarse thread and the buffalo nickel concho screws are a fine thread so those screws don't work for that particular concho in case anybody is interested.
-
Sweet. I'm going to order a pack and see if those screws fit the conchos I have.
-
👍 Oh really? I'd like to get my hands on those screws. That was a bit if work getting that screw to fit inside that snap head. Like you really had to want to make it happen to do all that work.
-
You ever see a cool concho that you wish was a snap? I ground down the outer head of the concho screw to fit inside the snap head with a bench grinder and some filing. All it would need is a small drop of red locktight to make it permanent. This is going on the next knife sheath I make.
-
It sounds like you have a good set of tools going on and plenty of experience. It’s really hard but it doesn’t sound like you’re going to have as much of a problem getting it done as I did. I left an 1/8” of buffer material to file down to it’s finished smooth dimension because of the raggedy jigsaw cut and that’s what was the biggest pain for me because it’s a lot harder to file away 1/8” of acrylic with hand files than someone would think. Next one I do I’m only leaving 1/16” of buffer material to do the finish filing. After you make some molds post some pics and the method you used that worked the best for you. I’d be interested in seeing them.
-
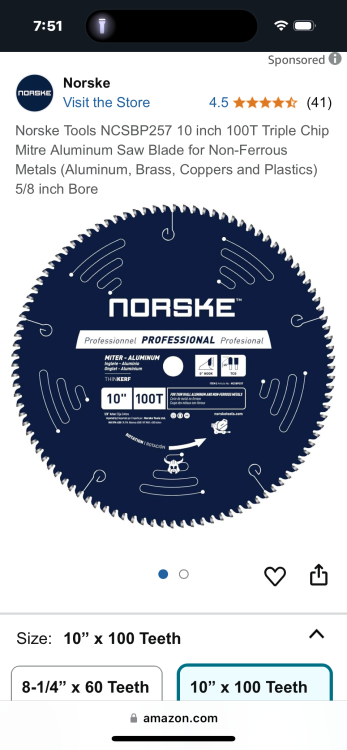
I wish you good fortune getting the center holes cut out haha. I used a round drill bit in the four corners and then a jigsaw on the one I showed up top. That one is my first and only mold as yet but trying to think of a better way to get it done I got some diamond “cut-out” bits for the dremel tool that I’m going to try on the next one and see how that works out. Additionally i bought a 100T (100 tooth) triple ground tooth saw blade for my 10” blade miter box that’s gets really smooth cuts for acrylic and will also cut aluminum. I used that blade to cut out the sheath form inset piece and it worked really good. Nice glass smooth cuts. Definitely wear a dusk mask though. I learned the hard way on that. I got this blade on amazon for about $50..
-
Yeah it's a lot of elbow grease getting the square hole cut out on the top piece and finished to a fine glass smooth finish but it's worth it because it's permanent. And the rest of the entire surface of the acrylic is perfectly smooth so no unwanted impressions. I'm not sure about the specific Buck 110 knife but it's the right size for a 5 inch (closed) lock-blade knife. I've also got an idea to also make an "adapter" block that's either made out of wood or rubber that'll fit snugly inside the sheath that would allow smaller 4 1/2" lock-blades to fit it. It would be shaped exactly like the sheath but hollowed out in the center with like a half inch more wood left at the bottom so that the knife would sit 1/2" higher. I would drill a hole through the side of the adapter block so that you could pull it back out of there with the short end of an allen wrench by sticking the allen wrench in the hole and pulling it out. You can get various thickness and various sized sheets of acrylic on ebay. I think I got 8in x 10in 3/4" thick pieces for around $20-$25 with free shipping. It's way worth it in the long run. I do have a dremel tool that I could get little router attachments for. I have thought about it but not tried it yet. I need to make about 3 more wet molds for a project idea I'm working on and I planned on trying to come up with easier ways to cut out the holes and get the fine finishing done on the edges and the inside of the holes. Yeah it's pretty cool to see the leather under the clamped mold. I just keep cranking the clamps down till I can't crank them no more and any wrinkles will absolutely squeeze out with that kind of pressure. That worked on my wood molds too except the wood molds always wound up cracking somewhere.
-
Every type of wood that I used before cracked and/or split. Including layer-glued cutboards of various wood types. This 3/4" thick acrylic board won't be getting any splits! It's basically bullet proof. Extremely hard to file with a metal file to round off the underneath edges smooth. It's like trying to file granite. A belt sander worked really well to take an 1/8" off the over all 3/4" inch thickness to get the middle inset piece down to 5/8. And the HF belt sander has a round side-mounted sanding wheel on it also that was good for getting the bottom rounded form of the sheath done. Right now I just have the acrylic inset piece just taped down to the back portion of the mold because I haven't decided if I'm going to glue down the middle inset piece to the backboard with acrylic welding glue or drill and tap holes for machine screws to secure it down to the backboard. Finally a permanent solution.
-
This is pretty cool. It looks super thin and pretty cheap too. If I was making a bunch of wallets to sell I put this in every one of them as an additional selling point. It's so cheap you wouldn't have to pass much of an additional cost on to your customers. If I make another wallet for myself or a family member I plan on putting this in it. Like why not. I don't know how this has been out but it's the first time I've seen it. RMLS - 0.1mm RFID Blocking Fabric Mesh
-
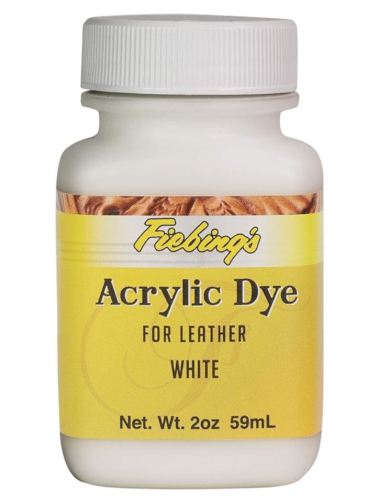
I can't understand how any dye could make leather white unless it's some kind of bleach. Reading this article, It says that dye can only darken leather, not lighten it. https://leatherninja.com/leather-dye-vs-leather-paint/ Quick Main Key Points: Leather Dye Penetration: Dye penetrates the leather, forming a chemical bond and preserving its natural characteristics. It is permanent and can darken but not lighten the leather. Leather Paint Characteristics: Paint sits on the surface of the leather, offering a wide range of colors and finishes. It is more versatile than dye but requires multiple thin coats for durability. IDk. I guess I'm thinking about it wrong. I'll have to experiment with it. I was going to do a flag on leather and I wanted to do the colors in dye for a more natural look. I'm going for a dyed look instead of that bright painted look. I'm guessing this stuff is thinly formulated acrylic paint that soaks into the pores like dye. Then is regular "non-acrylic" dye just thinly formulated paint pigment with an alcohol or oil carrier? I can make regular acrylic paint soak into the leather pores quite a bit by just soaking the leather first with water and then watering down the paint. Seems like it's some kind of word game really.
-
Anyone got any idea why they call this dye instead of paint? How is this different from regular acrylic paint?
-
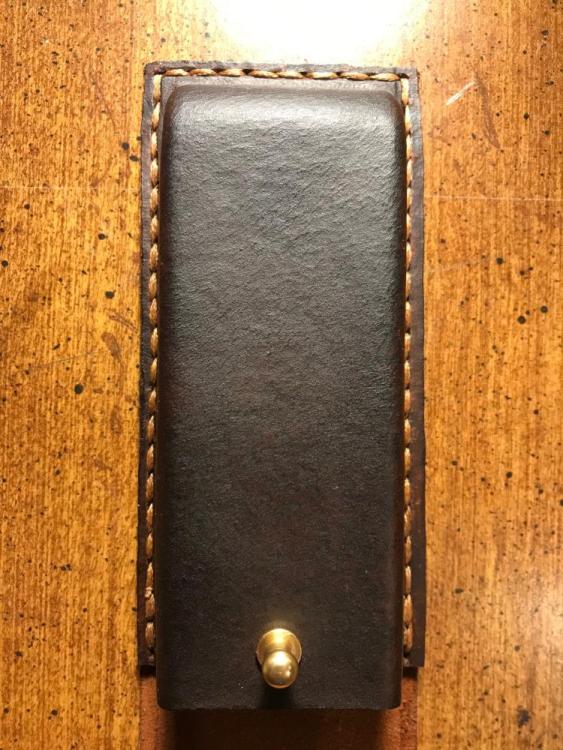
I think if the sheath was perfectly straight the lines would look just about perfect on my second stitching run with the second color. The sheath is junk. If you look around the edge of the sheath you can see that the cut lines are off especially on the left side.
-
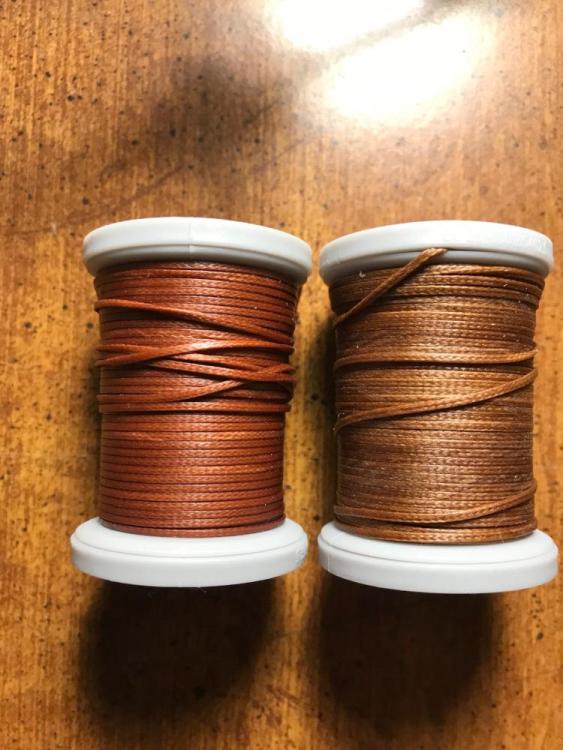
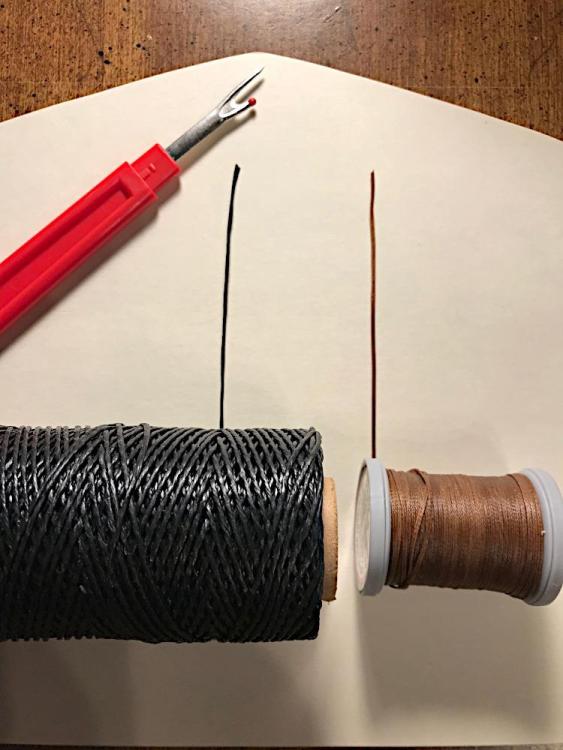
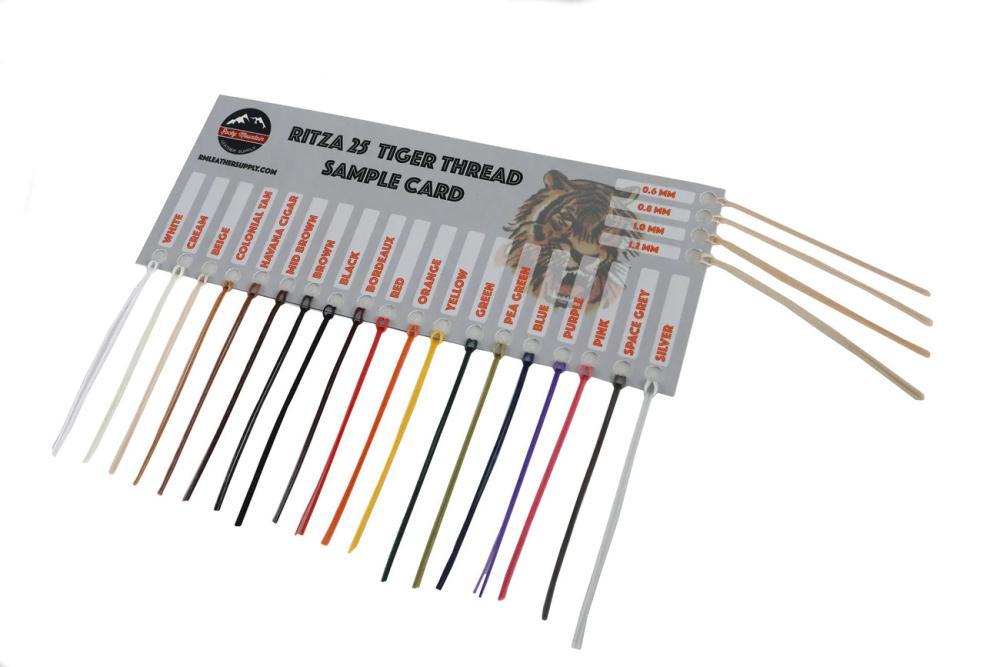
I re-stitched the sheath and got a way better result by only cinching up the thread with moderate tension. Pulling it to tight throws off the thickness symmetry. Index finger and thumb pressure only. I also refrained from cinching it up tight to the leather no matter how bad it was twisted coming up to the leather. Before I was pulling it up tight no matter how bad it was twisted without any regard (like you do with twisted poly). If it's twisted when getting close to the leather I roll it around until it's straighter while I pull it up to the leather. I needed to do that on most stiches but it doesn't really take to much more time and it's not much of a hassle to speak of. The sides and punch holes on this sheath are not exactly perfect and that accounts for most of the unaligned looking stiches. All in all I think I can get the consistency and symmetry that I like to have with this thread now. This color thread is Havana Cigar. The color the first pic was Chestnut. I have read comments that Tiger thread is stronger than twisted poly. I guess that depends on what size of either thread you're using. I first had this sheath stitched up with the waxed black twisted poly that I got from Tandy on the left. I'm not sure of the exact size but it's pretty thick. I think it's 1mm. The Tiger thread on the right is "size # 1". So I think it's the equivalent of .9mm or 1mm. The Tiger thread might have a width of 1mm, but it's not 1mm all the way around because it's flat. It's only the flat side width that is 1mm. The twisted poly is 1mm all the way around which makes it thicker.. and stronger. When I cut the black Tandy poly thread using that red handled tool it took way more pressure to cut it. Way more. It was hard to cut. When I cut the Tiger thread with the same tool it pretty much cut like butter. The 1mm twisted poly is much stronger I'm afraid. And that's something to consider when choosing. The Tiger thread has great looks going for it because of the braided look. The twisted poly has strength going for it and you don't have to worry about it twisting because it's round so it looks symmetrical no matter what. This stuff just looks awesome. The color on the left is Chestnut and on the right is Havana Cigar. Yeah no problem Ok will do


