IngleGunLeather
-
Posts
512 -
Joined
-
Last visited
Content Type
Profiles
Forums
Events
Blogs
Gallery
Store
Everything posted by IngleGunLeather
-
Ruger SP101 Holster
IngleGunLeather replied to IngleGunLeather's topic in Gun Holsters, Rifle Slings and Knife Sheathes
Thank you! -
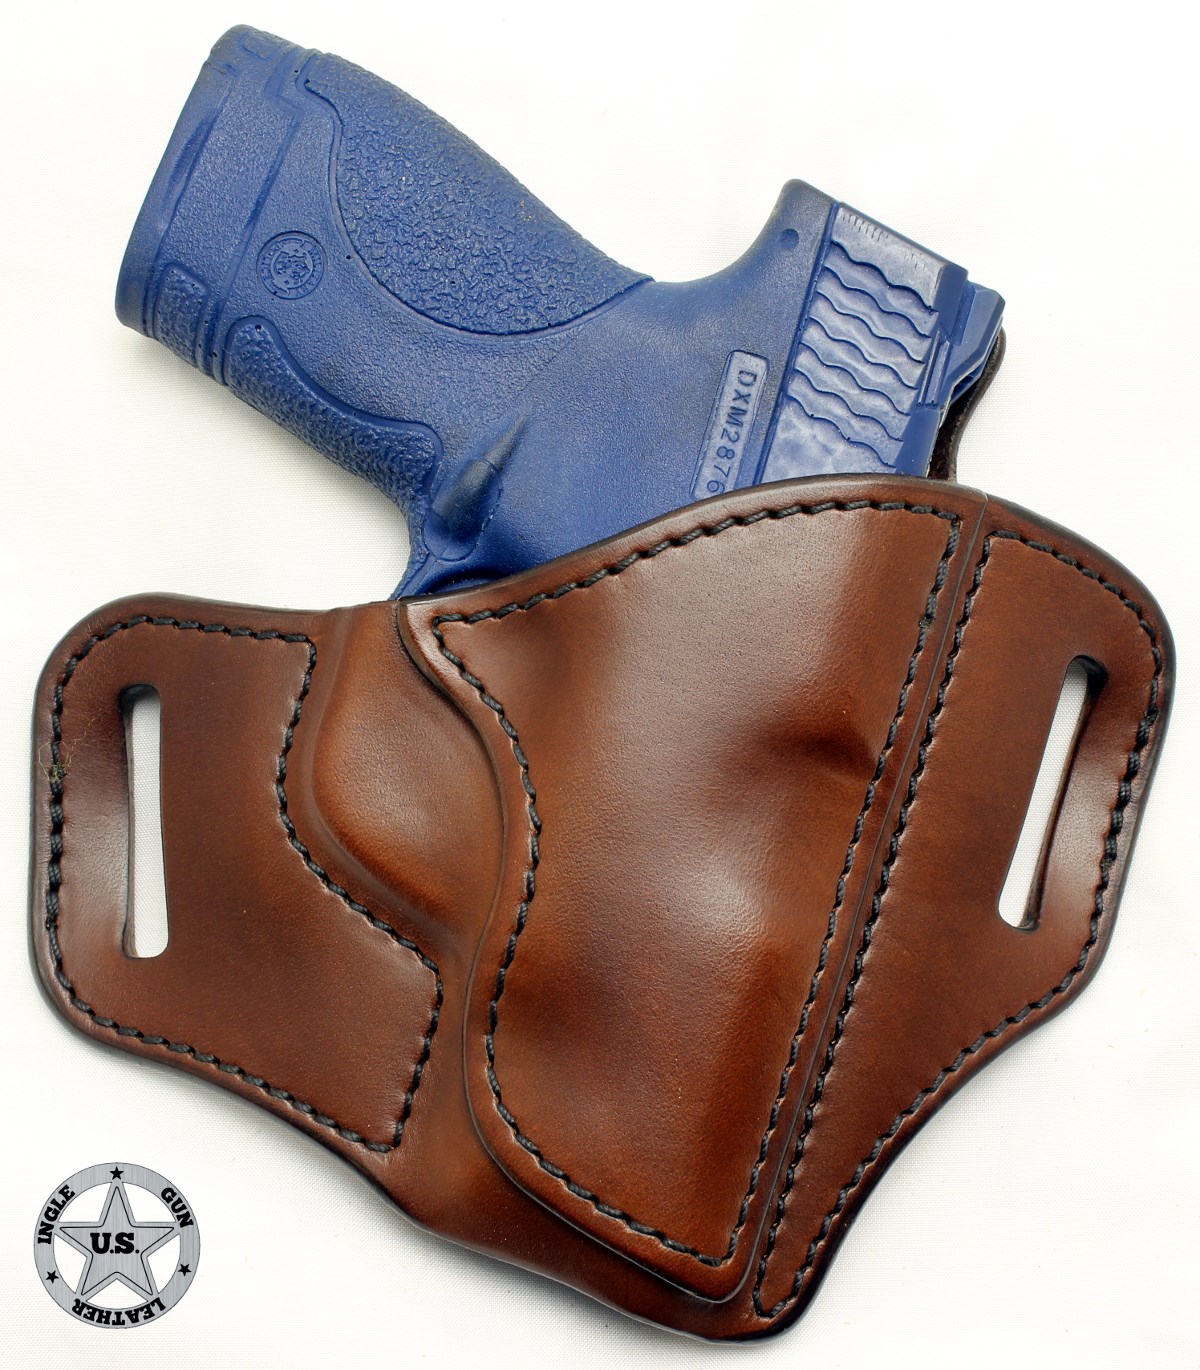
Than you! And I enjoy being able to share what I know. After all, several have and still help me. As far as leathers go, I prefer either natural undyed vegetable tanned Hermann Oak or Wickett & Craig. The J frame here was made with "b" grade Hermann Oak. It's a great leather and I have used it for just about everything I've ever done until recently. I ordered a side of W&C to try it out. Very noticeable differences between them. The W&C has a very tight top grain and has a rubbery density to it. It takes some getting used to but the results have been really nice. However, I've just found another retailer that carries "a" grade Hermann Oak and I just ordered a side of it. I've used HO "a" grades in the past as well and I have no doubt I'll be going back to that exclusively. The method I have found that works best for me is to apply dye with an airbrush. I don't do enough work to justify buying in large quantities for dip dyeing, or the storage space necessary for that method. So, I spray a base coat on with an airbrush. After I finish molding, I spray another coat or two. This puts dye in the pores that are opened up when the leather is flexed during the molding and shaping process. It also provides a consistent shade. Below is an example of one that I didn't do this way and it has light and dark areas. The J frame pictured above was done in the manner I just described. Both of these holsters were done with the same batch of Fiebing's Pro Dark Brown. I still don't think it looks bad,but look at the areas around the hard edges (trigger guard etc) and see how the dye is a lighter shade than the body.
-
Thanks brother! Will do, I'm stuck on the air station at work today
-
Thank you! I think it just came with time. And time itself is probably the best contributing factor. I allow myself enough time to work the leather. If you crease right after you get it out of the water and walk away from it thinking you're done, not going to get good results. The rule of casing leather applies here as well,not just floral carving or stamping. As the leather reaches it's properly cased state, that's when you'll get the best results. I don't use a vacuum or press of any kind. For tools, I use my fingers, synthetic bone folder and a John Bianchi push beveler. Sometimes I'll use the handle of an edger to work the inside curves. That's about it.
-
Just finished this up for a J frame.

-
Some new holsters
IngleGunLeather replied to IngleGunLeather's topic in Gun Holsters, Rifle Slings and Knife Sheathes
Thank brother. Semper Fi! -
Some new holsters
IngleGunLeather replied to IngleGunLeather's topic in Gun Holsters, Rifle Slings and Knife Sheathes
Thanks JD. -
Some new holsters
IngleGunLeather replied to IngleGunLeather's topic in Gun Holsters, Rifle Slings and Knife Sheathes
Thank you. That's a road I haven't went down yet. Thank you -
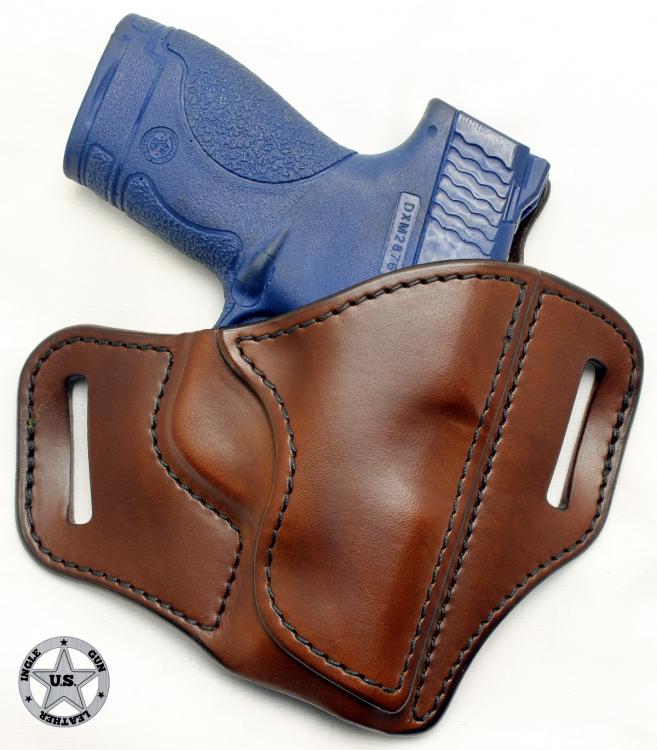
I'm not sure if some of you are aware, but up until recently most of my work was with purchased patterns from Adams Leather Works or JLS Leather. My hat's off to these two for their ability to design patterns and offer them to the public, either free of charge or a small fee. I'd highly recommend either of them to someone that is just starting out or has difficulty drawing their own. Stitch lines, I felt were my biggest obstacle up until the light bulb finally turned on for me. Once I figured out how to measure stitch lines, I used JLS' printable instructions for basic pattern design. These helped me with the basic fundamentals of the top line and belt slot placement. So many people design holsters with too little grip clearance. JLS' instructions will steer you in the right direction. Take a look if you haven't yet. So, these pictured below are some of my newest that I consider 100% from scratch builds. Slowly redesigning everything I have a gun mold for when I have time. Of course, my favorite, the 1911 is due up first.

-
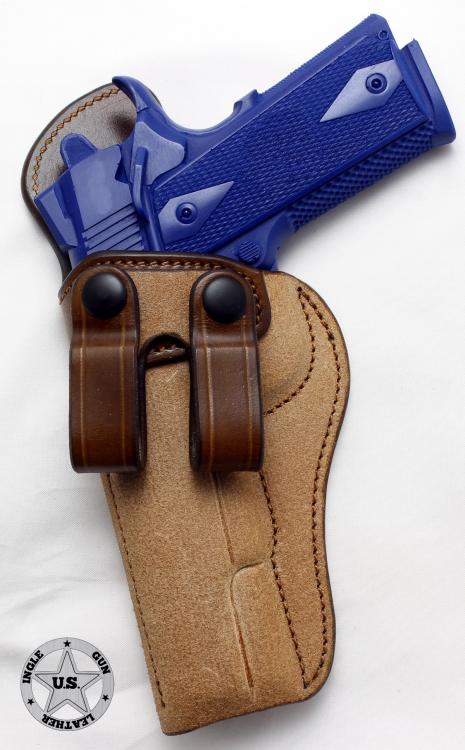
Nice work as always Josh. I recently made one as well, without the tension screws. Have you, or anyone else reading this, received negative comments regarding "knocking off" the SS? I swear, you wouldn't believe some of the comments I've received from the MS sub-culture. I bet if I hadn't have went rough side out, nobody would've blinked an eye.
-
Kimber K6S Holster
IngleGunLeather replied to IngleGunLeather's topic in Gun Holsters, Rifle Slings and Knife Sheathes
Lol, thank you very much. -
Kimber K6S Holster
IngleGunLeather replied to IngleGunLeather's topic in Gun Holsters, Rifle Slings and Knife Sheathes
Thank you. That's usually what gets me in trouble. Sometimes I'll get the gun mold in hand and think "dang that feels good". Now I want one lol -
Kimber K6S Holster
IngleGunLeather replied to IngleGunLeather's topic in Gun Holsters, Rifle Slings and Knife Sheathes
Thank you! Thank you! -
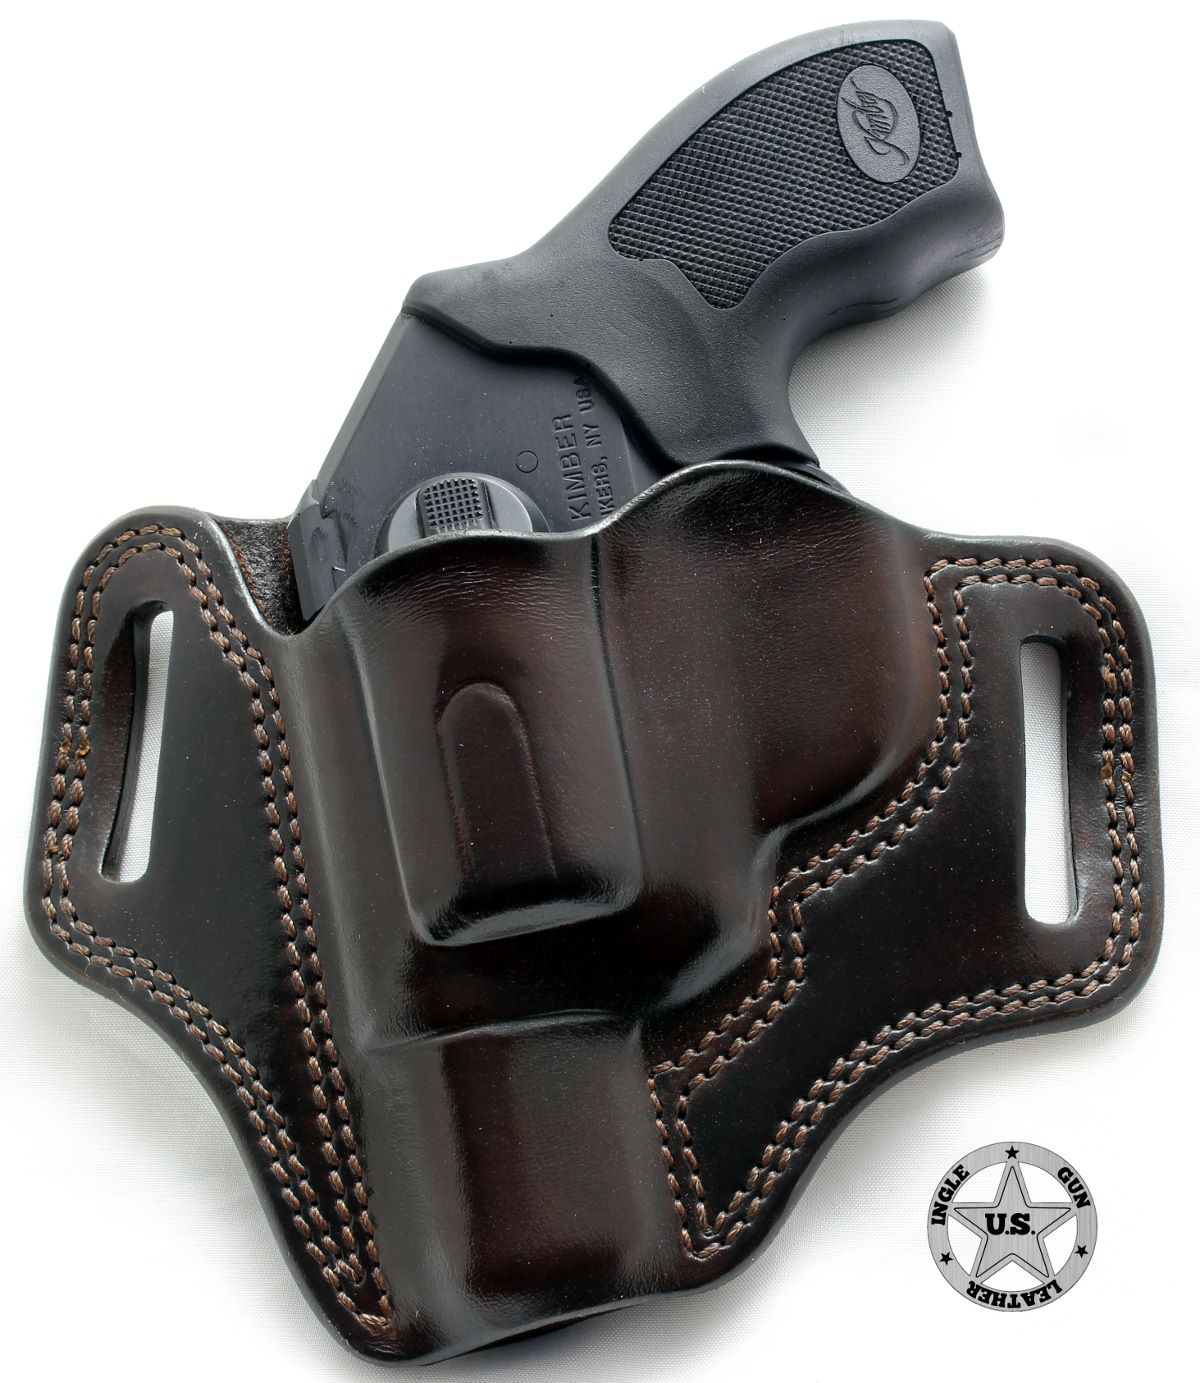
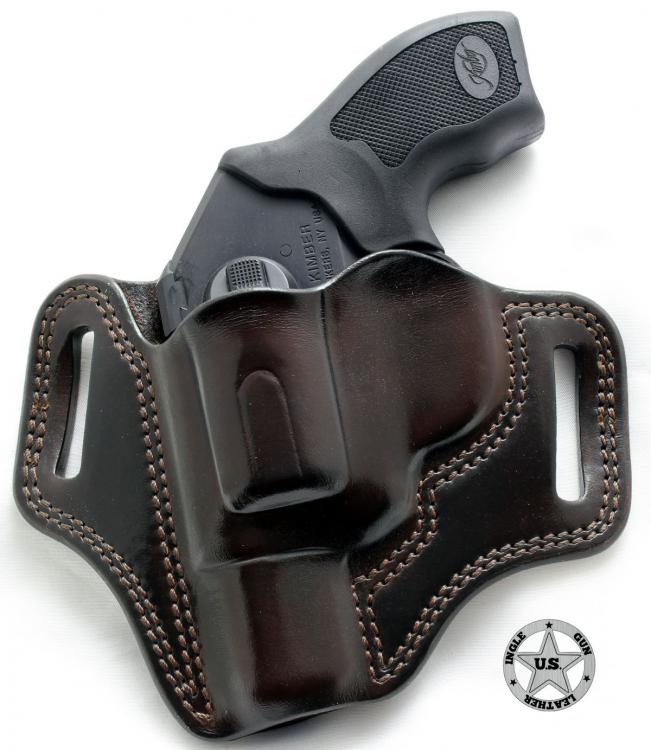
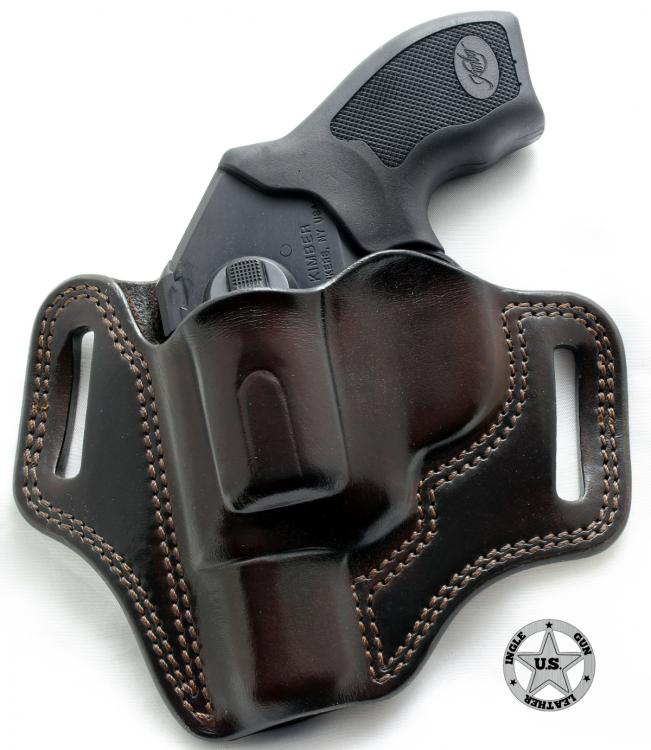
Just finished for a Kimber K6S
-
1911 IWB Rough Side Out
IngleGunLeather replied to IngleGunLeather's topic in Gun Holsters, Rifle Slings and Knife Sheathes
Thank you. Not an original look, but thank you. Milt Sparks is the innovator behind that look. I think they are anyway. Maybe Bruce Nelson was? I need to do some history. -
1911 IWB Rough Side Out
IngleGunLeather replied to IngleGunLeather's topic in Gun Holsters, Rifle Slings and Knife Sheathes
Thank you Dwight. No need to worry, your insight and willingness to share information is always welcome. Thank you very much. Hermann Oak makes it look real good. -
1911 IWB Rough Side Out
IngleGunLeather replied to IngleGunLeather's topic in Gun Holsters, Rifle Slings and Knife Sheathes
This one was not metal reinforced. I've built other IWBs and nobody has ever mentioned them collapsing. However, this option was on the drawing board, but scrapped it during assembly. Thank you for your compliment as well. Thank you very much. It is machine stitched though. Cobra Class 4. -
Here's my version of the popular summer carry style IWB. Made from 7/8 Hermann Oak and features a sewn in front sight channel.

-
Ruger SP101 Holster
IngleGunLeather replied to IngleGunLeather's topic in Gun Holsters, Rifle Slings and Knife Sheathes
Thank you -
Ruger SP101 Holster
IngleGunLeather replied to IngleGunLeather's topic in Gun Holsters, Rifle Slings and Knife Sheathes
Thank you. Revolvers of this type are definitely new territory for me. -
Ruger SP101 Holster
IngleGunLeather replied to IngleGunLeather's topic in Gun Holsters, Rifle Slings and Knife Sheathes
Thank you -
Ruger SP101 Holster
IngleGunLeather replied to IngleGunLeather's topic in Gun Holsters, Rifle Slings and Knife Sheathes
Thank you. The Cobra Class 4 makes that easy. -
Ruger SP101 Holster
IngleGunLeather replied to IngleGunLeather's topic in Gun Holsters, Rifle Slings and Knife Sheathes
Thank you Thank you Thank you Thank you. 7/8 W&C. -
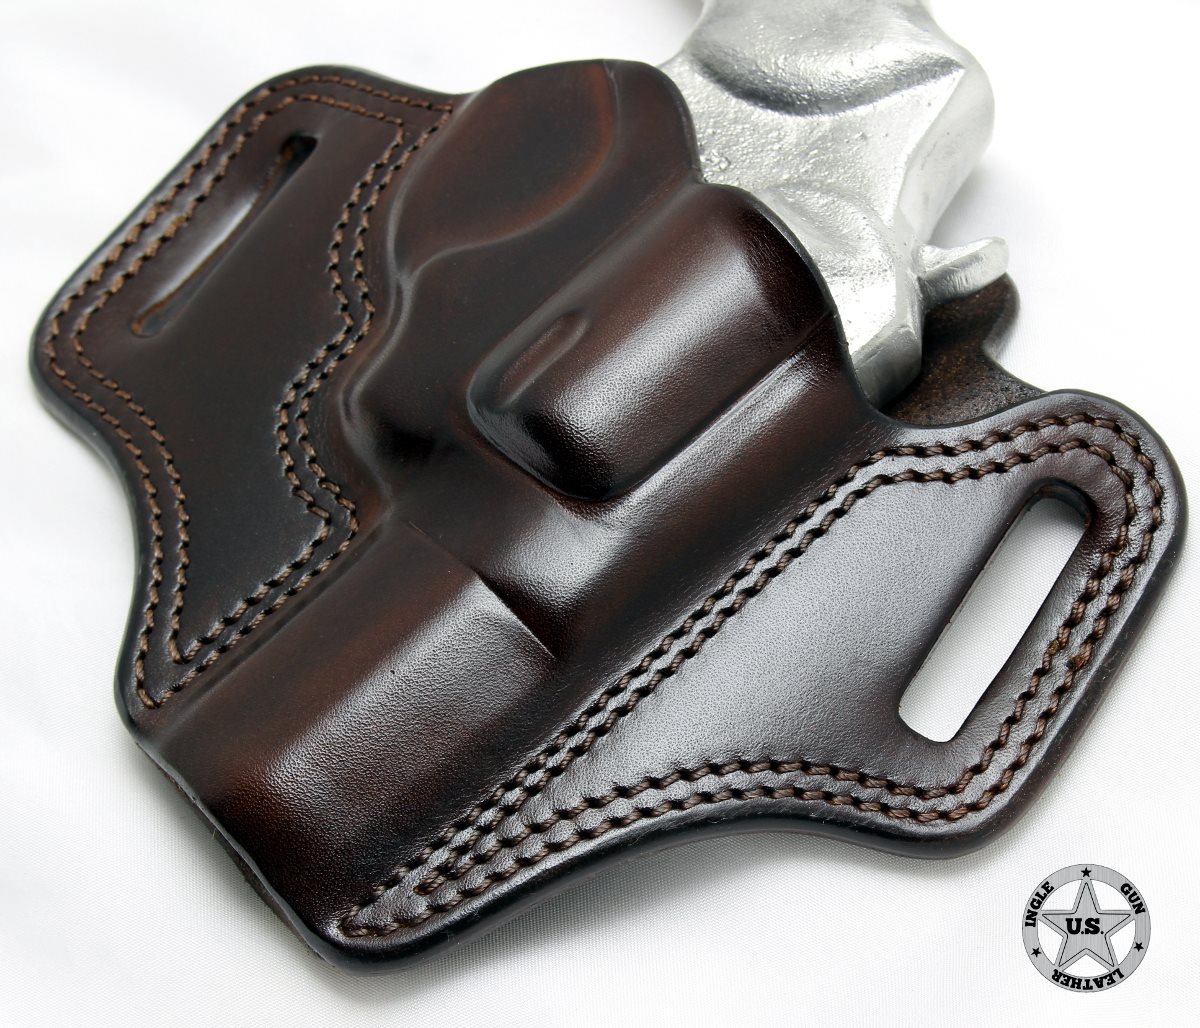
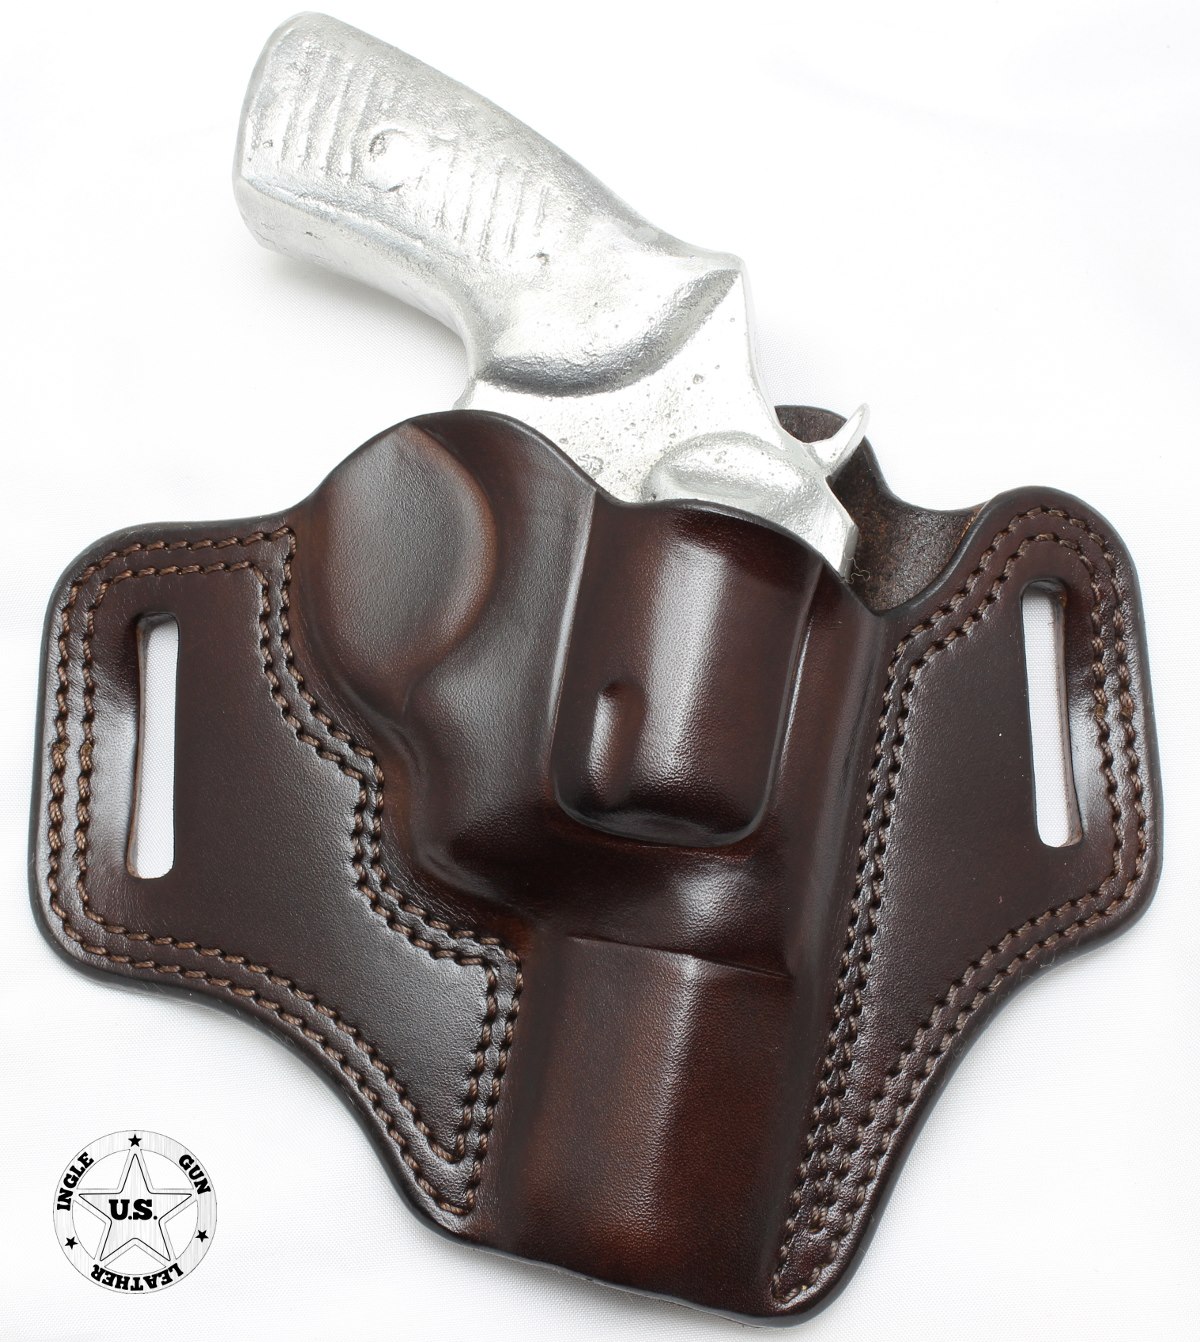
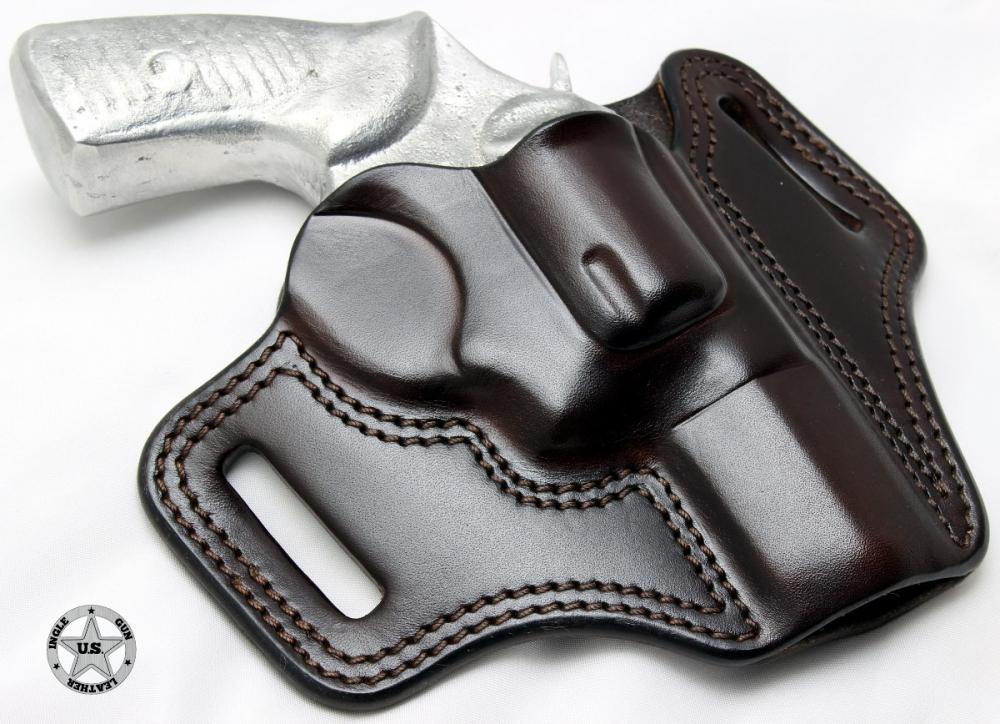
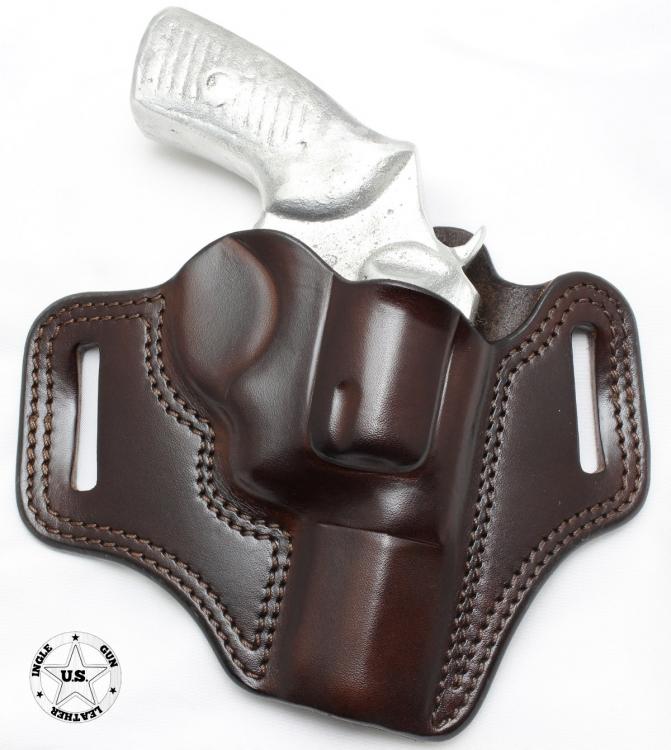
Been working on my pattern design skills. Recently finished this pancake style holster for a 2.25 inch Ruger SP101.

-
Valet Tray
IngleGunLeather replied to IngleGunLeather's topic in Purses, Wallets, Belts and Miscellaneous Pocket Items
Excellent idea! Thank you! Thanks Jeff. The wooden tray is Dark Walnut wood stain and the leather piece is dyed with Fiebing's Walnut Pro Dye and antiqued with black paste.