chancey77
-
Posts
1,313 -
Joined
-
Last visited
Content Type
Profiles
Forums
Events
Blogs
Gallery
Store
Everything posted by chancey77
-
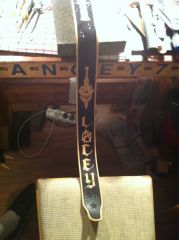
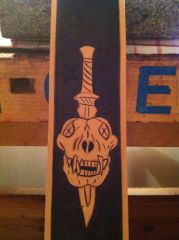
Of course you are welcome to it Syl!
-
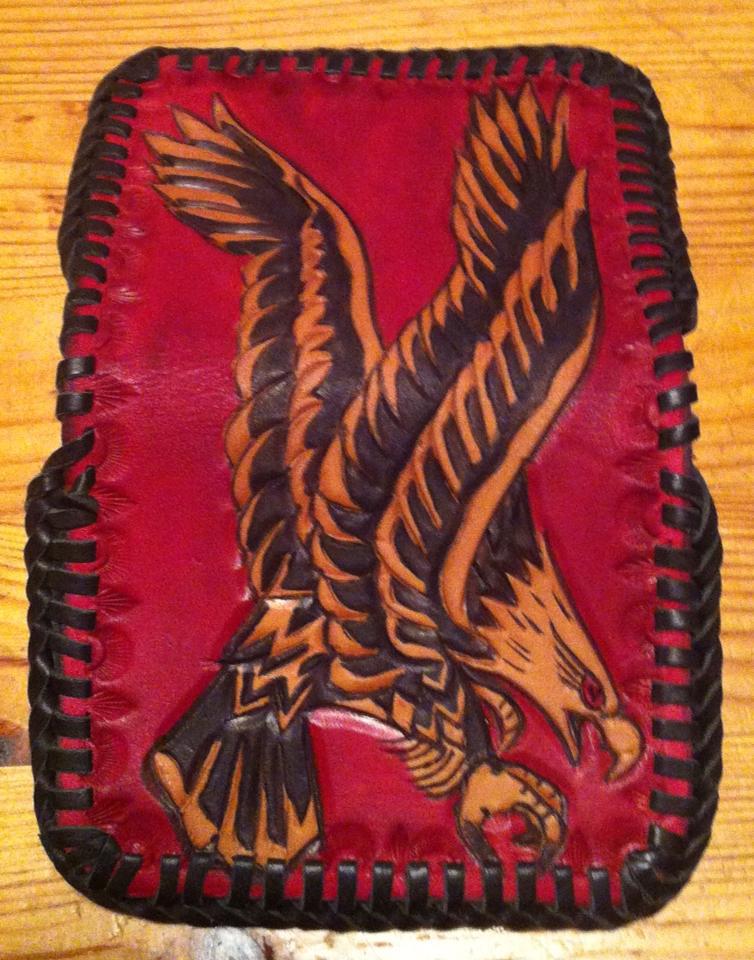
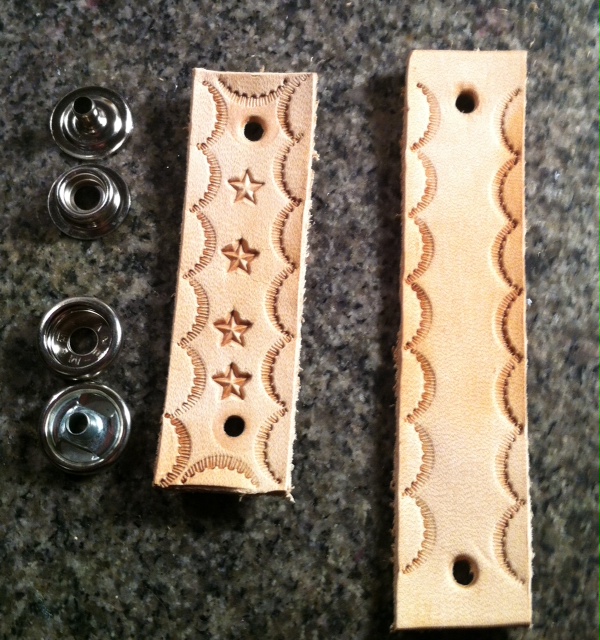
 Here is a very simple wallet, holds about 18 cards and cash. I started putting all the snaps on the inside of the card holders, so the snaps don't ruin your pants:)
-
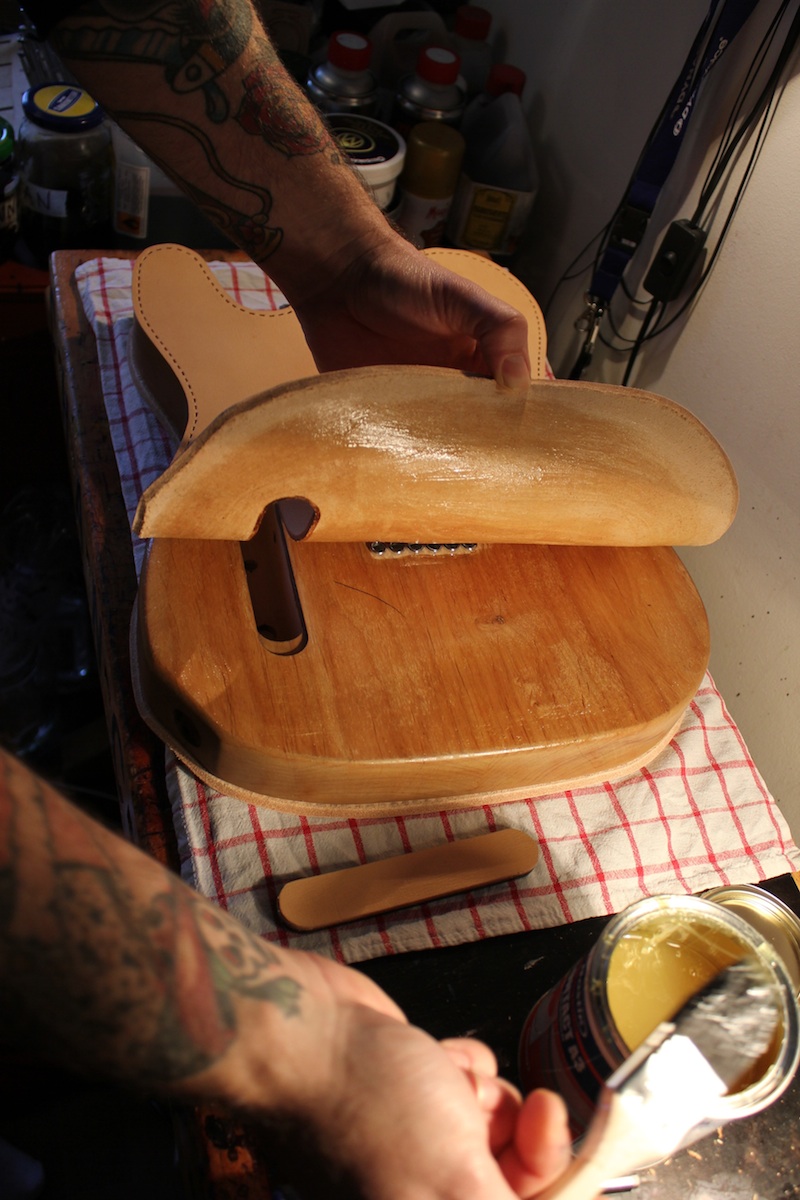
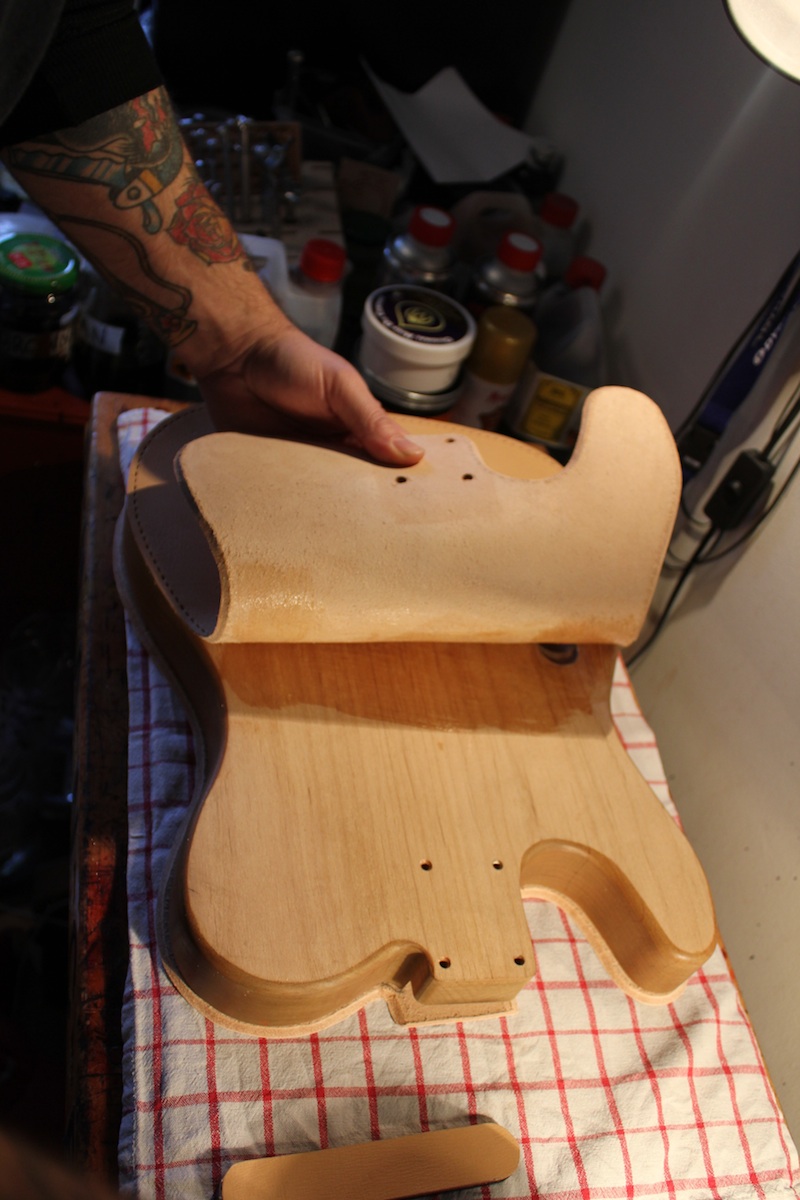
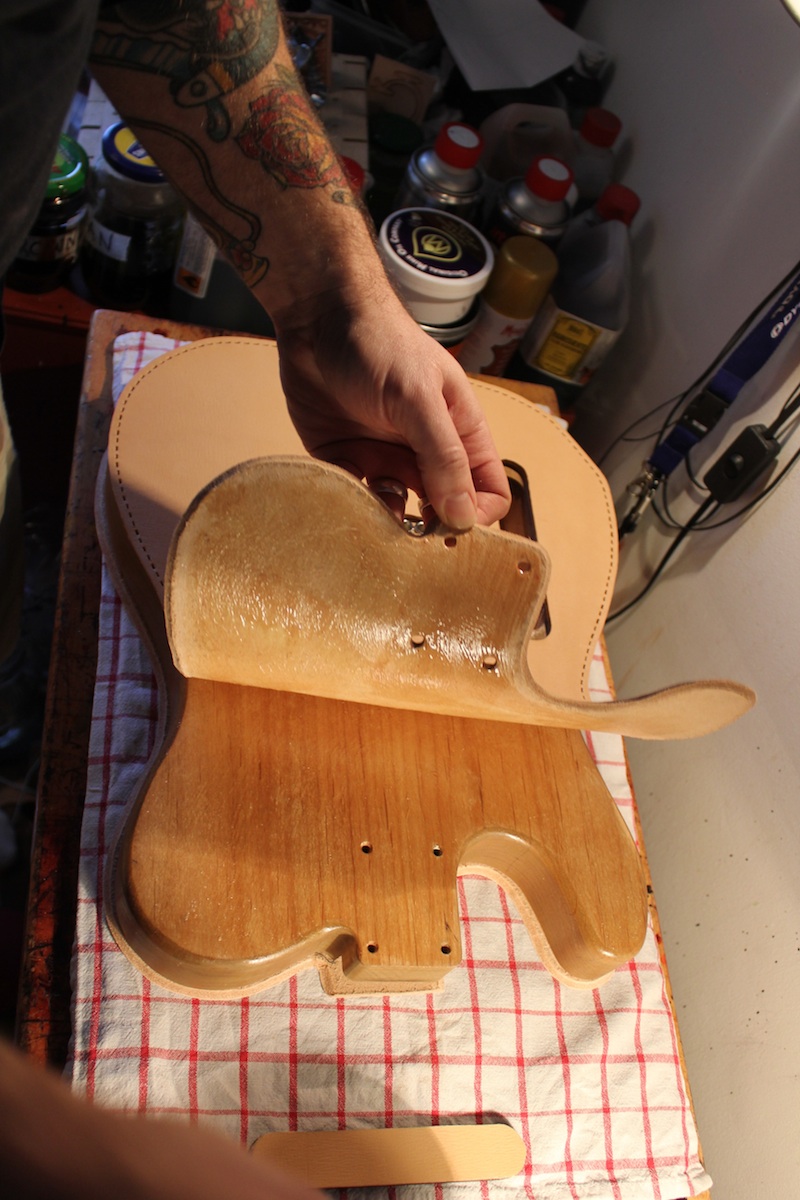
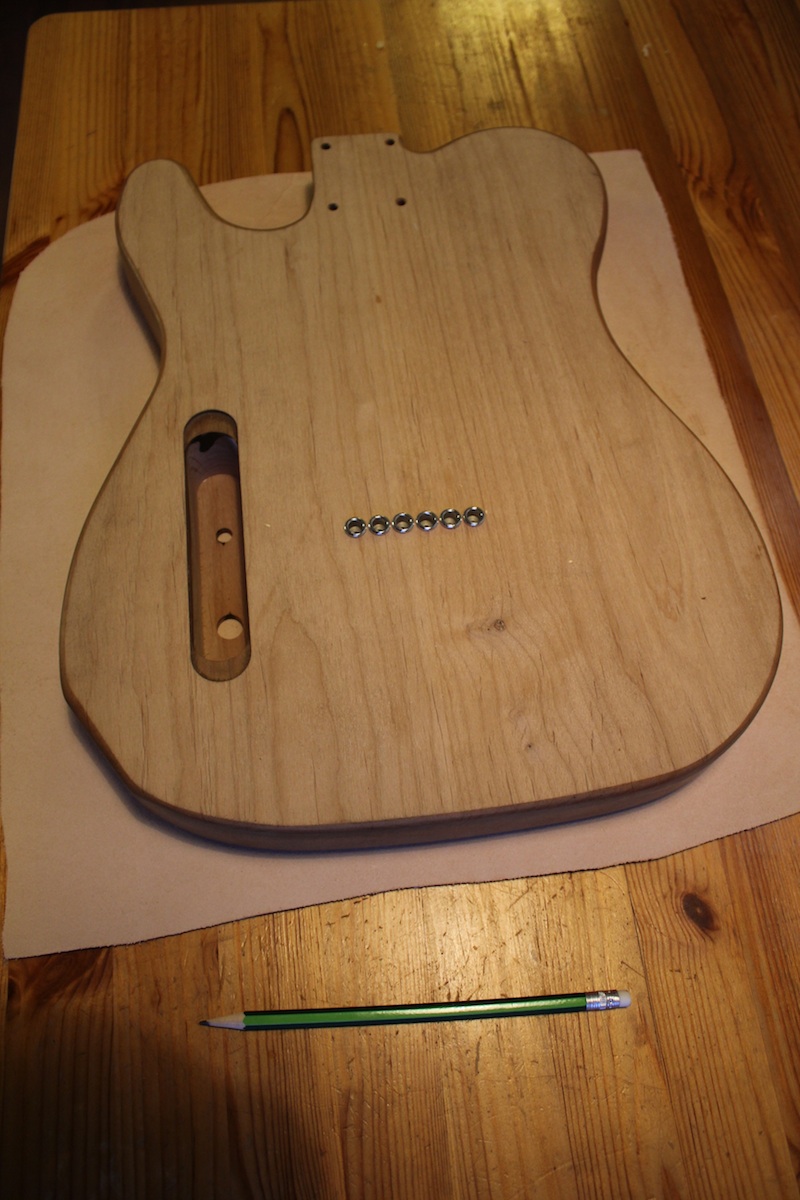
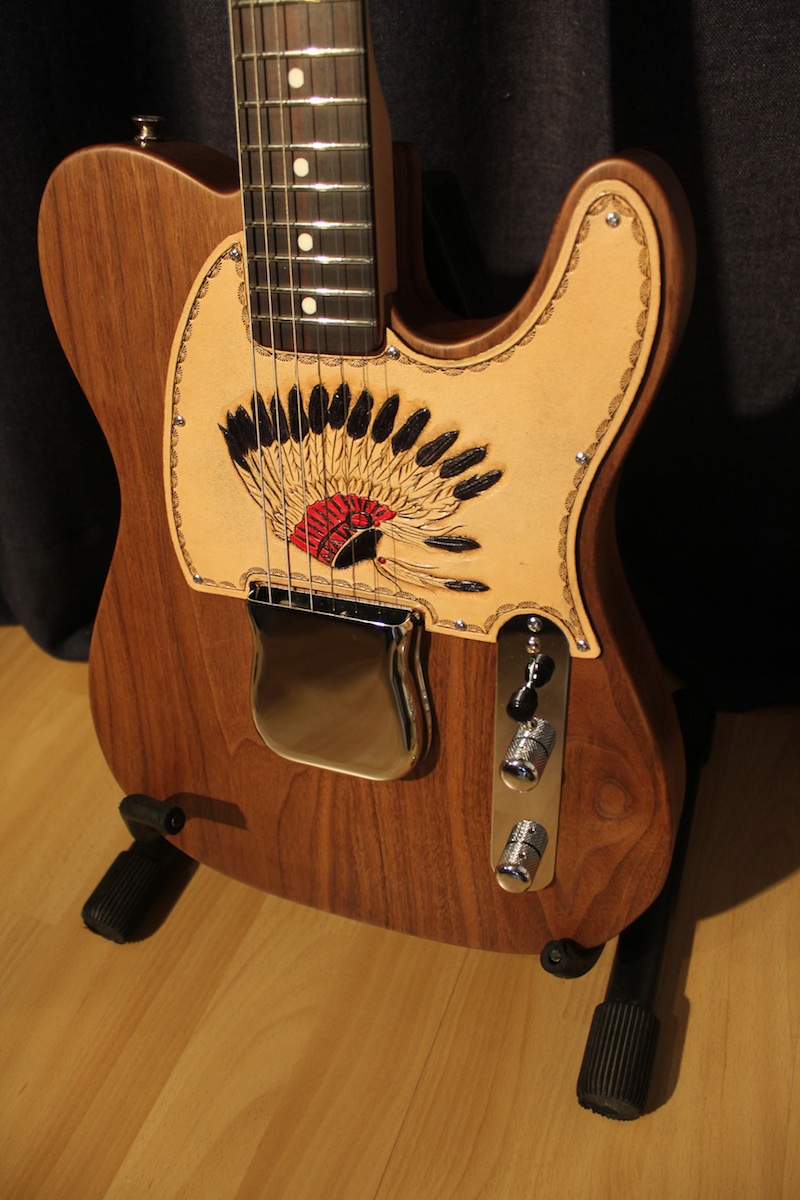
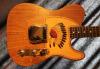
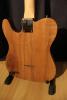
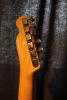
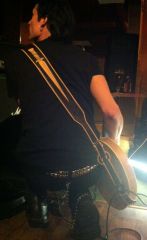
Walnut Telecaster And Leather War Bonnet Pickguard
chancey77 replied to chancey77's topic in Musical Instruments
This is an Esquire so there is only 1 pickup and yes it is under the Ashtray. This guitar is for sale BTW! -
Walnut Telecaster And Leather War Bonnet Pickguard
chancey77 replied to chancey77's topic in Musical Instruments
Nope, I don't, nor does any other guitar player want that pick guard double thick. I just wet the back and press it in between some heavy stuff and it gets stiff enough. Then I just screwed it own....if you are using weak weird leather, then just a couple pieces of double stick along with the screws will do it. -
Leather "paracord" Bracelet
chancey77 replied to Wombatant's topic in Purses, Wallets, Belts and Miscellaneous Pocket Items
I like that look, I have been working on a 2 color square knot for a while, it takes forever! I like the bracelet idea. You useually see them made out of hemp but I think this is he first time I have seen a leather one:) Thumbs up! -
THAT LOOKS GREAT!!!!! Very Clean and CLASSY!!!!!!!!!!!! Great Job! I love this kind of DOTD stuff, always fun to do!
-
PLEASE NO COMMENTS UNTIL THIS GUITAR WRAP IS FINISHED:) THANKS! ***MANY MORE INSTRUCTIONS AND PICTURES TO COME OVER THE NEXT COUPLE WEEKS:)*** THANKS FOR LOOKING!
-
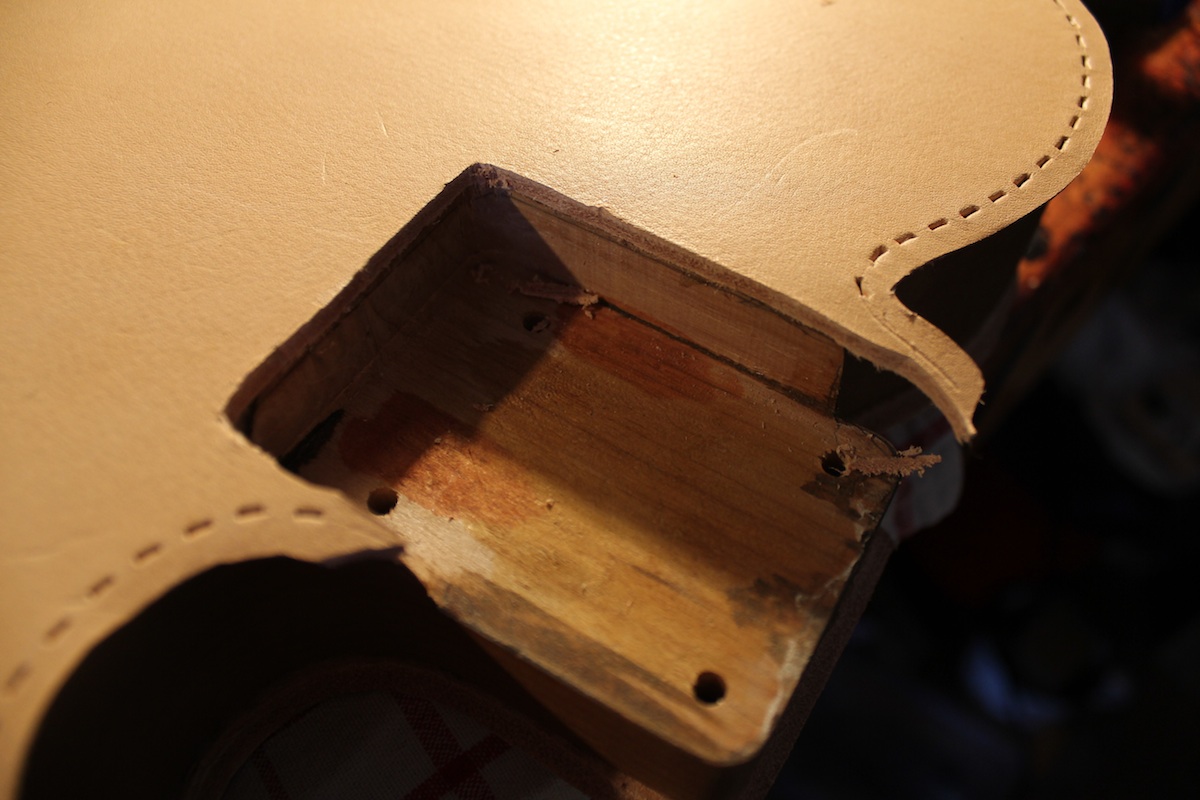
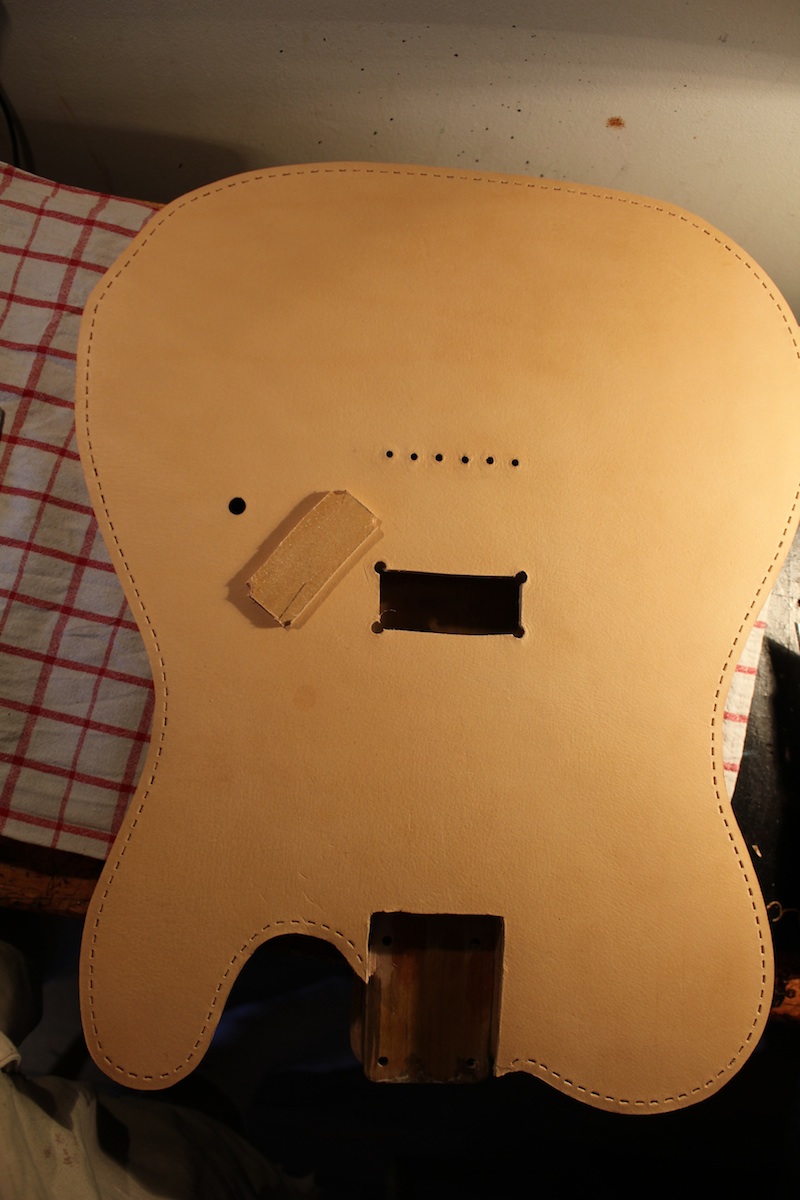
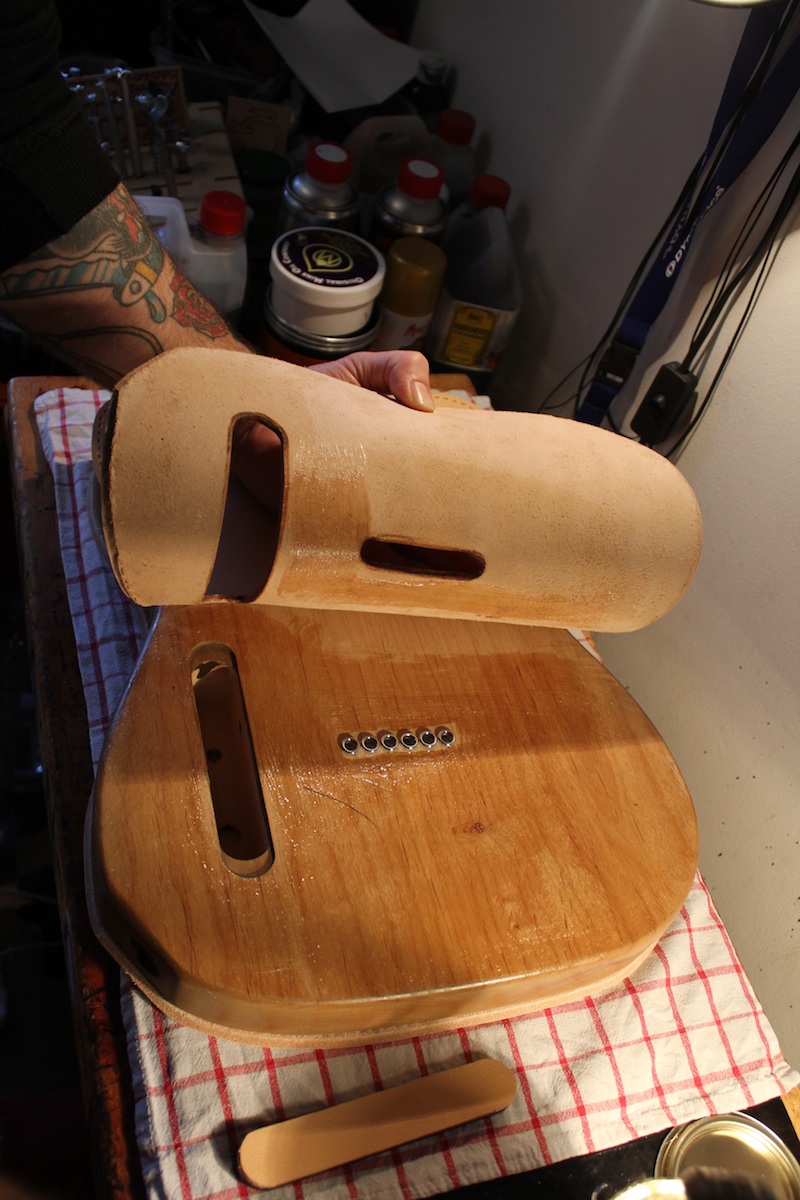
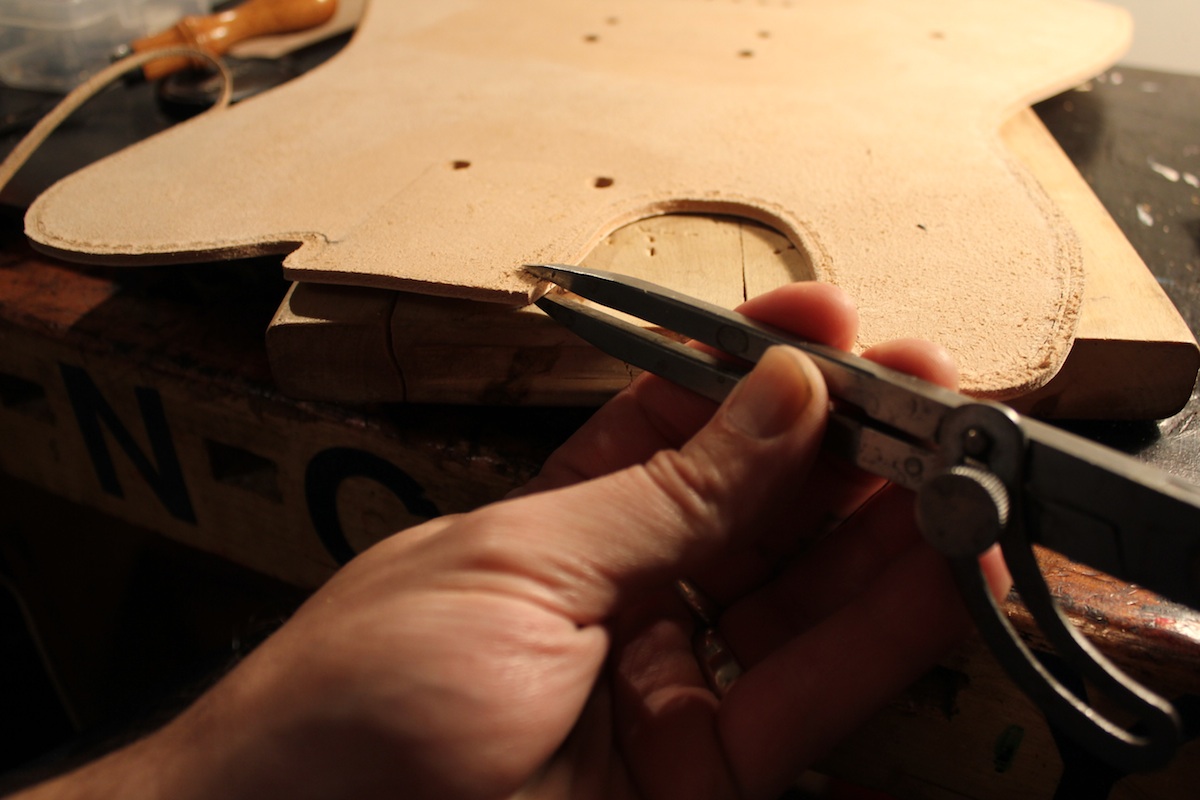
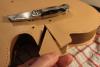
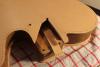
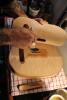
OK LETS CUT OUT THE NECK POCKET and PICKUP HOLE. Materials and tools needed: 1. Razor Knife 2. Wood Burner with round tip. STEP 8: Neck Pocket cut out. A: Using the holes you previously punched; cut out a triangle wedge. B: Cut closer to the edges so you can see what you are about to cut to the edges. C: Very carefully eyeball your corners and edges with the knife. Leaving enough for the sides to join the pointed small corners for the outsides of the neck pocket. I left myself 5mm. Step 9: Pickup Hole Cut Out A: The same as the neck pocket cut on the insides of your pre-punched holes; just so you can see inside of the pickup hole. B: Starting 1/2 way between the corners angle your cut to the edge of the perimeter and start cutting around lining up your edges perfectly. Make sure your blade is flat with the inside of the routed out pickup hole. C: Using a wood burner I follow the edge of the leather and corners to make sure my edges are perfect and any loose leather fibers are dressed. *****I also give the same treatment to the neck pocket that has been cut out.
-
Musical Instruments: HOW TO WRAP A LEATHER TELE TUTORIAL HAS BEGUN!
- Show previous comments 2 more
-

Is this one in the works right now??
-
yes I am making this one right now:) That is why it will take a couple weeks as I have time for this. I have other orders that are more important for Christmas to deliver, and the guitar is just for fun as of right now.
-
Come on, you know teaching cool skills is more important the Christmas!! What are we going to do with you? (as I'm trying not to get stressed about my own Christmas orders getting backed up).
-
Part 2 photos Part 3 Photos Chapter 1


-
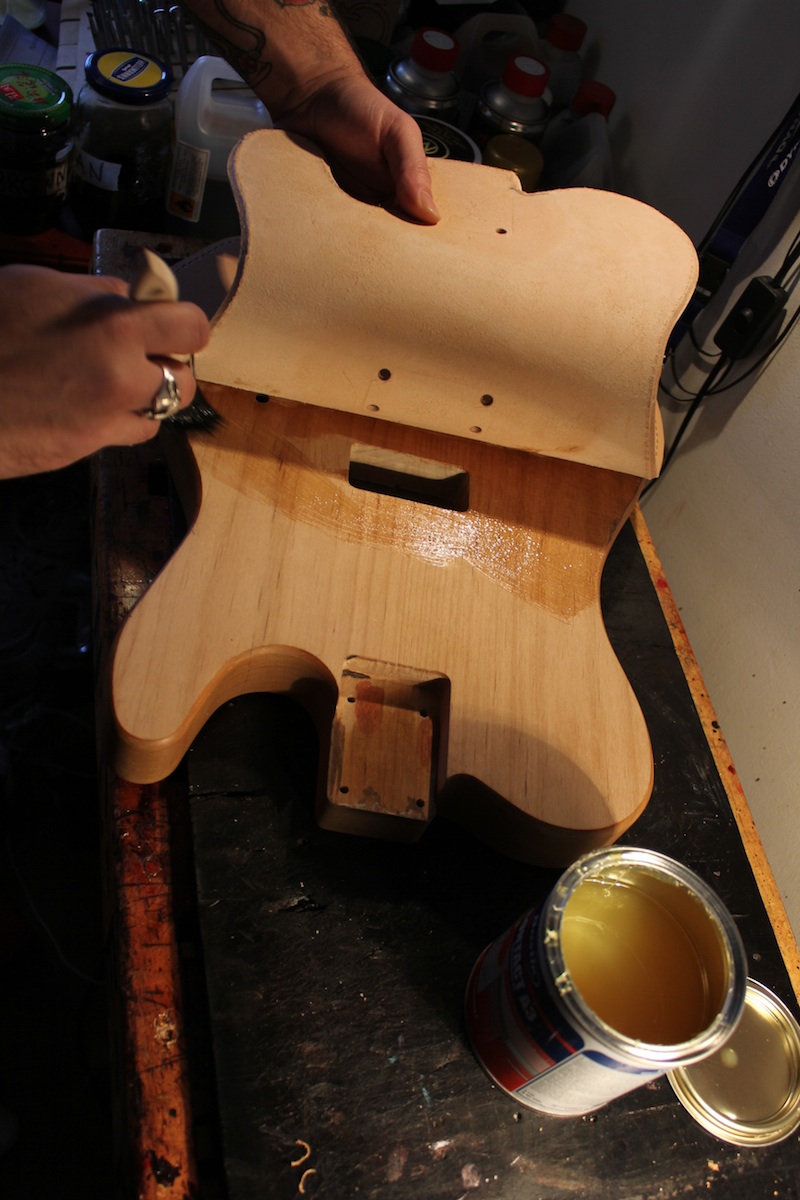
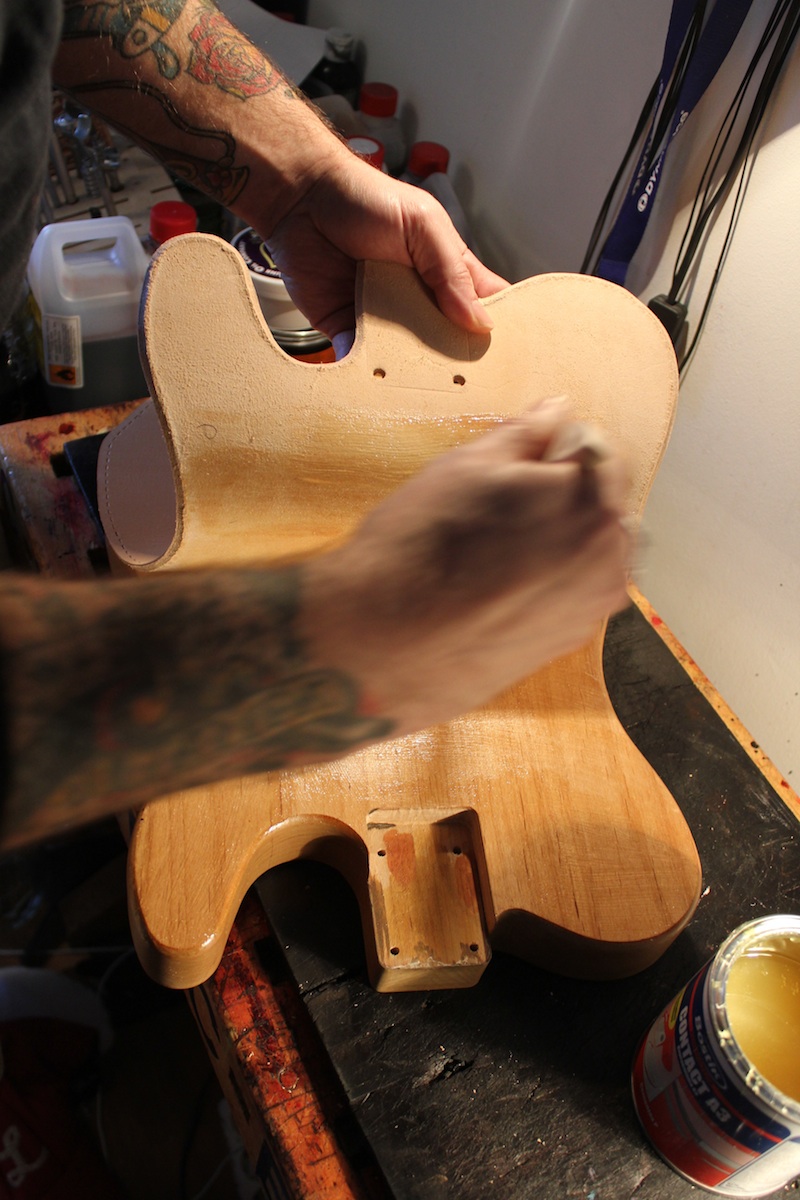
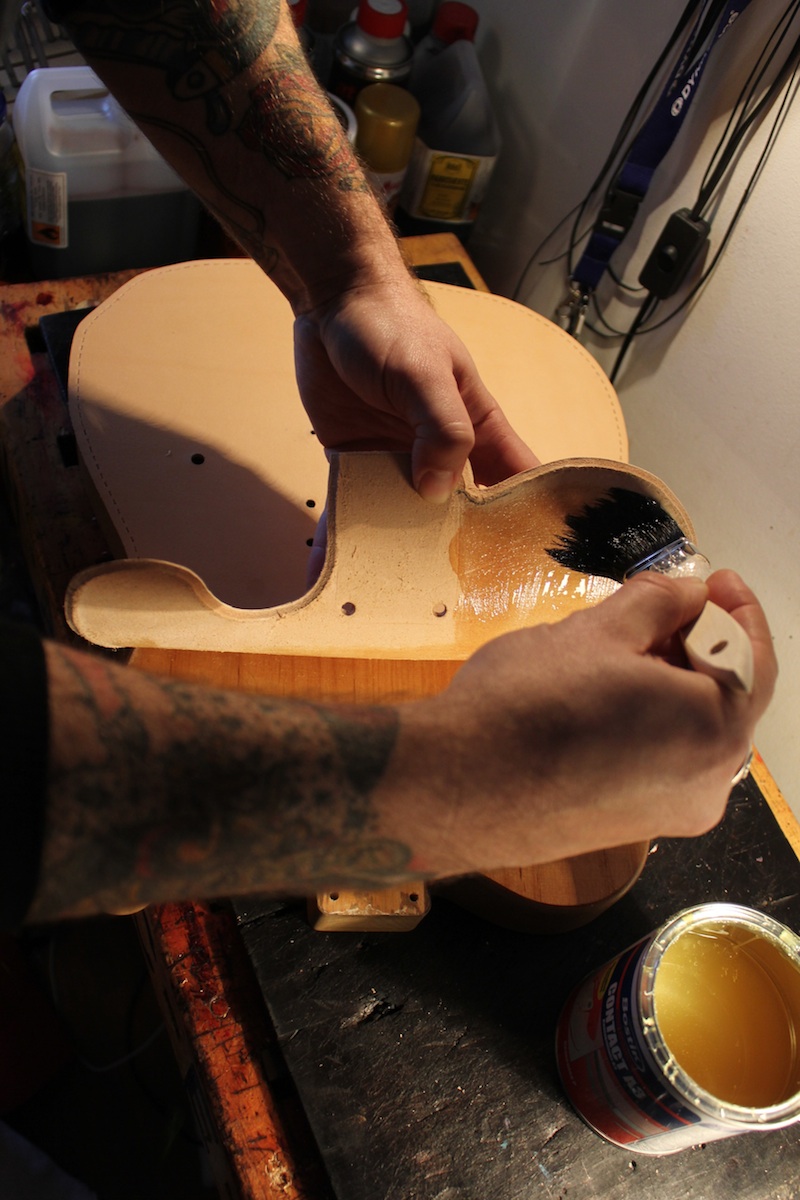
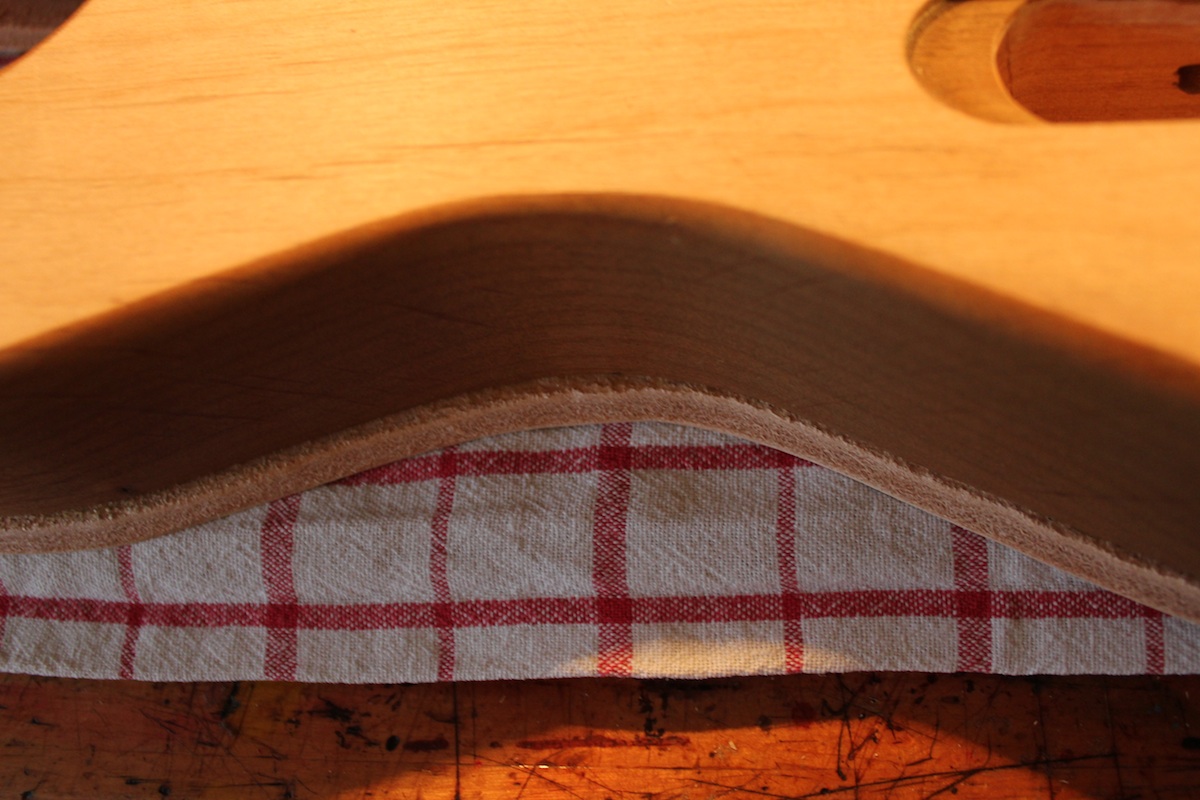
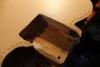
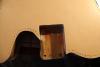
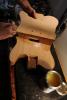
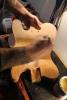
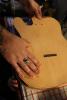
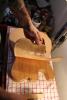
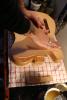
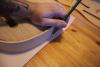
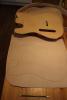
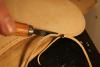
Welcome to the introduction of How To Wrap a Leather Guitar. After I spent months figuring it out and sending emails to some great guys who do this..I received NO HELP! I am willing to share my growing pains with you as fellow leather workers! So here we go! Materials; A: Guitar Body: *****I am using a custom made Alder Body based off a 1952 Tele Shape, that has 1 TV Jones Pickup and 1 Tone/Volume Stacked Pot. 1.Leather should be at least 8-9oz or 3mm thick in order to be thick enough to cut a 45degree angle on to join the sides and top and back together. I have tried it with thinner leather and it just doesn't have the proper height to do it properly, so after some trial and error I figured starting with a 3-4mm thick piece works teh best. 2.Contact Cement 3.Leather Lace 5/16 4. Edge trimmer 5.Good sharp Knife. STEP 1: A: Cut you side strap or at least a small piece about 12" long for the thickness. B: Lay your guitar face down on the backside of your leather. C: Using your strip that you cut for thickness and a pencil trace around the perimeter of the guitar making a very good dark line D: Repeat action for the back of the guitar. STEP 2: A: Cut out your pieces B: Using a wing divider set the gap to 5mm and make a mark around the perimeter of the leather pieces you just cut out. STEP 3: A: Wet the backside of the leather and using you hand press the leather and rub where the string holes come through for the Bridge,Pickups and Neck notch. B: Using a 4mm hole punch punch out the string holes and also punch holes in the near corners of the pickup hole and neck corners. Do not punch directly on the edge give yourself some room to play with so make sure the holes are punched away from the edges. *****We will be cutting out the leather for the bridge later so that we direct contact between the wood and metal bridge for bet tonal outcome...but more on that part later.***** The String holes are a guide for glueing it down and lining up everything together. STEP 4: A: Using your wing divider marks and a slot 3 prong punch and a 1 prong slot punch start making slot holes around the perimeter of the top and rear pieces. ***When you arrive at the neck joint you must be very careful to leave yourself 5mm from the last hole so it takes some lining up and eyeballing not to go past where the leather will be cut out from the neck pocket. B: After you have punched out your lace slots; STEP 5: A: turn over your leather top and back B: Using your wing divider check and set the tool to the thickness of the leather. C: Mark all the way around the backside perimeter with the wing divider. ***** It should be very close but not past or on top of your slot holes. STEP 6: A: Get out your Edge trimmer and set yourself at 45Degrees and cut from the edge of the leather to your marks you just made. Press down VERY hard so you don't get under the leather. You want to be just on the edge at a 45 degree angle not cutting into your slots. Step 7: A: Line up the string holes with the prepunched holes on the leather for a string through body guitar. *****Then around the edge with you small side strap check the clearances and edges that your overhang is lined up properly. B: Fold back Half of the leather and start applying Contact Cement. Apply first to the wood, then to the leather. *****You may want to divide gluing it down into 3-4 parts depending on how fast the glue is setting but you should move very quickly on applying the contact cement! After applying and pressing the leather down in sections you can place a board and maybe even as I do a large piece of stone on top for 12 hrs for the contact cement to be pressed by weight and have the best bond possible. ****** REPEAT THE SAME FOR APPLYING THE BACK PIECE. MORE TO COME!
-
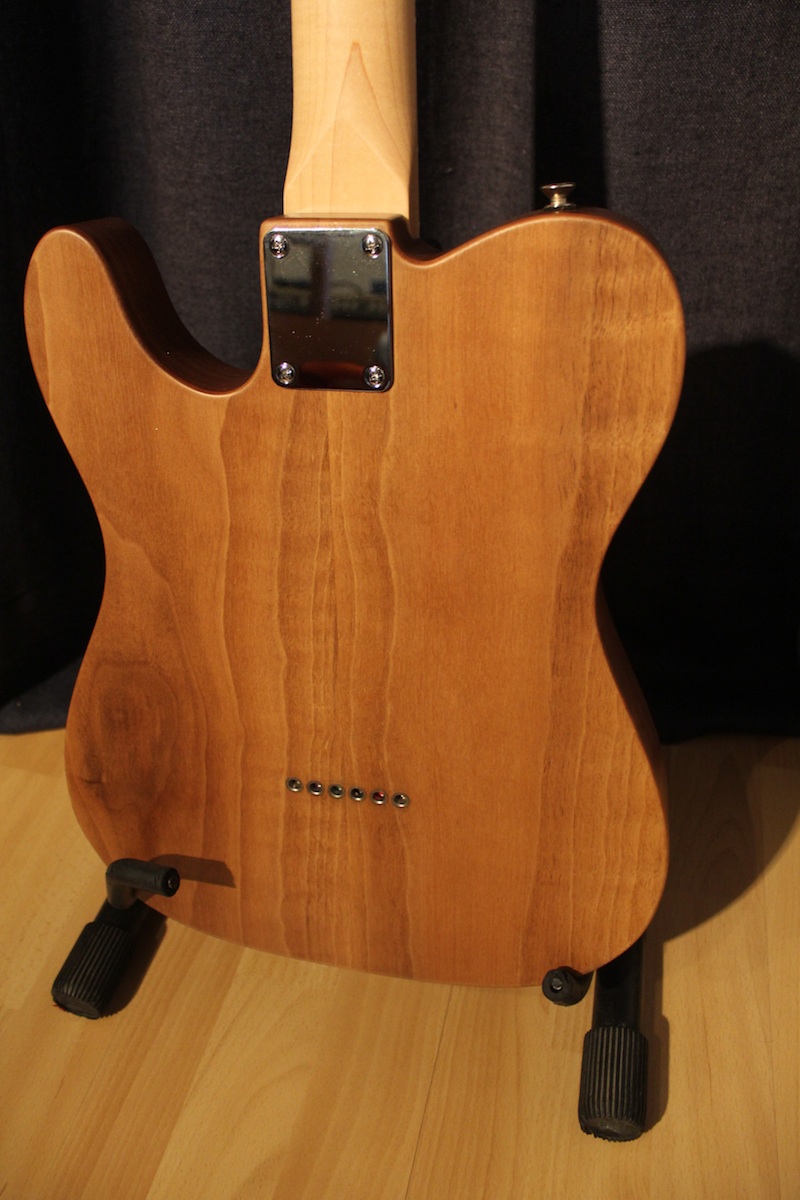
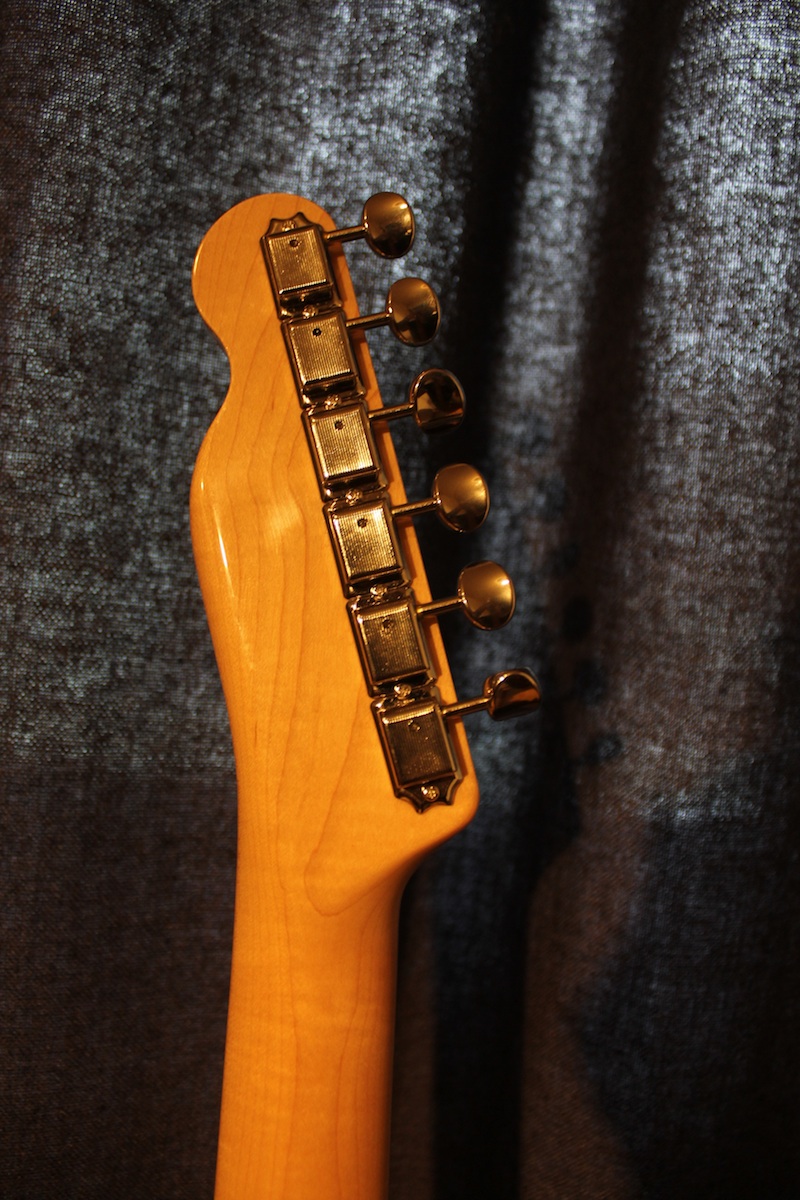
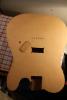
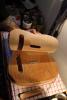
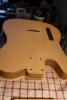
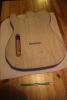
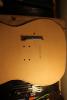
Here is a custom made solid Walnut Tele that we built. the wood was so pretty I couldn't bring myself to wrap the whole thing, so I just made a Pickguard for it.

-
Finally a place for this stuff! GREAT LOOKING GUITAR!!!!
-
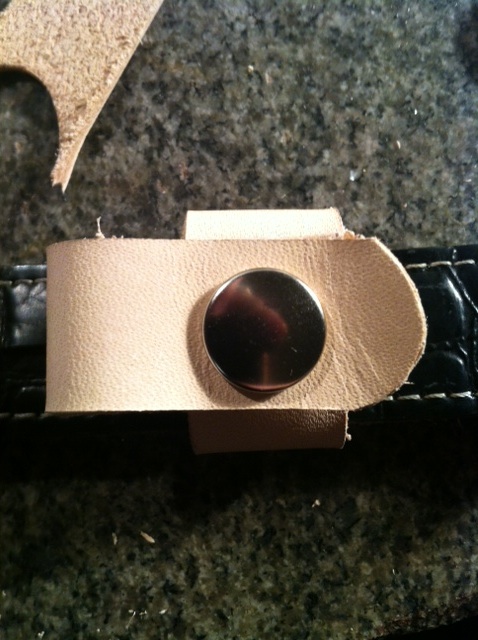
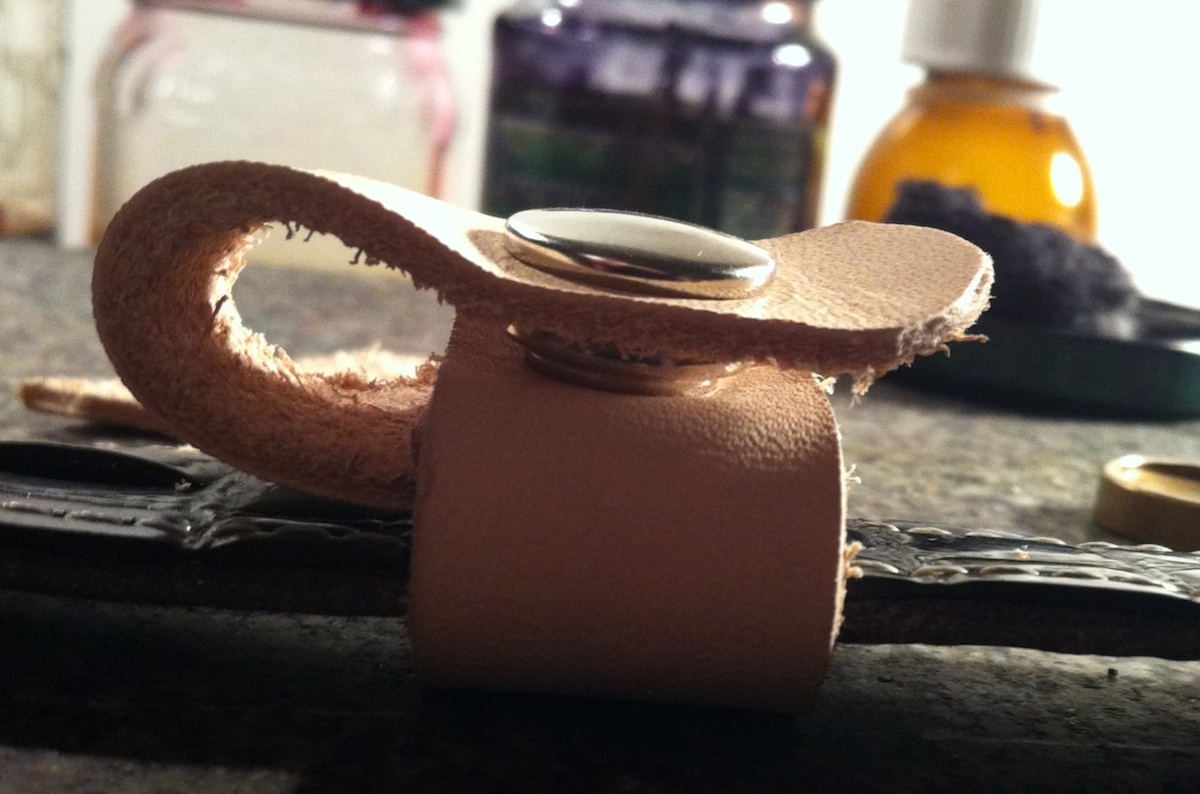
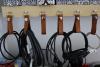
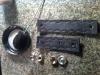
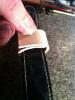
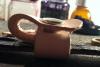
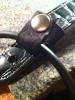
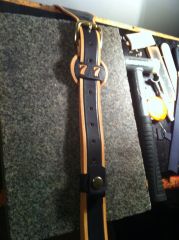
And here is some I use to hang studio cables. 1" strap 1 snap and a key ring.
-
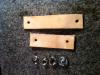
CABLE KEEPERS FOR GUITAR STRAPS I Cant edit the header:( lololol Here is some cable keepers:) Just to keep the cable rubbing on the finish of the guitar. Also functional as a good holder so you don't just step on your cable and pull it out. Most people just sling it through the strap but for folks with high dollar guitars this will help save the finish. I made these for one of my leather buddies on the Gretsch Pages. I have been trying to get him to join over here with us:) JOIN THE DARK SIDE THOMAS!


-
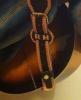
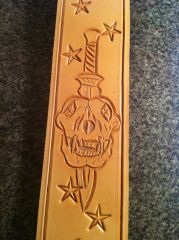
From the album: Chancey77 Custom Leather
-
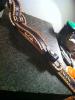
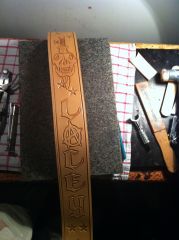
From the album: Chancey77 Custom Leather
-
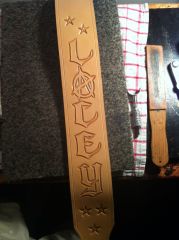
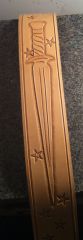
From the album: Chancey77 Custom Leather
-
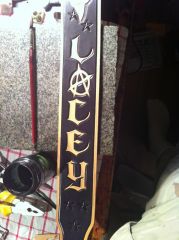
From the album: Chancey77 Custom Leather
-
From the album: Chancey77 Custom Leather
-
From the album: Chancey77 Custom Leather
-

From the album: Chancey77 Custom Leather
-
From the album: Chancey77 Custom Leather
© chancey77©2012
-
From the album: Chancey77 Custom Leather
-
From the album: Chancey77 Custom Leather