


stef73433
-
Posts
180 -
Joined
-
Last visited
Content Type
Profiles
Forums
Events
Blogs
Gallery
Posts posted by stef73433
-
-
Ok, now it makes sense.so simple really!! Thank you so much for input. Add this to my to get list!
-
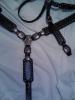
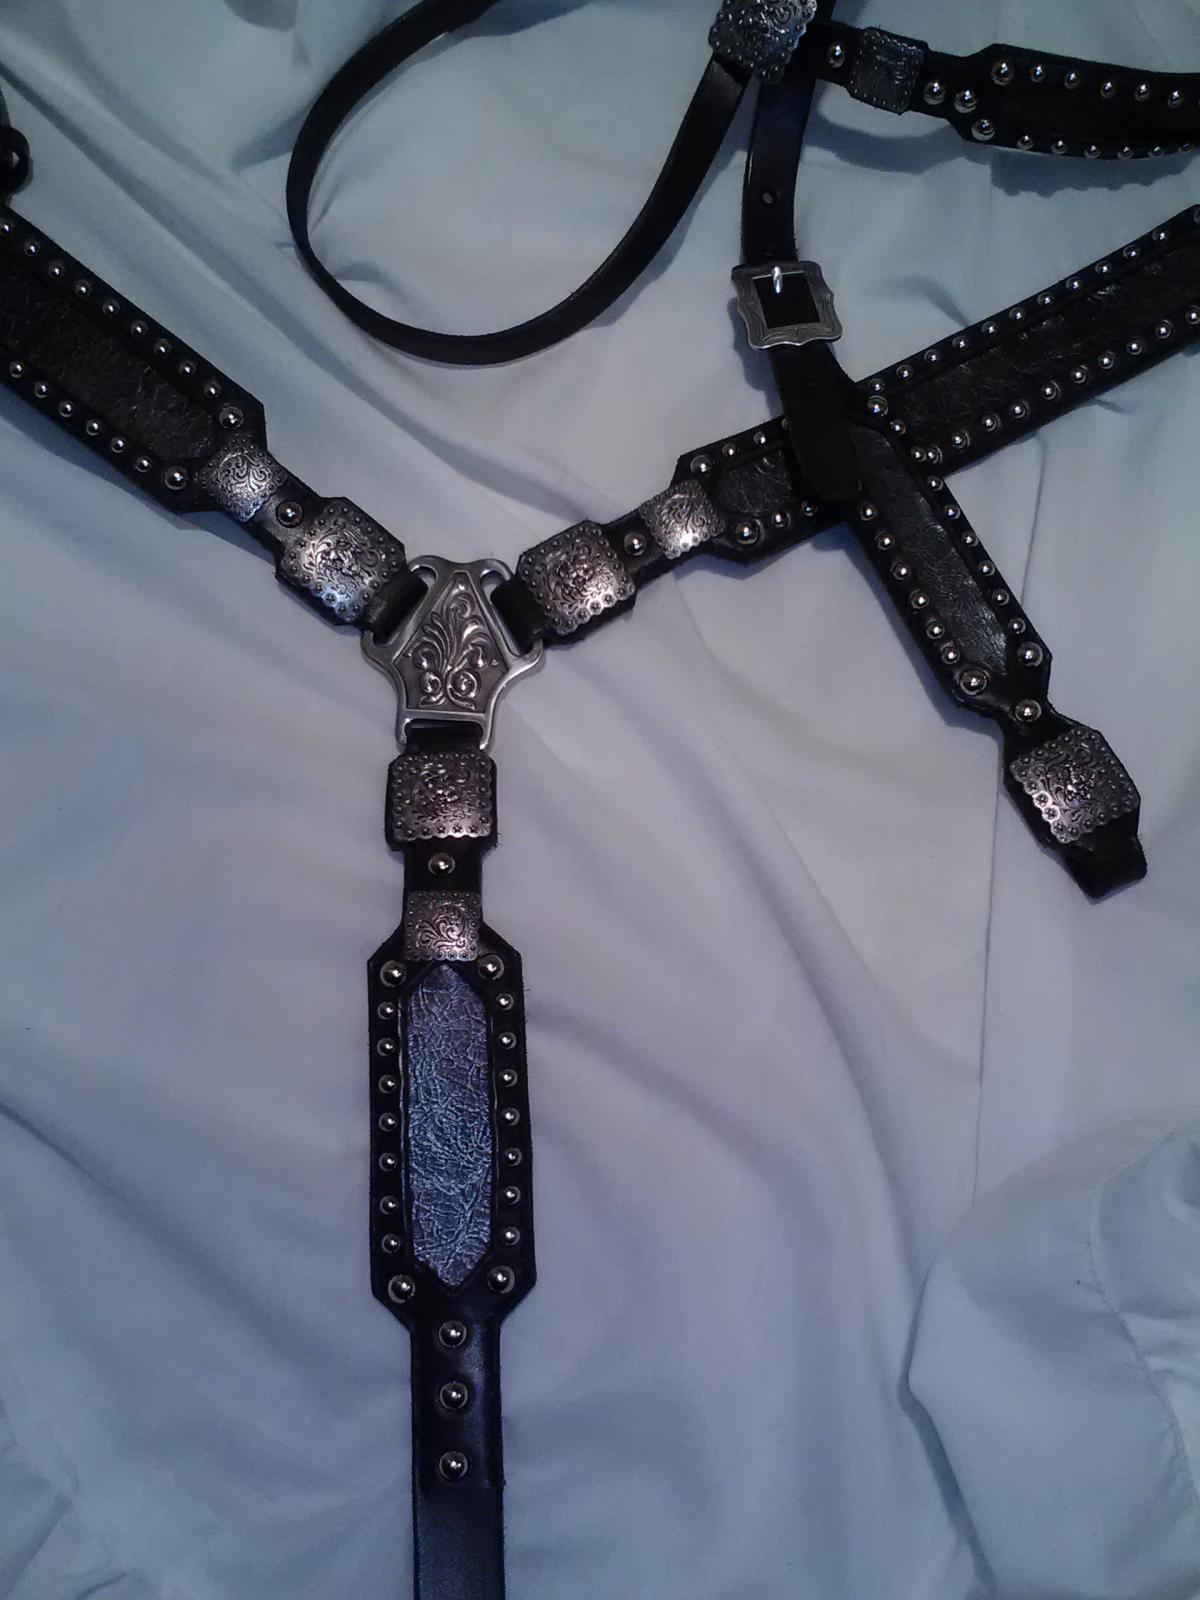
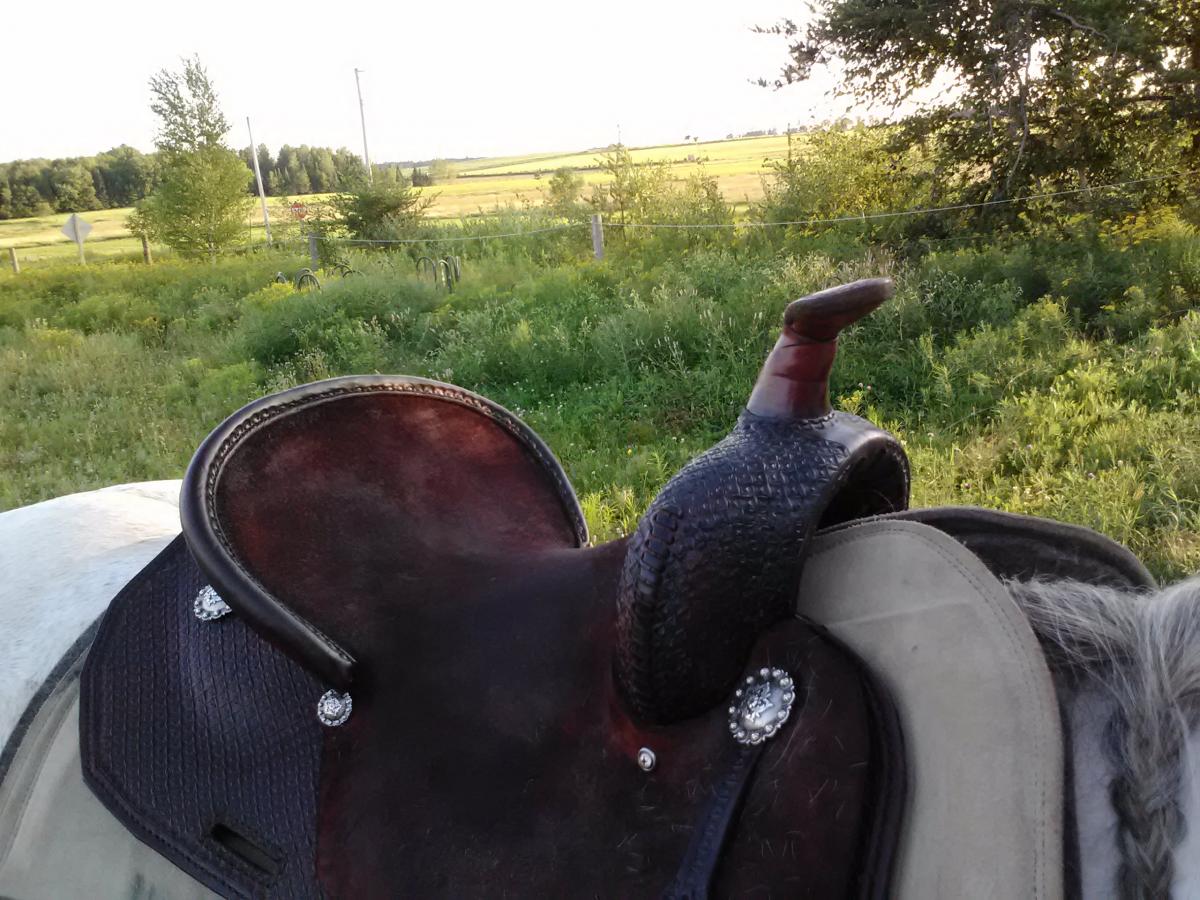
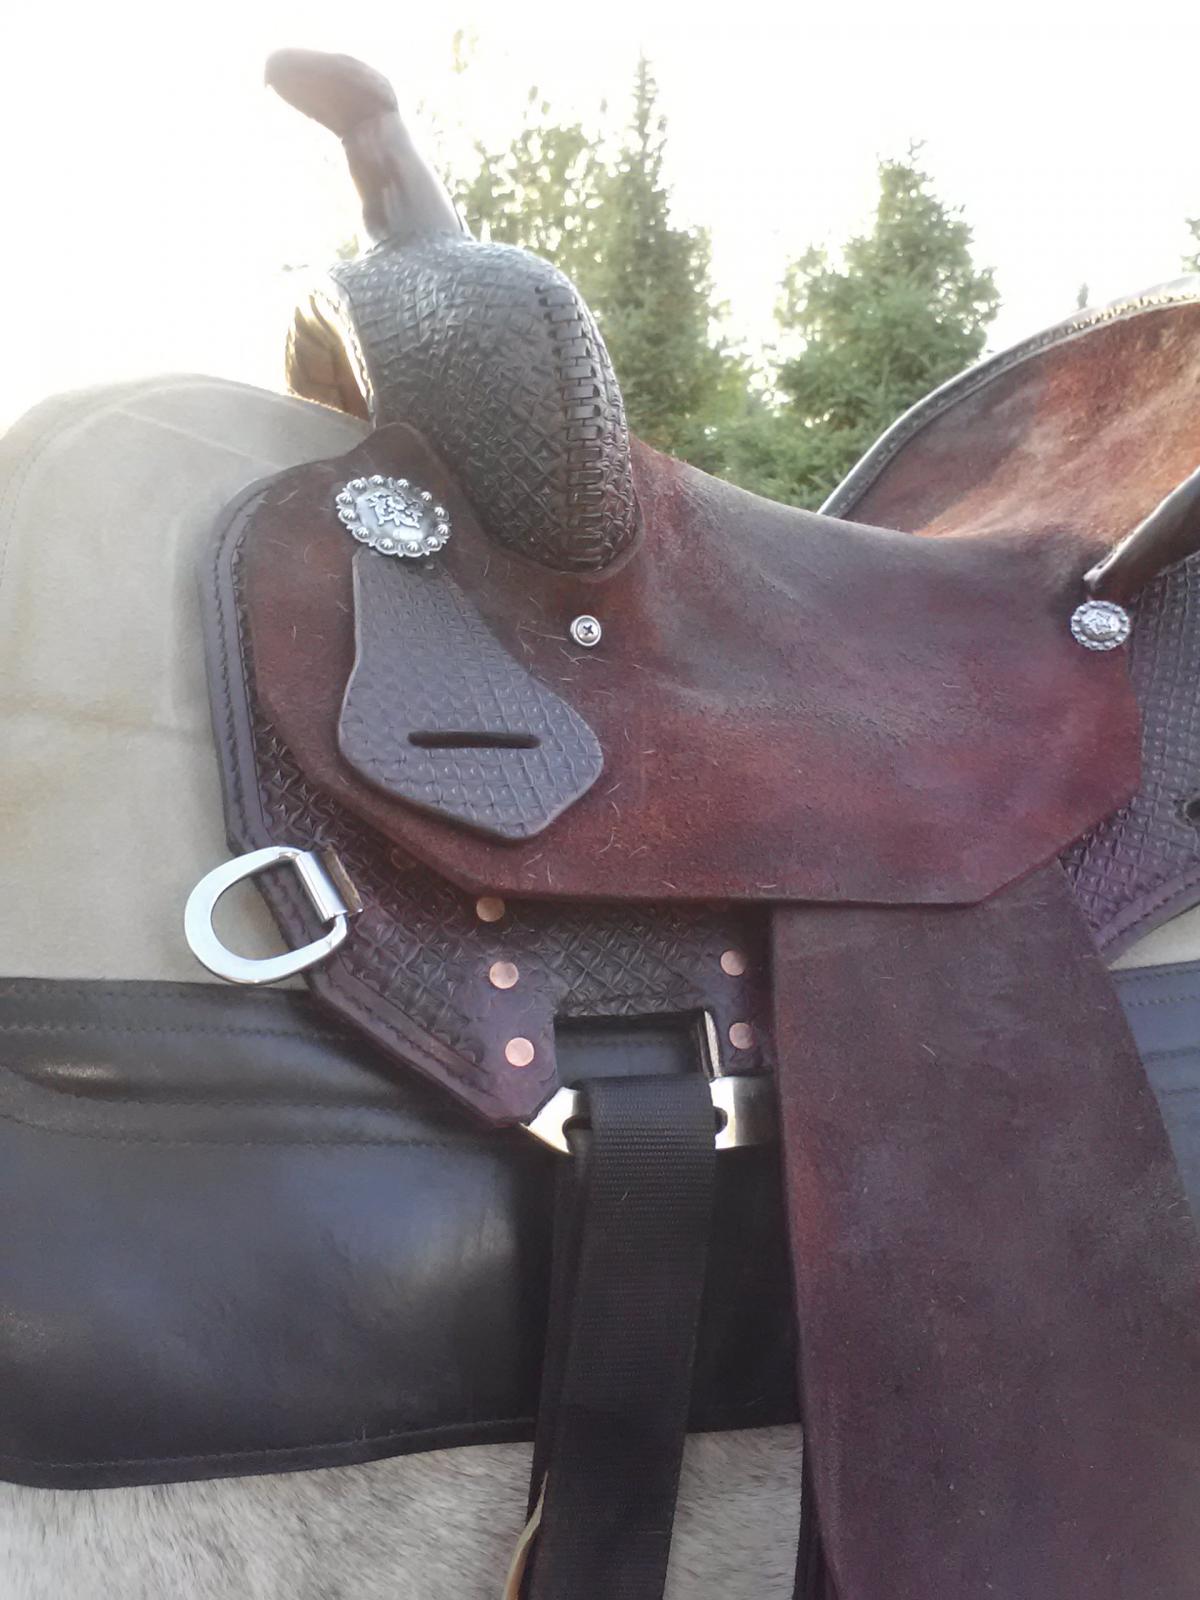
Ok, I don't think I asked my question in the way I intended. I understand how to create the paper pattern. My dilemmais actually cutting my angles perfect so that they match the template once cut. I can be a slight bit off the pattern after I cut and I sure can see it in my work. Here's a pic of what I mean by the angles, etc. this piece came out ok, but some of them are "off"
-
Is there any way to make patterns by hand to ensure that they are cut out perfectly? I struggle with my breastcollars, making each side symmetrical. I don't think I'm ready for the expense of a clicker press. Is there a happy medium?
-
I did 50/50 resolene to water and used airbrush to apply. Still rubbing off and still ruining my jeans

-
Yes, the rear bar area.I had trouble blocking it back there, so that explains it. Thank you fir feedback
-
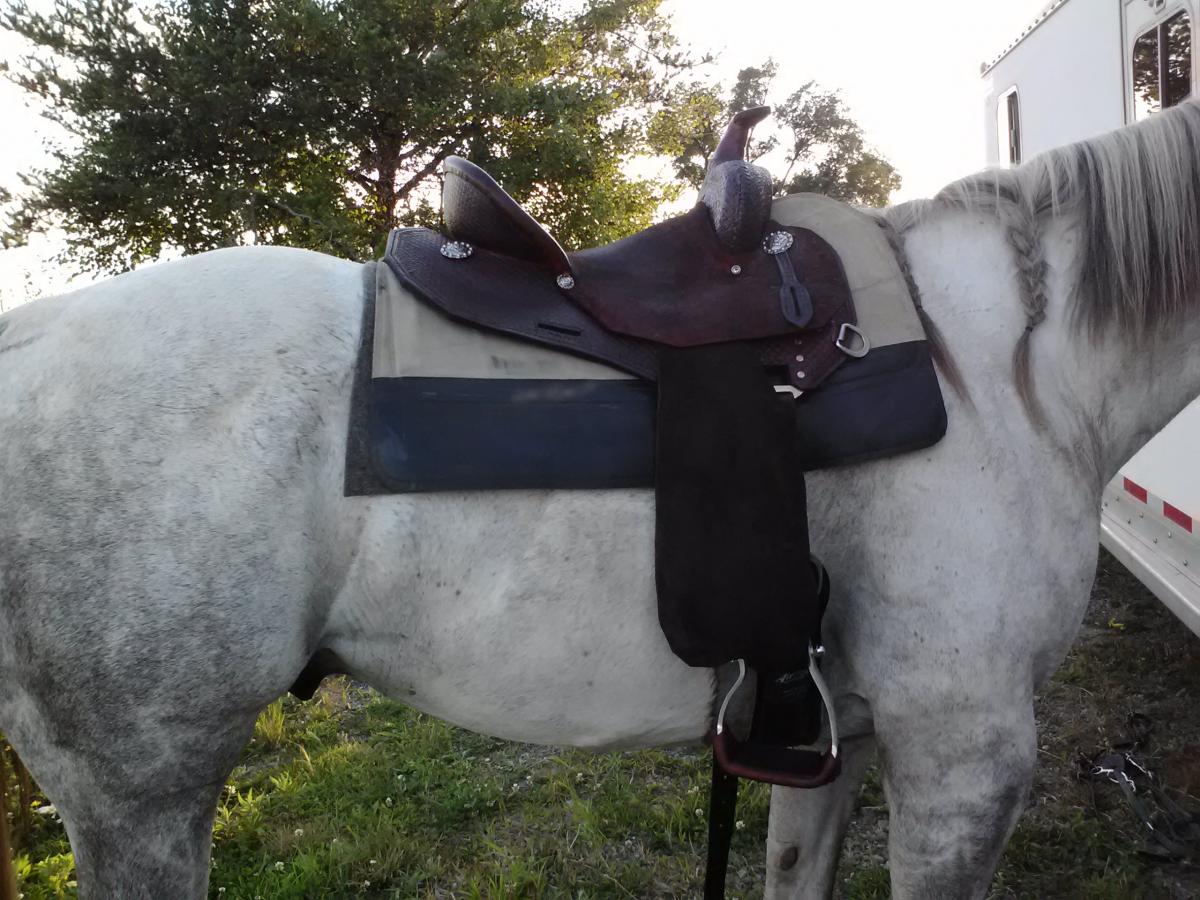
Alot of you have helped me build my first saddle, so i thought i should post it! I have several complaints about it, but mostly, what did i do wrong that the tree is "bulging" through the skirt leather? Feel free to critique anything else


-
I did that to my swells. Can I use a deglazer or some product to tone down that shiney plastic look?
-
I put it on straight from bottle with a dauber.that must be the issues
-
I dyed my roughout saddle fenders with a fiebings oil dye, mocasin brown. I am having alot of run off, so I think i should seal it. I tried some resolene on scraps, that makes leather all hard and nasty feeling.
Am I missing a step after the resolene to make it soft again, or wrong product?
Any advice would be great. I just dont know what to do to lock that dye in. Pretty new to me still.
-
I am making a rough out saddle I dyed dark.
What kind of sealers do you recommend?
-
Rufus James, did you find a solution to this? I'm in the same boat.
-
-
I get water out of my base ment faucet. I'm not sure if that's before or after it goes through water softener, but probably doesn't matter. Perhaps I will try water from bath tub for a while
-
Bumping this up. I have spots all over my leather like this.didn't notice until I got it wet and formed it for a saddle seat. Could it be hard water? I don't think I have any iron or steel in my work area. Anyone know about the lemon juice trick? When and how to apply effectively?
-
I dyed my rough out fenders a dark color. The dye is really rubbing off. I'm worried it will rub on my jeans if I ride it. What can I do to keep color, but seal it?
-
But its a dark oil saddle? The rest is nearly black.
-
I suspect i should just dye the rough out and be sure it is well oiled and leave it at that. Or maybe a Atom wax to seal a little bit?
-
i am dying a saddle this weekend. Do you want to put resolene on the rouch out portions? I really am not quite sure what i think as to yay or ney. (seat, seat jockey and fenders are rough out)
-
i do same thing as you pretty much, ,applu with a dauber.. and i wipe off with paper towel off all things.. seems to work good so far
-
hum,
i would vote for welt or lacing....
reminds me of the Legcut bowman i had ......Keith Siedel told me it was "possible" to cover it without welt or lacing (see one of his legcut bowman covered without welt)
I can tell you = i tried , failed and gone at last for the welt.....
i guess you can do it if your piece of leather is really really really stretchy .....and even though....not sure it would do
Good luck

and do not forget :
If Plan "A" did not work....the alphabet has 25 more letters ...so stay cool"
:D
Thanks for response!!! I opted for plan L- laced welts!!!!!!
-
I am trying to choose a finish to complete my saddle with. Trying to choose a finish.
A person really doesnt want to waterproof or seal the saddle too much though, correct, otherwise oil wont penetrate either? Or do you seal outer side and leave underside unsealed? I am thinking an atom wax type finish may be better?? or not?
-
An tricks to getting everything even? I tired a square geomateric pattern on swells and started out ok, but once i got to curved edges, it got disasterous.
HOw the heck do you stamp a perfect pattern on a round or non flat surface?
-
OK...that's a photo I posted earlier this year. This saddle had a rear jockey so the installment of the flank ring is different than a set of skirts without a rear jockey. With that said: first, determine the design of your skirts and block them. This is easier done prior to putting in your seat. After installing your seat, come back to your skirts and align your top piece. Cut your leather oversize on the outside edges of your bottom piece. Using rubber cement glue the bottom and top pieces together to insure fit. Fitting up includes rigging placement.
When satisfied with the skirts on the tree, remove the skirts from the tree (without pulling the cemented skirts apart) and compare them to each other to insure they're alike. Trim your top piece to match the bottom piece and attach your rigging plates and dees. Check your edges once more, sanding them if necessary to insure that they are cut at a 90 degrees. When satisfied, sew them together about 3/8ths of an inch from edge.
If your skirting leather is light weight, you can install filler pieces as you would regular skirts; however, this isn't necessary with heavy weight leather and does increase bulk.
These skirts are held into place on the bars with screws at the fork, at the cantle corner at the bars (covered by seat jockey), and rear rosettes or conchos.
The sheepskin is installed as usual and the sitch line is about 3/16ths from the edge.
I'm old, but not an old saddle maker. This method has worked for me on three saddles without any client complaints, knock on wood. Hope this helps,
Ron
When you say sheepskin installed as usual, could you explain what "usual" means to you? (when in the process would you sew it and would you sew to just bottom layer, or to both layers of skirt? I dont like the look of the 2 rows of stitching, but i will do it if not a better way.
-
That is exactly what i needed Goldshot! Very nice step by step.
I am on the right track, hurray! thanks!
Making Templates
in Patterns and Templates
Posted
Thank you all!