


rktaylor
-
Posts
472 -
Joined
-
Last visited
Content Type
Profiles
Forums
Events
Blogs
Gallery
Posts posted by rktaylor
-
-
15 hours ago, AzShooter said:
You are doing a great job. I too like the color and finish. You'll get better on every holster you make so take your time as you are learning.
Thanks. I'm not sure I want to make a career of this, but it's a nice diversion from making tack.
12 hours ago, Hags said:Very nice work!
Thanks Hags. I've studied a lot of your posts. Don't be surprised to see me post something that looks like yours.
")
Randy
-
Thanks for the comments and suggestions. If it gets to be too much time before the next one, I may forget. I appreciate learning from everyone here.
Randy
-
2 hours ago, Simplejack1985 said:
I'd carry it. Good looking holster.
Thanks,
Randy
-
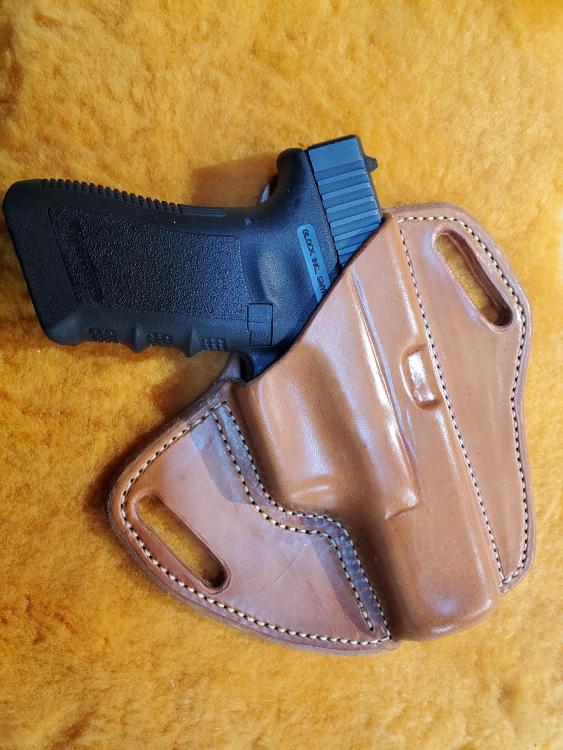
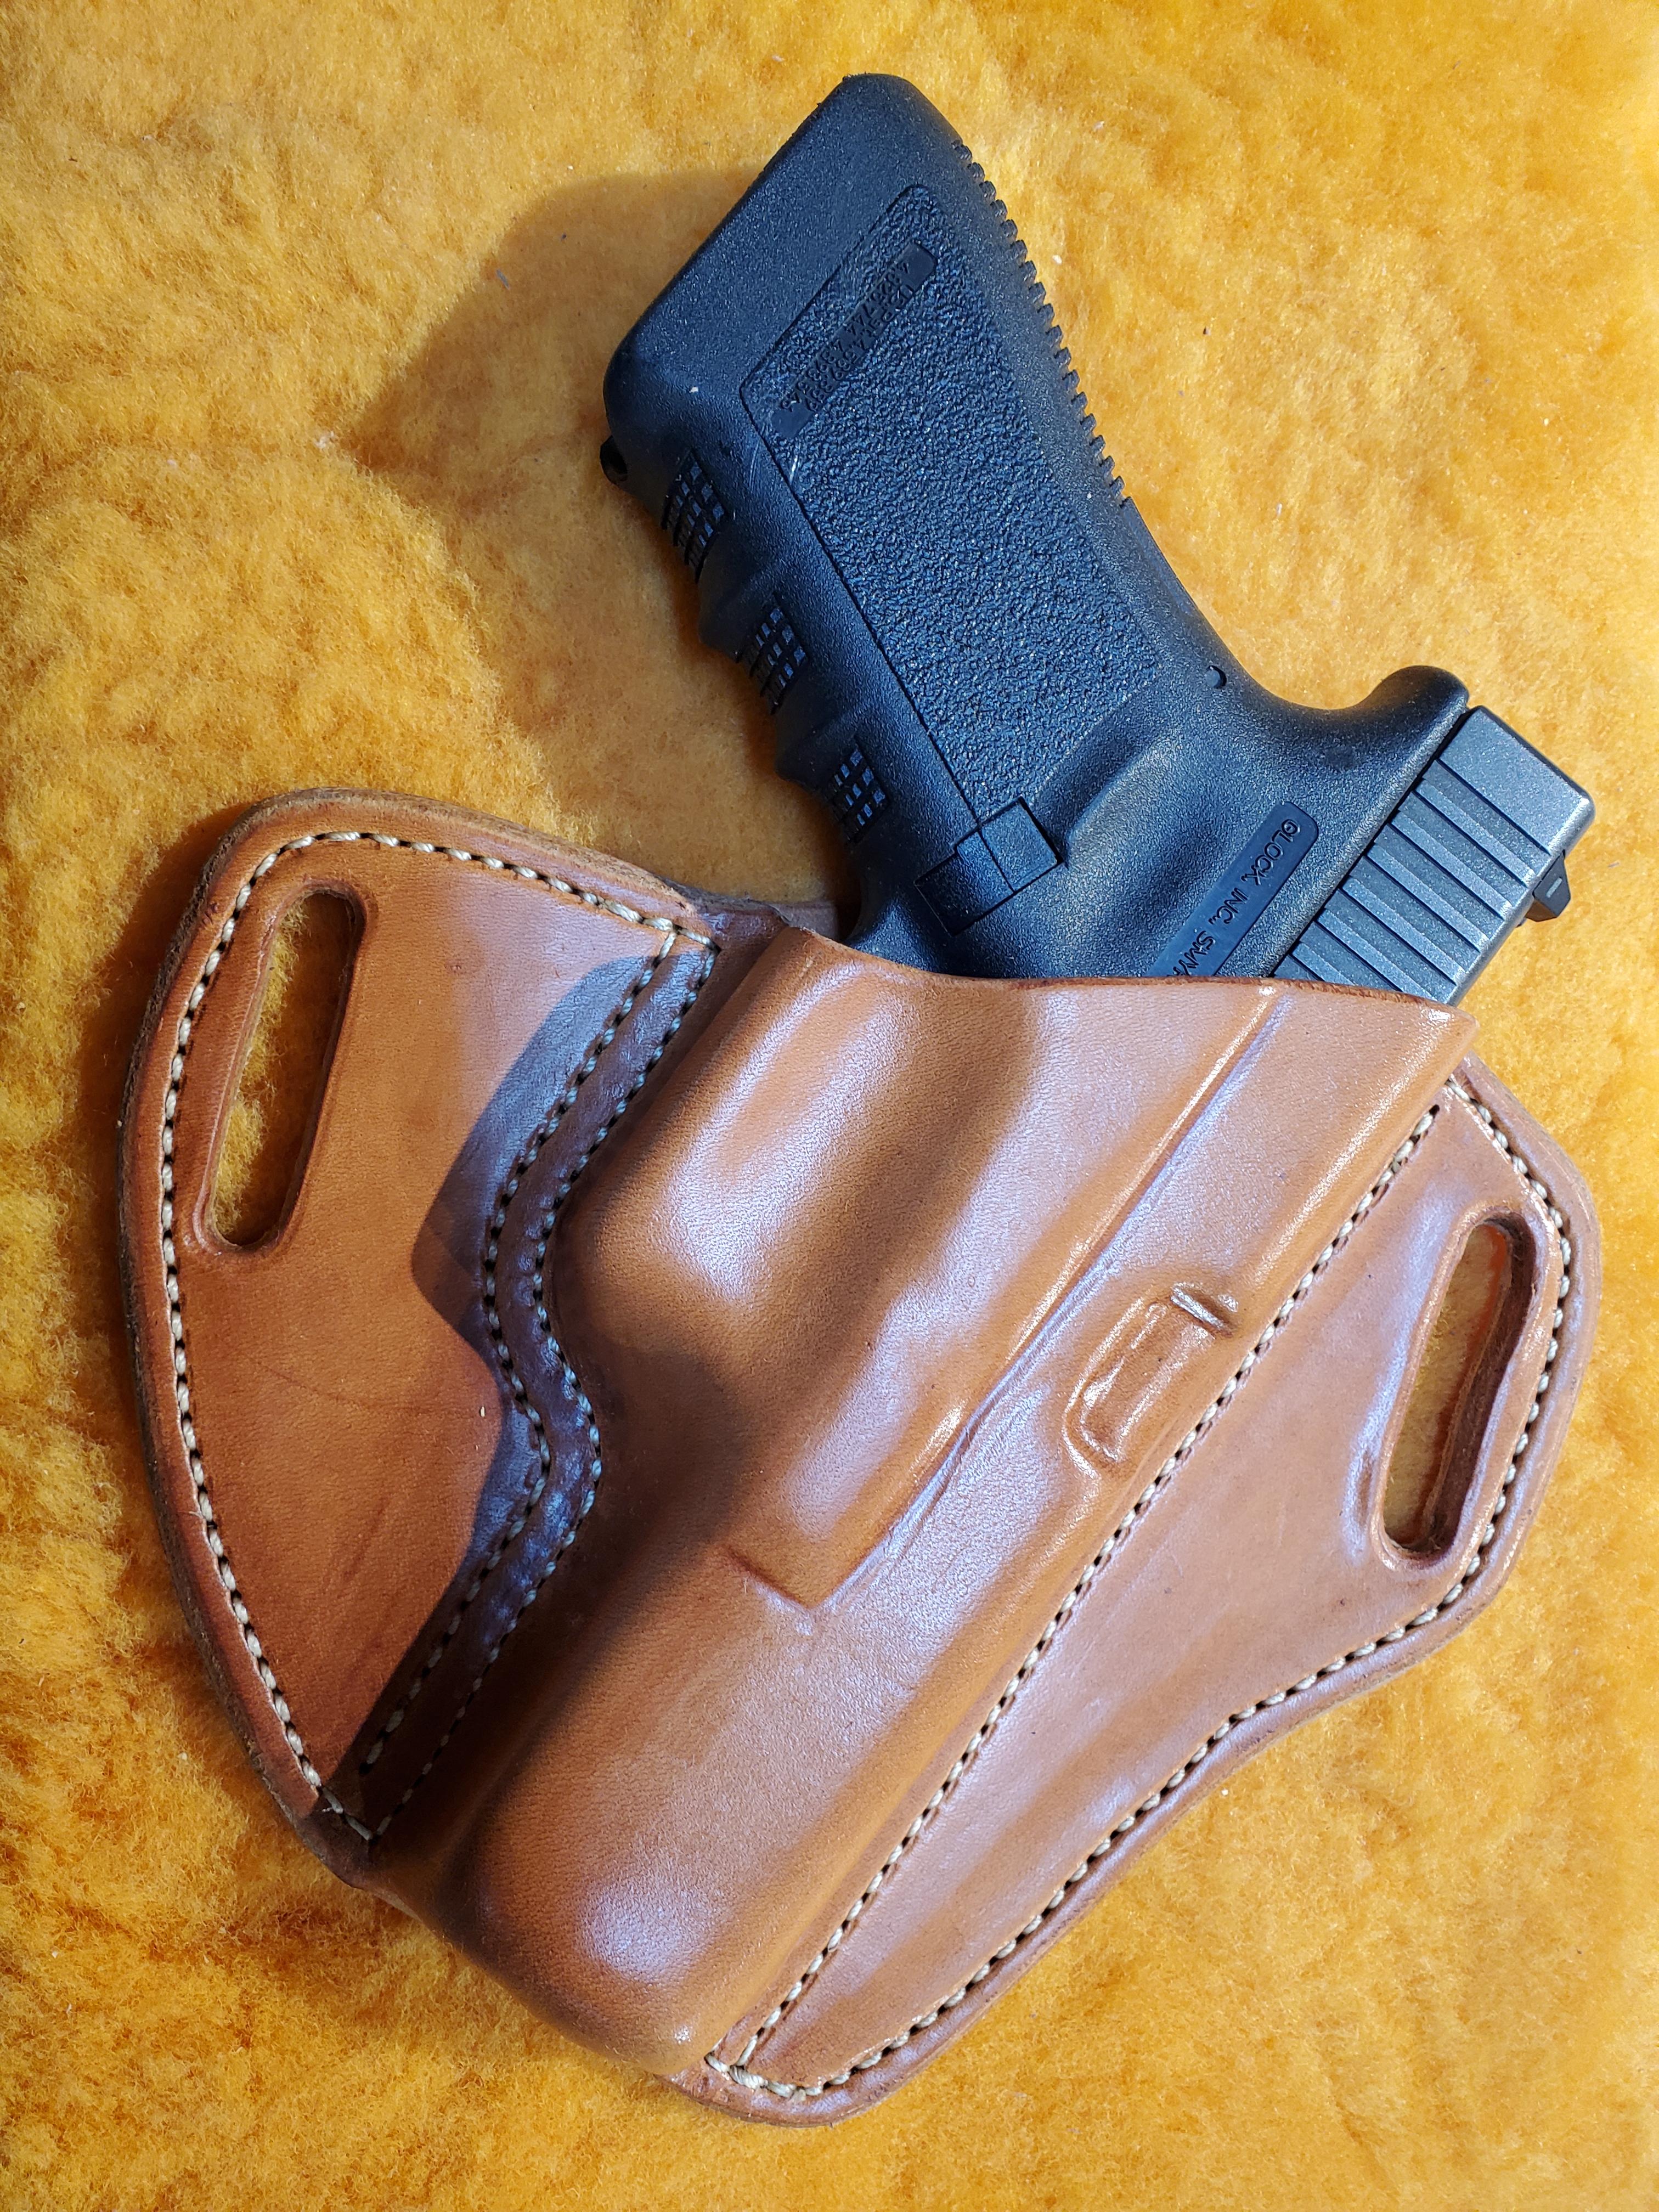
I think I made some improvements, but still have a lot to learn. The stitch lines are definitely closer. Wonky belt slots adjusted. Thanks for sharing knowledge. 8 oz HO leather with 2 coats of neatsfoot oil and a coat of resolene.
Randy

-
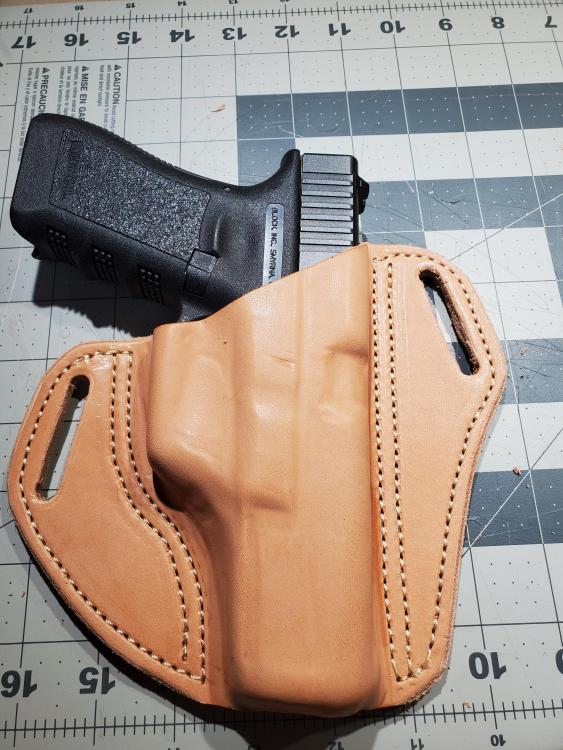
Thanks for the comments and suggestions. Back to the shop for me. Are the stitch lines close enough on the top? I can tell what you mean along the bottom. I think I need to get it formed better before I sew it. Maybe that will help.
I am also not sure what you mean by the site channel.
14 hours ago, JLSleather said:you'll want to create a site channel for the front site to clear easily.
Thanks again,
Randy
-
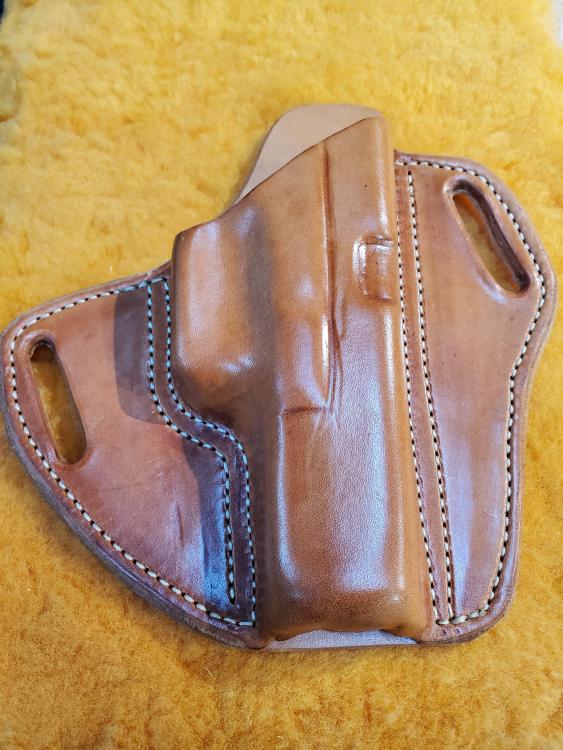
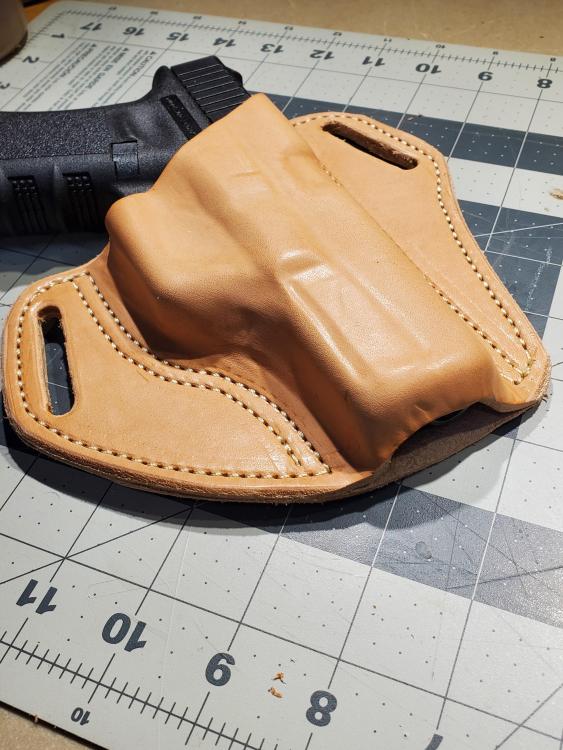
Here's my first formed holster. I need to finish the edges and oil it, but I am anxious for a critique. Give it to me straight and full strength. Thanks,
Randy

-
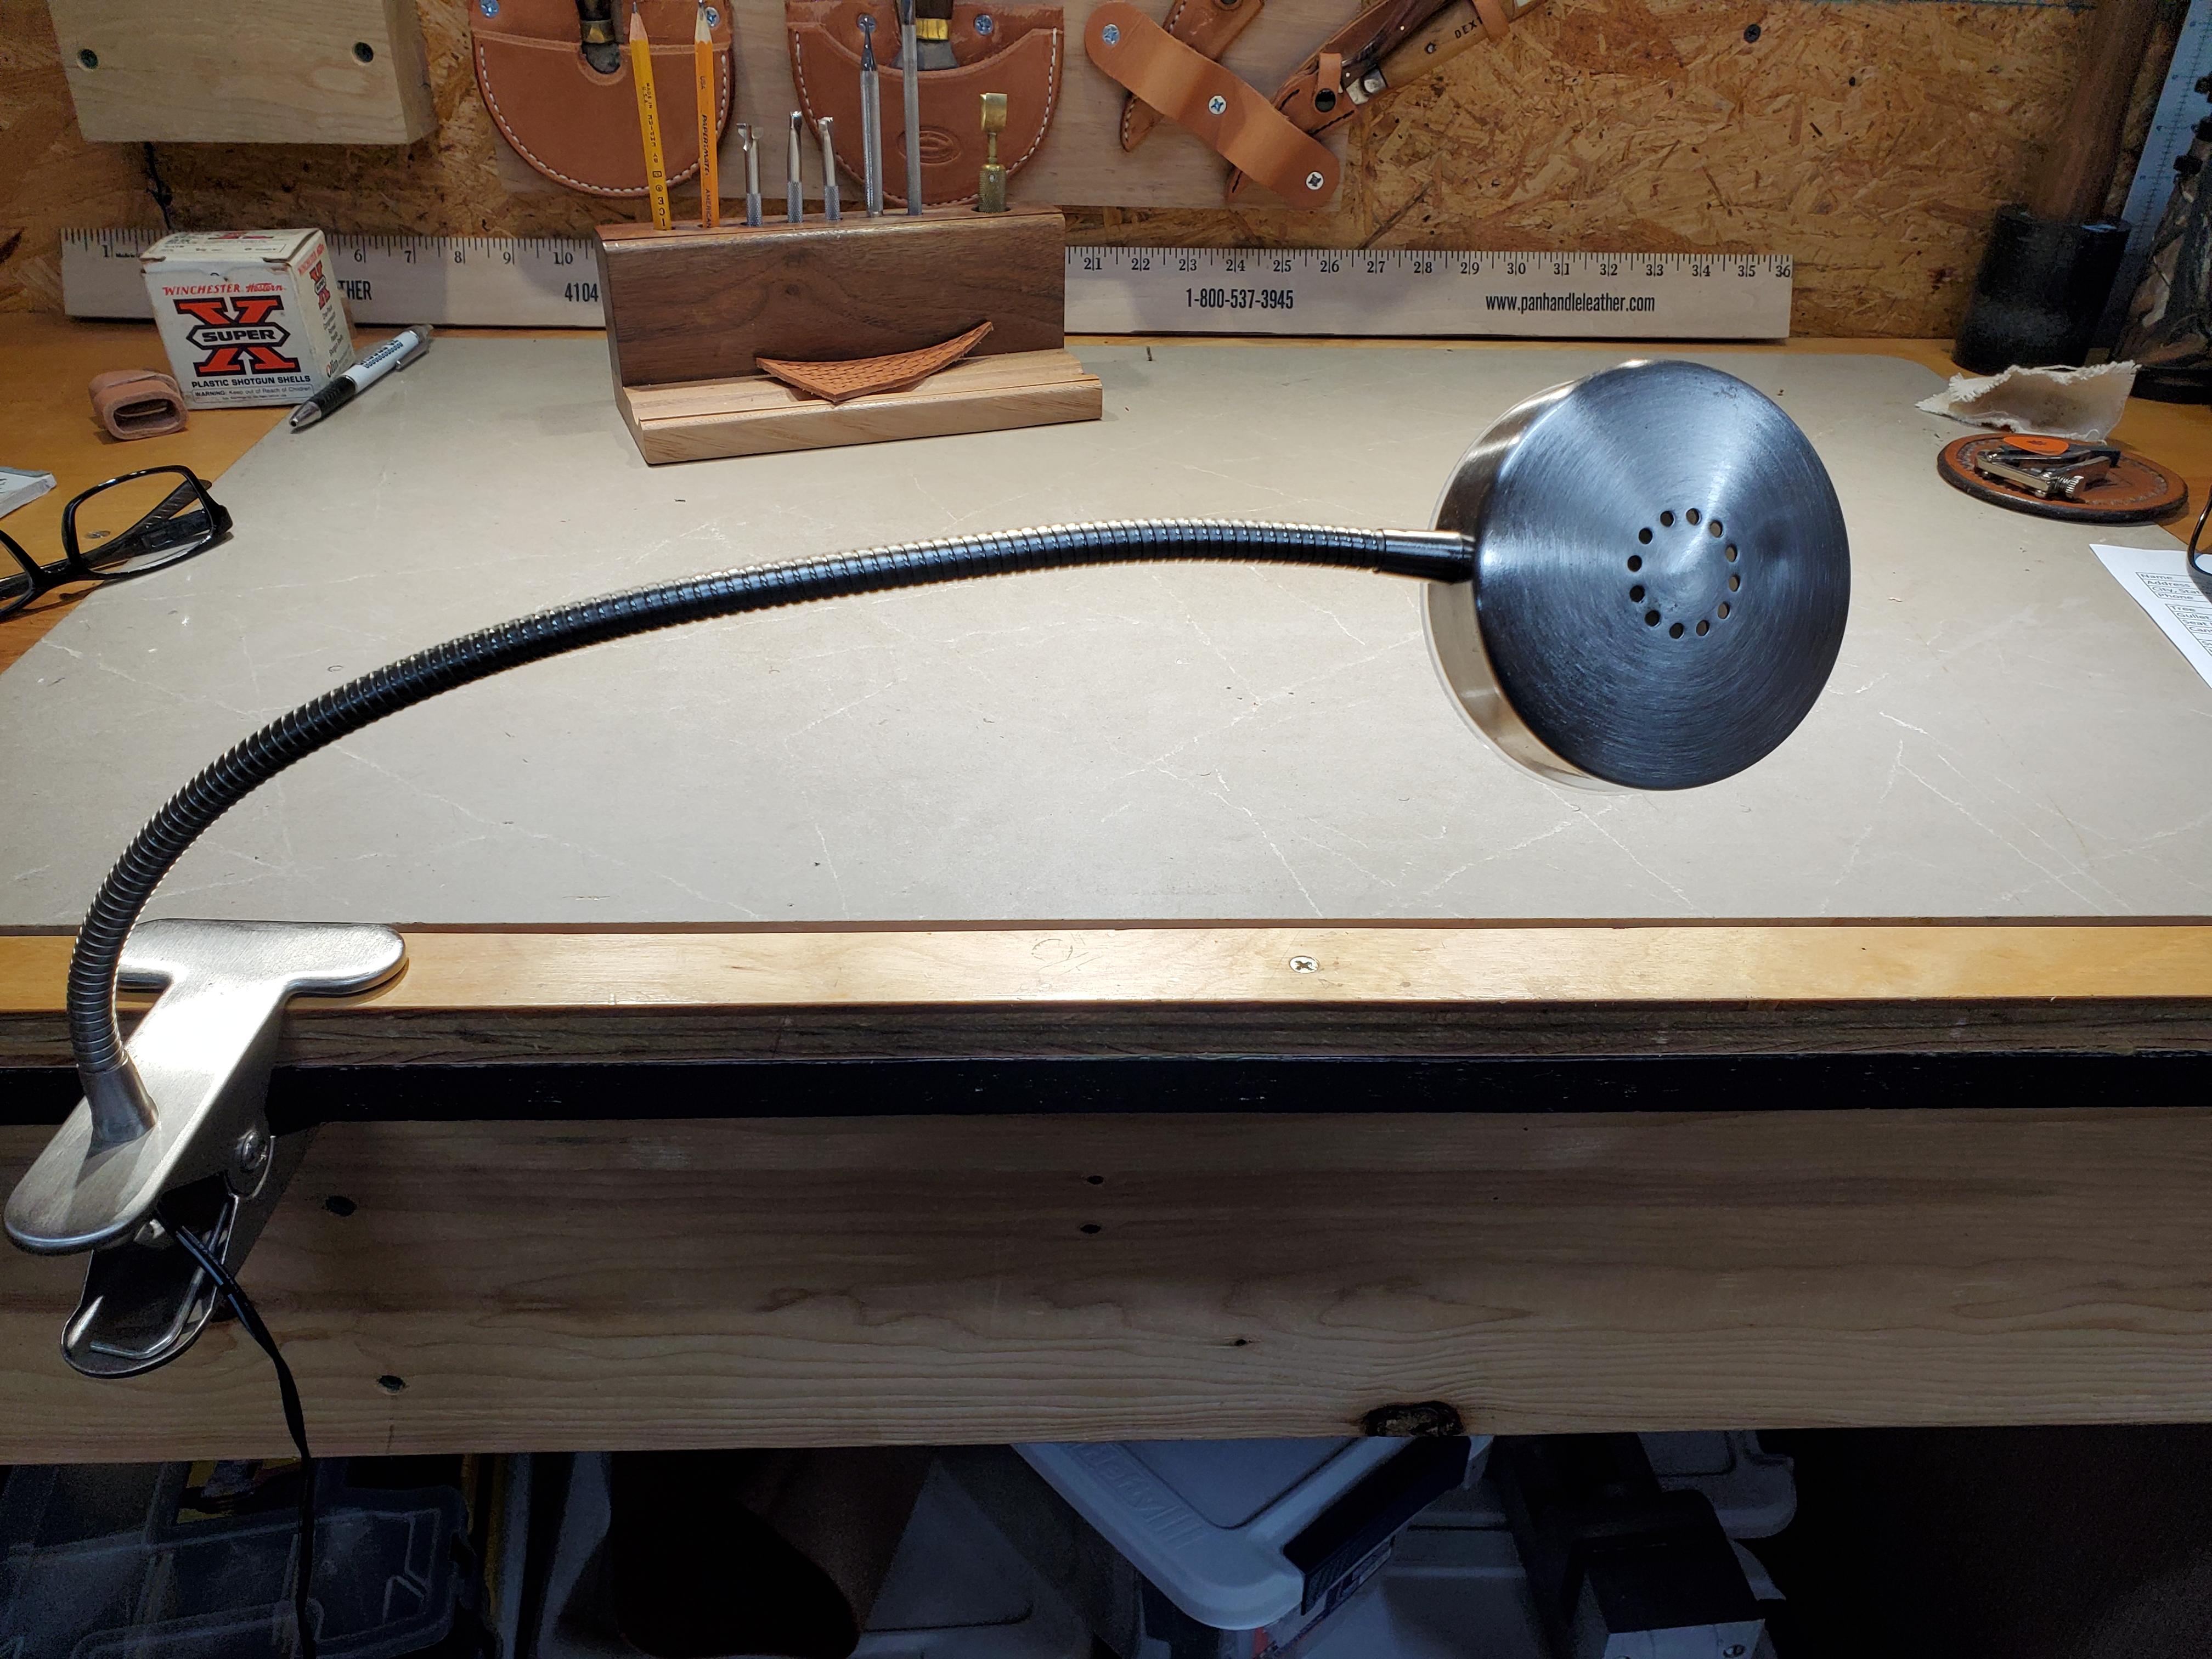
I never cared much for the headlamps, so I went this route. Just an adjustable LED lamp. I can shine it right where I'm tooling. I may revisit a headlamp sometime, but for now, this works great.
Randy

-
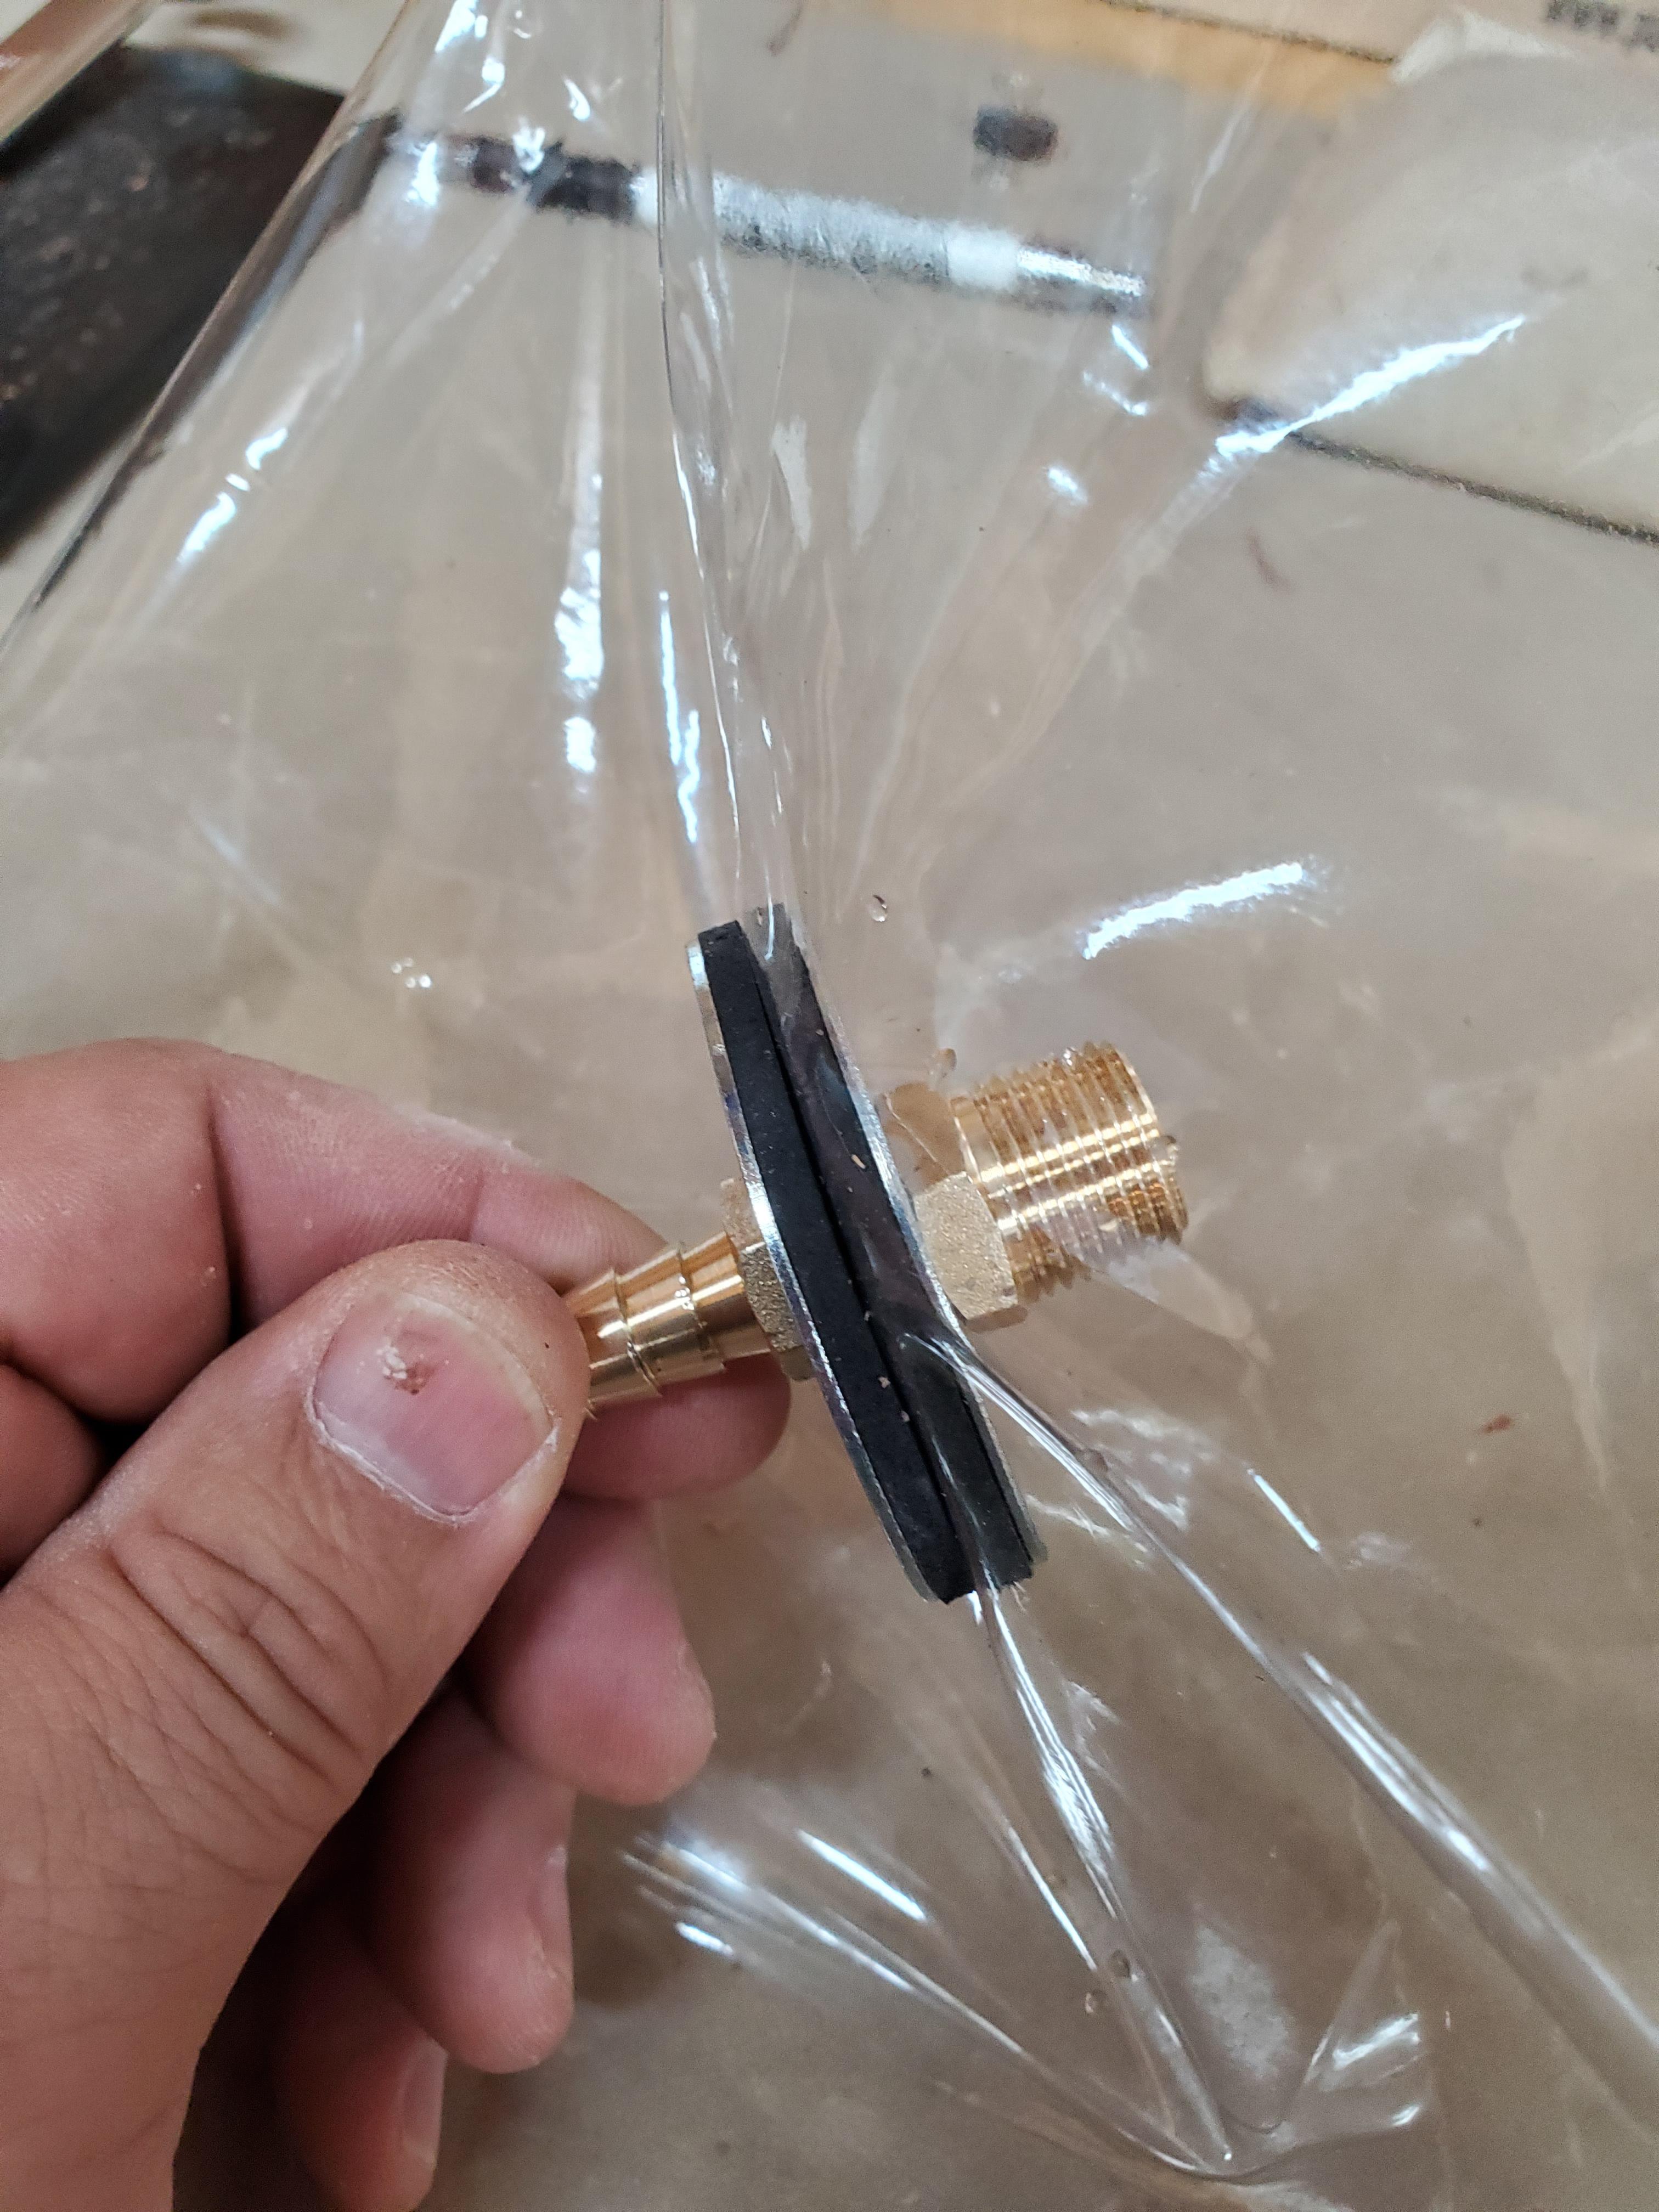
Make sure it's sealed on the edge of the valve. I punched the hole in my bag a little small so it would be tight on the fitting. Good look.
Randy
-
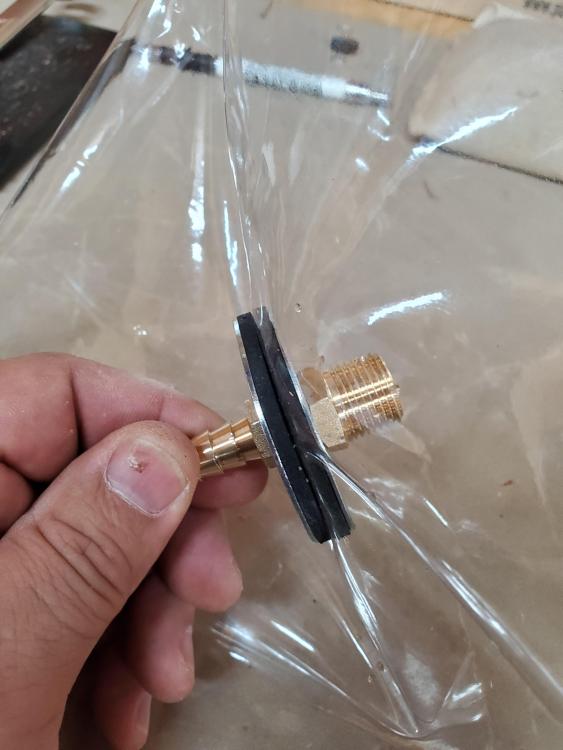
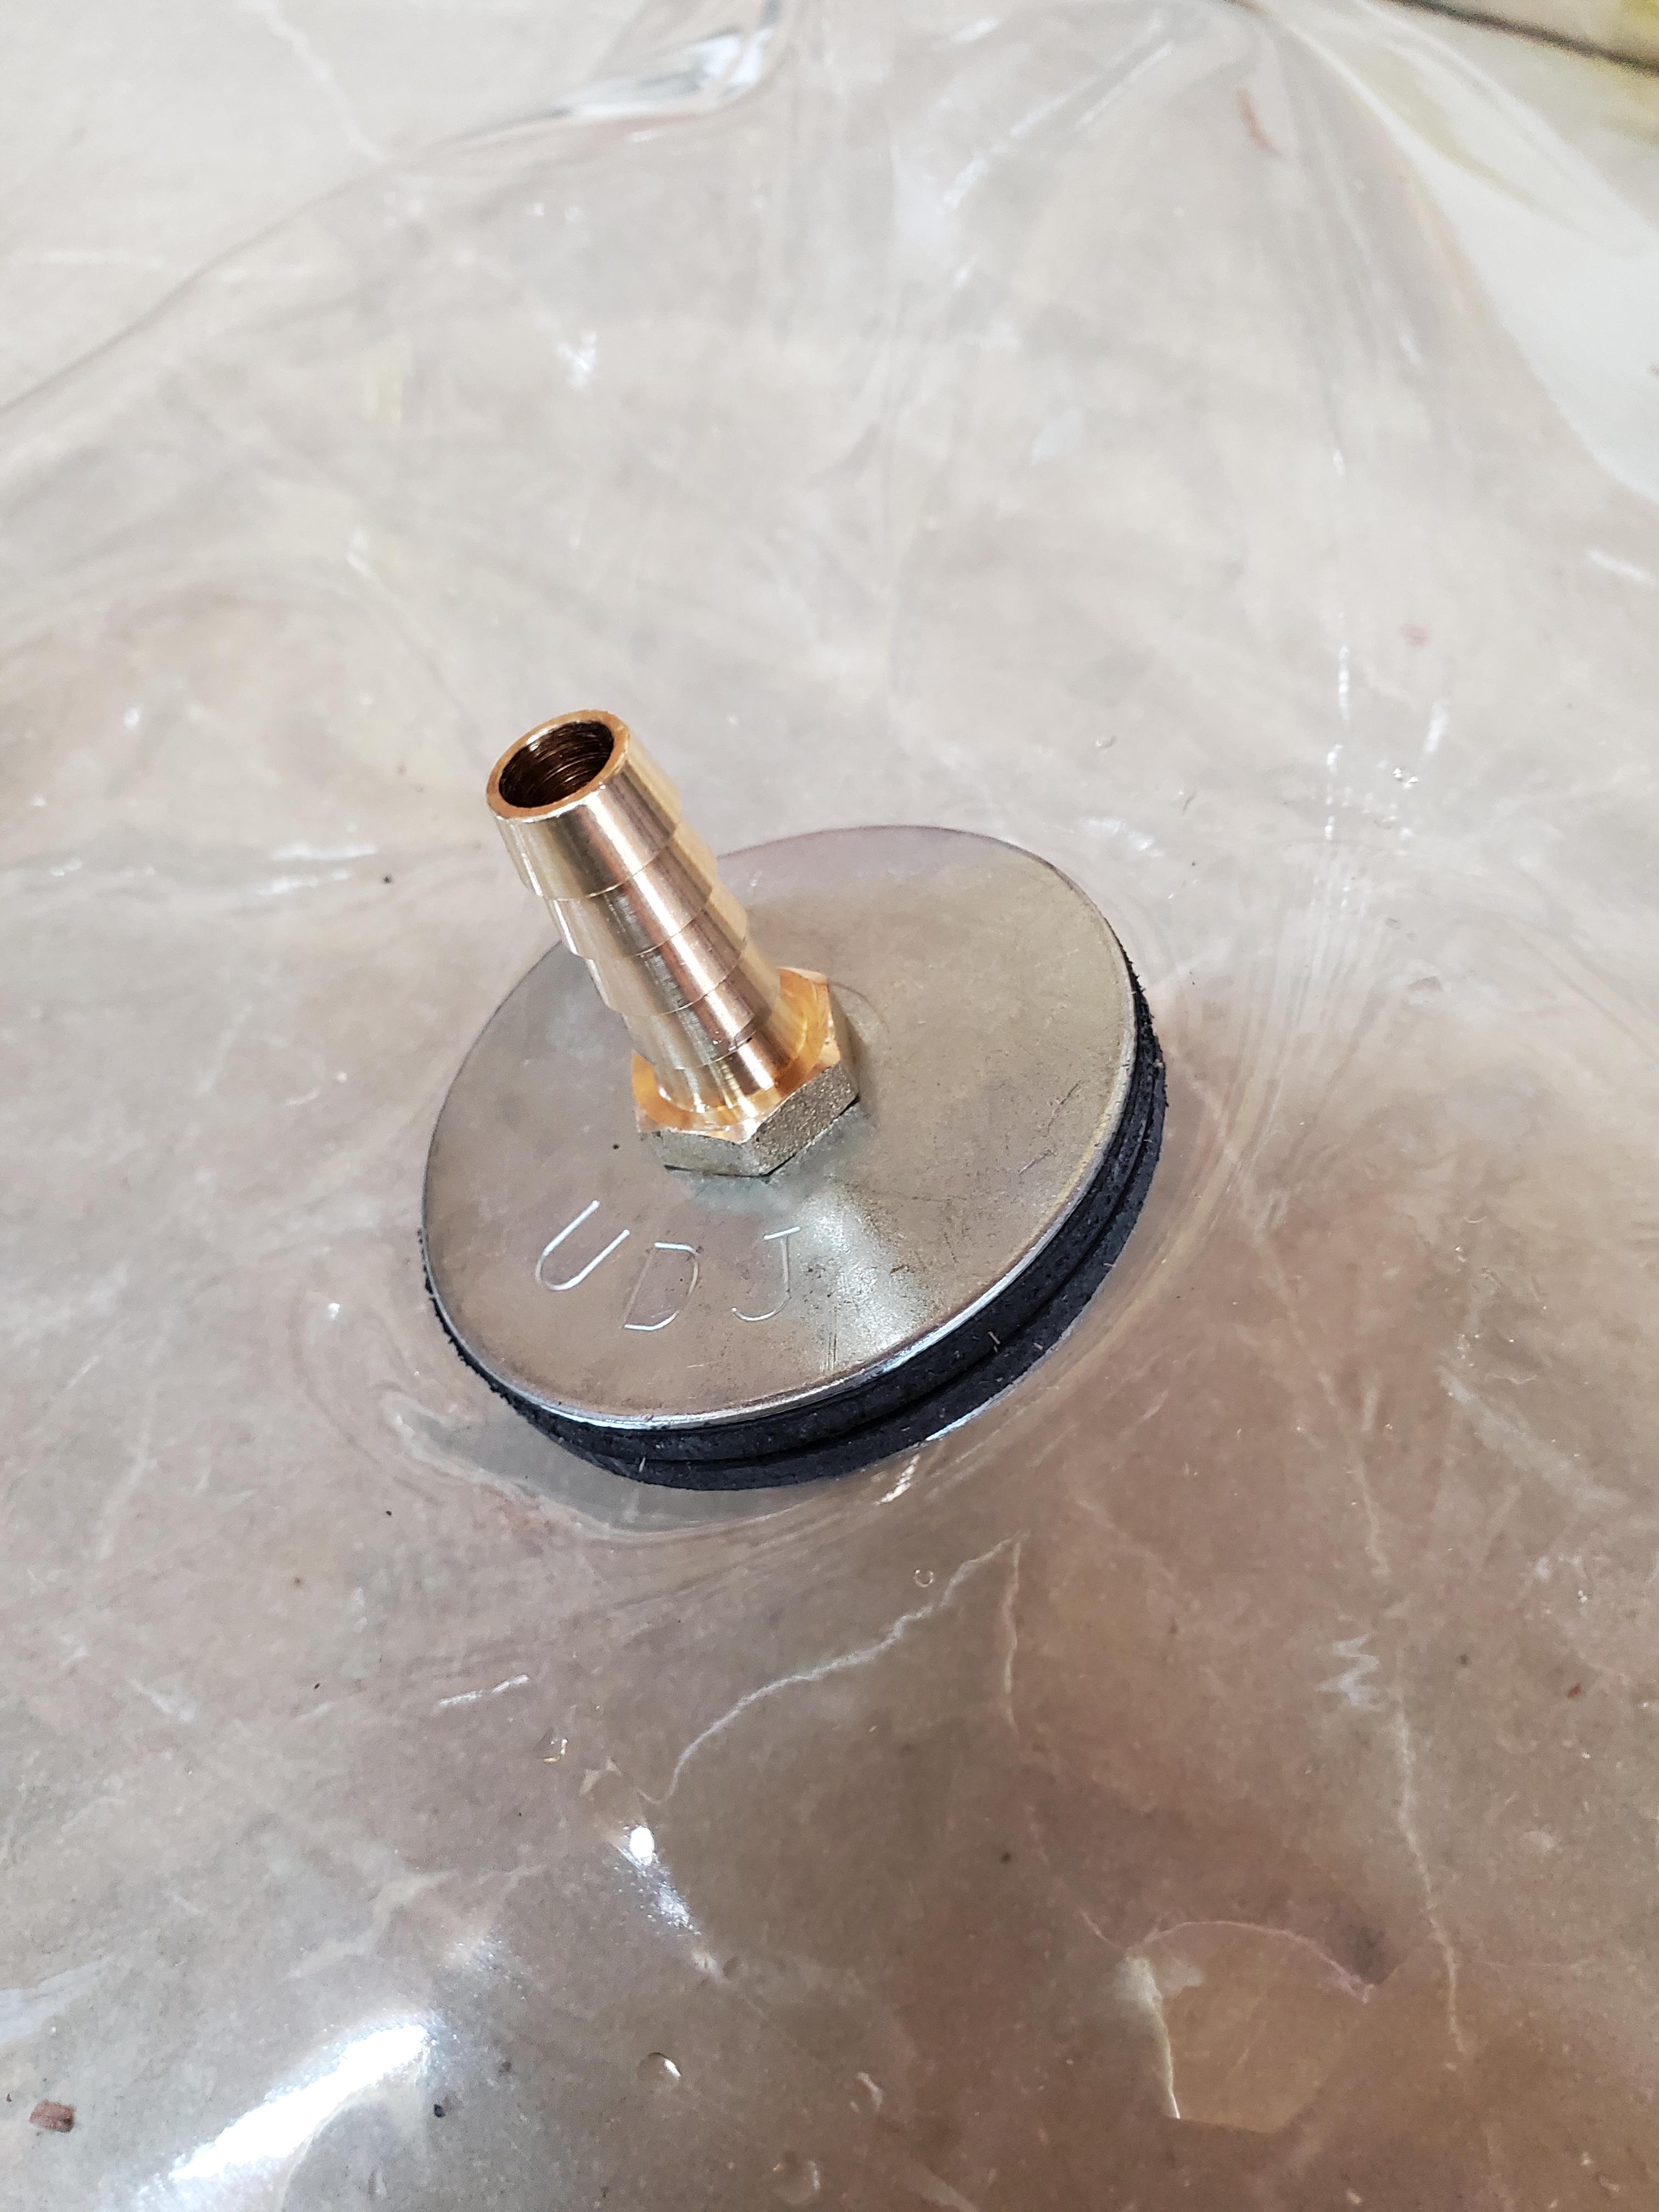
Dwight,
Thanks for sharing your knowledge. I finished my bag today with 12 gauge (12 mil) plastic from JoAnns. I have the same pump from Harbor Freight that you linked above, though I bought it before I saw the link. I made the bag fitting with parts from Lowe's. After this photo was taken, I drilled a hole through the bushing on the inside to keep the bag from blocking the vacuum. Thanks again for sharing.
Randy

-
Great job. I really like the handle on top.
Randy
-
On 8/5/2022 at 7:24 PM, Cattledude said:
You know the difference between a horse shoer and a dog with no legs?
There is no difference, you can call them all you want but, they still won't come...
That's funny. I've had that experience, but thankfully I now have a more reliable farrier.
On 8/4/2022 at 7:14 PM, Goldshot Ron said:Good luck on your saddle,
Ron
Thanks Ron. I'll post pictures next month.
Randy
-
Thanks for all the comments and suggestions. Based on this discussion, I plan to use a burgundy latigo wrap with the rough side out. If he doesn't like it, switching to mule should be easy enough.
I made a lot (seemed like it) of money hauling hay when I was younger. Now hay haulers in our area are on the endangered species list, thus chaps don't seem necessary.
Take care,
Randy
-
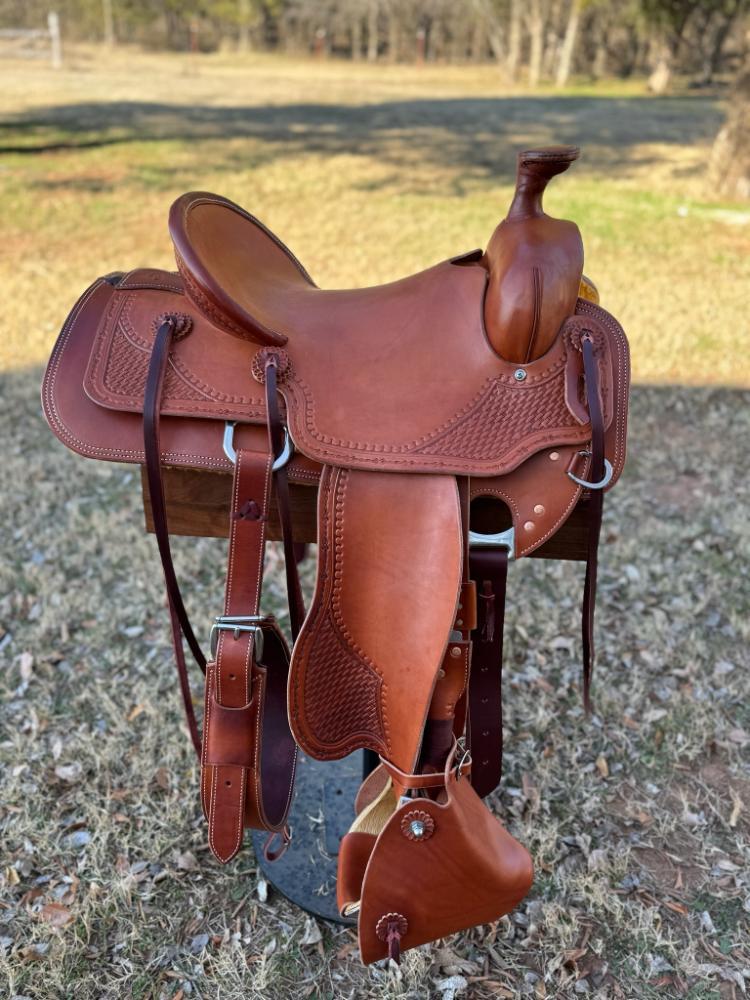
I am working on a saddle with a wood post horn. I want to wrap it with mule skin, but all I can find is gray. Does it come in other colors? Is there a suitable substitute in burgundy? Thanks,
Randy
-
Thanks Ron,
It was a lot of tooling, but an enjoyable project.
Randy
-
Ron,
Here's the finished saddle.
Randy
-
Really nice work.
Randy
-
On 4/6/2022 at 11:17 AM, Samalan said:
That's why I said 90 twice 77 will not work it's 90 or like Dwight said weldwood it's just that weldwood is a bitch to use on foam if you have a lot to do but again don't use 77 I cant talk about gorilla glue I don't use it at all.
@SamalanI am not questioning your experience, but just wanted more details regarding 3M77. I am getting ready to glue some foam on a boat seat and just happened to have a couple cans on the shelf. The 3M77 is labeled for foam. Is it the type of foam that causes an issue? I can buy 3M90, but wanted more information on your experiences. Thanks,
Randy
-
1 hour ago, TomE said:
A few weeks ago, HO told me they were at maximum production capacity and not taking on new customers at this time.
They still aren't. I called yesterday.
RT
-
That looks really clean. Personally, I would have put the rivet burr on the other side, but it's visible either way.
Randy
-
I heard Sunny recently moved into a rest home. I don't know if they'll reopen with a new owner, but that certainly leaves a hole in tree makers.
Randy
-
Just found out they went out of business.
Randy
-
I just called Quality Mfg. (435-587-5070) and got a "number no longer in service" message. Are they still in business? Do they have a new number? Thanks,
Randy
-
Thanks all. The stirrups will be delivered later.
Randy
-
Thanks for all the compliments.
Regan, I hope your staying warm up north. I need to make the trip to Sheridan, but it won't be this year.
Ron, I'm getting there, just a little slow sometimes. Still a lot of room for improvement.
Take care,
Randy


First Formed Holster
in Gun Holsters, Rifle Slings and Knife Sheathes
Posted
Thanks,
Randy