


superpacker
-
Posts
137 -
Joined
-
Last visited
Content Type
Profiles
Forums
Events
Blogs
Gallery
Store
Everything posted by superpacker
-
I know the default recommendation on this forum is to consult Nigel's saddle stitch tutorial video. This is understandable as it's concise and easy to follow - I've used all of his suggestions, and get nice clean rows of stitching - my problem is that it is only the backside of the item that the signature "S" pattern will appear, whereas on the front, just get essentially straight stitches. I would prefer those S's to be on the front side. I'm following his instructions to the "T" and can't figure out what is amiss. I will either use diamond chisels and punch all the way through or use the chisel as a pricking iron and then punch the holes with an awl. Either way doesn't seem to make a difference. Like I said, I'm getting nice stitching either way, but the back looks better than the front. Any ideas? For reference, I'm frequently using .6 Tiger thread. the front piece of the item is on my left side, with stitch holes slanted towards me and im stitching towards me.
-
What is the preferred method for continuing a line of stitches after running out of thread? To date, I've never sewn anything large enough that couldn't be done with a single strand of thread in a reasonable length. But that is about to change with a pending project, and I realized I've never confronted that issue before. Can anyone offer any suggestions. Sorry if this has been previously covered, but I couldn't seem to find it. Thank you!
-
So here's the funny part, that leather you linked to is the exact leather and color I'm using! And I got it from District. So that give you an exact idea as to the contrast for the exposed spine. As an aside, it's absolutely beautiful leather! First rate supplier! I ordered some dark green bridle from them and had it skived down to 3 oz, but it actually seems to measure slightly smaller, so I'd say that it is actually right at about 1mm. That's what I thought about using due to it's thinness and color pop. But I don't have a piece wide enough. The widest I could do is 4". Not to sound lazy, but I don't want to order a special piece of leather just for this item, at least this time. I think I can see that it's definitely good to keep some large and thin pieces on hand to do a full liner. But at present, my option is to use this green leather as a less than full liner OR I would be interested in using fabric. Are there any tricks to this? What type of fabrics work best so they won't fray over time? Doesn't the glue soak through?
-
Would using a permanent cement - like Barge - work for securing a center strip like this? If I stitch it in place, the stitching will show on the outside, and I think it will be in an odd location. I always prefer stitching to gluing, but this seems like a case where glue may be the way to go. My concern is that the glued area will be a long a fold, and that this will be subject to frequent warmth and heat (due to it being a wallet) - so will that cause the glue to separate down the road?
-
I was thinking of doing something like this. I have some really thin dark green english bridle that could be cool.
-
I'm making a bifold wallet out of dark brown buttero veg tan. The inside has a column of card slots on either side. My problem is the inside spine of the wallet - where about .5" - .75" the flesh side of the leather is exposed right down the center. This is the flesh side of the outer panel of the wallet. And given the tight glossy hair side of this dark brown leather, this strip of exposed pale, matte, flesh just seems distracting, or amateurish. Is there anything that can be done to this area without making the wallet bulkier. I thought of dying this black to match the edges and give more contract to the brown. Any thoughts on this? Any other suggestions.
-
I know there are some great leather painters out there, so wanted to get some tips before starting. My main question is whether any type of acrylic paint will work? I'd like to paint on some small leather items , but I'm only making a few, and don't intend to do lots of painting on each piece either, so I only need a minimal amount of paint in a few colors. So I was curious if specialty paints are needed? Also, is there anything needed to seal the paint? Would a coat of resolene do? Below is an example of the extent I'm looking to paint (not the lettering) - essentially a few stripes in a few colors, I was inspired by the color touches to the still very present and very nice safiano leather, and thought I'd try a similar approach elsewhere.
-
Possible to carve/paint lettering on bridle leather?
superpacker replied to roraliyah's topic in How Do I Do That?
I had a similar question, but not about carving, just about painting. I've got some very waxy english bridle, and I wanted to paint some basic stripes on it, is that possible? -
Very cool. Thanks for sharing! I like how the end looks. Did you just round the square corners by hand?
-
How hot do you need to get it? I have a small canister backpacking stove with great amount of adjustment - from little flame to blow torch (MSR micro rocket) I’m presuming that will work?
-
I’ve seen in videos where leather craftsman will use flame to head edge creasing tools. What is the reason for this? Also, will it work for any metal edge creaser?
-
I have a Tandy edge creaser and thanks to help from forum members - I’ve got it making nice clean creases - on straight edges. My difficulty is when it comes to going around corners, can’t seem to get a nice clean tight crease. While I’m still new (somit very well could be the user) I am wondering if this tool wasn’t intended to go around outside corners. Any tips? Or is a different tool needed? A wing divider maybe?
-
Thanks - agreed that there are no “rules” but wasn’t sure if it would be too out of place. Sounds like no. And Fire88, I agree that I’m sure it was equally an efficiency matter. When you think about it - it’s the strap end that uses the least amount of leather - so it seems to fit in for work belts especially back in the day where a small outfit was trying to crank them out with as little waste as possible
-
My guess as well. Just looking at it gives you a decent idea of how do go about it - but wasn’t sure if anyone has taken it on and had some tips from lessons learned
-
-
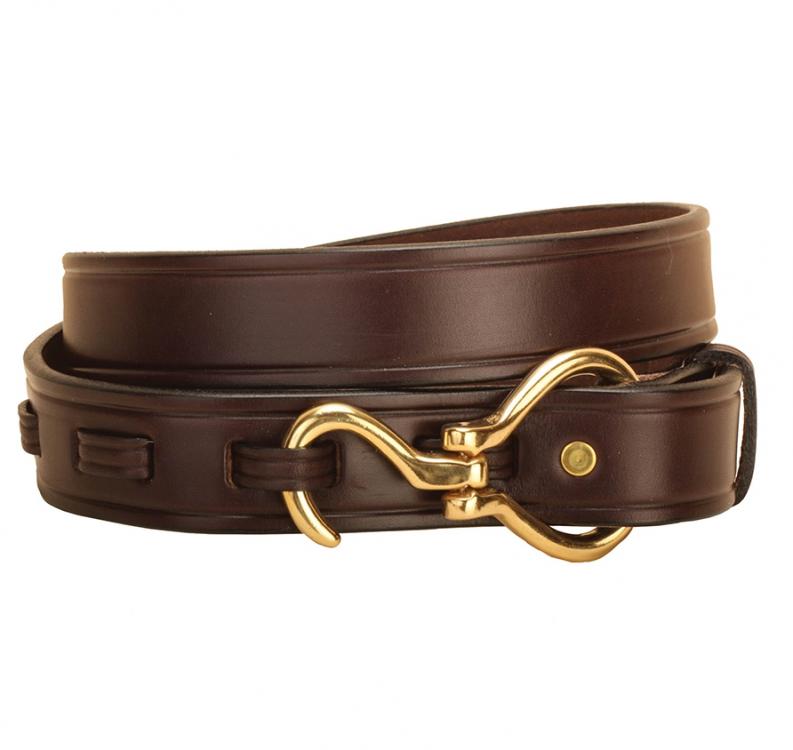
This is the first "advanced" belt I'd like to attempt - I understand the concept of how it works, but wanted to know if anyone has any suggestions or templates, etc, about how to set up the belt "holes" that the pick buckle slides in?
-
Do you try to do it in one continuous stroke? It seems, at least like with lighter dyes like medium brown, if you do it in pieces you get overlapped darker areas.
-
First, let me say that I've read Hidepounder's excellent tutorial on burnishing - this has helped me to get uniform and smooth edges - but my question concerns dying the edge. A lot of newer leathermakers I see seem to leave burnished edges undyed - usually because the item itself is made from a light colored veg tan of some sort and is intended to darken with use and age. Even so, I like the look of dyed edges. I think if looks more finished, and adds nice contrast, even if the leather darkens. However, I'm having trouble keeping the dye on the edge. For example, I recently worked on a natural tooling leather belt. I intended it for a work belt that would darken with use, but wanted to add a medium/dark brown contrasting edge. Completed all the steps of making, burnished, and only had to dye the edge. I used Fiebings Medium Brown spirit dye, and a wool dauber, and despite my best care, the dye soaked over the edge and on to the belt front. So I'm trying to figure out how to keep dye only on the edge when the only thing that will be dyed is the edge. Any thoughts? The same goes for dyed leather too, where I frequently like to use a black edge
-
I've seen images of some old rugged work belts where the tongue end wasn't rounded or cut in an English point - but rather just cut square (perpendicular to the strap length), with the corners ever so slightly rounded. Has anyone seen this done, and what are your thoughts? Obviously, the pointier the end, the easier it will be to thread through the buckle end. But, at least for work belts, I kind of like how "matter of fact" and simple it is. I should say that the few times i've seen this a center bar buckle was used - and center bar buckles tend to be kind of square-ish in form - so the tongue end and buckle seemed to compliment. Center bar buckles are also my preferred buckle.
-
Wanting to obtained a subtle rounded edge on belt straps - and seems this is the tool to do so? My standard 2 seems to just give a hard 45 degree to any existing 90 degree where it seems that the Keen creates more of a rounded edge. If so, what size to do need for 8-9 or 9-10 oz? Looking for a barely rounded edge NOT an almost domed edge that takes lots of the grain side off
-
I’ve heard of using Tan Kote to treat the flesh side of Belts to both mat down the fibers and give a slight moisture barrier. Is this recommended? Or if not, is there another product that should be used for this process?
-
Since harness has its firm slick surface, does it tend to darkened and Patina over time. I’m particularly interested in russet colored harness - I like it’s initial warm honey color - but could find no pictures of how it ages.
-
Very good tips! Thank you a bunch!
-
When using letter stamps, especially small ones, are there any tips or tricks to make sure the letters are level and evenly spaced? Any other tips and tricks you veterans could recommend for doing letter stamping, e.g. monograms, are also appreciated. But leveling spacing is my primary concern.
-
To report, wetting the Leather made the creaser work so well!
